2009 CHEVROLET CORVETTE manual radio set
[x] Cancel search: manual radio setPage 134 of 434
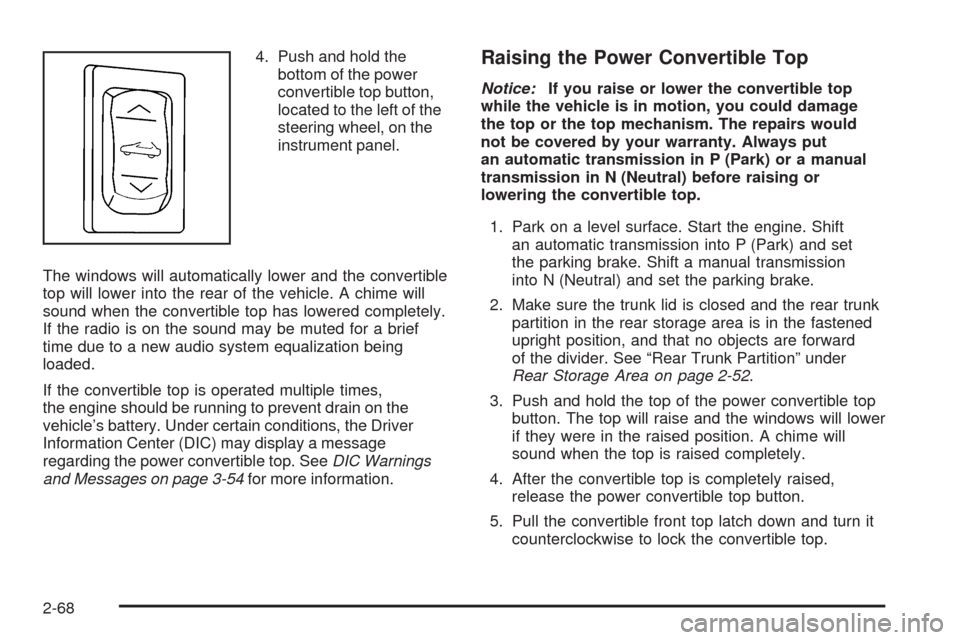
4. Push and hold the
bottom of the power
convertible top button,
located to the left of the
steering wheel, on the
instrument panel.
The windows will automatically lower and the convertible
top will lower into the rear of the vehicle. A chime will
sound when the convertible top has lowered completely.
If the radio is on the sound may be muted for a brief
time due to a new audio system equalization being
loaded.
If the convertible top is operated multiple times,
the engine should be running to prevent drain on the
vehicle’s battery. Under certain conditions, the Driver
Information Center (DIC) may display a message
regarding the power convertible top. SeeDIC Warnings
and Messages on page 3-54for more information.Raising the Power Convertible Top
Notice:If you raise or lower the convertible top
while the vehicle is in motion, you could damage
the top or the top mechanism. The repairs would
not be covered by your warranty. Always put
an automatic transmission in P (Park) or a manual
transmission in N (Neutral) before raising or
lowering the convertible top.
1. Park on a level surface. Start the engine. Shift
an automatic transmission into P (Park) and set
the parking brake. Shift a manual transmission
into N (Neutral) and set the parking brake.
2. Make sure the trunk lid is closed and the rear trunk
partition in the rear storage area is in the fastened
upright position, and that no objects are forward
of the divider. See “Rear Trunk Partition” under
Rear Storage Area on page 2-52.
3. Push and hold the top of the power convertible top
button. The top will raise and the windows will lower
if they were in the raised position. A chime will
sound when the top is raised completely.
4. After the convertible top is completely raised,
release the power convertible top button.
5. Pull the convertible front top latch down and turn it
counterclockwise to lock the convertible top.
2-68
Page 218 of 434
Audio Settings
Press and holdOewhen no tone or speaker control
is displayed to adjust all tone and speaker controls
to the middle position. AUDIO SETTINGS CENTERED
displays.
Adjusting the Tone (Bass/Treble)
Oe(Bass/Treble):To adjust the Bass or Treble:
Press and release
Oeuntil BASS or TREBLE
displays.
Turn theOeknob to increase or to decrease
the level.
Press and hold theOeknob until the level
changes to the middle position.
Adjusting the Speakers (Balance/Fade)
Oe(Balance/Fade):To adjust the Balance:
Press and release
Oeuntil BALANCE displays.
Turn theOeknob to move the sound toward the
right or the left speakers.
Press and hold theOeknob until the level
changes to the middle position.To adjust the Fade:
Press and release
Oeuntil FADE displays
Turn theOeknob to move the sound toward the
front or the rear speakers.
Press and hold theOeknob until the level
changes to the middle position.
AUTO EQ (Automatic Equalization):The radio saves
separate AUTO EQ settings for each preset and source.
For vehicles without the Bose
®sound system:
Press AUTO EQ to select equalization settings
designed for CLASSICAL, POP, ROCK, JAZZ,
TALK, and COUNTRY.
Selecting CUSTOM or changing bass or treble,
returns the EQ to the manual bass and treble
settings.
For vehicles with the Bose
®sound system:
Press AUTO EQ to select equalization settings from
EQ1 through EQ6.
Selecting CUSTOM or changing bass or treble,
returns the EQ to the manual bass and treble
settings.
3-82
Page 225 of 434
CD AUX (Auxiliary):Press to play a CD when listening
to the radio. CD displays when a CD is in the player.
If your system has a remote playback device, pressing
this button a second time allows the remote device
to play.
X(Eject):Press to eject a CD from the Single CD
Radio and the Six-Disc CD Radio.
Single CD Radio:Press
Xto eject a CD.
Six-Disc CD Radio:
Press
Xto eject the CD that is currently playing.
To eject multiple CDs:
1. Press and hold
Xfor two seconds. A beep sounds
and EJECT ALL displays.
2. The ejected CD can be removed when REMOVE
DISC displays.
To stop ejecting the CDs, press the
MorX.
The CD is automatically pulled back into the player if
the CD is not removed after 25 seconds. Pushing a
CD back into the player, before the 25 second time
period is complete causes the player to sense an error
and the CD player tries to eject the CD several times
before stopping.Wait for the timer to expire before pressing
Xagain.
Pressing
Xrepeatedly after trying to push a CD
in manually causes the CD players 25-second eject
timer to reset.
RPT (Repeat):Press to hear a track or an entire CD
over again.
Single CD Radio:
Press RPT to hear a track over again, REPEAT displays.
Press again to turn off repeat, REPEAT OFF displays.
Six-Disc CD Radio:
Press RPT until REPEAT displays to repeat a track.
Press RPT until REPEAT ONE DISC displays to
repeat an entire CD
Press RPT until REPEAT OFF displays to turn off
repeat.
RDM (Random):Press to hear the tracks in random,
rather than sequential order, on one CD or all of
the loaded CDs.
3-89
Page 231 of 434

XM Radio Messages
XL (Explicit Language Channels):These
channels, or any others, can be blocked by calling
1-800-852-XMXM (9696).
Updating:The encryption code in the receiver is being
updated, and no action is required. This process
should take no longer than 30 seconds.
No Signal:The system is functioning correctly, but the
vehicle is in a location that is blocking the XM signal.
When the vehicle is moved into an open area, the signal
should return.
Loading XM:The audio system is acquiring and
processing audio and text data. No action is needed.
This message should disappear shortly.
CH Off Air:This channel is not currently in service.
Tune in to another channel.
CH Unauth:This channel is blocked or cannot be
received with your XM Subscription package.
CH Unavail:This previously assigned channel is no
longer assigned. Tune to another station. If this station
was one of the presets, choose another station for
that preset button.No Info:No artist, song title, category, or text
information is available at this time on this channel.
The system is working properly.
Not Found:There are no channels available for the
selected category. The system is working properly.
XM Locked:The XM receiver in the vehicle may have
previously been in another vehicle. For security
purposes, XM receivers cannot be swapped between
vehicles. If this message is received after having
the vehicle serviced, check with your dealer/retailer.
Radio ID:If tuned to channel 0, this message will
alternate with the XM Radio 8 digit radio ID label.
This label is needed to activate the service.
Unknown:If this message is received when tuned to
channel 0, there may be a receiver fault. Consult
with your dealer/retailer.
Chk XMRcvr:If this message does not clear within a
short period of time, the receiver may have a fault.
Consult with your dealer/retailer.
Navigation/Radio System
For vehicles with a navigation radio system, see the
separate Navigation System manual.
3-95
Page 243 of 434
bg(Mute/Push to Talk):Press to silence the vehicle
speakers only. Press again to turn the sound on.
For vehicles with OnStar
®or Bluetooth systems press
and hold
Vgfor longer than two seconds to
interact with those systems. SeeOnStar®System on
page 2-40andBluetooth®on page 3-96in this manual
for more information.
c(Phone On Hook):Press to reject an incoming
call, or end a current call.
wx(Next/Previous):Press to change radio stations
or select tracks on a CD.
To change radio stations:
Pressworxto go to the next or to the previous
radio station and stay there. The radio only seeks
stations with a strong signal that are in the
selected band.
Press and holdworxfor two seconds until SCAN
displays and a beep sounds to scan stations.
The radio goes to a station, plays for a few seconds,
then goes to the next station. Press again to stop
scanning.
Press and holdworxfor four seconds until
PRESET SCAN displays and a beep sounds to scan
presets. The radio goes to a station, plays for a
few seconds, then goes to the next station.
Press again to stop scanning.
To select tracks on a CD:
Pressworxto go to the next or to the previous
track when a CD is playing.
Press and holdworxfor more than two seconds
to scan the current CD. The CD goes to the next
track, plays the �rst 10 seconds, then goes to
the next track. Press again to stop scanning.
Press and holdworxfor more than four seconds
to scan all of the CDs loaded. The CD goes to the
next CD, plays the �rst 10 seconds of each
track, then goes to the next CD. Press again to
stop scanning.
+
e−e(Volume):Press to increase or to decrease
the radio volume.
1–6 (Preset Pushbuttons):Press to play stations that
are programmed on the radio preset pushbuttons.
3-107
Page 323 of 434
Jump Starting
If your battery has run down, you may want to use
another vehicle and some jumper cables to start your
vehicle. Be sure to use the following steps to do it safely.
{CAUTION:
Batteries can hurt you. They can be dangerous
because:
They contain acid that can burn you.
They contain gas that can explode or ignite.
They contain enough electricity to burn you.
If you do not follow these steps exactly, some or
all of these things can hurt you.
Notice:If you try to start your vehicle by pushing
or pulling it, you could damage your vehicle. Do not
push or pull your vehicle to start it; instead, use
the jump starting procedure in this manual to start
your vehicle when the battery has run down.
1. Check the other vehicle. It must have a 12-volt
battery with a negative ground system.Notice:If the other vehicle’s system is not a 12-volt
system with a negative ground, both vehicles can
be damaged. Only use vehicles with 12-volt systems
with negative grounds to jump start your vehicle.
2. Get the vehicles close enough so the jumper cables
can reach, but be sure the vehicles are not touching
each other. If they are, it could cause a ground
connection you do not want. You would not be able
to start your vehicle, and the bad grounding could
damage the electrical systems.
To avoid the possibility of the vehicles rolling,
set the parking brake �rmly on both vehicles
involved in the jump start procedure. Put an
automatic transmission in P (Park) or a manual
transmission in Neutral before setting the parking
brakes.
Notice:If you leave the radio or other accessories
on during the jump starting procedure, they could
be damaged. The repairs would not be covered by
the warranty. Always turn off the radio and other
accessories when jump starting the vehicle.
3. Turn off the ignition on both vehicles. Unplug
unnecessary accessories plugged into the cigarette
lighter or the accessory power outlet. Turn off the
radio and all lamps that are not needed. This will
avoid sparks and help save both batteries. And it
could save the radio!
5-51
Page 418 of 434
Current and Past Model Order Forms
Technical Service Bulletins and Manuals are available
for current and past model GM vehicles. To request
an order form, specify year and model name of
the vehicle.
ORDER TOLL FREE: 1-800-551-4123
Monday-Friday 8:00 AM - 6:00 PM
Eastern Time
For Credit Card Orders Only
(VISA-MasterCard-Discover), visit Helm, Inc.
on the World Wide Web at: helminc.com
Or you can write to:
Helm, Incorporated
P.O. Box 07130
Detroit, MI 48207
Prices are subject to change without notice and without
incurring obligation. Allow ample time for delivery.
Note to Canadian Customers: All listed prices are
quoted in U.S. funds. Canadian residents are to make
checks payable in U.S. funds.
Vehicle Data Recording and
Privacy
Your GM vehicle has a number of sophisticated
computers that record information about the vehicle’s
performance and how it is driven. For example,
your vehicle uses computer modules to monitor and
control engine and transmission performance, to monitor
the conditions for airbag deployment and deploy
airbags in a crash and, if so equipped, to provide
antilock braking to help the driver control the vehicle.
These modules may store data to help your
dealer/retailer technician service your vehicle. Some
modules may also store data about how you operate the
vehicle, such as rate of fuel consumption or average
speed. These modules may also retain the owner’s
personal preferences, such as radio pre-sets, seat
positions, and temperature settings.
7-16
Page 422 of 434

Audio System.................................................3-80
Audio Steering Wheel Controls....................3-106
Diversity Antenna System............................3-108
Navigation/Radio System,
see Navigation Manual..............................3-95
Radio Reception........................................3-108
Setting the Clock.........................................3-80
Theft-Deterrent Feature...............................3-106
XM™ Satellite Radio Antenna System...........3-108
Audio System(s).............................................3-81
Automatic Door Lock.......................................2-12
Automatic Transmission
Fluid..........................................................5-30
Operation...................................................2-26
B
Battery..........................................................5-50
Exterior Lighting Battery Saver......................3-17
Run-Down Protection...................................3-18
Bluetooth
®.....................................................3-96
Boost Gage...................................................3-49
Brake
Emergencies................................................ 4-6
Brake Fluid....................................................5-44
Brakes..........................................................5-44
System Warning Light..................................3-38
Braking........................................................... 4-4
Braking in Emergencies..................................... 4-6Break-In, New Vehicle.....................................2-21
Bulb Replacement...........................................5-56
Halogen Bulbs............................................5-57
Headlamp Aiming........................................5-56
Headlamps, Front Turn Signal,
and Parking Lamps..................................5-57
High Intensity Discharge (HID) Lighting...........5-56
Replacement Bulbs......................................5-59
Taillamps, Turn Signal, and Stoplamps............5-59
Buying New Tires...........................................5-78
C
Calibration.....................................................2-37
California Fuel.................................................. 5-7
California Perchlorate Materials Requirements....... 5-4
California Proposition 65 Warning....................... 5-4
Canadian Owners................................................ ii
Capacities and Speci�cations..........................5-110
Carbon Monoxide...........................2-13, 2-35, 4-19
Care of
Safety Belts................................................5-95
Cargo Cover..................................................2-53
CD, MP3 .......................................................3-92
Center Console Storage Area...........................2-51
Chains, Tire...................................................5-85
Check
Engine Lamp..............................................3-42
Checking Things Under the Hood......................5-12
2