2009 CHEVROLET CORVETTE glove box
[x] Cancel search: glove boxPage 117 of 434
Erasing Universal Home Remote
Buttons
The programmed buttons should be erased when the
vehicle is sold or the lease ends.
To erase either Rolling Code or Fixed Code on the
Universal Home Remote device:
1. Press and hold the two outside buttons at the same
time for approximately 20 seconds, until the indicator
lights, located directly above the buttons, begin to
blink rapidly.
2. Once the indicator lights begin to blink, release both
buttons. The codes from all buttons are erased.
For help or information on the Universal Home Remote
System, call the customer assistance phone number
underCustomer Assistance Offices on page 7-6.
Storage Areas
Glove Box
Open the glove box by lifting up on the lever. Use the
key to lock and unlock the lighted glove box.
Cupholders
Two cupholders are located on the center console next
to the shift lever. Slide the handle from the left to the
right side to access the lid.
Center Console Storage
To use this storage area, pull the cover up on the driver
side front edge of the console and swing it to the
passenger side.
Floor Mats
The �oor mats are designed to remain in position
and out of reach of the accelerator pedal. The driver
side �oor mat is held in place by two locator pins and
the passenger side is held in place by one.
Make sure that the driver side �oor mat is properly
placed on the �oor so that it does not block the
movement of the accelerator pedal.
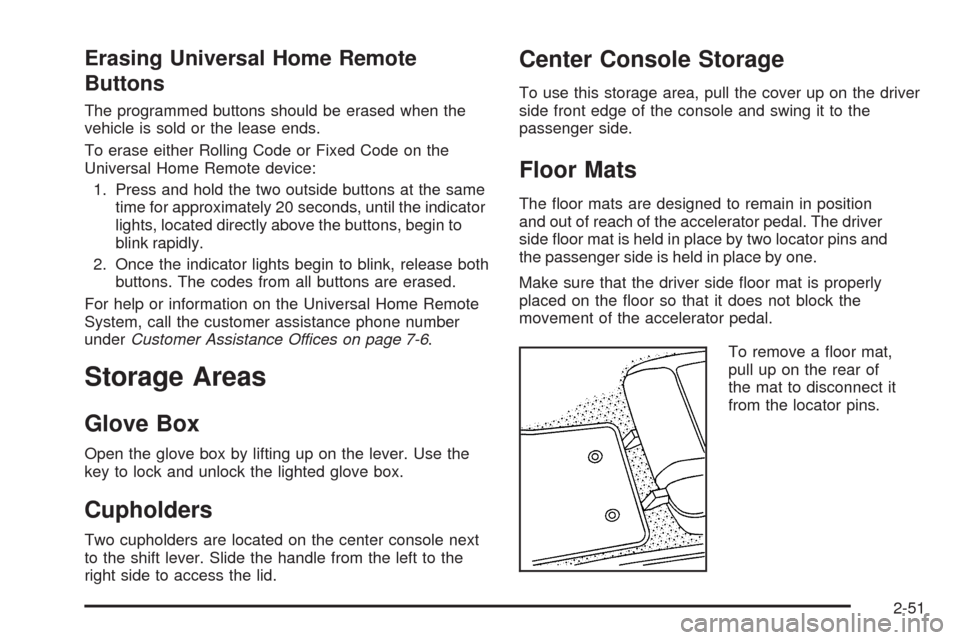
To remove a �oor mat,
pull up on the rear of
the mat to disconnect it
from the locator pins.
2-51
Page 141 of 434
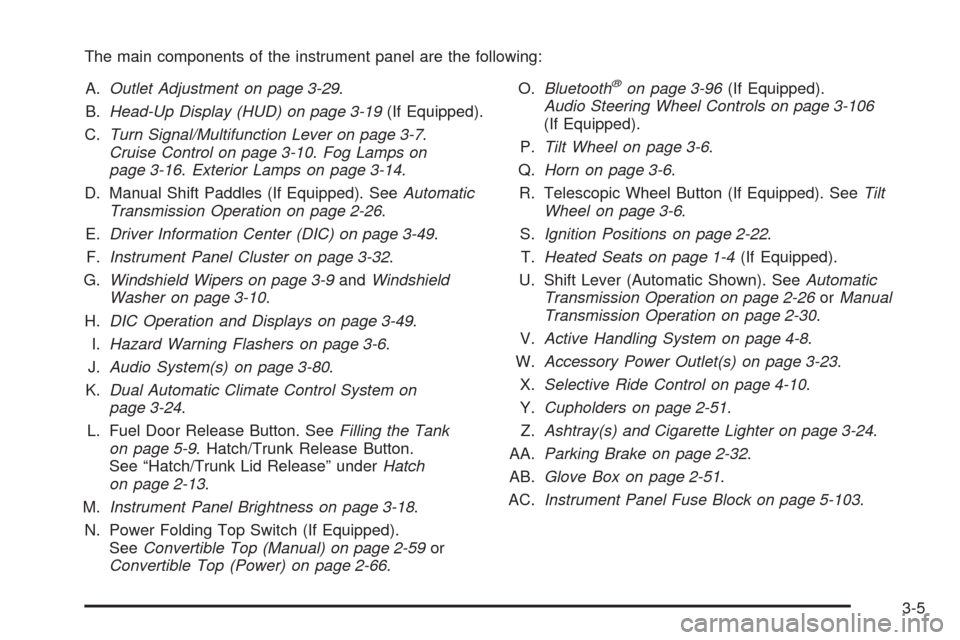
The main components of the instrument panel are the following:
A.Outlet Adjustment on page 3-29.
B.Head-Up Display (HUD) on page 3-19(If Equipped).
C.Turn Signal/Multifunction Lever on page 3-7.
Cruise Control on page 3-10.Fog Lamps on
page 3-16.Exterior Lamps on page 3-14.
D. Manual Shift Paddles (If Equipped). SeeAutomatic
Transmission Operation on page 2-26.
E.Driver Information Center (DIC) on page 3-49.
F.Instrument Panel Cluster on page 3-32.
G.Windshield Wipers on page 3-9andWindshield
Washer on page 3-10.
H.DIC Operation and Displays on page 3-49.
I.Hazard Warning Flashers on page 3-6.
J.Audio System(s) on page 3-80.
K.Dual Automatic Climate Control System on
page 3-24.
L. Fuel Door Release Button. SeeFilling the Tank
on page 5-9. Hatch/Trunk Release Button.
See “Hatch/Trunk Lid Release” underHatch
on page 2-13.
M.Instrument Panel Brightness on page 3-18.
N. Power Folding Top Switch (If Equipped).
SeeConvertible Top (Manual) on page 2-59or
Convertible Top (Power) on page 2-66.O.Bluetooth
®on page 3-96(If Equipped).
Audio Steering Wheel Controls on page 3-106
(If Equipped).
P.Tilt Wheel on page 3-6.
Q.Horn on page 3-6.
R. Telescopic Wheel Button (If Equipped). SeeTilt
Wheel on page 3-6.
S.Ignition Positions on page 2-22.
T.Heated Seats on page 1-4(If Equipped).
U. Shift Lever (Automatic Shown). SeeAutomatic
Transmission Operation on page 2-26orManual
Transmission Operation on page 2-30.
V.Active Handling System on page 4-8.
W.Accessory Power Outlet(s) on page 3-23.
X.Selective Ride Control on page 4-10.
Y.Cupholders on page 2-51.
Z.Ashtray(s) and Cigarette Lighter on page 3-24.
AA.Parking Brake on page 2-32.
AB.Glove Box on page 2-51.
AC.Instrument Panel Fuse Block on page 5-103.
3-5
Page 154 of 434

Instrument Panel Brightness
The knob for this feature is
located on the left side of
the instrument panel.
Push the knob in to turn on the interior lights.
Turn and hold the knob clockwise to brighten the lights
or counterclockwise to dim them. During the day,
this knob will adjust the instrument panel brightness
and at night will adjust all interior lighting.
Be sure not to have this knob turned all the way down
with the lamps on during the day. Your Driver
Information Center (DIC) may not be visible.
Courtesy Lamps
When any door or the hatch/trunk lid is opened, the
interior lamps will go on unless it is bright outside.
You can also turn the courtesy lamps on and off
by pressing the instrument panel brightness knob.
Entry/Exit Lighting
With entry lighting, the interior lamps will come on when
entering the vehicle. The interior lamps will come on
for about 20 seconds when the engine is off.
You can turn exit and entry lighting off by quickly turning
the courtesy lamps on and off.
Reading Lamps
The inside rearview mirror includes two reading lamps.
The lamps will go on when a door is opened.
When the doors are closed, press each lamp switch
to turn them on individually.
Battery Run-Down Protection
This vehicle has a feature to help prevent the battery
from being drained in case any of the following
lamps are left on; the underhood lamp, if your vehicle
has this feature, vanity mirror lamps, cargo lamps,
reading lamps, console or glove box lamps. If any of
these lamps are left on, they will automatically time-out
after about 10 minutes. To reset it, all of the above
lamps must be turned off or the ignition key on.
3-18
Page 197 of 434
To acknowledge the message, press the RESET button.
The message reappears every 10 minutes until this
condition changes.
NO FOBS DETECTED
This message displays if the vehicle does not detect the
presence of a keyless access transmitter when you
have attempted to start the vehicle or a vehicle door has
just closed. The following conditions may cause this
message to appear:
Driver-added equipment plugged into the accessory
power outlet on the center console is causing
interference. Examples of these devices are cell
phones and cell phone chargers, two-way radios,
power inverters, or similar items. Try moving the
keyless access transmitter away from these devices
when starting the vehicle. In addition, PDA devices
and remote garage and gate openers may also
generate Electromagnetic Interference (EMI) that
may interfere with the keyless access transmitter.
Do not carry the keyless access transmitter in the
same pocket or bag as these devices.
The vehicle is experiencing Electromagnetic
Interference (EMI). Some locations, such as airports,
automatic toll booths, and some gas stations have
EMI �elds which may interfere with the keyless
access transmitter.
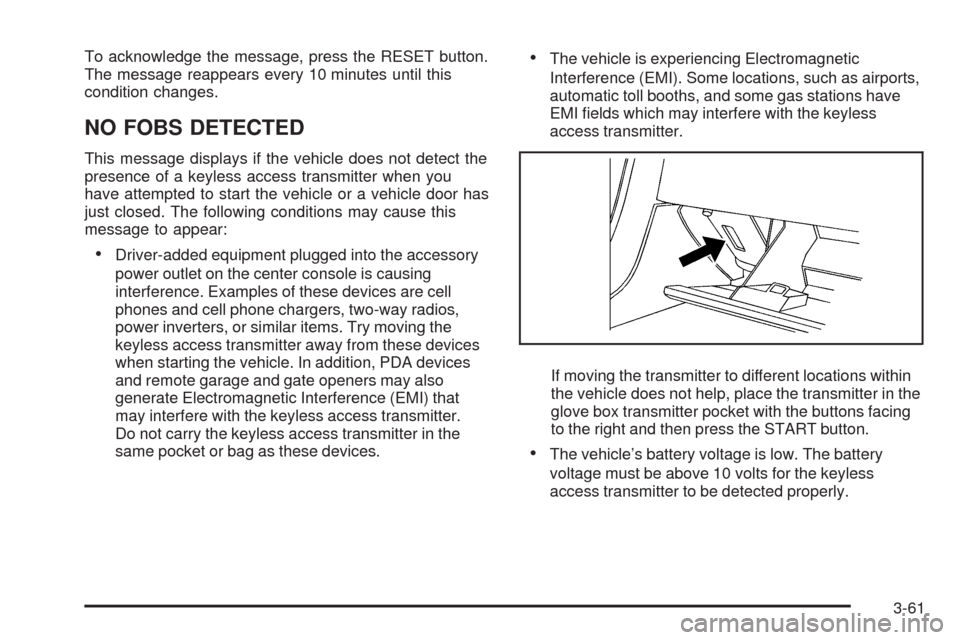
If moving the transmitter to different locations within
the vehicle does not help, place the transmitter in the
glove box transmitter pocket with the buttons facing
to the right and then press the START button.
The vehicle’s battery voltage is low. The battery
voltage must be above 10 volts for the keyless
access transmitter to be detected properly.
3-61
Page 373 of 434
Vehicle Identi�cation
Vehicle Identi�cation Number (VIN)
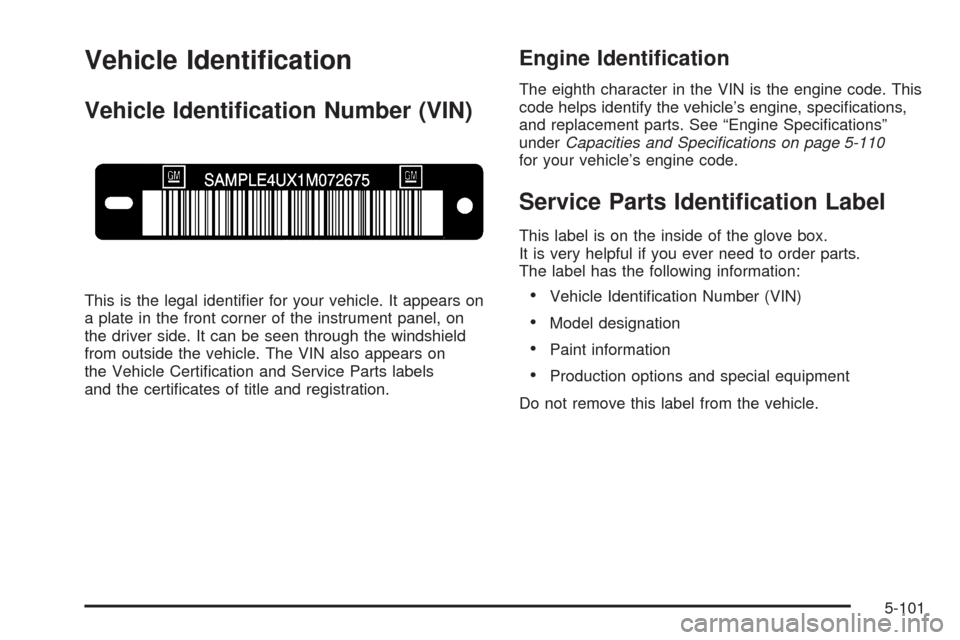
This is the legal identi�er for your vehicle. It appears on
a plate in the front corner of the instrument panel, on
the driver side. It can be seen through the windshield
from outside the vehicle. The VIN also appears on
the Vehicle Certi�cation and Service Parts labels
and the certi�cates of title and registration.
Engine Identi�cation
The eighth character in the VIN is the engine code. This
code helps identify the vehicle’s engine, speci�cations,
and replacement parts. See “Engine Speci�cations”
underCapacities and Specifications on page 5-110
for your vehicle’s engine code.
Service Parts Identi�cation Label
This label is on the inside of the glove box.
It is very helpful if you ever need to order parts.
The label has the following information:
Vehicle Identi�cation Number (VIN)
Model designation
Paint information
Production options and special equipment
Do not remove this label from the vehicle.
5-101
Page 426 of 434
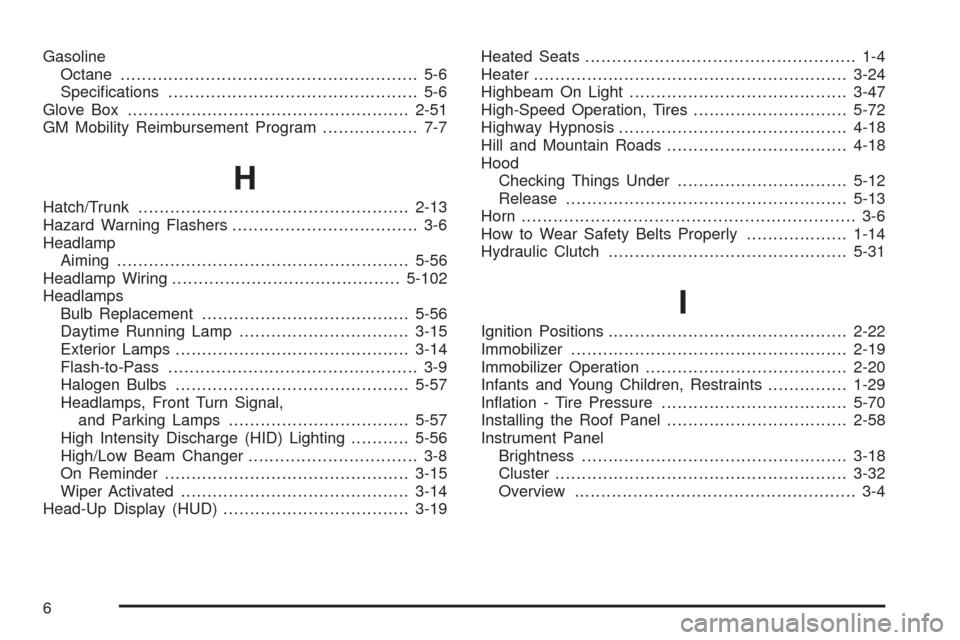
Gasoline
Octane........................................................ 5-6
Speci�cations............................................... 5-6
Glove Box.....................................................2-51
GM Mobility Reimbursement Program.................. 7-7
H
Hatch/Trunk...................................................2-13
Hazard Warning Flashers................................... 3-6
Headlamp
Aiming .......................................................5-56
Headlamp Wiring...........................................5-102
Headlamps
Bulb Replacement.......................................5-56
Daytime Running Lamp................................3-15
Exterior Lamps............................................3-14
Flash-to-Pass............................................... 3-9
Halogen Bulbs............................................5-57
Headlamps, Front Turn Signal,
and Parking Lamps..................................5-57
High Intensity Discharge (HID) Lighting...........5-56
High/Low Beam Changer................................ 3-8
On Reminder..............................................3-15
Wiper Activated...........................................3-14
Head-Up Display (HUD)...................................3-19Heated Seats................................................... 1-4
Heater...........................................................3-24
Highbeam On Light.........................................3-47
High-Speed Operation, Tires.............................5-72
Highway Hypnosis...........................................4-18
Hill and Mountain Roads..................................4-18
Hood
Checking Things Under................................5-12
Release.....................................................5-13
Horn ............................................................... 3-6
How to Wear Safety Belts Properly...................1-14
Hydraulic Clutch.............................................5-31
I
Ignition Positions.............................................2-22
Immobilizer....................................................2-19
Immobilizer Operation......................................2-20
Infants and Young Children, Restraints...............1-29
In�ation - Tire Pressure...................................5-70
Installing the Roof Panel..................................2-58
Instrument Panel
Brightness..................................................3-18
Cluster.......................................................3-32
Overview..................................................... 3-4
6
Page 431 of 434

S
Safety Belt Reminders.....................................3-34
Safety Belts
Care of ......................................................5-95
How to Wear Safety Belts Properly................1-14
Lap-Shoulder Belt........................................1-22
Safety Belt Extender....................................1-25
Safety Belt Use During Pregnancy.................1-24
Safety Belts Are for Everyone......................... 1-8
Safety Warnings and Symbols.............................. iii
Scheduled Maintenance..................................... 6-4
Seatback Latches............................................. 1-8
Seats
Heated Seats............................................... 1-4
Memory, Mirrors............................................ 1-4
Power Lumbar and Side Bolsters.................... 1-3
Power Seats................................................. 1-3
Reclining Seatbacks...................................... 1-6
Seatback Latches.......................................... 1-8
Securing a Child Restraint
Right Front Seat Position..............................1-40
Security Light.................................................3-47
Selective Ride Control.....................................4-10
Service........................................................... 5-3
Accessories and Modi�cations......................... 5-3
Adding Equipment to the Outside of the
Vehicle..................................................... 5-5Service (cont.)
California Perchlorate Materials Requirements . . . 5-4
California Proposition 65 Warning.................... 5-4
Doing Your Own Work................................... 5-5
Engine Soon Lamp......................................3-42
Publications Ordering Information...................7-15
Service, Scheduling Appointments.....................7-10
Servicing Your Airbag-Equipped Vehicle..............1-58
Setting the Clock............................................3-80
Shifting Into Park............................................2-33
Shifting Out of Park........................................2-34
Signals, Turn and Lane-Change.......................... 3-8
Speci�cations, Capacities...............................5-110
Speedometer..................................................3-34
Starting the Engine.........................................2-23
Steering........................................................4-11
Steering Wheel Controls, Audio.......................3-106
Steering Wheel Controls, Memory....................... 1-4
Steering Wheel, Tilt Wheel................................. 3-6
Storage Areas
Center Console Storage Area........................2-51
Convenience Net.........................................2-53
Cupholders.................................................2-51
Glove Box..................................................2-51
Rear Storage Area.......................................2-52
Storing the Roof Panel....................................2-57
Stuck in Sand, Mud, Ice, or Snow.....................4-21
Sun Visors.....................................................2-18
11