2009 CHEVROLET CORVETTE lights
[x] Cancel search: lightsPage 1 of 434

Seats and Restraint System............................. 1-1
Front Seats
............................................... 1-2
Safety Belts
.............................................. 1-8
Child Restraints
.......................................1-25
Airbag System
.........................................1-44
Restraint System Check
............................1-60
Features and Controls..................................... 2-1
Keys
........................................................ 2-3
Doors and Locks
......................................2-10
Windows
.................................................2-16
Theft-Deterrent Systems
............................2-18
Starting and Operating Your Vehicle
...........2-21
Mirrors
....................................................2-37
OnStar
®System
......................................2-40
Universal Home Remote System
................2-44
Storage Areas
.........................................2-51
Roof Panel
..............................................2-54
Convertible Top
.......................................2-59
Instrument Panel............................................. 3-1
Instrument Panel Overview
.......................... 3-4
Climate Controls
......................................3-24
Warning Lights, Gages, and Indicators
........3-31
Driver Information Center (DIC)
..................3-49
Audio System(s)
.......................................3-80Driving Your Vehicle....................................... 4-1
Your Driving, the Road, and the Vehicle
....... 4-2
Towing
...................................................4-28
Service and Appearance Care.......................... 5-1
Service
..................................................... 5-3
Fuel
......................................................... 5-6
Checking Things Under the Hood
...............5-12
Rear Axle
...............................................5-55
Headlamp Aiming
.....................................5-56
Bulb Replacement
....................................5-56
Windshield Replacement
...........................5-60
Windshield Wiper Blade Replacement
.........5-60
Tires
......................................................5-62
Appearance Care
.....................................5-91
Vehicle Identi�cation
...............................5-101
Electrical System
....................................5-102
Capacities and Speci�cations
...................5-110
Maintenance Schedule..................................... 6-1
Maintenance Schedule
................................ 6-2
Customer Assistance Information.................... 7-1
Customer Assistance and Information
........... 7-2
Reporting Safety Defects
...........................7-14
Vehicle Data Recording and Privacy
...........7-16
Index................................................................ 1
2009 Chevrolet Corvette Owner ManualM
Page 72 of 434
Keyless Trunk Opening
Press the hatch/trunk release button located on the rear
of the hatch/trunk lid above the license plate to open the
trunk if the keyless access transmitter is within range.
SeeHatch on page 2-13for additional information.
There are other conditions that can affect the
performance of the transmitter. SeeKeyless Access
System on page 2-4Keyless Access System.
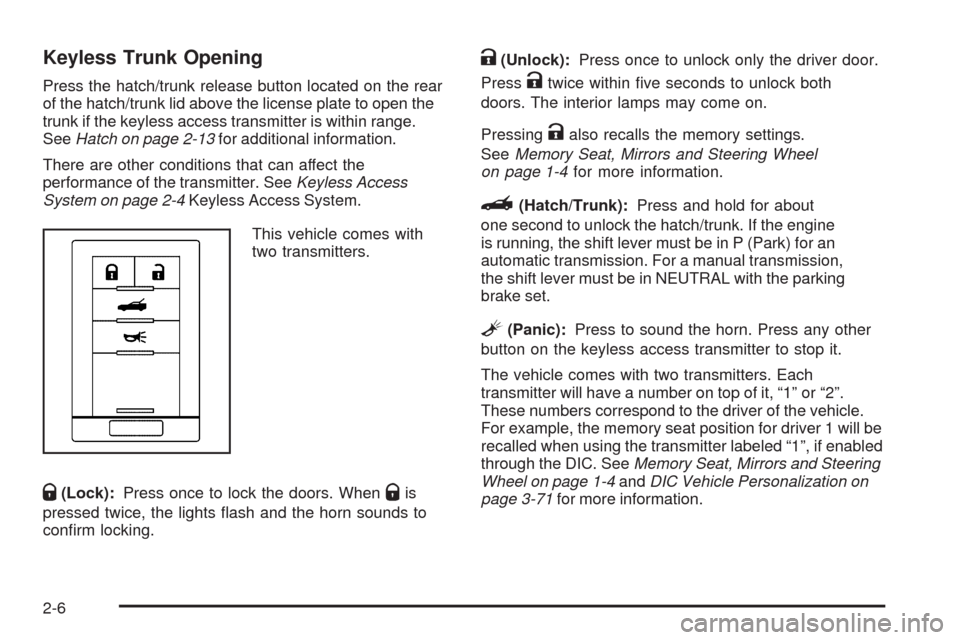
This vehicle comes with
two transmitters.
Q(Lock):Press once to lock the doors. WhenQis
pressed twice, the lights �ash and the horn sounds to
con�rm locking.
K(Unlock):Press once to unlock only the driver door.
Press
Ktwice within �ve seconds to unlock both
doors. The interior lamps may come on.
Pressing
Kalso recalls the memory settings.
SeeMemory Seat, Mirrors and Steering Wheel
on page 1-4for more information.
}(Hatch/Trunk):Press and hold for about
one second to unlock the hatch/trunk. If the engine
is running, the shift lever must be in P (Park) for an
automatic transmission. For a manual transmission,
the shift lever must be in NEUTRAL with the parking
brake set.
L(Panic):Press to sound the horn. Press any other
button on the keyless access transmitter to stop it.
The vehicle comes with two transmitters. Each
transmitter will have a number on top of it, “1” or “2”.
These numbers correspond to the driver of the vehicle.
For example, the memory seat position for driver 1 will be
recalled when using the transmitter labeled “1”, if enabled
through the DIC. SeeMemory Seat, Mirrors and Steering
Wheel on page 1-4andDIC Vehicle Personalization on
page 3-71for more information.
2-6
Page 103 of 434
Mirrors
Automatic Dimming Rearview Mirror
The vehicle may have an automatic dimming inside
rearview mirror with a compass display and/or map
lamps, and OnStar
®. If the vehicle has OnStar, there are
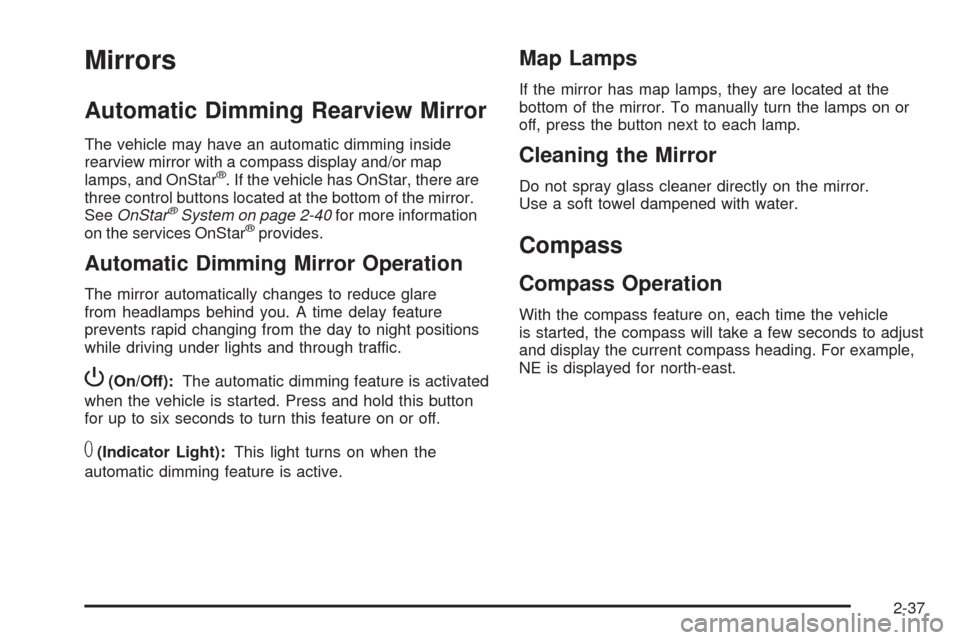
three control buttons located at the bottom of the mirror.
SeeOnStar
®System on page 2-40for more information
on the services OnStar®provides.
Automatic Dimming Mirror Operation
The mirror automatically changes to reduce glare
from headlamps behind you. A time delay feature
prevents rapid changing from the day to night positions
while driving under lights and through traffic.
P(On/Off):The automatic dimming feature is activated
when the vehicle is started. Press and hold this button
for up to six seconds to turn this feature on or off.
T(Indicator Light):This light turns on when the
automatic dimming feature is active.
Map Lamps
If the mirror has map lamps, they are located at the
bottom of the mirror. To manually turn the lamps on or
off, press the button next to each lamp.
Cleaning the Mirror
Do not spray glass cleaner directly on the mirror.
Use a soft towel dampened with water.
Compass
Compass Operation
With the compass feature on, each time the vehicle
is started, the compass will take a few seconds to adjust
and display the current compass heading. For example,
NE is displayed for north-east.
2-37
Page 110 of 434
Universal Home Remote
System
The Universal Home Remote System provides a way to
replace up to three hand-held radio-frequency (RF)
transmitters used to activate devices such as garage
door openers, security systems, and home lighting.
This device complies with Part 15 of the FCC Rules.
Operation is subject to the following two conditions:
1. This device may not cause harmful interference.
2. This device must accept any interference received,
including interference that may cause undesired
operation.
The FCC Grant of Equipment Authorization Certi�cate
number is KOBGTV06A.
This device complies with RSS-210 of Industry Canada.
Operation is subject to the following two conditions:
1. This device may not cause interference.
2. This device must accept any interference received,
including interference that may cause undesired
operation of the device.
The Canadian Registration ID number is
3521A-GTV06A.
Changes or modi�cations to this system by other than
an authorized service facility could void authorization to
use this equipment.
Universal Home Remote System
Operation
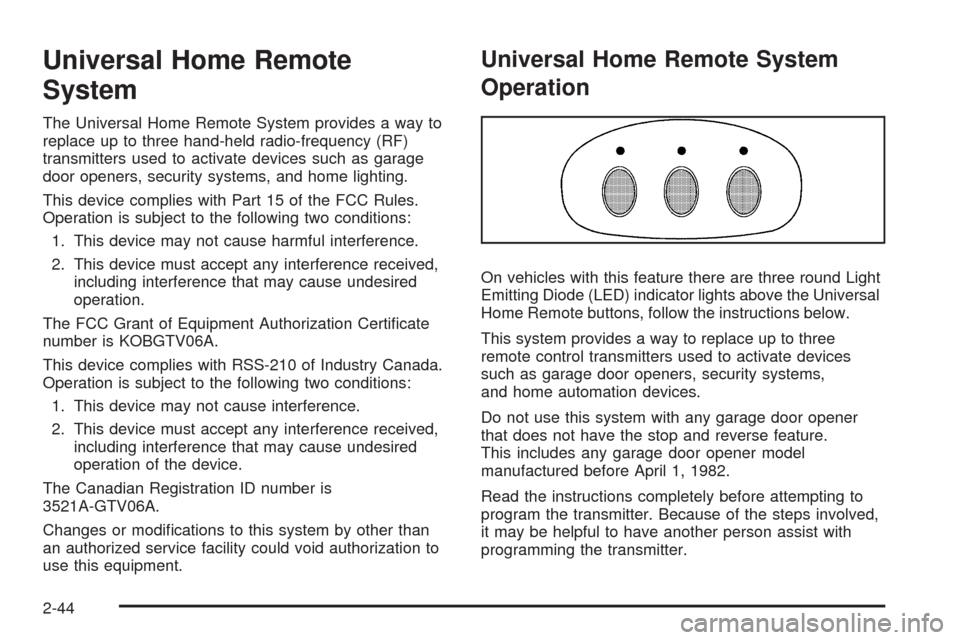
On vehicles with this feature there are three round Light
Emitting Diode (LED) indicator lights above the Universal
Home Remote buttons, follow the instructions below.
This system provides a way to replace up to three
remote control transmitters used to activate devices
such as garage door openers, security systems,
and home automation devices.
Do not use this system with any garage door opener
that does not have the stop and reverse feature.
This includes any garage door opener model
manufactured before April 1, 1982.
Read the instructions completely before attempting to
program the transmitter. Because of the steps involved,
it may be helpful to have another person assist with
programming the transmitter.
2-44
Page 115 of 434
3. Write down the eight to 12 switch settings from left
to right as follows:
When a switch is in the up position, write “Left.”
When a switch is in the down position,
write “Right.”
If a switch is set between the up and down
position, write “Middle.”
The switch settings written down in Step 3 now
become the button strokes to be entered into the
Universal Home Remote in Step 5. Be sure to
enter the switch settings written down in Step 3,
in order from left to right, into the Universal Home
Remote, when completing Step 5.
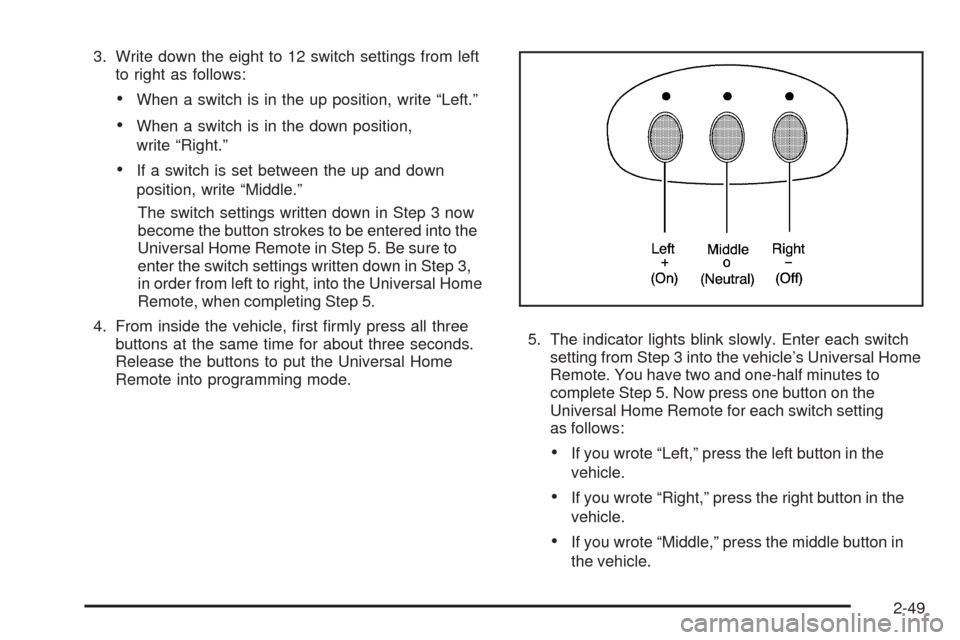
4. From inside the vehicle, �rst �rmly press all three
buttons at the same time for about three seconds.
Release the buttons to put the Universal Home
Remote into programming mode.5. The indicator lights blink slowly. Enter each switch
setting from Step 3 into the vehicle’s Universal Home
Remote. You have two and one-half minutes to
complete Step 5. Now press one button on the
Universal Home Remote for each switch setting
as follows:
If you wrote “Left,” press the left button in the
vehicle.
If you wrote “Right,” press the right button in the
vehicle.
If you wrote “Middle,” press the middle button in
the vehicle.
2-49
Page 116 of 434
6. After entering all of the switch positions, again,
�rmly press and release all three buttons at the
same time. The indicator lights turn on.
7. Press and hold the button that will be used to
control the garage door until the garage door
moves. The indicator light above the selected button
should slowly blink. This button may need to be
held for up to 55 seconds.
8. Immediately release the button when the garage
door moves. The indicator light blinks rapidly until
programming is complete.
9. Press and release the same button again.
The garage door should move, con�rming
that programming is successful and complete.
To program another Fixed Code device such as an
additional garage door opener, a security device,
or home automation device, repeat Steps 1-9, choosing
a different button in Step 7 than what was used for
the garage door opener.Using Universal Home Remote
Press and hold the appropriate button for at least
half of a second. The indicator light comes on while
the signal is being transmitted.
Operation can occur:
If the vehicle is in accessory mode.
If the vehicle is in running.
If the vehicle is in Retained Accessory Mode (RAP).
SeeRetained Accessory Power (RAP) on page 2-23
for more information.
Up to an additional 10 minutes after RAP �nishes.
Up to 10 minutes after any door is opened.
Reprogramming Universal Home
Remote Buttons
Any of the three buttons can be reprogrammed by
repeating the instructions.
2-50
Page 117 of 434
Erasing Universal Home Remote
Buttons
The programmed buttons should be erased when the
vehicle is sold or the lease ends.
To erase either Rolling Code or Fixed Code on the
Universal Home Remote device:
1. Press and hold the two outside buttons at the same
time for approximately 20 seconds, until the indicator
lights, located directly above the buttons, begin to
blink rapidly.
2. Once the indicator lights begin to blink, release both
buttons. The codes from all buttons are erased.
For help or information on the Universal Home Remote
System, call the customer assistance phone number
underCustomer Assistance Offices on page 7-6.
Storage Areas
Glove Box
Open the glove box by lifting up on the lever. Use the
key to lock and unlock the lighted glove box.
Cupholders
Two cupholders are located on the center console next
to the shift lever. Slide the handle from the left to the
right side to access the lid.
Center Console Storage
To use this storage area, pull the cover up on the driver
side front edge of the console and swing it to the
passenger side.
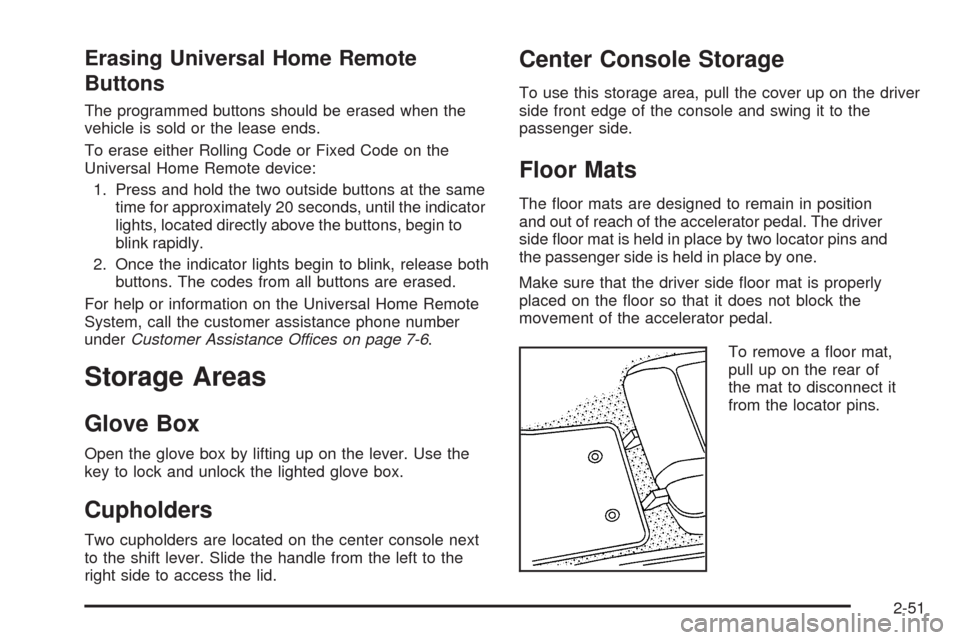
Floor Mats
The �oor mats are designed to remain in position
and out of reach of the accelerator pedal. The driver
side �oor mat is held in place by two locator pins and
the passenger side is held in place by one.
Make sure that the driver side �oor mat is properly
placed on the �oor so that it does not block the
movement of the accelerator pedal.
To remove a �oor mat,
pull up on the rear of
the mat to disconnect it
from the locator pins.
2-51
Page 137 of 434
Instrument Panel Overview...............................3-4
Hazard Warning Flashers................................3-6
Horn .............................................................3-6
Tilt Wheel.....................................................3-6
Turn Signal/Multifunction Lever.........................3-7
Turn and Lane-Change Signals (Auto Signal).....3-8
Headlamp High/Low-Beam Changer..................3-8
Flash-to-Pass.................................................3-9
Windshield Wipers..........................................3-9
Windshield Washer.......................................3-10
Cruise Control..............................................3-10
Exterior Lamps.............................................3-14
Wiper Activated Headlamps............................3-14
Headlamps on Reminder................................3-15
Daytime Running Lamps (DRL).......................3-15
Fog Lamps ..................................................3-16
Twilight Sentinel
®..........................................3-16
Exterior Lighting Battery Saver........................3-17
Instrument Panel Brightness...........................3-18
Courtesy Lamps...........................................3-18
Entry/Exit Lighting.........................................3-18
Reading Lamps............................................3-18
Battery Run-Down Protection..........................3-18
Head-Up Display (HUD).................................3-19
Accessory Power Outlet(s).............................3-23
Ashtray(s) and Cigarette Lighter......................3-24Climate Controls............................................3-24
Dual Automatic Climate Control System...........3-24
Outlet Adjustment.........................................3-29
Passenger Compartment Air Filter...................3-30
Warning Lights, Gages, and Indicators............3-31
Instrument Panel Cluster................................3-32
Speedometer and Odometer...........................3-34
Tachometer.................................................3-34
Safety Belt Reminders...................................3-34
Airbag Readiness Light..................................3-35
Passenger Airbag Status Indicator...................3-36
Voltmeter Gage............................................3-37
One-to-Four Shift Light (Manual Transmission) . . .3-38
Brake System Warning Light..........................3-38
Antilock Brake System (ABS) Warning Light.....3-39
Traction Control System (TCS) Warning Light. . . .3-40
Active Handling System Light.........................3-40
Engine Coolant Temperature Gage..................3-41
Tire Pressure Light.......................................3-42
Malfunction Indicator Lamp.............................3-42
Engine Oil Pressure Gage.............................3-46
Security Light...............................................3-47
Fog Lamp Light............................................3-47
Lights On Reminder......................................3-47
Highbeam On Light.......................................3-47
Fuel Gage
...................................................3-48
Boost Gage (ZR1 Only).................................3-49
Section 3 Instrument Panel
3-1