Page 6 of 648
�Î
�Î
: If equipped
Your Vehicle at a Glance
Your Vehicle at a Glance
3
COMPASS
AUXILIARY INPUT
JACK
DRIVER’S FRONT AIRBAG
MIRROR CONTROLS
DRIVING POSITION
MEMORY SYSTEM
BUTTONS
POWER DOOR LOCK
MASTER SWITCH
POWER WINDOW
SWITCHES
TRUNK RELEASE
BUTTON
FUEL FILL DOOR
RELEASE BUTTON
HOOD RELEASE HANDLE ACCESSORY POWER
SOCKETAUTOMATIC
TRANSMISSIONPASSENGER’S FRONT
AIRBAG
HAZARD WARNING
BUTTON
AUDIO
CLOCK
CLIMATE CONTROL
SYSTEM
ACCESSORY POWER
SOCKET
INSTRUMENT PANEL INDICATORS
GAUGES
MULTI-INFORMATION DISPLAY
MOONROOF SWITCH
(P.63)
(P.75) (P.77)
(P.9,26)
(P.162)
(P.164)
(P.146) (P.195)
(P.148)
(P.487)
(P.489) USB ADAPTER CABLE
(P.256,266,347,358) (P.375)
(P.204)
HOMELINK
BUTTONS
(P.389) (P.199)
(P.9,26)
(P.139)(P.223)(P.377) (P.382)
(P.204) (P.507)
(P.214)
�����—�����—�����y�
�������������y���
�)� ���������y���������y
2009 TL
Page 65 of 648
�Î
�Î
: If equipped
Control L ocations
62
CLOCK
COMPASS
GAUGES
MULTI-INFORMATION DISPLAY
MIRROR CONTROLS
DRIVING POSITION
MEMORY SYSTEM
BUTTONS
POWER DOOR LOCK
MASTER SWITCH
POWER WINDOW
SWITCHES
TRUNK RELEASE
BUTTON
FUEL FILL DOOR RELEASE
BUTTON
HOOD RELEASE HANDLE
INSTRUMENT PANEL INDICATORS
HOMELINK
BUTTONSMOONROOF SWITCH
HAZARD WARNING
BUTTON
(P.63)
(P.75)
(P.77)
(P.162)
(P.164)
(P.146) (P.195)
(P.148)
(P.487)
(P.489) (P.507)
(P.204) (P.377)
(P.223)
(P.139)
(P.199)
(P.389)
AUDIO(P.382)
CLIMATE CONTROL
SYSTEM
(P.214)
ACCESSORY POWER
SOCKET
AUTOMATIC
TRANSMISSION
SEAT HEATER SWITCHES
(P.193)
USB ADAPTER CABLE
(P.256,266,347,358) ACCESSORY POWER
SOCKET
(P.204) AUXILIARY INPUT JACK
(P.375)
�����—�����—�����y�
�������������y���
�)� ���������y���������y
2009 TL
Page 205 of 648
Interior Convenience Items
202
CONSOLE COMPARTMENTSIDE POCKETSUN VISOR
VANITY MIRROR
SUNGLASSES HOLDER
REAR DOOR POCKET USB ADAPTER
CABLE
ACCESSORY POWER SOCKETGLOVE BOX
CENTER POCKET
ACCESSORY POWER SOCKET
COAT HOOK
FRONT DOOR POCKET with BEVERAGE HOLDER
BEVERAGE HOLDER
CARGO HOOKS BEVERAGE HOLDER in REAR
SEAT ARMRESTAUXILIARY INPUT JACK
�\f���—�\f���—�\f���y�
�������������y���
�)� �����\f�\f�y�\f���\f���y
2009 TL
Page 216 of 648

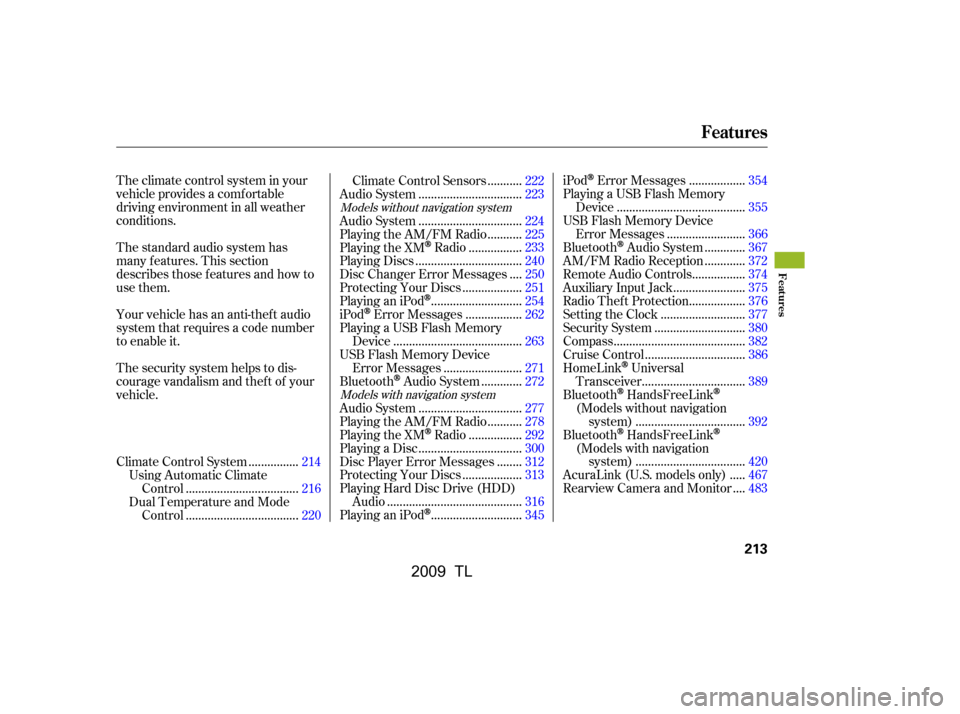
The standard audio system has
many f eatures. This section
describes those f eatures and how to
use them.
The climate control system in your
vehicle provides a comfortable
driving environment in all weather
conditions.
Your vehicle has an anti-theft audio
system that requires a code number
to enable it.
The security system helps to dis-
courage vandalism and thef t of your
vehicle................
Climate Control System .214
Using Automatic Climate ...................................
Control .216
Dual Temperature and Mode ...................................
Control .220 ..........
Climate Control Sensors .222
................................
Audio System .223
................................
Audio System .224
..........
Playing the AM/FM Radio .225
................
Playing the XMRadio .233
.................................
Playing Discs .240
...
Disc Changer Error Messages .250
..................
Protecting Your Discs .251
............................
PlayinganiPod
.254
.................
iPod
Error Messages .262
Playing a USB Flash Memory ........................................
Device .263
USB Flash Memory Device ........................
Error Messages .271
............
Bluetooth
Audio System .272
................................
Audio System .277
..........
Playing the AM/FM Radio .278
................
Playing the XM
Radio .292
................................
Playing a Disc .300
.......
Disc Player Error Messages .312
..................
Protecting Your Discs .313
Playing Hard Disc Drive (HDD)
..........................................
Audio .316
............................
PlayinganiPod
.345 .................
iPod
Error Messages .354
Playing a USB Flash Memory ........................................
Device .355
USB Flash Memory Device ........................
Error Messages .366
............
Bluetooth
Audio System .367
............
AM/FM Radio Reception .372
................
Remote Audio Controls .374
......................
Auxiliary Input Jack .375
.................
Radio Thef t Protection .376
..........................
Setting the Clock .377
............................
Security System .380
.........................................
Compass .382
...............................
Cruise Control .386
HomeLink
Universal ................................
Transceiver .389
Bluetooth
HandsFreeLink
(Models without navigation ..................................
system) .392
Bluetooth
HandsFreeLink
(Models with navigation ..................................
system) .420
....
AcuraLink (U.S. models only) .467
...
Rearview Camera and Monitor .483
Models without navigation system
Models with navigation system
Features
Features
213
�\f���—�
���—�����y�\f���������\f���y���
�)� �����\f�\f�y�\f���
���y
2009 TL
Page 252 of 648

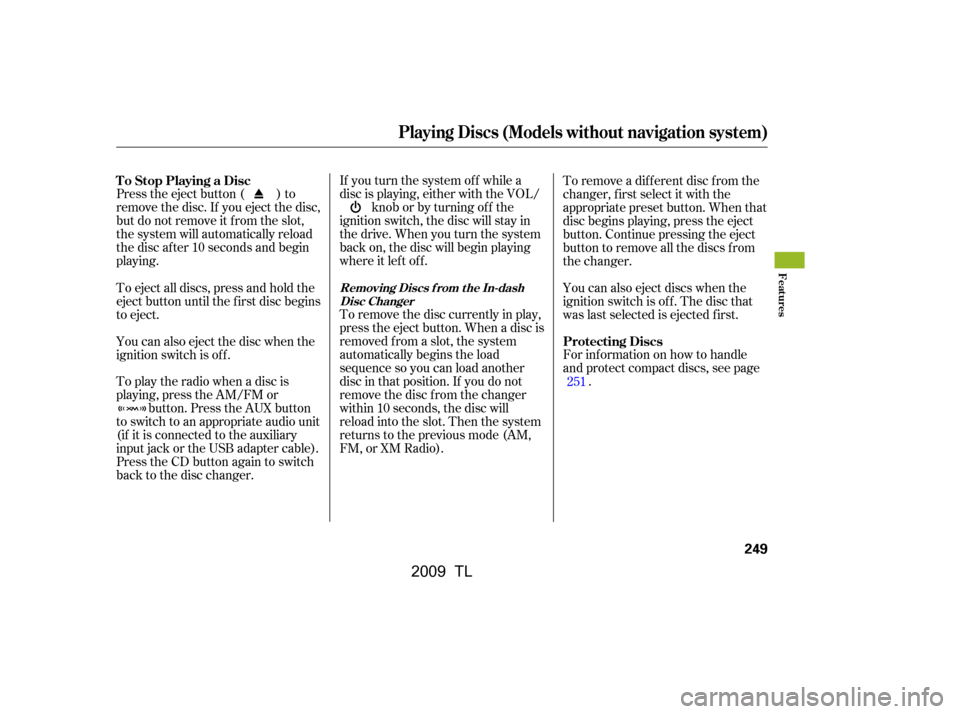
Press the eject button ( ) to
remove the disc. If you eject the disc,
but do not remove it f rom the slot,
the system will automatically reload
the disc af ter 10 seconds and begin
playing.If you turn the system of f while a
disc is playing, either with the VOL/
knob or by turning of f the
ignition switch, the disc will stay in
the drive. When you turn the system
back on, the disc will begin playing
where it lef t of f .
To remove the disc currently in play,
press the eject button. When a disc is
removed f rom a slot, the system
automatically begins the load
sequence so you can load another
disc in that position. If you do not
remove the disc f rom the changer
within 10 seconds, the disc will
reload into the slot. Then the system
returns to the previous mode (AM,
FM, or XM Radio). For inf ormation on how to handle
and protect compact discs, see page
.
To remove a dif f erent disc f rom the
changer,firstselectitwiththe
appropriate preset button. When that
disc begins playing, press the eject
button. Continue pressing the eject
button to remove all the discs from
the changer.
You can also eject discs when the
ignition switch is of f . The disc that
was last selected is ejected f irst.
To play the radio when a disc is
playing, press the AM/FM or button. Press the AUX button
to switch to an appropriate audio unit
(if it is connected to the auxiliary
input jack or the USB adapter cable).
Press the CD button again to switch
back to the disc changer.
You can also eject the disc when the
ignition switch is of f .
To eject all discs, press and hold the
eject button until the f irst disc begins
to eject.
251
To Stop Playing a Disc
Protecting Discs
Removing Discs f rom t he In-dashDisc Changer
Playing Discs (Models without navigation system)
Features
249
�\f���—�\f���—�����y�
����
������
�y���
�)� �����\f�\f�y�\f�������y
2009 TL
Page 257 of 648
Playing an iPod(Models without navigation system)
254
SKIP BAR
VOL/
(VOLUME/POWER) KNOB
SELECTOR KNOB TITLE BUTTON
AUX BUTTON
CD BUTTON iPod INDICATOR
SETUP BUTTON
RETURN BUTTON USB INDICATOR
�\f���—�
���—�����y�
�\f��\f����\f�
�y���
�)� �����\f�\f�y�\f�������y
2009 TL
Page 258 of 648

�Î
�Î
This audio system can select and
play the audio f iles on the iPod
with
the same controls used f or the disc
player. To play an iPod, connect it to
the USB adapter cable in the console
compartment by using your dock
connector, then press the AUX
button. The ignition switch must be
in the ACCESSORY (I) or ON (II)
position. The iPod will also be
charged with the ignition switch in
these positions.
The audio system reads and plays
playable sound f iles on the iPod. The
system cannot operate an iPod as a
mass storage device. The system will
only play songs stored on the iPod
with iTunes.
iPod and iTunes are registered
trademarks owned by Apple Inc. iPods compatible with your audio
system using the USB adapter cable
are:
UseonlycompatibleiPodswiththe
latest sof tware. iPods that are not
compatible will not work in this audio
unit.
Use the latest f irmware.
:
CONT INUED
Model
iPod 5th and 6th
generations
iPod classic
iPod nano
iPod nano
2nd generation
iPod nano
3rd generation
iPod touch
iPhone Firmware
Ver. 1.2 or more
Ver. 1.0 or more
Ver. 1.2 or more
Ver. 1.1.2 or more
Ver. 1.0 or more
Ver. 1.1.1 or more
Ver. 1.1.1 or more
Playing an iPod(Models without navigation system)
To Play an iPod
Features
255
�\f���—�
���—�����y�
���������\f���y���
�)� �����\f�\f�y�\f�����\f�y
2009 TL
Page 259 of 648
Install the dock connector to the
USB adapter cable securely.
Connect your dock connector to
the iPod correctly and securely.
Pull out the USB connector f rom
the holder.
Do not connect your iPod using a
hub.
DonotkeeptheiPodinthe
vehicle. Direct sunlight and high
heat will damage it.
Do not use an extension cable
between the USB adapter cable
equipped with your vehicle and
your dock connector.
We recommend backing up your
data bef ore playing it.
1. 2.
3.
Playing an iPod(Models without navigation system)
Connect ing an iPod
256
NOTE:
DOCK CONNECTOR
USB ADAPTER CABLE
USB ADAPTER CABLE USB CONNECTOR
�\f���—�
���—�����y�
�\f��\f����
���y���
�)� �����\f�\f�y�\f�����
�y
2009 TL