2008 NISSAN TITAN warning
[x] Cancel search: warningPage 3 of 36
TAB LE O F C O NTE NTS
Remote Keyless Entry System . . . . . . . . . . . . . . . . . . 2
Windshield Wiper/Washer Switch
. . . . . . . . . . . . . . . . 2
Headlight and Turn Signal Control
. . . . . . . . . . . . . . . . 3
Steering Wheel Switches for Audio Control/ Bluetooth
® . . . . 4
Cruise Control
. . . . . . . . . . . . . . . . . . . . . . . . . . 4
Automatic Climate Control
. . . . . . . . . . . . . . . . . . . . 5
FM/AM/XM® Radio with CD Changer . . . . . . . . . . . . . . 6
Vehicle Information Display
. . . . . . . . . . . . . . . . . . . . 7
Control Panel Display with Navigation System
. . . . . . . . . 8
Clock/Set Adjustment
. . . . . . . . . . . . . . . . . . . . . . 8
Instrument Brightness Control/Trip Change Button
. . . . . . . 9
Automatic Driver Positioner
. . . . . . . . . . . . . . . . . . . 10
Adjustable Accelerator and Brake Pedals
. . . . . . . . . . . . 11
Manual Shift Mode
. . . . . . . . . . . . . . . . . . . . . . . . 11
Four-Wheel Drive (4WD) Shift Switch
. . . . . . . . . . . . . . 11
Vehicle Dynamic Control (VDC) Off Switch
. . . . . . . . . . . 12
Tow Mode Switch
. . . . . . . . . . . . . . . . . . . . . . . . . 12
E-Lock Switch
. . . . . . . . . . . . . . . . . . . . . . . . . . . 12
Front-Passenger Air Bag Status Light
. . . . . . . . . . . . . . 13
Tire Pressure Monitoring System (TPMS)
. . . . . . . . . . . . 13
Seatbelt Warning Light and Chime
. . . . . . . . . . . . . . . 13
Cargo Light Switch
. . . . . . . . . . . . . . . . . . . . . . . . 14
Rear Sonar System Off Switch
. . . . . . . . . . . . . . . . . 14
Child Safety Rear Door Locks
. . . . . . . . . . . . . . . . . . 14
Wide Open Doors
. . . . . . . . . . . . . . . . . . . . . . . . 14
High Utility Bed and Utili-Track
™ Channel System . . . . . . . . 15
Outside Mirror Control Switch
. . . . . . . . . . . . . . . . . . 15
Sunroof Controls
. . . . . . . . . . . . . . . . . . . . . . . . . 15
Front Seat Adjustments
. . . . . . . . . . . . . . . . . . . . . 16
Folding the Rear Bench Seat
. . . . . . . . . . . . . . . . . . 16
Homelink® Universal Transceiver . . . . . . . . . . . . . . . . . 16
Bluetooth® Hands-Free Phone System . . . . . . . . . . . . . 18
DVD Controls
. . . . . . . . . . . . . . . . . . . . . . . . . . . 20
Rear Audio Controls
. . . . . . . . . . . . . . . . . . . . . . . 21
Navigation System
. . . . . . . . . . . . . . . . . . . . . . . . 23
Page 9 of 36
* XM® presets are only available on XM® Satellite Radio equipped vehicles.
07
06
08
09
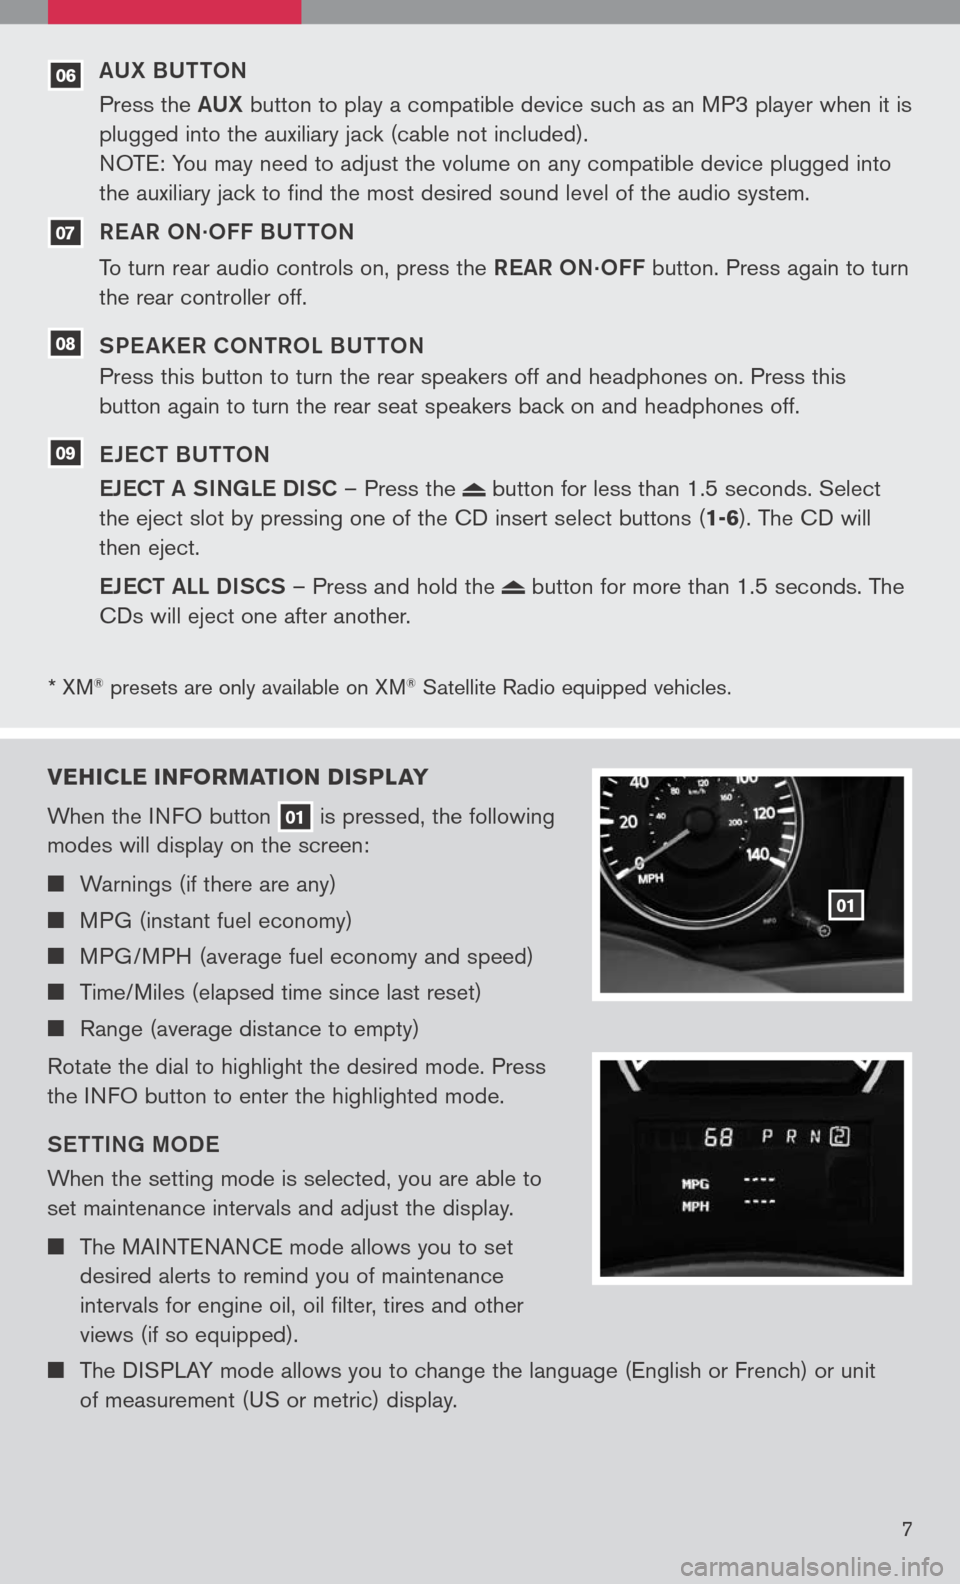
VEHICLE INFORMATION DI sPLAY
When the INFO button
01 is pressed, the following
modes will display on the screen:
Warnings (if there are any)
MPG (instant fuel economy)
MPG/MPH (average fuel economy and speed)
Time/Miles (elapsed time since last reset)
Range (average distance to empty)
Rotate the dial to highlight the desired mode. Press
the INFO button to enter the highlighted mode.
S eTTIN g MOD e
When the setting mode is selected, you are able to
set maintenance intervals and adjust the display.
The MAINTENANCE mode allows you to set
desired alerts to remind you of maintenance
intervals for engine oil, oil filter, tires and other
views (if so equipped).
The DISPLAY mode allows you to change the language (English or French) or unit
of measurement (US or metric) display.
01
7
aUX BUTTON
Press the aUX button to play a compatible device such as an MP3 player when it is
plugged into the auxiliary jack (cable not included).
NOTE: You may need to adjust the volume on any compatible device plugged into
the auxiliary jack to find the most desired sound level of the audio system.
R e a R ON
.OFF BUTTON
To turn rear audio controls on, press the ReaR
ON.OFF button. Press again to turn
the rear controller off.
SP e aKeR CONTROL BUTTON
Press this button to turn the rear speakers off and headphones on. Press this
button again to turn the rear seat speakers back on and headphones off.
e Je CT BUTTON
e JeCT a SINg Le DISC – Press the
button for less than 1.5 seconds. Select
the eject slot by pressing one of the CD insert select buttons (
1-6). The CD will
then eject.
e JeCT aLL DISCS – Press and hold the
button for more than 1.5 seconds. The
CDs will eject one after another.
Page 10 of 36
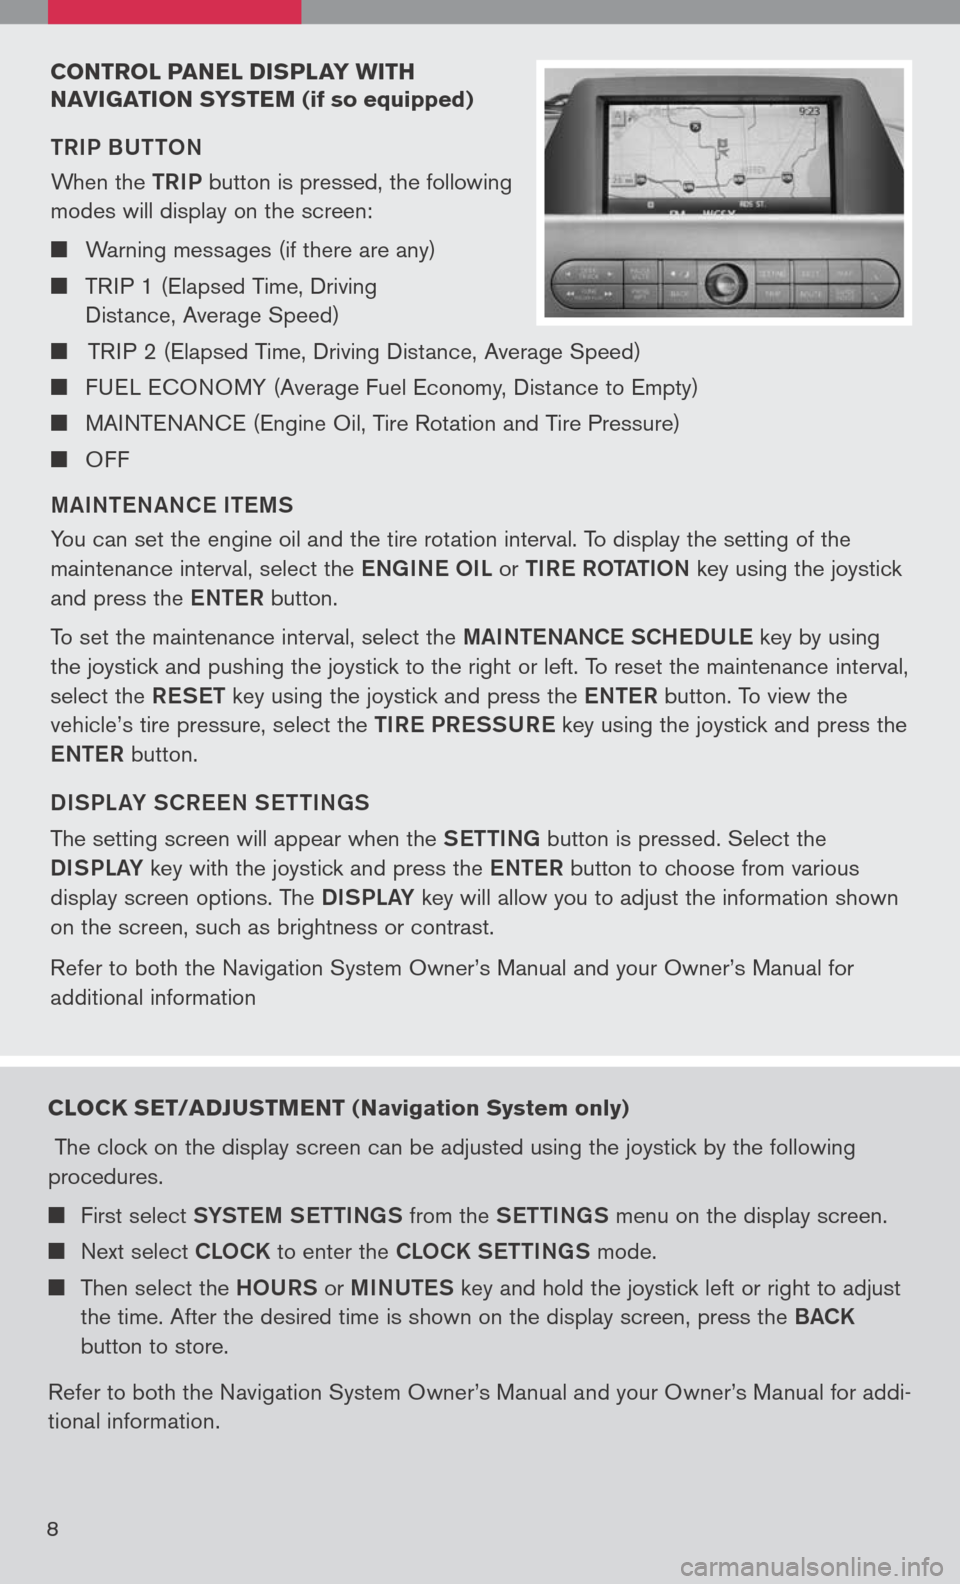
CONTROL PANEL DIsPLAY w ITH
N AVI gATION sY sTEM
(if so equipped)
TRIP BUTTON
When the
TRIP button is pressed, the following
modes will display on the screen:
Warning messages (if there are any)
TRIP 1 (Elapsed Time, Driving
Distance, Average Speed)
TRIP 2 (Elapsed Time, Driving Distance, Average Speed)
FUEL ECONOMY (Average Fuel Economy, Distance to Empty)
MAINTENANCE (Engine Oil, Tire Rotation and Tire Pressure)
OFF
M aINT eN aNC e IT eMS
You can set the engine oil and the tire rotation interval. To display the setting of the
maintenance interval, select the eNg INe OIL or TIR e ROT aTION key using the joystick
and press the eNTe R button.
To set the maintenance interval, select the MaINTe NaNCe SCH eDUL e key by using
the joystick and pushing the joystick to the right or left. To reset the maintenance interval,
select the ReSeT key using the joystick and press the eNTe R button. To view the
vehicle’s tire pressure, select the TIRe PR eSSUR e key using the joystick and press the
e NTe R button.
DISPL aY SCR eeN S eTTIN gS
The setting screen will appear when the SeTTINg button is pressed. Select the
DISPLa Y key with the joystick and press the eNTe R button to choose from various
display screen options. The DISPLa Y key will allow you to adjust the information shown
on the screen, such as brightness or contrast.
Refer to both the Navigation System Owner’s Manual and your Owner’s Manual for
additional information
8
CLOCK sET/ADJ usTMENT ( Navigation system only)
The clock on the display screen can be adjusted using the joystick by the following
procedures.
First select SYSTe M SeTTINg S from the SeTTINg S menu on the display screen.
Next select CLOCK to enter the CLOCK S eTTINgS mode.
Then select the HOURS or MINUTe S key and hold the joystick left or right to adjust
the time. After the desired time is shown on the display screen, press the BaCK
button to store.
Refer to both the Navigation System Owner’s Manual and your Owner’s Manual for addi
-
tional information.
Page 15 of 36
13
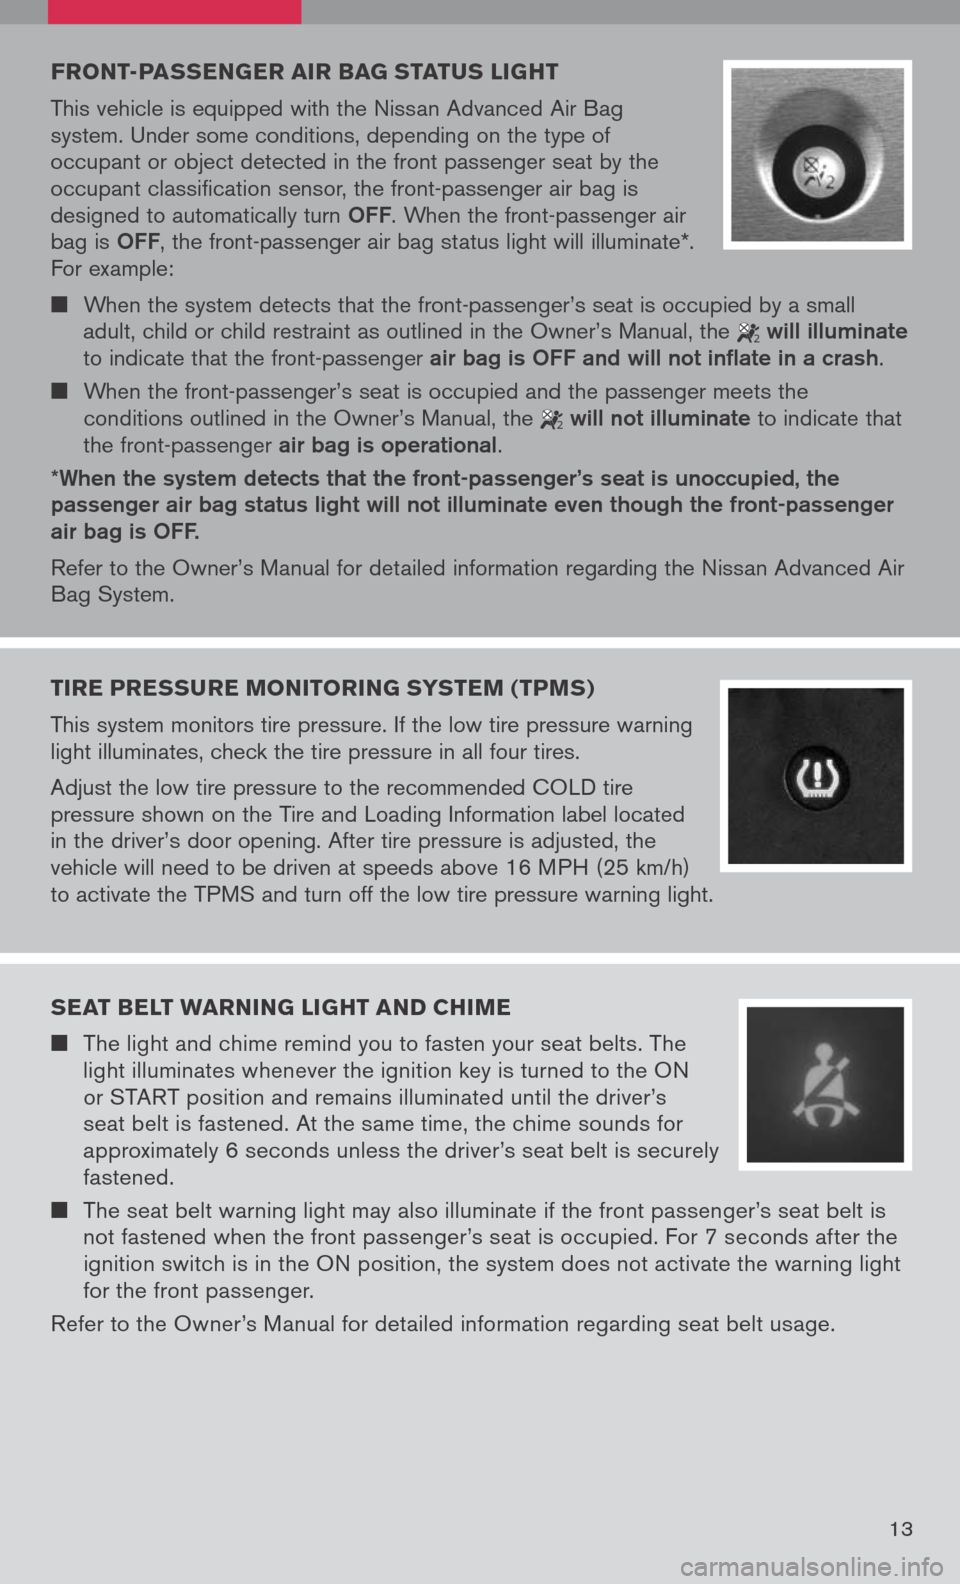
FRONT-PAssEN gER AIR BA g sTAT us LI gHT
This vehicle is equipped with the Nissan Advanced Air Bag
system. Under some conditions, depending on the type of
occupant or object detected in the front passenger seat by the
occupant classification sensor, the front-passenger air bag is
designed to automatically turn
OFF. When the front-passenger air
bag is OFF, the front-passenger air bag status light will illuminate*.
For example:
When the system detects that the front-passenger’s seat is occupied by a small
adult, child or child restraint as outlined in the Owner’s Manual, the
2 will illuminate
to indicate that the front-passenger air bag is OFF and will not inflate in a crash.
When the front-passenger’s seat is occupied and the passenger meets the
conditions outlined in the Owner’s Manual, the
2 will not illuminate to indicate that
the front-passenger air bag is operational.
*When the system detects that the front-passenger’s seat is unoccupied, the passenger air bag status light will not illuminate even though the front-passenger air bag is OFF.
Refer to the Owner’s Manual for detailed information regarding the Nissan Advanced Air
Bag System.
TIRE PRE ssuRE MONITORIN g sY s TEM (TPM s)
This system monitors tire pressure. If the low tire pressure warning
light illuminates, check the tire pressure in all four tires.
Adjust the low tire pressure to the recommended COLD tire
pressure shown on the Tire and Loading Information label located
in the driver’s door opening. After tire pressure is adjusted, the
vehicle will need to be driven at speeds above 16 MPH (25 km/h)
to activate the TPMS and turn off the low tire pressure warning light.
sEAT BELT wARNIN g LIgHT AND CHIME
The light and chime remind you to fasten your seat belts. The
light illuminates whenever the ignition key is turned to the ON
or START position and remains illuminated until the driver’s
seat belt is fastened. At the same time, the chime sounds for
approximately 6 seconds unless the driver’s seat belt is securely
fastened.
The seat belt warning light may also illuminate if the front passenger’s seat belt is
not fastened when the front passenger’s seat is occupied. For 7 seconds after the
ignition switch is in the ON position, the system does not activate the warning light
for the front passenger.
Refer to the Owner’s Manual for detailed information regarding seat belt usage.
Page 36 of 36
QR8E-0A60U0 Printing: March 2007 (12)
Nissan, the Nissan Brand Symbol, “SHIFT_” tagline, Z and Nissan model names are Nissan trademarks.
©2007 Nissan North America, Inc.
Sh ift_
This easy-to-use Quick Reference Guide is intended to help you more fully appreciate
some of the unique features and functions of your new vehicle. However, it is not intended
to replace your Owner’s Manual. The Owner’s Manual contains more detailed information
to help you better understand the important safety warnings, features, operation, and
maintenance of your vehicle.