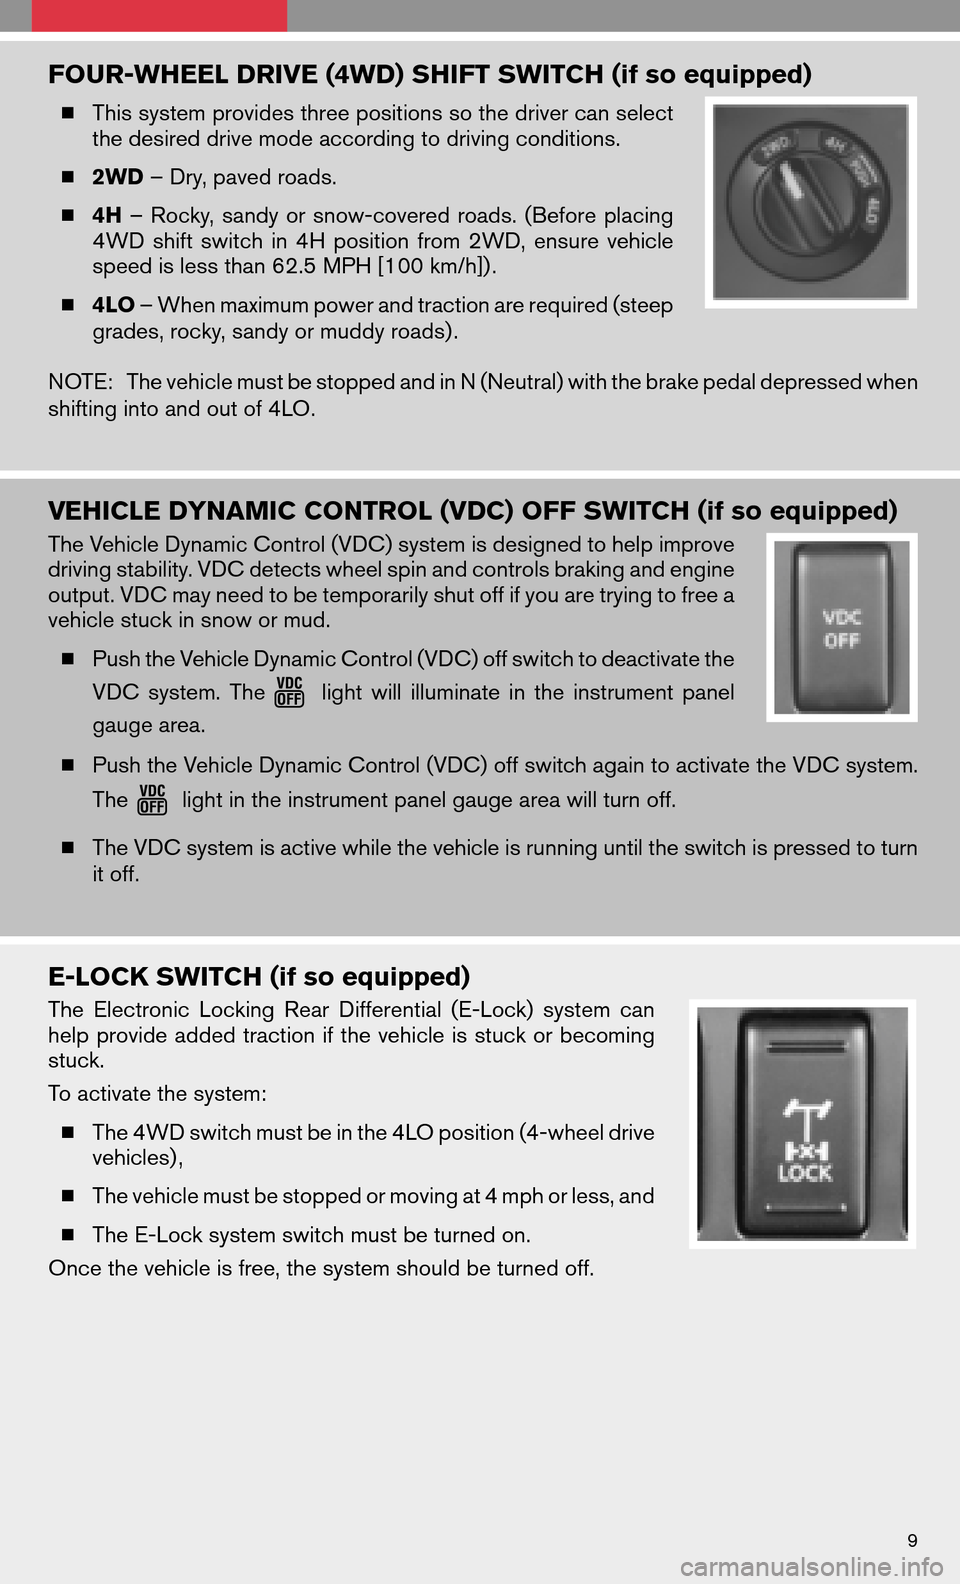
FOUR-WHEEL DRIVE (4WD) SHIFT SWITCH (if so equipped)
�This system provides three positions so the driver can select
the desired drive mode according to driving conditions.
� 2WD – Dry, paved roads.
� 4H –Rocky, sandyorsnow-covered roads.(Before placing
4WD shiftswitch in4H position from2WD, ensure vehicle
speed is less than 62.5 MPH [100 km/h]) .
� 4LO – When maximum power and traction are required (steep
grades, rocky, sandy or muddy roads) .
NOTE: The vehicle must be stopped and in N (Neutral) with the brake pedal depressed when
shifting into and out of 4LO.
VEHICLE DYNAMIC CONTROL (VDC) OFF SWITCH (if so equipped)
The Vehicle Dynamic Control (VDC) system is designed to help improve
driving stability. VDC detects wheel spin and controls braking and engine
output. VDC may need to be temporarily shut off if you are trying to free a
vehicle stuck in snow or mud.
� Push the Vehicle Dynamic Control (VDC) off switch to deactivate the
VDC system. The
lightwillilluminate inthe instrument panel
gauge area.
� Push the Vehicle Dynamic Control (VDC) off switch again to activate the VDC system.
The
light in the instrument panel gauge area will turn off.
� The VDC system is active while the vehicle is running until the switch is pressed to turn
it off.
E-LOCK SWITCH (if so equipped)
The Electronic LockingRearDifferential (E-Lock)systemcan
help provide addedtraction ifthe vehicle isstuck orbecoming
stuck.
To activate the system:
� The 4WD switch must be in the 4LO position (4-wheel drive
vehicles) ,
� The vehicle must be stopped or moving at 4 mph or less, and
� The E-Lock system switch must be turned on.
Once the vehicle is free, the system should be turned off.
9
�Check thetightness ofthe tie-down cleatperiodically duringatrip tomake surethe
center bolt has not become loose.
� The channel end stoppers can be used to help prevent cargo from sliding or shifting off
the end of the truck bed. They must be installed so they are properly seated in the detents
in the channel.
HOMELINK � UNIVERSAL TRANSCEIVER (if so equipped)
SYSTEM OPERATING TIPS
� Garage doors, electrical gates, entry doors, etc. will be activated during programming.
To avoid injury, make sure that people and objects are clear of all doors or gates during
programming. Yourvehicle’s engineshouldbeturned offwhile programming the
HomeLink �Transceiver.
� To program your HomeLink �Transceiver to operate a garage door, gate, or entry door
opener, home or office lighting, you need to be at the same location as the device.
NOTE: Garage dooropeners (manufactured after1996) have“rolling codepro-
tection”. Toprogram agarage dooropener equipped with“rolling codeprotec-
tion”, you will need to use a ladder to get up to the garage door opener motor to
be able to access the “smart or learn” program button.
PROGRAMMING YOUR HOMELINK � UNIVERSAL TRANSCEIVER (Mirror,
Sun Visor or Overhead Console)
1. To begin, press and hold the two
outer HomeLink �buttons (to
clear the memory) until the indi-
cator light blinks slowly (after 20
seconds) . Releasebothbut-
tons.
2. Position theend ofthe hand-
held transmitter 1-3inches
(26-76 mm)away fromthe
HomeLink �surface
3. Using bothhands, simultaneously pressandhold both theHomeLink �button you
want toprogram andthehand-held transmitter button. DONOT release the
buttons until step 4 has been completed.
4. Hold down both buttons until the indicator light on the HomeLink �flashes, changing
from a“slow blink” to a“rapidly flashing blink”.Thiscould takeupto90 seconds.
When the indicator light flashes rapidly, both buttons may be released. The rapidly
flashing light indicates successful programming. To activate the garage door or other
programmed device, press and hold the programmed HomeLink �button - releasing
when the device begins to activate.
5. If the indicator light on the HomeLink �blinks rapidly for two seconds and then turns
solid, HomeLink �has picked up a “rolling code” garage door opener signal. You will
need toproceed withthenext steps totrain theHomeLink �to complete the
programming which may require a ladder and another person for convenience.
6. Press and release the “smart” or “learn” program button located on the garage door
opener’s motor to activate the “training mode”. This button is usually located near the
antenna wire that hangs down from the motor. If the wire originates from under a light
lens, you will need to remove the lens to access the program button.
14