2008 MERCEDES-BENZ GLK SUV steering
[x] Cancel search: steeringPage 159 of 261
wheels to spin in a controlled manner, ach-
ieving an increased driving force (cutting
action). Winter driving
G
Risk of accident
Do not shift down for additional engine brak-
ing on a slippery road surface. This could
cause the drive wheels to lose their grip and
the vehicle could skid.
You should drive particularly carefully on slip-
pery road surfaces. Avoid sudden accelera-
tion, steering and braking manoeuvres.
If the vehicle threatens to skid or cannot be
stopped when moving at low speed:
X Shift the selector lever to N.
X Try to bring the vehicle under control by
using corrective steering. Driving tips
Rolling with the engine switched off
G
Risk of accident
Never switch the engine off while the vehicle
is in motion.
There is no power assistance for the steering
and the service brake when the engine is not
running.
You will require considerably more effort to
steer and brake and you could therefore lose
control of the vehicle and cause an accident. Braking
G
Risk of accident
Do not change down for additional engine
braking on a slippery road surface. This could
cause the drive wheels to lose their grip and
the vehicle could skid. G
Risk of accident
Make sure that other road users are not
endangered by your braking.
Downhill gradients On long and steep downhill gradients, espe-
cially if the vehicle is laden or towing a trailer,
you must select shift range
1,2or3 in good
time.
i This also applies if you have activated
cruise control* or Speedtronic*.
This will use the braking effect of the engine,
so less braking will be required to maintain
the speed. This relieves the load on the brake
system and prevents the brakes from over-
heating and wearing too quickly. If you need
additional braking, depress the brake pedal
repeatedly rather than continuously.
Heavy and light loads If the brakes have been subjected to a heavy
load, do not stop the vehicle immediately, but
drive on for a short while. This allows the air-
flow to cool the brakes more quickly.
G
Risk of accident
Never depress the brake pedal continuously
while the vehicle is in motion, e.g. never cause
the brakes to rub by applying constant slight
pedal pressure. This causes the brake system
to overheat, increases the braking distance
and can lead to the brakes failing completely.
If the brakes have been used only moderately,
you should occasionally test their effective-
ness. To do this, brake more firmly from a
higher speed. This improves the grip of the
brakes.
Wet roads If driving in heavy rain for a prolonged period
of time without braking, there may be a
delayed reaction from the brakes when brak-
ing for the first time. You must brake harder. 156 Driving tipsOperation
* optional
X204_AKB; 1; 5, en-GB
wobuchh,
Version: 2.11.4 2008-10-15T13:20:56+02:00 - Seite 156Dateiname: 6515_0671_02_buchblock.pdf; preflight
Page 162 of 261
R
Drive slowly and evenly, if necessary at a
walking pace.
R Ensure that the wheels are in contact with
the ground at all times.
R Drive with extreme care on unknown off-
road routes where visibility is poor. For
safety reasons, get out of the vehicle first
and survey the off-road route.
R Check the depth of water before fording
rivers and streams.
R Look out for obstacles such as rocks, holes,
tree stumps and furrows.
R Always keep the side windows and the pan-
orama sliding sunroof* closed during the
journey.
R Do not stray from marked routes or paths.
i Information about retrofitting special all-
terrain tyres is available from any
Mercedes-Benz Service Centre.
Checklist before driving off-road X
Engine oil level: check the engine oil and
top it up if necessary.
X Vehicle toolkit: check that the jack is
working and make sure you have the wheel-
brace, a robust tow cable and a folding
spade in the vehicle.
X Wheels and tyres: check the tyre tread
depth and tyre pressure.
X Check for damage and remove foreign
objects, e.g. small stones, from the
wheels/tyres.
X Replace any missing valve caps.
X Replace dented or damaged wheels.
Checklist after driving off-road Driving over rough terrain places greater
demands on your vehicle than driving on nor-
mal roads. After driving off-road, check the
vehicle. This allows you to detect damage
promptly and reduce the risk of an accident
to yourself and other road users. X
Deactivate DSR ( Ypage 105).
X Clean the headlamps and rear lights and
check for damage.
X Clean the front and rear licence plates.
X Clean the wheels/tyres with a water jet and
remove any foreign objects.
X Clean the wheels, wheel arches and the
vehicle underside with a water jet; check
for foreign objects and damage.
X Check whether twigs or other parts of
plants have become trapped. These
increase the risk of fire and can damage
fuel pipes, brake hoses or the rubber bel-
lows of the axle joints and propeller shafts.
X After the trip, examine without fail the
entire undercarriage, wheels, tyres, brakes,
bodywork structure, steering, chassis and
exhaust system for damage.
X After driving for extended periods across
sand, mud, gravel, water or in similarly dirty
conditions, have the brake discs, wheels,
brake pads /linings and axle joints checked
and cleaned.
X If you detect strong vibrations after off-road
travel, check for foreign objects in the
wheels and drive train and remove them if
necessary. Foreign objects can disturb the
balance and cause vibrations. Travelling uphill
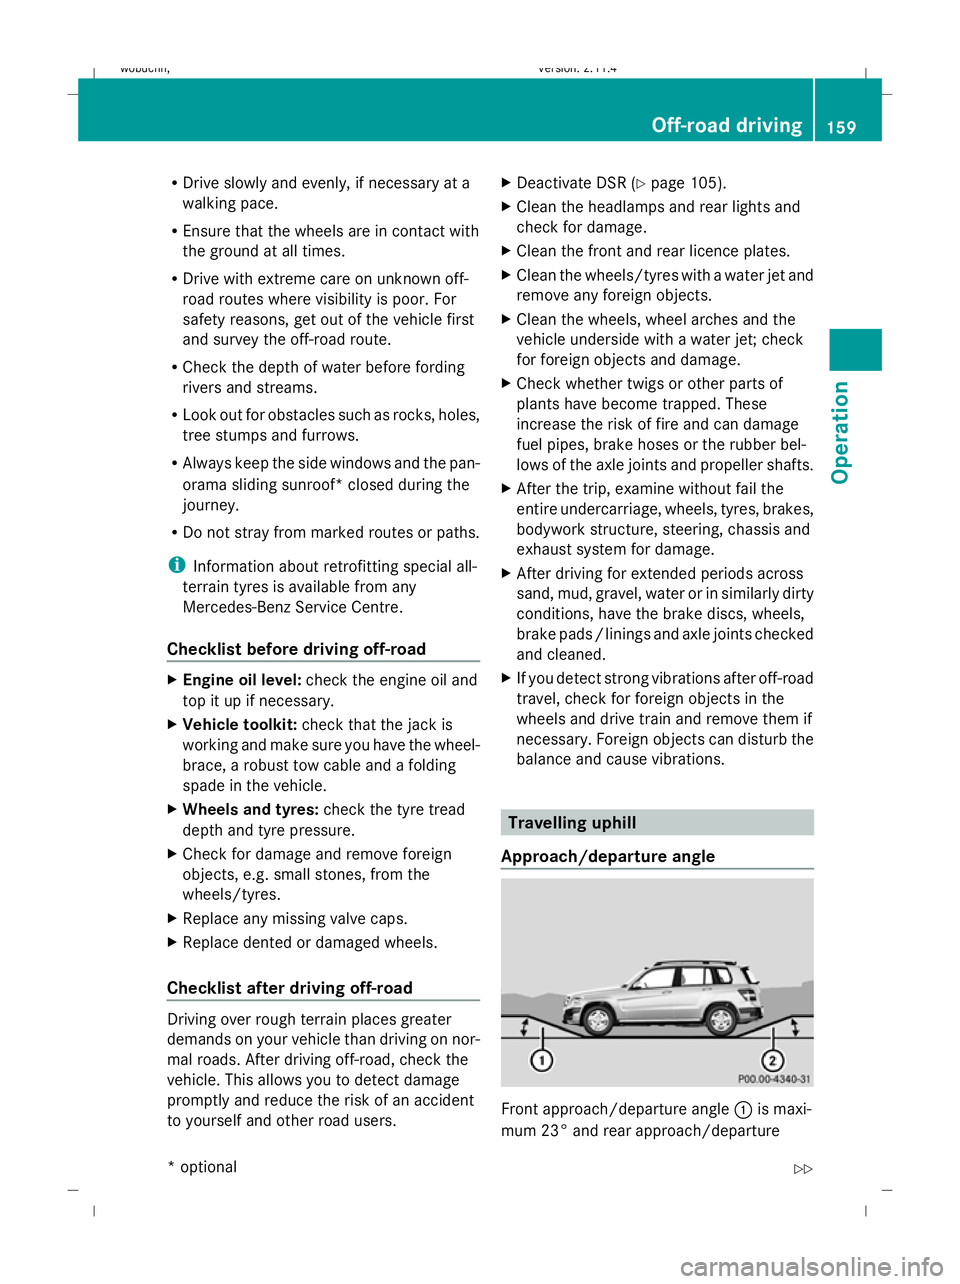
Approach/departure angle Front approach/departure angle
:is maxi-
mum 23° and rear approach/departure Off-road driving
159Operation
* optional
X204_AKB; 1; 5, en-GB
wobuchh,
Version: 2.11.4 2008-10-15T13:20:56+02:00 - Seite 159 ZDateiname: 6515_0671_02_buchblock.pdf; preflight
Page 168 of 261
G
Risk of accident
A maximum speed of 80 km/h should not be
exceeded, even in countries where higher
speeds are permitted for vehicle/trailer com-
binations. This lowers the risk of an accident.
When towing a trailer, your vehicle's handling
characteristics will be different in comparison
to when driving without a trailer.
The vehicle/trailer combination:
R is heavier
R is restricted in its acceleration and gradi-
ent-climbing capability
R has an increased braking distance
R is affected more by strong crosswinds
R demands more sensitive steering
R consumes more fuel
On long and steep downhill gradients, you
must select shift range 1,2or 3in good time.
i This also applies if you have activated
cruise control* or Speedtronic*.
This will use the braking effect of the engine,
so less braking will be required to maintain
the speed. This relieves the load on the brake
system and prevents the brakes from over-
heating and wearing too quickly. If you need
additional braking, depress the brake pedal
repeatedly rather than continuously. G
Risk of accident
Never depress the brake pedal continuously
while the vehicle is in motion, e.g. never cause
the brakes to rub by applying constant slight
pedal pressure. This causes the brake system
to overheat, increases the braking distance
and can lead to the brakes failing completely. Driving tips
R
Maintain a greater distance from the vehi-
cle in front than when driving without a
trailer.
R Avoid braking abruptly. If possible, brake
gently at first to allow the trailer to run on.
Then, increase the braking force rapidly.
R The values given for gradient-climbing
capabilities from a standstill refer to sea
level. When driving in mountainous areas,
note that the power output of the engine,
and consequently the vehicle's gradient-
climbing capability, decrease with increas-
ing altitude.
If the trailer swings from side to side:
X Do not accelerate.
X Do not counter-steer.
X Brake if necessary. G
Risk of accident
On no account should you attempt to draw the
vehicle/trailer combination out by increasing
speed. Removing the ball coupling
X Pull the protective cap off the lock in the
handwheel.
X Insert the key into the lock in the hand-
wheel.
X Turn the key clockwise.
The lock is unlocked.
X Hold the ball coupling. Pull the handwheel
away from the ball coupling and turn it
clockwise until it engages.
The green area on the ball coupling is
aligned with the red mark on the hand-
wheel.
X Pull out the ball coupling downwards.
X Clean the ball coupling if it is dirty.
X Open the stowage well under the luggage
compartment floor. Trailer towing*
165Operation
* optional
X204_AKB; 1; 5, en-GB
wobuchh,
Version: 2.11.4 2008-10-15T13:20:56+02:00 - Seite 165 ZDateiname: 6515_0671_02_buchblock.pdf; preflight
Page 170 of 261
Service
ASSYST PLUS service interval display
The ASSYST PLUS service indicator tells you
when the next service is due.
The service due date is shown in the multi-
function display, for example:
Next service A in .. days
Next service A in ... km
Service A due
The letter indicates which service is due. A
stands for a minor service and Bfor a major
service. A number or another letter may be
displayed after the letter. This figure indicates
any necessary additional maintenance work
to be performed. If you report this displayed
information to a qualified specialist work-
shop, for example a Mercedes-Benz Service
Centre, they can inform you of the costs the
service will incur.
The ASSYST PLUS service interval indicator
does not take into account any periods of
time during which the battery is disconnec-
ted. Maintaining the time-dependent service
schedule:
X Note down the service due date displayed
before disconnecting the battery.
or
X Subtract the battery disconnection periods
from the service date shown on the display
after reconnecting the battery.
Hiding a service message X
Multi-function steering wheel (4 but-
tons): pressC.
X Luxury multi-function steering
wheel*(12 buttons): press%or
a.
Service overdue A display message is shown in the multi-func-
tion display, for example:
Service A overdue by ... days Service A overdue by .. km
i
If you fail to have the service performed
by the specified date, you may be violating
applicable laws. Your warranty may be inva-
lidated and goodwill settlements may be
refused.
Calling up a service due date Multi-function steering wheel (4 buttons)
X
Switch on the ignition.
X Use V to select the Servicemenu.
Vehicles with a luxury multi-function
steering wheel*(12 buttons)
X Switch on the ignition.
X Press the =or; button to select the
Service menu.
X Press the 9or: button to select the
ASSYST PLUS submenu and confirm with
a.
The multi-function display shows the
service due date. Care
Notes on care
Regular and proper care maintains the value
of your vehicle.
i It is advisable to use Mercedes-Benz care
products.
Scratches, corrosive deposits, areas affected
by corrosion and damage caused by inade-
quate care cannot always be completely
repaired. In such cases, visit a qualified spe-
cialist workshop immediately, e.g. a
Mercedes-Benz Service Centre.
Remove the following types of dirt immedi-
ately, whilst avoiding rubbing too hard.
Soak:
R insect remains with insect remover
R bird droppings with water Care
167Operation
* optional
X204_AKB; 1; 5, en-GB
wobuchh,
Version: 2.11.4 2008-10-15T13:20:56+02:00 - Seite 167 ZDateiname: 6515_0671_02_buchblock.pdf; preflight
Page 173 of 261
Otherwise, you could scratch or damage
the surface of the lenses.
Cleaning the panorama sliding sun-
roof* A protective film is laminated to the rear glass
element of the panorama sliding sunroof.
! Do not use any of the following to clean
the protective film:
R dry cloths
R abrasive cleaning agents
R solvents
R cleaning agents containing solvent
Do not touch the protective film with hard
objects, e.g. ice scrapers or rings. Other-
wise, you could scratch or damage the sur-
face of the protective film.
Cleaning the plastic trim !
Do not use dry, coarse or hard cloths and
do not scrub. Doing so will scratch or dam-
age the surfaces.
! Ensure that cosmetics and suntan lotion
do not come into contact with the vehicle's
trim. This will protect the vehicle's high-
quality trim and help retain its overall
appearance.
X Wipe plastic parts with a damp, lint-free
cloth (e.g. a microfibre cloth).
X Light soiling: use a low-foaming soap (e.g.
a light liquid hand soap) diluted in water.
X Heavy soiling: use a cleaning agent that is
solvent-free and non-corrosive. Mercedes-
Benz recommends that you use a
Mercedes-Benz cleaning product for this
purpose. Cleaning the steering wheel boss and
dashboard X
Moisten a clean lint-free cloth with water.
X Clean the plastic parts and the dashboard.
X If particularly dirty, use a mild detergent. G
Risk of injury
Do not use cleaners and cockpit care sprays
containing solvents to clean the cockpit and
steering wheel boss. Cleaners containing sol-
vents cause the surface to become porous
and in the event of an airbag being triggered,
plastic parts that have become loose could
cause considerable injuries.
Cleaning the COMAND display X
When cleaning the display, make sure that
it is switched off and has cooled down.
X Clean the display's surface with a conven-
tional micro-fibre cloth and cleaning agent
for TFT/LCD displays.
X Dry the display's surface with a dry micro-
fibre cloth.
! Never use any of the following:
R alcohol-based thinner or petrol
R abrasive cleaning agents
R conventional household cleaning agents
These can damage the display's surface.
Do not press the display's surface during
cleaning: this could lead to irreversible
damage.
Cleaning the seat covers !
Do not use a microfibre cloth to clean
genuine leather and artificial leather cov-
ers, as it is too aggressive and, if used
often, may damage the cover.
! You should clean:
R genuine leather covers using a damp
cloth, then wipe the covers down using a
dry cloth. Make sure that the leather 170 CareOperation
* optional
X204_AKB; 1; 5, en-GB
wobuchh,
Version: 2.11.4 2008-10-15T13:20:56+02:00 - Seite 170Dateiname: 6515_0671_02_buchblock.pdf; preflight
Page 179 of 261
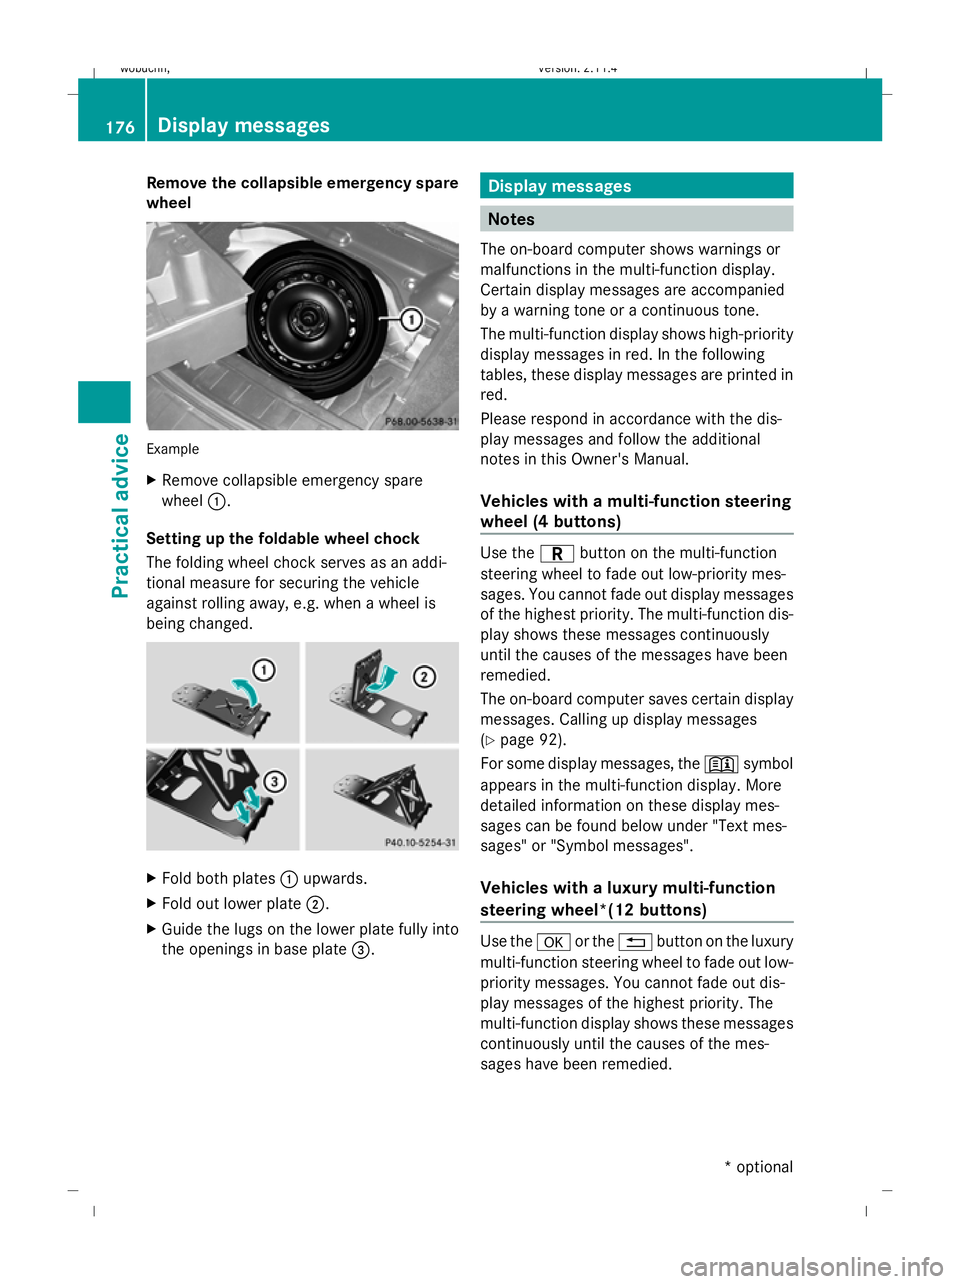
Remove the collapsible emergency spare
wheel Example
X
Remove collapsible emergency spare
wheel :.
Setting up the foldable wheel chock
The folding wheel chock serves as an addi-
tional measure for securing the vehicle
against rolling away, e.g. when a wheel is
being changed. X
Fold both plates :upwards.
X Fold out lower plate ;.
X Guide the lugs on the lower plate fully into
the openings in base plate =. Display messages
Notes
The on-board computer shows warnings or
malfunctions in the multi-function display.
Certain display messages are accompanied
by a warning tone or a continuous tone.
The multi-function display shows high-priority
display messages in red. In the following
tables, these display messages are printed in
red.
Please respond in accordance with the dis-
play messages and follow the additional
notes in this Owner's Manual.
Vehicles with a multi-function steering
wheel (4 buttons) Use the
Cbutton on the multi-function
steering wheel to fade out low-priority mes-
sages. You cannot fade out display messages
of the highest priority. The multi-function dis-
play shows these messages continuously
until the causes of the messages have been
remedied.
The on-board computer saves certain display
messages. Calling up display messages
(Y page 92).
For some display messages, the +symbol
appears in the multi-function display. More
detailed information on these display mes-
sages can be found below under "Text mes-
sages" or "Symbol messages".
Vehicles with a luxury multi-function
steering wheel*(12 buttons) Use the
aor the %button on the luxury
multi-function steering wheel to fade out low-
priority messages. You cannot fade out dis-
play messages of the highest priority. The
multi-function display shows these messages
continuously until the causes of the mes-
sages have been remedied. 176 Display messagesPractical advice
* optional
X204_AKB; 1; 5, en-GB
wobuchh,
Version: 2.11.4 2008-10-15T13:20:56+02:00 - Seite 176Dateiname: 6515_0671_02_buchblock.pdf; preflight
Page 180 of 261
The on-board computer saves certain display
messages. Calling up display messages
(Y
page 101).
All vehicles G
Risk of accident
No further messages can be displayed if the
instrument cluster and/or the multi-function
display fails.
This means that you will not see information
about the driving situation, such as the speed,
outside temperature, warning/indicator
lamps, display messages or system failures.
The vehicle's handling characteristics may be
affected. Adjust your driving style and speed
accordingly.
Immediately consult a qualified specialist
workshop which has the necessary specialist
knowledge and tools to carry out the work required. Mercedes-Benz recommends that
you use a Mercedes-Benz Service Centre for
this purpose. In particular, work relevant to
safety or on safety-related systems must be
carried out at a qualified specialist workshop.
Before starting a journey, check that the
warning and indicator lamps are operating
correctly.
X Turn the key to position 2in the ignition
lock.
All warning and indicator lamps (except for
the main-beam indicator lamp and the turn
signal indicator lamps) light up and the
multi-function display is activated.
The following tables contain all the display
messages. To make it easier for you to find
the relevant display message, the display
messages are divided into text messages
(Y page 177) and symbol messages
(Y page 182). Text messages
G
Risk of accident and injury
The operating safety of your vehicle could be compromised if service work is carried out improp-
erly. You could lose control of the vehicle and cause an accident. Safety systems may also not
be able to protect you or others as intended.
Always have maintenance work carried out at a qualified specialist workshop. The workshop must
have the necessary specialist knowledge and tools to carry out the work required. Mercedes-
Benz recommends that you use a Mercedes-Benz Service Centre for this purpose. In particular,
work relevant to safety or on safety-related systems must be carried out at a qualified specialist
workshop.
Vehicles with a multi-function steering wheel (4 buttons): the text messages are listed
in the left-hand column under "Display messages".
Vehicles with a luxury multi-function steering wheel* (12 buttons):the text messages are
listed in the right-hand column under "Display messages". Display messages
177Practical advice
* optional
X204_AKB; 1; 5, en-GB
wobuchh,
Version: 2.11.4 2008-10-15T13:20:56+02:00 - Seite 177 ZDateiname: 6515_0671_02_buchblock.pdf; preflight
Page 184 of 261
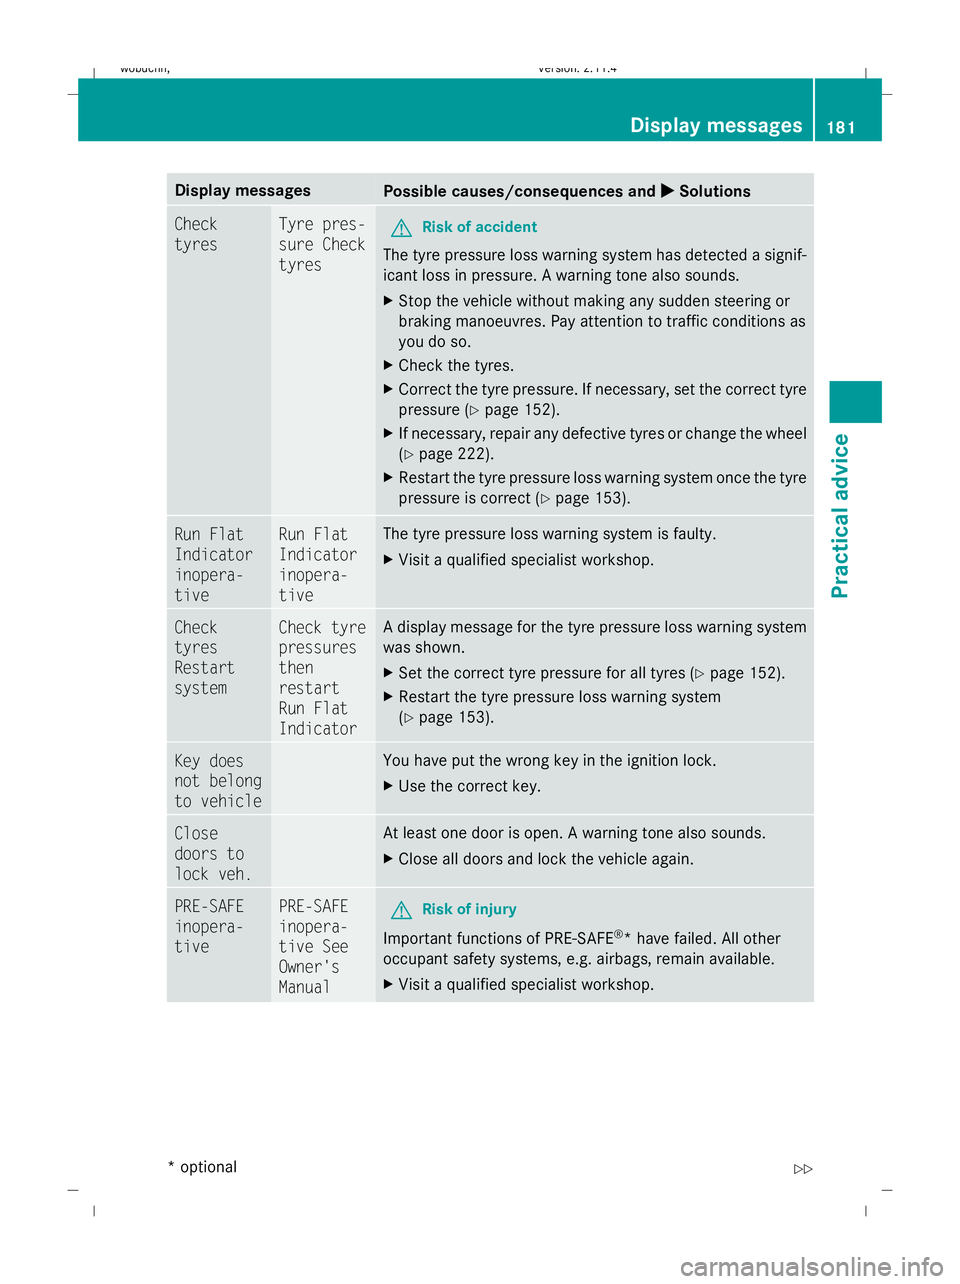
Display messages
Possible causes/consequences and
X
X Solutions Check
tyres Tyre pres-
sure Check
tyres
G
Risk of accident
The tyre pressure loss warning system has detected a signif-
icant loss in pressure. A warning tone also sounds.
X Stop the vehicle without making any sudden steering or
braking manoeuvres. Pay attention to traffic conditions as
you do so.
X Check the tyres.
X Correct the tyre pressure. If necessary, set the correct tyre
pressure ( Ypage 152).
X If necessary, repair any defective tyres or change the wheel
(Y page 222).
X Restart the tyre pressure loss warning system once the tyre
pressure is correct (Y page 153). Run Flat
Indicator
inopera-
tive Run Flat
Indicator
inopera-
tive The tyre pressure loss warning system is faulty.
X
Visit a qualified specialist workshop. Check
tyres
Restart
system Check tyre
pressures
then
restart
Run Flat
Indicator A display message for the tyre pressure loss warning system
was shown.
X
Set the correct tyre pressure for all tyres (Y page 152).
X Restart the tyre pressure loss warning system
(Y page 153). Key does
not belong
to vehicle You have put the wrong key in the ignition lock.
X
Use the correct key. Close
doors to
lock veh. At least one door is open. A warning tone also sounds.
X
Close all doors and lock the vehicle again. PRE-SAFE
inopera-
tive PRE-SAFE
inopera-
tive See
Owner's
Manual
G
Risk of injury
Important functions of PRE-SAFE ®
* have failed. All other
occupant safety systems, e.g. airbags, remain available.
X Visit a qualified specialist workshop. Display
messages
181Practical advice
* optional
X204_AKB; 1; 5, en-GB
wobuchh
,V ersion: 2.11.4
2008-10-15T13:20:56+02:00 - Seite 181 ZDateiname: 6515_0671_02_buchblock.pdf; preflight