2008 MERCEDES-BENZ E-CLASS ESTATE open bonnet
[x] Cancel search: open bonnetPage 7 of 401
4
Automatic transmission Display
message
. . . . . . . . . . . . . . . . . . . . . . .261
Auxiliary heating . . . . . . . . . . ..177, 304
Display message . . . . . . . . . . . . . .280
Remote control . . . . . . . . . . . . . . .178
Setting (on-board computer) . . . . .133
Auxiliary ventilation . . . . . . . . . . . ..177
Axle load, maximum permissible
. . . . . . . . . . . . . .370, 371, 372, 373, 374 B
Ball coupling Folding in . . . . . . . . . . . . . . . . . . . .241
Folding out . . . . . . . . . . . . . . . . . . .239
BAS (Brake Assist) . . . . . . . . . . . . . . ..59
Battery Changing (auxiliary heating
remote control) . . . . . . . . . . . . . . .311
Changing (key ).. . . . . . . . . . . . . . .310
Changing (KEYLESS GO key) . . . . .310
Charging . . . . . . . . . . . . . . . . . . . . .332
Checking (key ).. . . . . . . . . . . . . . .310
Checking (KEYLESS GO key) . . . . .310
Check lamp (key ).. . . . . . . . . . . . .310
Check lamp (KEYLESS GO key) . . . . . . . . . . . . . . . . . . . . . . . . .69, 310
Disconnecting . . . . . . . . . . . . . . . .331
Display message . . . . . . . . . . . . . .266
Maintenance (vehicle ).. . . . . . . ..329
Reconnecting . . . . . . . . . . . . . . . . .333 Removing/fitting . . . . . . . . . . . . .
.332
Vehicle battery . . . . . . . . . . . . . . . .329
Voltage (on-board computer) . . . . .127
Belt force limiters
Activatio n.. . . . . . . . . . . . . . . . . . . .41
Belt height adjustment . . . . . . . . . . ..97
Belt reel (Easy-Pack fix kit) . . . . . . ..203
Belt tensioners Activatio n.. . . . . . . . . . . . . . . . . . . .41
Belt warning . . . . . . . . . . . . . . . . . . . . .97
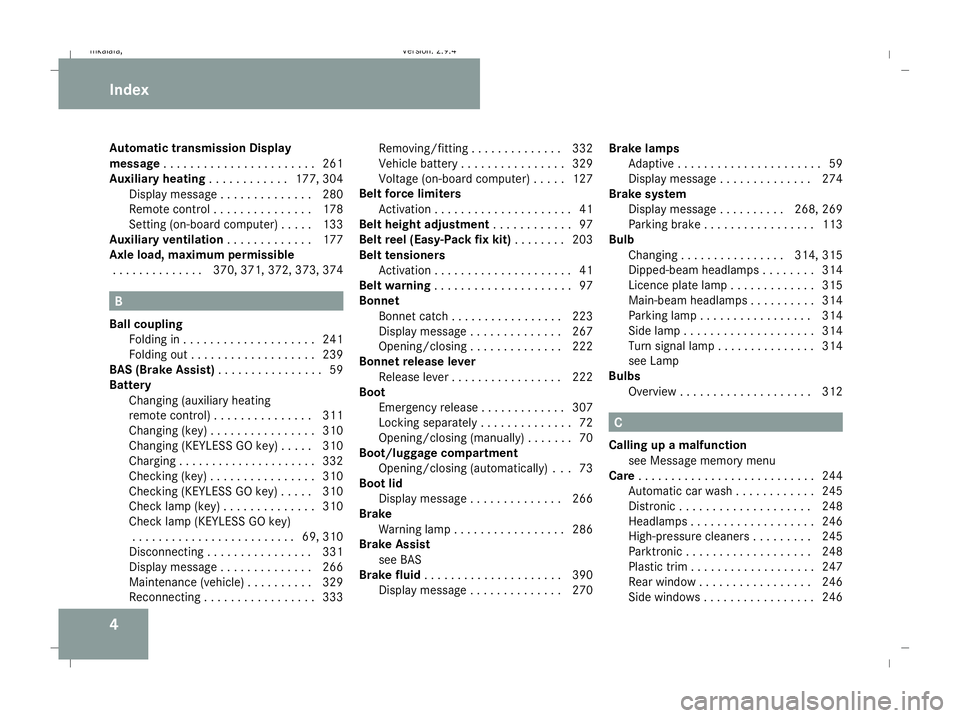
Bonnet Bonnet catch . . . . . . . . . . . . . . . . .223
Display message . . . . . . . . . . . . . .267
Opening/closing . . . . . . . . . . . . . .222
Bonnet release lever
Release lever . . . . . . . . . . . . . . . . .222
Boot
Emergency release . . . . . . . . . . . . .307
Locking separatel y.. . . . . . . . . . . . .72
Opening/closing (manually) . . . . . . .70
Boot/luggage compartment
Opening/closing (automatically )...73
Boot lid
Display message . . . . . . . . . . . . . .266
Brake
Warning lamp . . . . . . . . . . . . . . . . .286
Brake Assist
see BAS
Brake fluid . . . . . . . . . . . . . . . . . . . . .390
Display message . . . . . . . . . . . . . .270 Brake lamps
Adaptive . . . . . . . . . . . . . . . . . . . . . .59
Display message . . . . . . . . . . . . . .274
Brake system
Display message . . . . . . . . . .268, 269
Parking brake . . . . . . . . . . . . . . . . .113
Bulb
Changing . . . . . . . . . . . . . . . .314, 315
Dipped-beam headlamps . . . . . . . .314
Licence plate lamp . . . . . . . . . . . . .315
Main-beam headlamps . . . . . . . . . .314
Parking lamp . . . . . . . . . . . . . . . . .314
Side lamp . . . . . . . . . . . . . . . . . . . .314
Turn signal lamp . . . . . . . . . . . . . . .314
see Lamp
Bulbs
Overview . . . . . . . . . . . . . . . . . . . .312 C
Calling up a malfunction see Message memory menu
Care . . . . . . . . . . . . . . . . . . . . . . . . . . .244
Automatic car wash . . . . . . . . . . . .245
Distronic . . . . . . . . . . . . . . . . . . . .248
Headlamps . . . . . . . . . . . . . . . . . . .246
High-pressure cleaners . . . . . . . . .245
Parktroni c.. . . . . . . . . . . . . . . . . .248
Plastic trim . . . . . . . . . . . . . . . . . . .247
Rear window . . . . . . . . . . . . . . . . .246
Side windows . . . . . . . . . . . . . . . . .246 Index
211_AKB; 2; 5, en-GB
mkalafa,
Version: 2.9.4 2008-02-29T16:57:07+01:00 - Seite 4Dateiname: 6515_3416_02_buchblock.pdf; preflight
Page 24 of 401
Exterior view
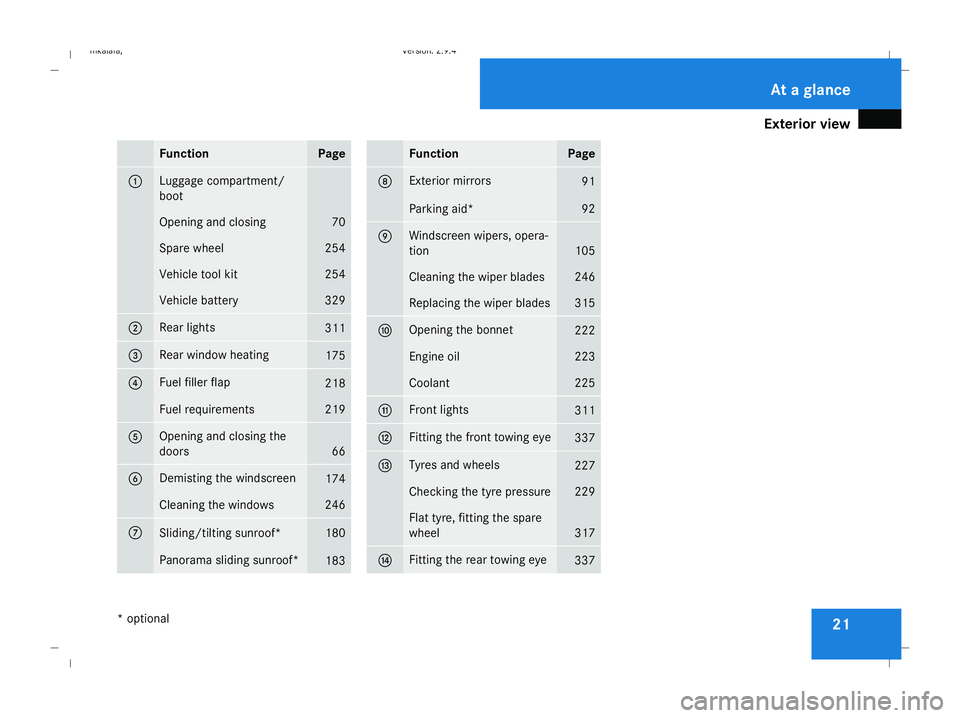
21Function Page
1 Luggage compartment/
boot Opening and closing 70
Spare wheel 254
Vehicle tool kit 254
Vehicle battery 329
2 Rear lights
311
3 Rear window heating
175
4 Fuel filler flap
218
Fuel requirements 219
5 Opening and closing the
doors 66
6 Demisting the windscreen
174
Cleaning the windows 246
7
Sliding/tilting sunroof* 180
Panorama sliding sunroof*
183 Function Page
8 Exterior mirrors
91
Parking aid* 92
9 Windscreen wipers, opera-
tion
105
Cleaning the wiper blades 246
Replacing the wiper blades 315
a Opening the bonnet
222
Engine oil 223
Coolant 225
b Front lights
311
c Fitting the front towing eye
337
d Tyres and wheels
227
Checking the tyre pressure 229
Flat tyre, fitting the spare
wheel
317
e Fitting the rear towing eye
337 At a glance
* optional
211_AKB; 2; 5, en-GB
mkalafa,
Version: 2.9.4
2008-02-29T16:57:07+01:00 - Seite 21 Dateiname: 6515_3416_02_buchblock.pdf; preflight
Page 26 of 401
Cockpit
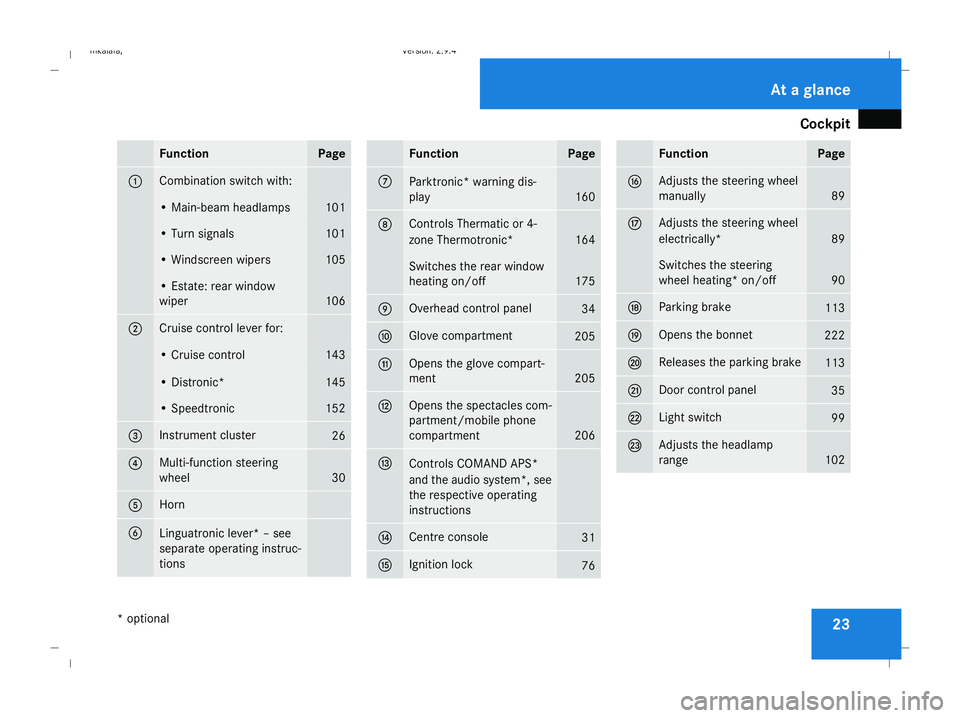
23Function Page
1 Combination switch with:
• Main-beam headlamps 101
• Turn signals 101
• Windscreen wipers 105
• Estate: rear window
wiper
106
2 Cruise control lever for:
• Cruise control 143
• Distronic* 145
• Speedtronic 152
3 Instrument cluster
26
4 Multi-function steering
wheel
30
5 Horn
6
Linguatronic lever* – see
separate operating instruc-
tions Function Page
7
Parktronic* warning dis-
play
160
8 Controls Thermatic or 4-
zone Thermotronic*
164
Switches the rear window
heating on/off
175
9 Overhead control panel
34
a Glove compartment
205
b Opens the glove compart-
ment
205
c Opens the spectacles com-
partment/mobile phone
compartment
206
d
Controls COMAND APS*
and the audio system*, see
the respective operating
instructions
e Centre console
31
f Ignition lock
76 Function Page
g Adjusts the steering wheel
manually
89
h Adjusts the steering wheel
electrically*
89
Switches the steering
wheel heating* on/off
90
j Parking brake
113
k Opens the bonnet
222
l Releases the parking brake
113
m Door control panel
35
n Light switch
99
o Adjusts the headlamp
range
102At a glance
* optional
211_AKB; 2; 5, en-GB
mkalafa,
Version: 2.9.4 2008-02-29T16:57:07+01:00 - Seite 23Dateiname: 6515_3416_02_buchblock.pdf; preflight
Page 28 of 401
Cockpit
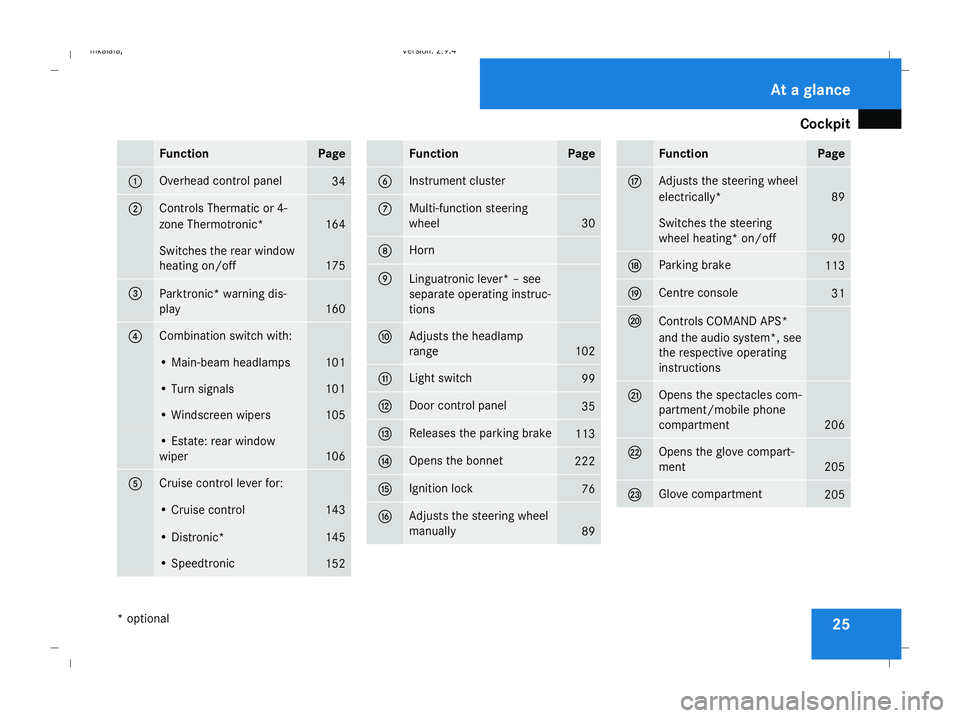
25Function Page
1 Overhead control panel
34
2 Controls Thermatic or 4-
zone Thermotronic*
164
Switches the rear window
heating on/off
175
3
Parktronic* warning dis-
play
160
4 Combination switch with:
• Main-beam headlamps 101
• Turn signals 101
• Windscreen wipers 105
• Estate: rear window
wiper
106
5 Cruise control lever for:
• Cruise control 143
• Distronic* 145
• Speedtronic
152 Function Page
6 Instrument cluster
7 Multi-function steering
wheel
30
8 Horn
9
Linguatronic lever* – see
separate operating instruc-
tions
a Adjusts the headlamp
range
102
b Light switch
99
c Door control panel
35
d Releases the parking brake
113
e Opens the bonnet
222
f Ignition lock
76
g Adjusts the steering wheel
manually
89 Function Page
h Adjusts the steering wheel
electrically*
89
Switches the steering
wheel heating* on/off
90
j Parking brake
113
k Centre console
31
l
Controls COMAND APS*
and the audio system*, see
the respective operating
instructions
m Opens the spectacles com-
partment/mobile phone
compartment
206
n Opens the glove compart-
ment
205
o Glove compartment
205At a glance
* optional
211_AKB; 2; 5, en-GB
mkalafa,
Version: 2.9.4 2008-02-29T16:57:07+01:00 - Seite 25Dateiname: 6515_3416_02_buchblock.pdf; preflight
Page 65 of 401
Anti-theft syste
ms 62 Anti-theft systems
Immobiliser
The immobiliser prevents your vehicle from
being started without the correct key.
Activating the immobiliser X
With the key: remove the key from the
ignition lock.
X With KEYLESS GO*: press the KEYLESS
GO button on the selector lever.
The engine switches off.
Deactivating the immobiliser X
With the key: turn the key to position 2in
the ignition lock.
X With KEYLESS GO*: press the KEYLESS
GO button on the selector lever twice with-
out depressing the brake.
i The immobiliser is always deactivated
when you start the engine. ATA* (anti-theft alarm system)
A visual and audible alarm is triggered if the
alarm system is primed and you open:
R a door
R a door using the emergency key element
R the boot lid/tailgate
R the bonnet
The alarm is not switched off even if you close
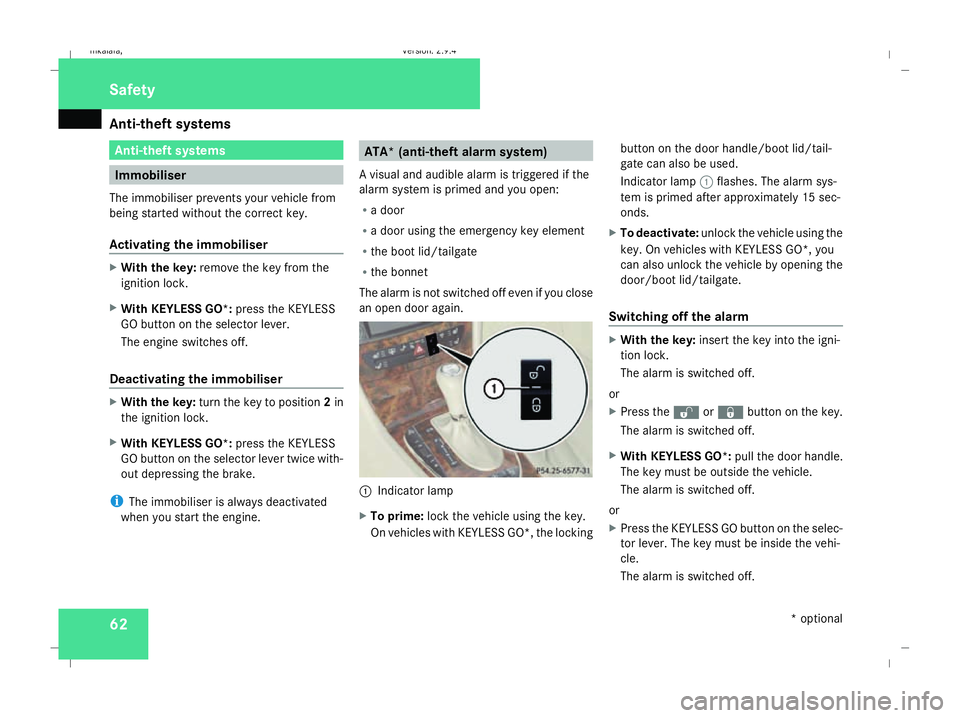
an open door again. 1
Indicator lamp
X To prime: lock the vehicle using the key.
On vehicles with KEYLESS GO*, the locking button on the door handle/boot lid/tail-
gate can also be used.
Indicator lamp
1flashes. The alarm sys-
tem is primed after approximately 15 sec-
onds.
X To deactivate: unlock the vehicle using the
key. On vehicles with KEYLESS GO*, you
can also unlock the vehicle by opening the
door/boot lid/tailgate.
Switching off the alarm X
With the key: insert the key into the igni-
tion lock.
The alarm is switched off.
or
X Press the Œor‹ button on the key.
The alarm is switched off.
X With KEYLESS GO*: pull the door handle.
The key must be outside the vehicle.
The alarm is switched off.
or
X Press the KEYLESS GO button on the selec-
tor lever. The key must be inside the vehi-
cle.
The alarm is switched off. Safety
* optional
211_AKB; 2; 5, en-GB
mkalafa,
Version: 2.9.4 2008-02-29T16:57:07+01:00 - Seite 62Dateiname: 6515_3416_02_buchblock.pdf; preflight
Page 159 of 401
Driving sys
tems 156 R
HOLD is deactivated by depressing the
accelerator pedal or the brake pedal
R there is a malfunction in the system or an
interruption in the power supply, e.g. bat-
tery failure
R the electrical system in the engine com-
partment, the battery or the fuses are
tampered with
R the battery is disconnected G
Risk of accident
If you wish to leave the vehicle or park it,
deactivate HOLD and secure the vehicle
against rolling away.
You will see a warning message in the multi-
function display if HOLD is activated and:
R the driver's door is opened and you release
the seat belt
R the ignition is switched off
R the bonnet is opened
Vehicles with manual transmission:
Brake immediately
X Immediately depress the brake pedal firmly
until the warning message in the multi-
function display goes out. This deactivates
HOLD. Vehicles with automatic transmission*:
Selector lever in park position
X Move the selector lever to Pto prevent the
vehicle from rolling away.
HOLD is deactivated. The warning message
in the multi-function display goes out.
A horn will also sound at regular intervals if
HOLD is activated and you:
R stop the engine and open the driver's door
R open the bonnet
The horn draws your attention to the fact that
the vehicle has been parked while HOLD is
still activated. The sound becomes louder if
you attempt to lock the vehicle. The vehicle
is not locked until HOLD is deactivated.
i If the ignition has been switched off, the
engine cannot be restarted until HOLD is
deactivated.
If there is a fault in the system or power supply
while HOLD is activated, the Brake immedi-
ately message appears in the multi-function
display. Immediately depress the brake firmly
until the warning message disappears from
the multi-function display, or in vehicles with
automatic transmission*, move the selector
lever to P. This deactivates HOLD. AIRMATIC DC*
Vehicle level Your vehicle automatically adjusts its ride
height to reduce petrol consumption and
improve driving safety.
The following vehicle levels are possible:
R
Normal
R Raised
R Lowered
The "Normal" and "Raised" vehicle levels can
be set manually.
The "Lowered" vehicle level is set automati-
cally:
R at speeds above 140 km/h
R if you have selected "Sports tuning I or
II" (Y page 157)
Setting the vehicle level manually
Select the "Normal" setting for normal road
surfaces and "Raised" for driving with snow
chains or on particularly poor road surfaces. G
Risk of injury
Make sure that nobody is in the vicinity of
the wheel housing or under the vehicle Controls
* optional
211_AKB; 2; 5, en-GB
mkalafa
,V ersion: 2.9.4
2008-02-29T16:57:07+01:00 - Seite 156 Dateiname: 6515_3416_02_buchblock.pdf; preflight
Page 225 of 401

Engine compartment
222 Engine compartment
Bonnet
G
Risk of accident
Do not pull the release lever while the vehi-
cle is in motion. If you do so, the bonnet
may open up and block your view.
Opening G
Risk of injury
There is a risk of injury if the bonnet is open,
even if the engine is not running.
Some engine components can become
very hot.
To avoid the risk of burns, only touch those
components described in the Owner’s Man-
ual and observe the relevant safety notes. G
Risk of injury
The radiator fan between the radiator and
the engine can start automatically, even if
the key has been removed from the ignition
lock. For this reason you must not reach
into the turning area of the fan. You can
otherwise be injured. Vehicles with a petrol engine:
the electronic ignition system uses high
voltage. For this reason you must never
touch components of the ignition system
(ignition coil, ignition cable, spark plug con-
nector or test socket) when:
R the engine is running
R the engine is being started
R the ignition is switched on and the engine
is being cranked by hand
Vehicles with a diesel engine:
the electronic injection control uses high
voltage. Therefore, never touch fuel injec-
tion system components when:
R the engine is running
R the engine is being started
R the ignition is switched on
X Make sure that the windscreen wipers are
switched off. G
Risk of injury
The windscreen wipers and wiper linkage
could be set in motion.
When the bonnet is open, you or others
could be injured by the wiper rods. Make sure that the windscreen wipers are
switched off and that the key has been
pulled out of the ignition lock before open-
ing the bonnet.
The bonnet release lever is located in the
driver's footwell. 1
Bonnet release lever
X Pull release lever 1.
The bonnet is released.
! Make sure that the windscreen wipers
are not folded out away from the wind-
screen. You can otherwise damage the
windscreen wipers or the bonnet. Operation
211_AKB; 2; 5, en-GB
mkalafa,
Version: 2.9.4 2008-02-29T16:57:07+01:00 - Seite 222Dateiname: 6515_3416_02_buchblock.pdf; preflight
Page 226 of 401
Engine compartment
223
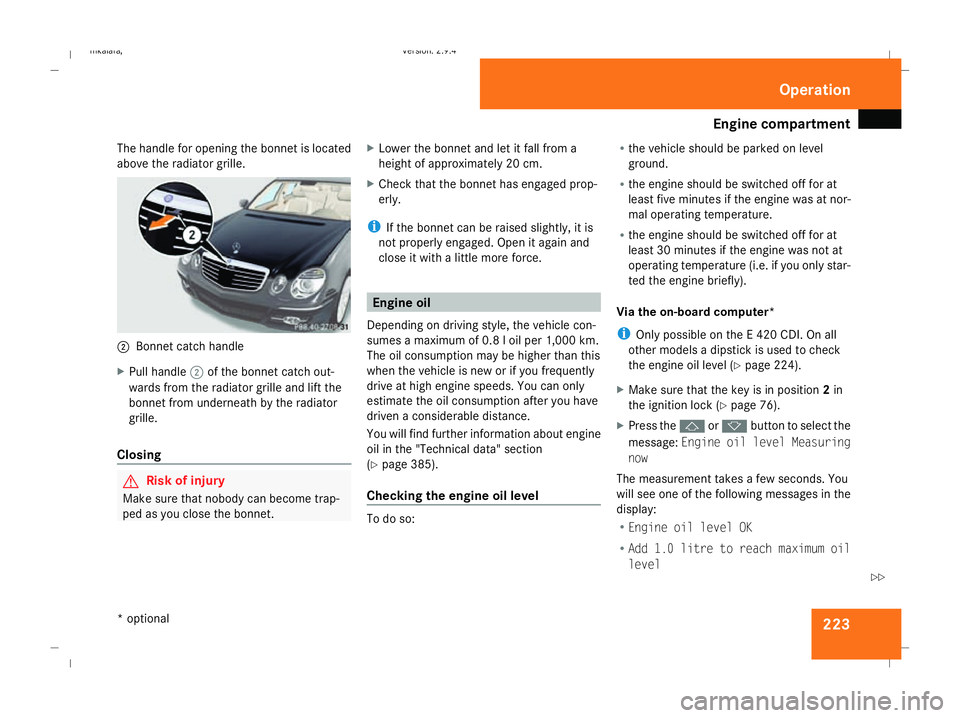
The handle for opening the bonnet is located
above the radiator grille. 2
Bonnet catch handle
X Pull handle 2of the bonnet catch out-
wards from the radiator grille and lift the
bonnet from underneath by the radiator
grille.
Closing G
Risk of injury
Make sure that nobody can become trap-
ped as you close the bonnet. X
Lower the bonnet and let it fall from a
height of approximately 20 cm.
X Check that the bonnet has engaged prop-
erly.
i If the bonnet can be raised slightly, it is
not properly engaged. Open it again and
close it with a little more force. Engine oil
Depending on driving style, the vehicle con-
sumes a maximum of 0.8 l oil per 1,000 km.
The oil consumption may be higher than this
when the vehicle is new or if you frequently
drive at high engine speeds. You can only
estimate the oil consumption after you have
driven a considerable distance.
You will find further information about engine
oil in the "Technical data" section
(Y page 385).
Checking the engine oil level To do so:R
the vehicle should be parked on level
ground.
R the engine should be switched off for at
least five minutes if the engine was at nor-
mal operating temperature.
R the engine should be switched off for at
least 30 minutes if the engine was not at
operating temperature (i.e. if you only star-
ted the engine briefly).
Via the on-board computer*
i Only possible on the E 420 CDI. On all
other models a dipstick is used to check
the engine oil level (Y page 224).
X Make sure that the key is in position 2in
the ignition lock (Y page 76).
X Press the jork button to select the
message: Engine oil level Measuring
now
The measurement takes a few seconds. You
will see one of the following messages in the
display:
R Engine oil level OK
R Add 1.0 litre to reach maximum oil
level Operation
* optional
211_AKB; 2; 5, en-GB
mkalafa,
Version: 2.9.4 2008-02-29T16:57:07+01:00 - Seite 223 ZDateiname: 6515_3416_02_buchblock.pdf; preflight