2008 MERCEDES-BENZ CLS COUPE four wheel drive
[x] Cancel search: four wheel drivePage 162 of 329

Air conditioning
159
X
To switch on: press the œ button.
The indicator lamp in the œ button
comes on.
X To deactivate: press the œ button.
The indicator lamp in the œ button goes
out. The cooling with air dehumidification
function has a delayed switch-off feature.
i The cooling with air dehumidification
function in the rear compartment is only
operative if the 4-zone Thermotronic cool-
ing with air dehumidification function* is
switched on. Controlling the air conditioning auto-
matically
In automatic mode, the set temperature is
maintained at a constant level fully automat-
ically. To do so, the system automatically
regulates the temperature of the dispensed
air, the airflow and the air distribution.
The automatic air conditioning will achieve
optimal operation if "cooling with air dehu-
midification" is also activated. If necessary,
cooling
with air dehumidification can be deac-
tivated. X
Make sure that the key is in position 2 in
the ignition lock.
X Set the desired temperature.
X To activate: press the U button.
The AUTO
display for the air distribution and
airflow comes on. The indicator lamp 22
on
the U button lights up. Airflow and air
distribution are set to automatic mode.
X To deactivate: press the Q or ·
button.
The AUTO display for the airflow goes out.
The automatic control is deactivated and
the airflow is controlled according to the
selected
setting. Automatic air distribution
remains activated.
or
X 2-zone Thermatic only: press
the © or
ª air distribution button.
The AUTO display for the air distribution
goes out. The automatic control is deacti-
vated and the air distribution is controlled
according to the selected setting. Auto-
matic airflow remains activated. or
X
4-zone Thermotronic only*: turn air dis-
tribution thumbwheel 1 or 7 to the
desired symbol
(Y page 155).
The indicator lamp in the U button goes
out. The automatic control is deactivated
and the air distribution is controlled
according to the selected setting. Auto-
matic airflow remains activated. Setting the temperature
2-zone Thermatic Different temperatures can be set for the
driver's and front-passenger sides.
X
To increase/reduce: turn thumbwheels
1 and 7 clockwise or anti-clockwise
(Y
page 153). Only change the temperature
setting in small increments. Start at 22 †.
4-zone Thermotronic* The interior temperature for each of the four
air-conditioning zones can be adjusted sepa-
rately.
22 Only for vehicles with 4-zone Thermotronic*. Controls
* optional
219_AKB; 2; 4, en-GB
mkalafa,
2007-11-13T09:28:36+01:00 - Seite 159 Z
Page 206 of 329

Tyres and wheels
203
i
If you are carrying a deflated tyre in the
vehicle, you may only reactivate the tyre
pressure monitor if:
R the deflated tyre is no longer in the vehi-
cle
R you have adjusted the tyre pressure cor-
rectly
Calling up the tyre pressure using the
on-board computer X
Make sure that the key is in position 2 in
the ignition lock.
X Press the j or k button to select the
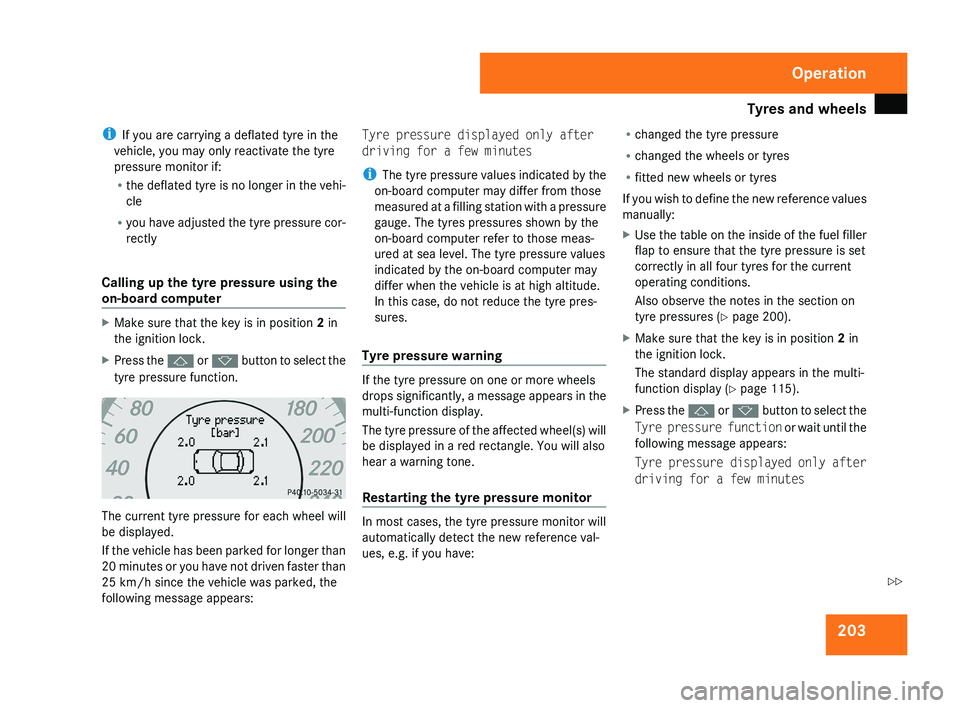
tyre pressure function. The current tyre pressure for each wheel will
be displayed.
If the vehicle has been parked for longer than
20 minutes or you have not driven faster than
25 km/h since the vehicle was parked, the
following message appears: Tyre pressure displayed only after
driving for a few minutes
i
The tyre pressure values indicated by the
on-board computer may differ from those
measured at a filling station with a pressure
gauge. The tyres pressures shown by the
on-board computer refer to those meas-
ured at sea level. The tyre pressure values
indicated by the on-board computer may
differ when the vehicle is at high altitude.
In this case, do not reduce the tyre pres-
sures.
Tyre pressure warning If the tyre pressure on one or more wheels
drops significantly, a message appears in the
multi-function display.
The tyre pressure of the affected wheel(s) will
be displayed in a red rectangle. You will also
hear a warning tone.
Restarting the tyre pressure monitor
In most cases, the tyre pressure monitor will
automatically detect the new reference val-
ues, e.g. if you have:R
changed the tyre pressure
R changed the wheels or tyres
R fitted new wheels or tyres
If you wish to define the new reference values
manually:
X Use the table on the inside of the fuel filler
flap to ensure that the tyre pressure is set
correctly in all four tyres for the current
operating conditions.
Also observe the notes in the section on
tyre pressures ( Y page 200).
X Make sure that the key is in position 2 in
the ignition lock.
The standard display appears in the multi-
function display ( Y page 115).
X Press the j or k button to select the
Tyre pressure function or wait until the
following message appears:
Tyre pressure displayed only after
driving for a few minutes Operation
219_AKB; 2; 4, en-GB
mkalafa,
2007-11-13T09:28:36+01:00 - Seite 203 Z
Page 285 of 329

Flat tyre
282 G
Risk of accident
If the tyre pressure is now lower than
1.3 bar, the tyre is too badly damaged. Do
not drive any further. Consult a qualified
specialist workshop which has the neces-
sary specialist knowledge and tools to carry
out the work required. Mercedes-Benz rec-
ommends that you use a Mercedes-Benz
Service Centre for this purpose. In particu-
lar, work relevant to safety or on safety-
related systems must be carried out at a
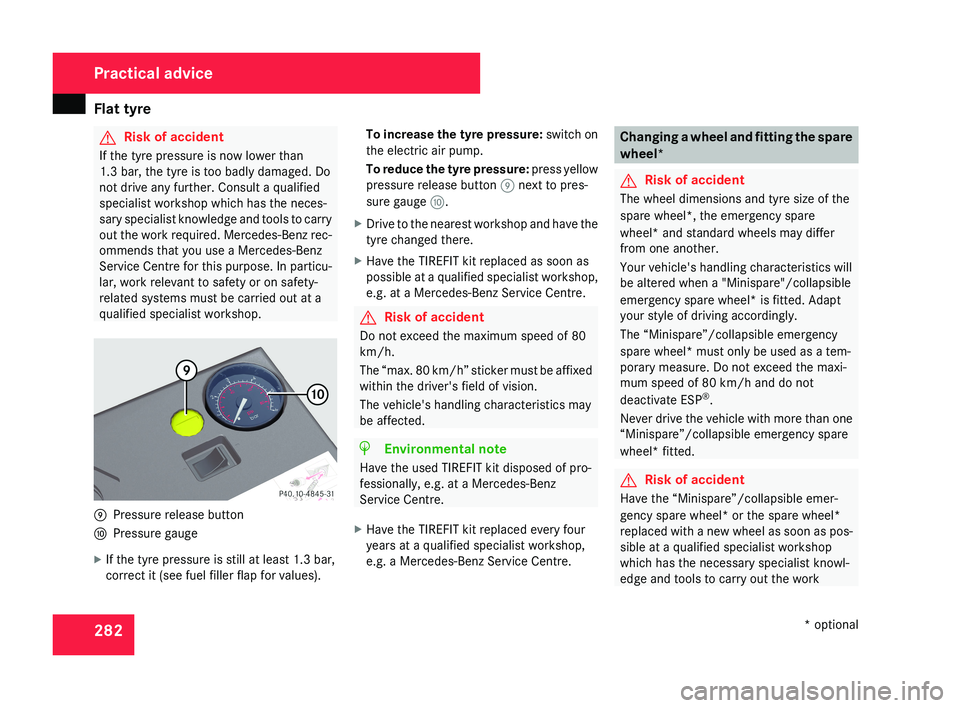
qualified specialist workshop.9 Pressure release button
a Pressure gauge
X If the tyre pressure is still at least 1.3 bar,
correct it (see fuel filler flap for values). To increase the tyre pressure:
switch on
the electric air pump.
To reduce the tyre pressure: press yellow
pressure release button 9 next to pres-
sure gauge a.
X Drive to the nearest workshop and have the
tyre changed there.
X Have the TIREFIT kit replaced as soon as
possible at a qualified specialist workshop,
e.g. at a Mercedes-Benz Service Centre.
G Risk of accident
Do not exceed the maximum speed of 80
km/h.
The “max. 80 km/h” sticker must be affixed
within the driver's field of vision.
The vehicle's handling characteristics may
be affected.
H Environmental note
Have the used TIREFIT kit disposed of pro-
fessionally, e.g. at a Mercedes-Benz
Service Centre.
X Have the TIREFIT kit replaced every four
years at a qualified specialist workshop,
e.g. a Mercedes-Benz Service Centre.
Changing a wheel and fitting the spare
wheel*
G Risk of accident
The wheel dimensions and tyre size of the
spare wheel*, the emergency spare
wheel* and standard wheels may differ
from one another.
Your vehicle's handling characteristics will
be altered when a "Minispare"/collapsible
emergency spare wheel* is fitted. Adapt
your style of driving accordingly.
The “Minispare”/collapsible emergency
spare wheel* must only be used as a tem-
porary measure. Do not exceed the maxi-
mum speed of 80 km/h and do not
deactivate ESP ®
.
Never drive the vehicle with more than one
“Minispare”/collapsible emergency spare
wheel* fitted.
G Risk of accident
Have the “Minispare”/collapsible emer-
gency spare wheel* or the spare wheel*
replaced with a new wheel as soon as pos-
sible at a qualified specialist workshop
which has the necessary specialist knowl-
edge and tools to carry out the work
Practical advice
* optional
219_AKB; 2; 4, en-GB
mkalafa,
2007-11-13T09:28:36+01:00 - Seite 282