2008 MERCEDES-BENZ CLS COUPE display
[x] Cancel search: displayPage 152 of 329
Driving systems
149
Front sensors Centre Approximately 100 cm
Corners Approximately 60 cm
Rear sensors
Centre Approximately 120 cm
Corners Approximately 80 cm
!
Pay particular attention to objects above
or below the sensors when parking, such
as flower pots or trailer towbars. Parktronic
does not detect such objects when they are
in the immediate vicinity of the vehicle. You
could damage the vehicle or the objects.
Ultrasonic sources such as an automatic
car wash, a lorry's compressed-air brakes
or a pneumatic drill could cause Parktronic
to malfunction.
Minimum distance Centre Approximately 20 cm
Corners Approximately 15 cm If there is an obstacle within this range, all
warning displays light up and a tone sounds.
If the distance falls below the minimum clear-
ance, it may no longer be shown.
Warning displays
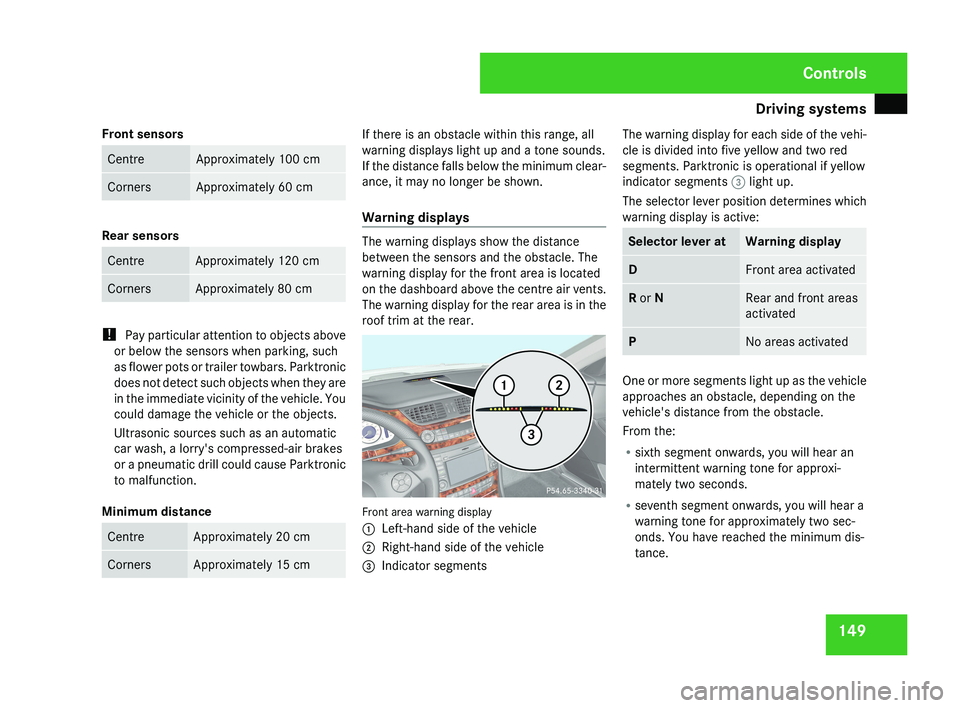
The warning displays show the distance
between the sensors and the obstacle. The
warning display for the front area is located
on the dashboard above the centre air vents.
The warning display for the rear area is in the
roof trim at the rear.
Front area warning display
1
Left-hand side of the vehicle
2 Right-hand side of the vehicle
3 Indicator segments The warning display for each side of the vehi-
cle is divided into five yellow and two red
segments. Parktronic is operational if yellow
indicator segments
3 light up.
The selector lever position determines which
warning display is active: Selector lever at Warning display
D Front area activated
R or N Rear and front areas
activated
P No areas activated
One or more segments light up as the vehicle
approaches an obstacle, depending on the
vehicle's distance from the obstacle.
From the:
R
sixth segment onwards, you will hear an
intermittent warning tone for approxi-
mately two seconds.
R seventh segment onwards, you will hear a
warning tone for approximately two sec-
onds. You have reached the minimum dis-
tance. Controls
219_AKB; 2; 4, en-GB
mkalafa,
2007-11-13T09:28:36+01:00 - Seite 149
Page 157 of 329
Air conditioning
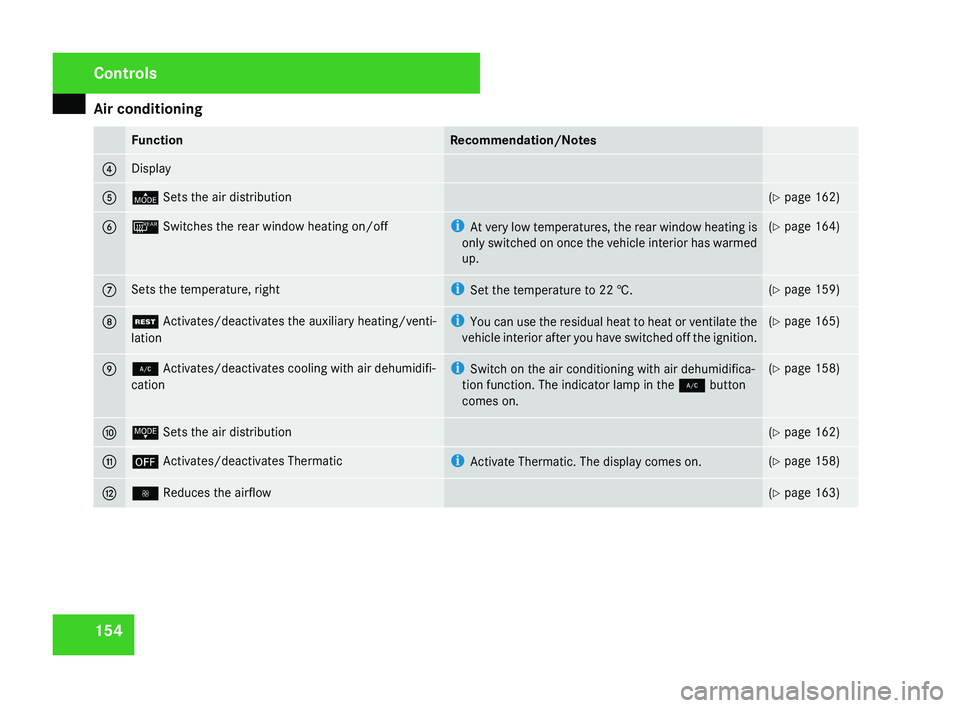
154 Function Recommendation/Notes
4 Display
5 © Sets the air distribution (Y page 162)
6 ¯ Switches the rear window heating on/off i
At very low temperatures, the rear window heating is
only switched on once the vehicle interior has warmed
up. (Y page 164)
7 Sets the temperature, right i
Set the temperature to
22 †. (Y page 159)
8 T Activates/deactivates the auxiliary heating/venti-
lation i
You
can use the residual heat to heat or ventilate the
vehicle interior after you have switched off the ignition. (Y page 165)
9 2 Activates/deactivates cooling with air dehumidifi-
cation i
Switch on the air conditioning with air dehumidifica-
tion function. The indicator lamp in the 2 button
comes on. (Y page 158)
a ª Sets the air distribution (Y page 162)
b ´ Activates/deactivates Thermatic i
Activate Thermatic. The display comes on. (Y page 158)
c · Reduces the airflow (Y page 163)Controls
219_AKB; 2; 4, en-GB
mkalafa,
2007-11-13T09:28:36+01:00 - Seite 154
Page 158 of 329

Air conditioning
155Function Recommendation/Notes
d , Activates/deactivates Thermatic i
Only use this operating mode for a short time, e.g. in
a tunnel. Otherwise, the windows can mist up due to
lack of fresh air. (Y page 164)
e U Controls the air conditioning automatically i
Activate automatic air conditioning. AUTO appears in
the display. (Y page 159)
4-zone Thermotronic* Controls
* optional
219_AKB; 2; 4, en-GB
mkalafa,
2007-11-13T09:28:36+01:00 - Seite 155
Page 159 of 329
Air conditioning
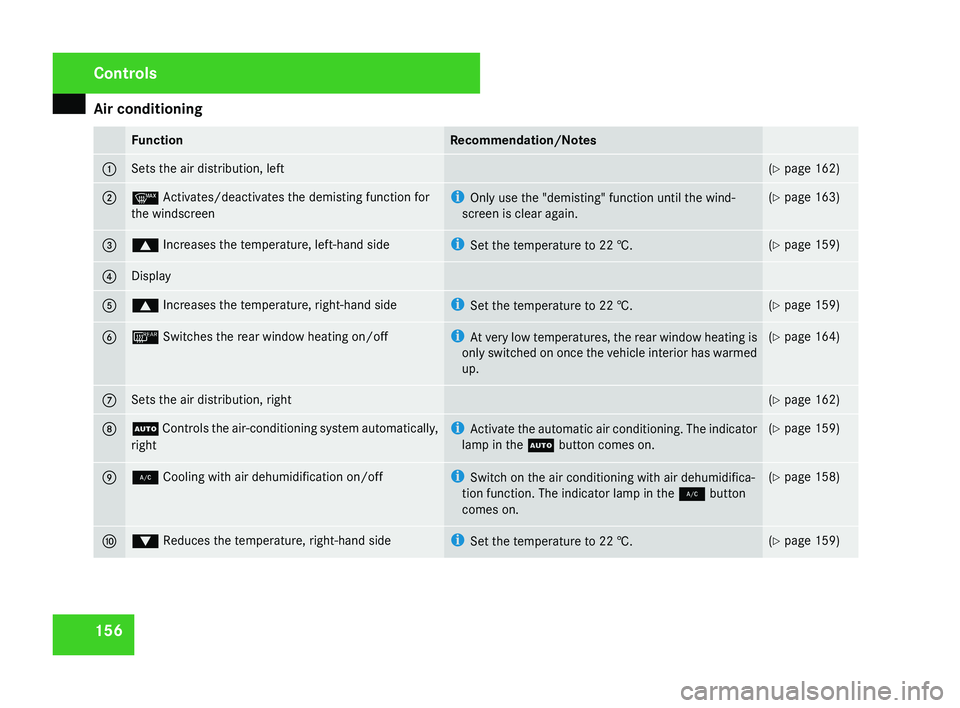
156 Function Recommendation/Notes
1 Sets the air distribution, left (Y page 162)
2 y Activates/deactivates the demisting function for
the windscreen i
Only use the "demisting" function until the wind-
screen is clear again. (Y page 163)
3 $ Increases the temperature, left-hand side i
Set the temperature to 22 †. (Y page 159)
4 Display
5 $ Increases the temperature, right-hand side i
Set the temperature to
22 †. (Y page 159)
6 ¯ Switches the rear window heating on/off i
At
very low temperatures, the rear window heating is
only switched on once the vehicle interior has warmed
up. (Y page 164)
7 Sets the air distribution, right (Y page 162)
8 U
Controls the air-conditioning system automatically,
right i
Activate the automatic air conditioning. The indicator
lamp in the U button comes on. (Y page 159)
9 2 Cooling with air dehumidification on/off i
Switch on the air conditioning with air dehumidifica-
tion function. The indicator lamp in the 2 button
comes on. (Y page 158)
a % Reduces the temperature, right-hand side i
Set the temperature to
22 †. (Y page 159)Controls
219_AKB; 2; 4, en-GB
mkalafa,
2007-11-13T09:28:36+01:00 - Seite 156
Page 160 of 329
Air conditioning
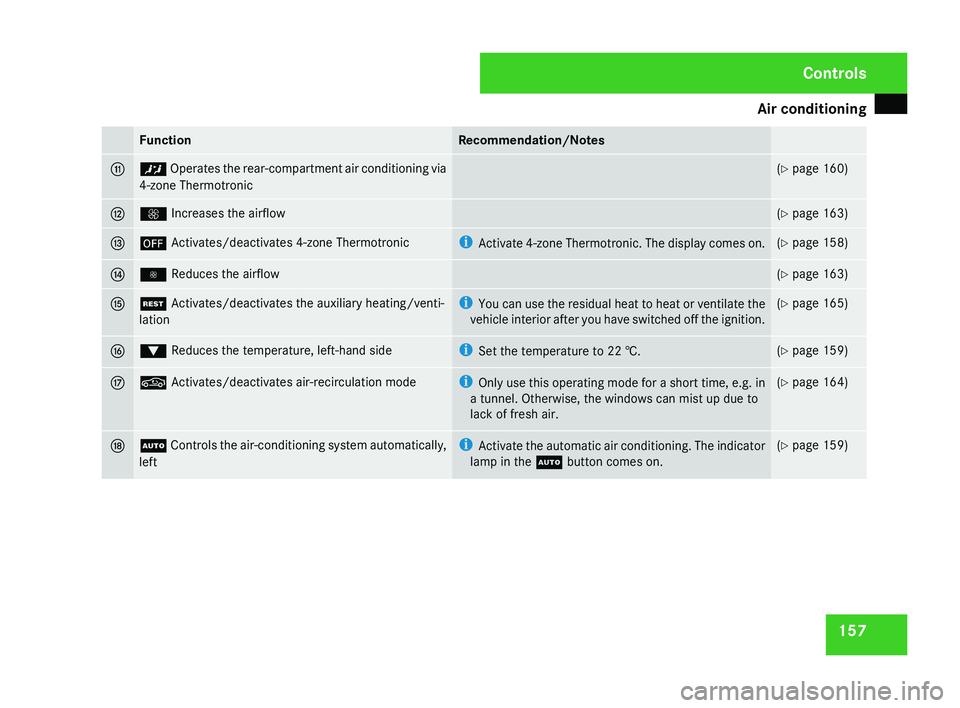
157Function Recommendation/Notes
b ™ Operates the rear-compartment air conditioning via
4-zone Thermotronic (Y page 160)
c Q Increases the airflow (Y page 163)
d ´ Activates/deactivates 4-zone Thermotronic i
Activate
4-zone Thermotronic. The display comes on. (Y page 158)
e · Reduces the airflow (Y page 163)
f T Activates/deactivates the auxiliary heating/venti-
lation i
You
can use the residual heat to heat or ventilate the
vehicle interior after you have switched off the ignition. (Y page 165)
g % Reduces the temperature, left-hand side i
Set the temperature to
22 †. (Y page 159)
h , Activates/deactivates air-recirculation mode i
Only
use this operating mode for a short time, e.g. in
a tunnel. Otherwise, the windows can mist up due to
lack of fresh air. (Y page 164)
j U
Controls the air-conditioning system automatically,
left i
Activate the automatic air conditioning. The indicator
lamp in the U button comes on. (Y page 159) Controls
219_AKB; 2; 4, en-GB
mkalafa,
2007-11-13T09:28:36+01:00 - Seite 157
Page 161 of 329
Air conditioning
158
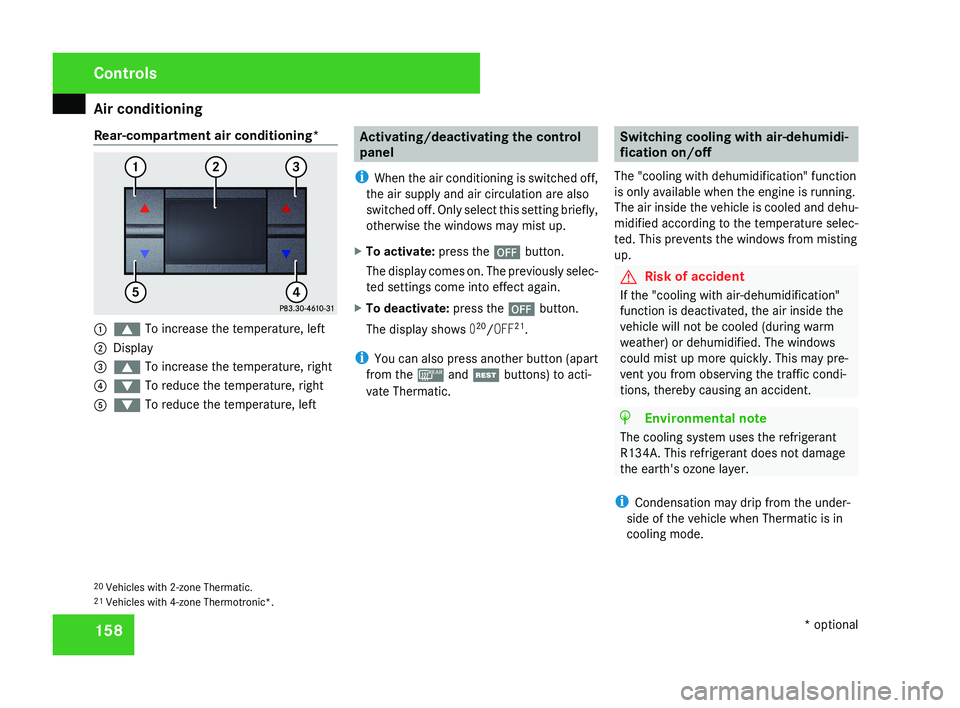
Rear-compartment air conditioning*
1
$ To increase the temperature, left
2 Display
3 $ To increase the temperature, right
4 % To reduce the temperature, right
5 % To reduce the temperature, left Activating/deactivating the control
panel
i When the air conditioning is switched off,
the air supply and air circulation are also
switched off. Only select this setting briefly,
otherwise the windows may mist up.
X To activate: press the ´ button.
The display comes on. The previously selec-
ted settings come into effect again.
X To deactivate: press the ´ button.
The display shows 020
/OFF 21
.
i You can also press another button (apart
from the ¯ and T buttons) to acti-
vate Thermatic. Switching cooling with air-dehumidi-
fication on/off
The "cooling with dehumidification" function
is only available when the engine is running.
The air inside the vehicle is cooled and dehu-
midified according to the temperature selec-
ted. This prevents the windows from misting
up. G
Risk of accident
If the "cooling with air-dehumidification"
function is deactivated, the air inside the
vehicle will not be cooled (during warm
weather) or dehumidified. The windows
could mist up more quickly. This may pre-
vent you from observing the traffic condi-
tions, thereby causing an accident. H
Environmental note
The cooling system uses the refrigerant
R134A. This refrigerant does not damage
the earth's ozone layer.
i Condensation may drip from the under-
side of the vehicle when Thermatic is in
cooling mode.
20 Vehicles with 2-zone Thermatic.
21 Vehicles with 4-zone Thermotronic*. Controls
* optional
219_AKB; 2; 4, en-GB
mkalafa,
2007-11-13T09:28:36+01:00 - Seite 158
Page 162 of 329
Air conditioning
159
X
To switch on: press the œ button.
The indicator lamp in the œ button
comes on.
X To deactivate: press the œ button.
The indicator lamp in the œ button goes
out. The cooling with air dehumidification
function has a delayed switch-off feature.
i The cooling with air dehumidification
function in the rear compartment is only
operative if the 4-zone Thermotronic cool-
ing with air dehumidification function* is
switched on. Controlling the air conditioning auto-
matically
In automatic mode, the set temperature is
maintained at a constant level fully automat-
ically. To do so, the system automatically
regulates the temperature of the dispensed
air, the airflow and the air distribution.
The automatic air conditioning will achieve
optimal operation if "cooling with air dehu-
midification" is also activated. If necessary,
cooling
with air dehumidification can be deac-
tivated. X
Make sure that the key is in position 2 in
the ignition lock.
X Set the desired temperature.
X To activate: press the U button.
The AUTO
display for the air distribution and
airflow comes on. The indicator lamp 22
on
the U button lights up. Airflow and air
distribution are set to automatic mode.
X To deactivate: press the Q or ·
button.
The AUTO display for the airflow goes out.
The automatic control is deactivated and
the airflow is controlled according to the
selected
setting. Automatic air distribution
remains activated.
or
X 2-zone Thermatic only: press
the © or
ª air distribution button.
The AUTO display for the air distribution
goes out. The automatic control is deacti-
vated and the air distribution is controlled
according to the selected setting. Auto-
matic airflow remains activated. or
X
4-zone Thermotronic only*: turn air dis-
tribution thumbwheel 1 or 7 to the
desired symbol
(Y page 155).
The indicator lamp in the U button goes
out. The automatic control is deactivated
and the air distribution is controlled
according to the selected setting. Auto-
matic airflow remains activated. Setting the temperature
2-zone Thermatic Different temperatures can be set for the
driver's and front-passenger sides.
X
To increase/reduce: turn thumbwheels
1 and 7 clockwise or anti-clockwise
(Y
page 153). Only change the temperature
setting in small increments. Start at 22 †.
4-zone Thermotronic* The interior temperature for each of the four
air-conditioning zones can be adjusted sepa-
rately.
22 Only for vehicles with 4-zone Thermotronic*. Controls
* optional
219_AKB; 2; 4, en-GB
mkalafa,
2007-11-13T09:28:36+01:00 - Seite 159 Z
Page 163 of 329
Air conditioning
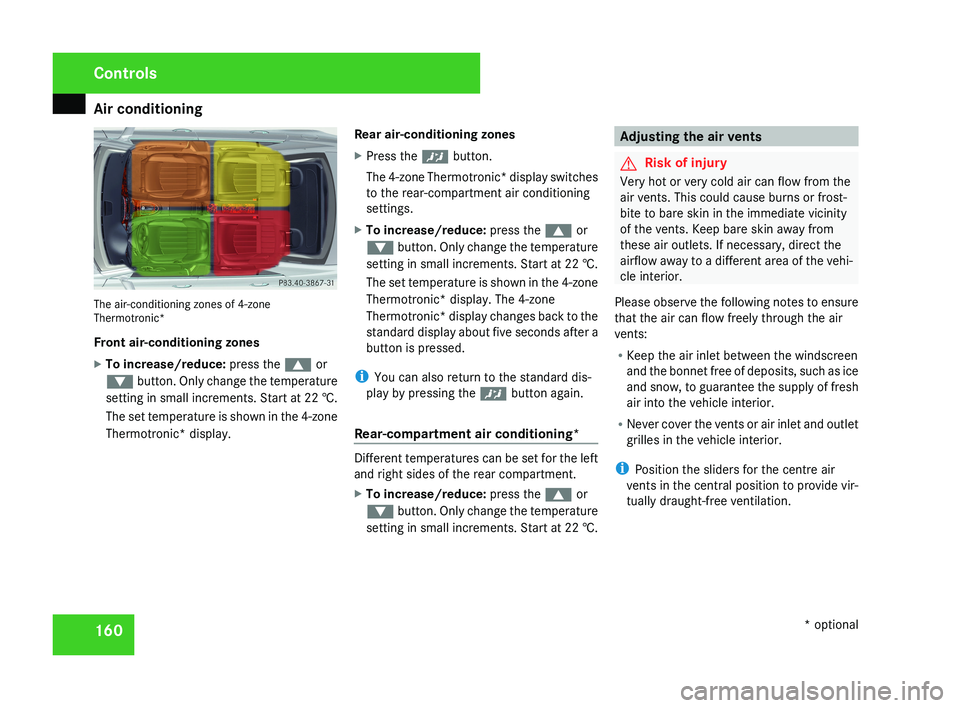
160The air-conditioning zones of 4-zone
Thermotronic*
Front air-conditioning zones
X
To increase/reduce: press the $ or
% button. Only change the temperature
setting in small increments. Start at 22 †.
The set temperature is shown in the 4-zone
Thermotronic* display. Rear air-conditioning zones
X
Press the ™ button.
The 4-zone Thermotronic* display switches
to the rear-compartment air conditioning
settings.
X To increase/reduce: press the $ or
% button. Only change the temperature
setting in small increments. Start at 22 †.
The set temperature is shown in the 4-zone
Thermotronic* display. The 4-zone
Thermotronic* display changes back to the
standard display about five seconds after a
button is pressed.
i You can also return to the standard dis-
play by pressing the ™ button again.
Rear-compartment air conditioning*
Different temperatures can be set for the left
and right sides of the rear compartment.
X To increase/reduce: press the $ or
% button. Only change the temperature
setting in small increments. Start at 22 †.
Adjusting the air vents
G Risk of injury
Very hot or very cold air can flow from the
air vents. This could cause burns or frost-
bite to bare skin in the immediate vicinity
of the vents. Keep bare skin away from
these air outlets. If necessary, direct the
airflow away to a different area of the vehi-
cle interior.
Please observe the following notes to ensure
that the air can flow freely through the air
vents:
R Keep the air inlet between the windscreen
and the bonnet free of deposits, such as ice
and snow, to guarantee the supply of fresh
air into the vehicle interior.
R Never cover the vents or air inlet and outlet
grilles in the vehicle interior.
i Position the sliders for the centre air
vents in the central position to provide vir-
tually draught-free ventilation.
Controls
* optional
219_AKB; 2; 4, en-GB
mkalafa,
2007-11-13T09:28:36+01:00 - Seite 160