Page 87 of 327
377
1 23456789
Knowing your vehicle
Opening the hood:
1. Pull the release lever on the lowerleft side of the instrument panel to
unlatch the hood. The hood
should pop open slightly. 2. Go to the front of the vehicle, raise
the hood slightly, push the second-
ary latch ( 1) inside of the hood
center and lift ( 2) the hood. 3. Lift the hood and hold it open with
the support rod by inserting thefree end of the rod into the slot ( 1).
HOOD
1LDA2020OLD0260231LDA2166
CAUTION
Grasp the support rod in the
area wrapped in rubber. The rub-ber will help prevent you from being burned by hot metal whenthe engine is hot.
1
Page 156 of 327
421
1 23456789
Driving your vehicle
Tilt steering (if equipped)
A tilt steering wheel allows you to
adjust the steering wheel before you
drive.You can also raise it to the
highest level to give your legs more
room when you exit and enter the
vehicle.
The steering wheel should be posi-
tioned so that it is comfortable for
you to drive, while permitting you to
see the instrument panel warning
lights and gauges.To change the steering wheel angle,
pull down (1) the lock release lever,
adjust the steering wheel to thedesired angle (2), then pull up the
lock-release lever to lock the steering
wheel in place.
Be sure to adjust the steering wheel
to the desired position before driving.WARNING
Never adjust the angle of steering wheel while driving.
You may lose your steering
control and cause severe per-
sonal injury or accidents.
After adjusting, push the steering wheel both up and
down to be certain it is lockedin position.
OLD026076
Page 171 of 327
Driving your vehicle
36
4
1 23456789
Average speed
This mode indicates the average
speed from the starting of the vehicle
to the ignition key “OFF”. When the
ignition key is “OFF”, it will initialize to0 km/h (0 mph).
Driving time
This mode indicates the total time
from the starting of the vehicle to the
ignition key “OFF” after resetting.
When the “TRIP” switch is pushed, it
will initialize to 0:00. Reset
Push “TRIP” for more than 1 second
to initialize the displayed information
such as average speed and driving
time. Instrument panel illumination (if equipped)
When the vehicle’s parking lights or headlights are on, rotate the illumina-
tion control knob to adjust the instru-
ment panel illumination intensity.
OLD026204LOLD026097OLD026095
Page 180 of 327

445
1 23456789
Driving your vehicle
Battery saver function
The purpose of this feature is toprevent the battery from being dis-
charged. The system automatically
turns off the small light when the
driver removes the ignition key and
opens the driver- side door.
With this feature, the parklight will be turned off automatically if the
driver parks on the side of road atnight.
If necessary, to keep the lights on
when the ignition key is removed,
perform the following :
1) Open the driver-side door.
2) Turn the parklights OFF and ON again using the light switch on the
steering column. Lighting control
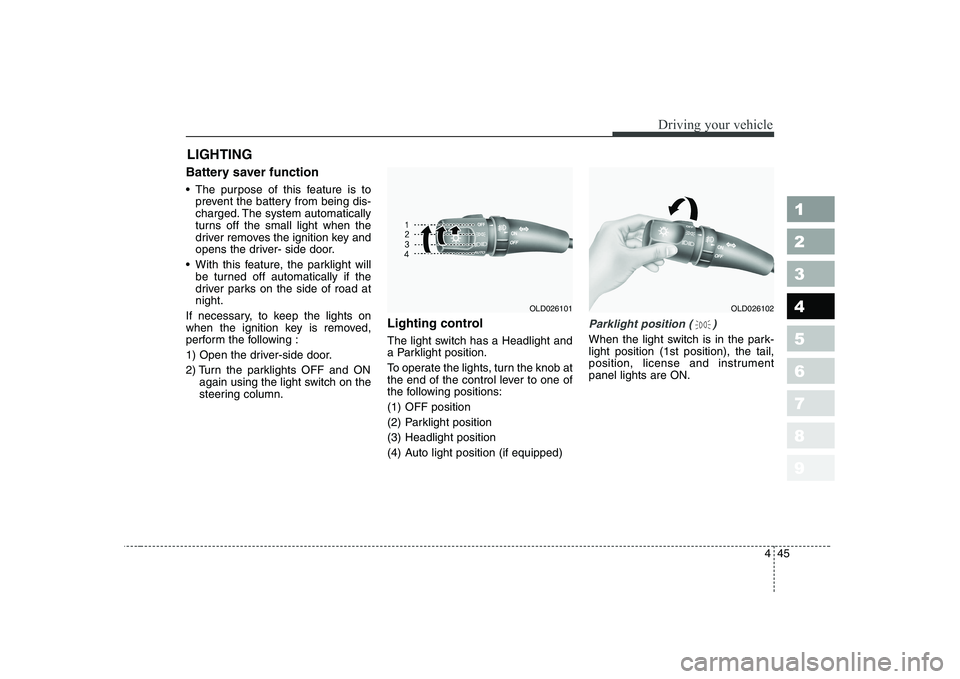
The light switch has a Headlight and
a Parklight position.
To operate the lights, turn the knob at
the end of the control lever to one of
the following positions:
(1) OFF position
(2) Parklight position
(3) Headlight position
(4) Auto light position (if equipped)
Parklight position ( )
When the light switch is in the park- light position (1st position), the tail,
position, license and instrumentpanel lights are ON.
LIGHTING
OLD026102OLD026101
Page 181 of 327
Driving your vehicle
46
4
1 23456789
Headlight position ( )
When the light switch is in the head- light position (2nd position) the head,
tail, position, license and instrumentpanel lights are ON.
Auto light position (if equipped)
When the light switch is in the AUTO light position, the taillights and head-
lights will be turned ON or OFF auto-matically depending on the amount
of light outside the vehicle.
✽✽
NOTICE
Page 182 of 327
447
1 23456789
Driving your vehicle
High - beam operation
To turn on the high beam headlights,
push the lever away from you. Pull it
back for low beams. The high-beam indicator will light when the headlight high beams are
switched on.
To prevent the battery from being
discharged, do not leave the lights
on for a prolonged time while the
engine is not running.Flashing headlights
To flash the headlights, pull the lever
towards you. It will return to the nor-
mal (low-beam) position when
released. The headlight switch doesnot need to be on to use this flashing
feature.
Turn signals (A)
The ignition switch must be on for the
turn signals to function. To turn on
the turn signals, move the lever up or
down. Green arrow indicators on the
instrument panel indicate which turn
signal is operating. They will self-
cancel after a turn is completed. If
the indicator continues to flash after
a turn, manually return the lever tothe OFF position.
OLD0261061LDN2107OLD026105
Page 193 of 327

Driving your vehicle
58
4
1 23456789
Face position
Air flow is directed toward
the upper body and face.
Additionally, each outletcan be controlled to directthe air discharged fromthe outlet.
(outlet port: B, D)
Face - floor position
Air flow is directedtowards the face and the
floor. The air to the floor is
warmer than the air to the
face (except when the
temperature control is set
to the extreme cold posi-tion).
(outlet port: B, D, C, E)
Floor position
Most of the air flow is
directed to the floor, with asmall amount of the airbeing directed to the wind-
shield and side window
defroster.
(outlet port: C, E, A, D)
Floor - defrost position
Most of the air flow is directed to the floor andthe windshield with asmall amount directed to
the side window defrosters.
(outlet port: A, C, E, D)
Defrost position
Most of the air flow is directed to the windshieldwith a small amount of airdirected to the side win-
dow defrosters.
(outlet port: A, D) Instrument panel vents
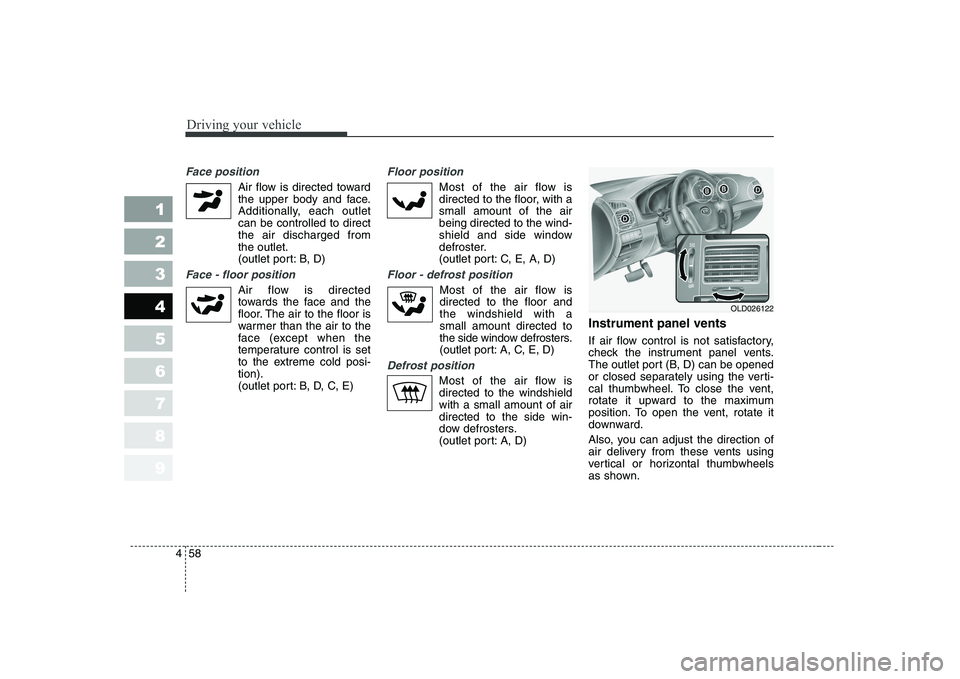
If air flow control is not satisfactory,
check the instrument panel vents.
The outlet port (B, D) can be opened
or closed separately using the verti-
cal thumbwheel. To close the vent,
rotate it upward to the maximum
position. To open the vent, rotate it
downward.
Also, you can adjust the direction of
air delivery from these vents using
vertical or horizontal thumbwheels
as shown.
OLD026122
Page 200 of 327

465
1 23456789
Driving your vehicle
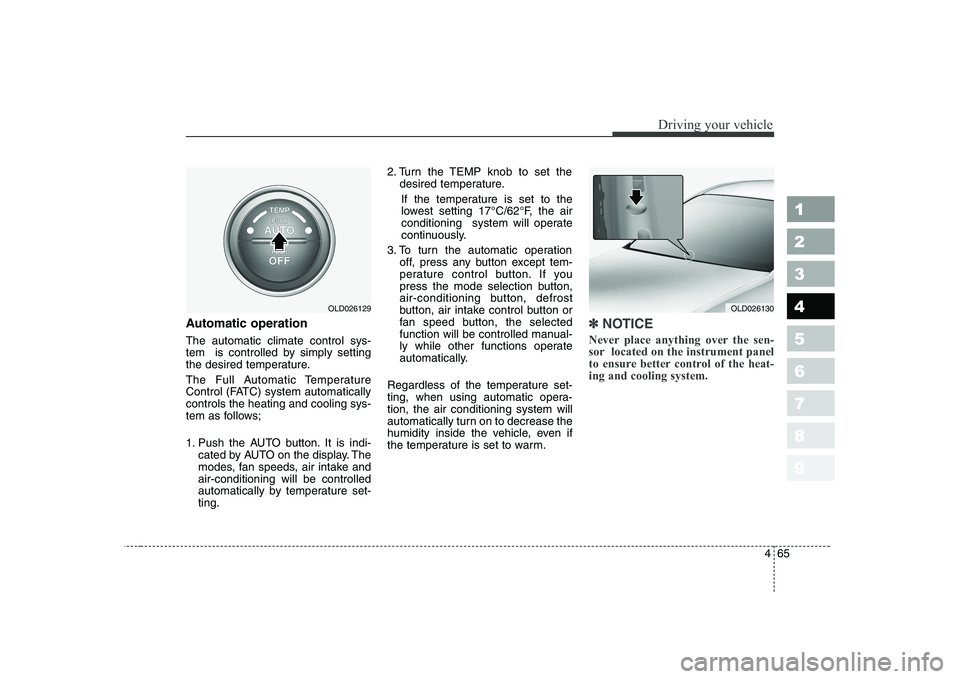
Automatic operation The automatic climate control sys-
tem is controlled by simply setting
the desired temperature.
The Full Automatic Temperature
Control (FATC) system automaticallycontrols the heating and cooling sys-
tem as follows;
1. Push the AUTO button. It is indi-cated by AUTO on the display. The
modes, fan speeds, air intake andair-conditioning will be controlled
automatically by temperature set-ting. 2. Turn the TEMP knob to set the
desired temperature.
If the temperature is set to the
lowest setting 17°C/62°F, the air
conditioning system will operate
continuously.
3. To turn the automatic operation off, press any button except tem-
perature control button. If you
press the mode selection button,
air-conditioning button, defrost
button, air intake control button or
fan speed button, the selected
function will be controlled manual-
ly while other functions operate
automatically.
Regardless of the temperature set-
ting, when using automatic opera-tion, the air conditioning system will
automatically turn on to decrease the
humidity inside the vehicle, even if
the temperature is set to warm.✽✽ NOTICE
Never place anything over the sen-
sor located on the instrument panel
to ensure better control of the heat-ing and cooling system.
OLD026129OLD026130