Page 311 of 438
will be displayed instead of dashes. A system fault can
occur with any of the following scenarios:
1. Jamming due to electronic devices or driving next to
facilities emitting the same radio frequencies as the TPM
sensors.
2. Installing some form of aftermarket window tinting
that affects radio wave signals.
3. Snow or ice around the wheels or wheel housings.
4. Using tire chains on the vehicle.
5. Using wheels/tires not equipped with TPM sensors.
NOTE:Your vehicle is equipped with a compact spare
wheel and tire assembly.
1. The compact spare tire does not have a tire pressure
monitoring sensor. Therefore, the TPMS will not monitor
the tire pressure in the compact spare tire.2. If you install the compact spare tire in place of a road
tire that has a pressure below the low-pressure warning
limit, upon the next ignition key cycle, a chime will
sound and the Tire Pressure Monitoring Telltale Light
will still turn ON due to the low tire.
3. However, after driving the vehicle for up to 10 min-
utes above 15 mph (25 km/h), the Tire Pressure Moni-
toring Telltale Light will flash on and off for 75 seconds
and then remain on solid.
4. For each subsequent ignition key cycle, a chime will
sound and the Tire Pressure Monitoring Telltale Light
will flash on and off for 75 seconds and then remain on
solid.
5. Once you repair or replace the original road tire and
reinstall it on the vehicle in place of the compact spare
tire, the TPMS will update automatically and the Tire
Pressure Monitoring Telltale Light will turn OFF, as long
as no tire pressure is below the low-pressure warning
STARTING AND OPERATING 309
5
Page 316 of 438

Carbon Monoxide Warnings
WARNING!
Carbon monoxide (CO) in exhaust gases is deadly.
Follow the precautions below to prevent carbon
monoxide poisoning:
•Do not inhale exhaust gases. They contain carbon
monoxide, a colorless and odorless gas which can kill.
Never run the engine in a closed area, such as a
garage, and never sit in a parked vehicle with the
engine running for an extended period of time. If the
vehicle is stopped in an open area with the engine
running for more than a short period, adjust the
ventilation system to force fresh, outside air into the
vehicle.
•Guard against carbon monoxide with proper mainte-
nance. Have the exhaust system inspected every time
the vehicle is raised. Have any abnormal conditions
repaired promptly. Until repaired, drive with all side
windows fully open.
•Keep the liftgate closed when driving your vehicle to
prevent carbon monoxide and other poisonous ex-
haust gases from entering the vehicle.
ADDING FUEL
Fuel Filler Cap (Gas Cap)
The gas cap is behind the fuel filler door, on the left side
of the vehicle. If the gas cap is lost or damaged, be sure
the replacement cap is for use with this vehicle.
314 STARTING AND OPERATING
Page 318 of 438
WARNING!
•Never have any smoking materials lit in or near
the vehicle when the gas cap is removed or the
tank filled.
•Never add fuel when the engine is running. This is
in violation of most state and Federal fire regula-
tions and will cause the Malfunction Indicator
Light (MIL) to turn on.
NOTE:Tighten the gas cap about 1/4 turn until you
hear one click. This is an indication that cap is properly
tightened.
If the gas cap is not tighten properly, the MIL will come
on. Be sure the gas cap is tightened every time the vehicle
is refueled.
WARNING!
A fire may result if gasoline is pumped into a
portable container that is inside of a vehicle. You
could be burned. Always place gas containers on the
ground while filling.
Loose Fuel Filler Cap Message
If the vehicle diagnostic system determines that the fuel
filler cap is loose or improperly installed, a “gASCAP”
message will be displayed in the Odometer/Trip Odom-
eter in the instrument cluster. Refer to “Instrument
Cluster Description” in Section 4 of this manual. Tighten
the fuel filler cap properly and press the odometer/trip
odometer RESET button to turn the message off. If the
problem continues, the message will appear the next time
316 STARTING AND OPERATING
Page 320 of 438

Common Towing Definitions
The following trailer towing related definitions will assist
you in understanding the information:
Gross Vehicle Weight Rating (GVWR)
The GVWR is the total allowable weight of your vehicle.
This includes driver, passengers, cargo and tongue
weight. The total load must be limited so that you do not
exceed the GVWR.
Gross Trailer Weight (GTW)
The gross trailer weight (GTW) is the weight of the trailer
plus the weight of all cargo, consumables and equipment
(permanent or temporary) loaded in or on the trailer in its
�loaded and ready for operation�condition. The recom-
mended way to measure GTW is to put your fully loaded
trailer on a vehicle scale. The entire weight of the trailer
must be supported by the scale.
Gross Combination Weight Rating (GCWR)
The gross combination weight rating (GCWR) is the total
permissible weight of your vehicle and trailer when
weighed in combination.
NOTE:The GCWR ratings include a 150 lbs (68 kg)
allowance for the presence of a driver.
Gross Axle Weight Rating (GAWR)
The GAWR is the maximum capacity of the front and rear
axles. Distribute the load over the front and rear axles
evenly. Make sure that you do not exceed either front or
rear GAWR.
WARNING!
It is important that you do not exceed the maximum
front or rear GAWR. A dangerous driving condition
can result if either rating is exceeded. You could lose
control of the vehicle and have an accident.
318 STARTING AND OPERATING
Page 322 of 438
WARNING!
An improperly adjusted weight-distributing hitch
system may reduce handling, stability, and braking
performance, and could result in an accident.
Weight-Distributing Systems may not be compatible
with Surge Brake Couplers. Consult with your hitch
and trailer manufacturer or a reputable Recreational
Vehicle dealer for additional information.
Trailer Hitch Classification
Your vehicle may be factory equipped for safe towing of
trailers weighing over 2,000 lbs (907 kg) with the optional
Trailer Tow Prep Package. See your authorized dealer for
package content.
The following chart provides the industry standard for
the maximum trailer weight a given trailer hitch class cantow and should be used to assist you in selecting the
correct trailer hitch for your intended towing condition.
Trailer Hitch Classification Definitions
Class Max. Trailer Hitch Industry
Standards
ClassI-LightDuty 2,000lbs(907 kg)
Class II - Medium
Duty3,500 lbs (1587 kg)
Class III - Heavy Duty 5,000 lbs (2268 kg)
Class IV - Extra
Heavy Duty10,000 lbs (4540 kg)
Refer to the “Trailer Towing Weights (Maximum
Trailer Weight Ratings)” chart for the Maximum
Gross Trailer Weight (GTW) towable for your given
drivetrain.
All trailer hitches should be professionally installed on
your vehicle.
320 STARTING AND OPERATING
Page 326 of 438
WARNING!
Improper towing can lead to an injury accident.
Follow these guidelines to make your trailer towing
as safe as possible:
Make certain that the load is secured in the trailer
and will not shift during travel. When trailering
cargo that is not fully secured, dynamic load shifts
can occur that may be difficult for the driver to
control. You could lose control of your vehicle and
have an accident.
•When hauling cargo or towing a trailer, do not over-
load your vehicle or trailer. Overloading can cause a
loss of control, poor performance or damage to brakes,
axle, engine, transmission, steering, suspension, chas-
sis structure or tires.
•Safety chains must always be used between your
vehicle and trailer. Always connect the chains to the
frame or hook retainers of the vehicle hitch. Cross the
chains under the trailer tongue and allow enough
slack for turning corners.
•Vehicles with trailers should not be parked on a grade.
When parking, apply the parking brake on the tow
vehicle. Put the tow vehicle automatic transmission in
PARK. Always block or�chock�the trailer wheels.
•GCWR must not be exceeded.
•Total weight must be distributed between the tow
vehicle and the trailer such that the following four
ratings are not exceeded:
1. GVWR
2. GTW
3. GAWR
324 STARTING AND OPERATING
Page 328 of 438
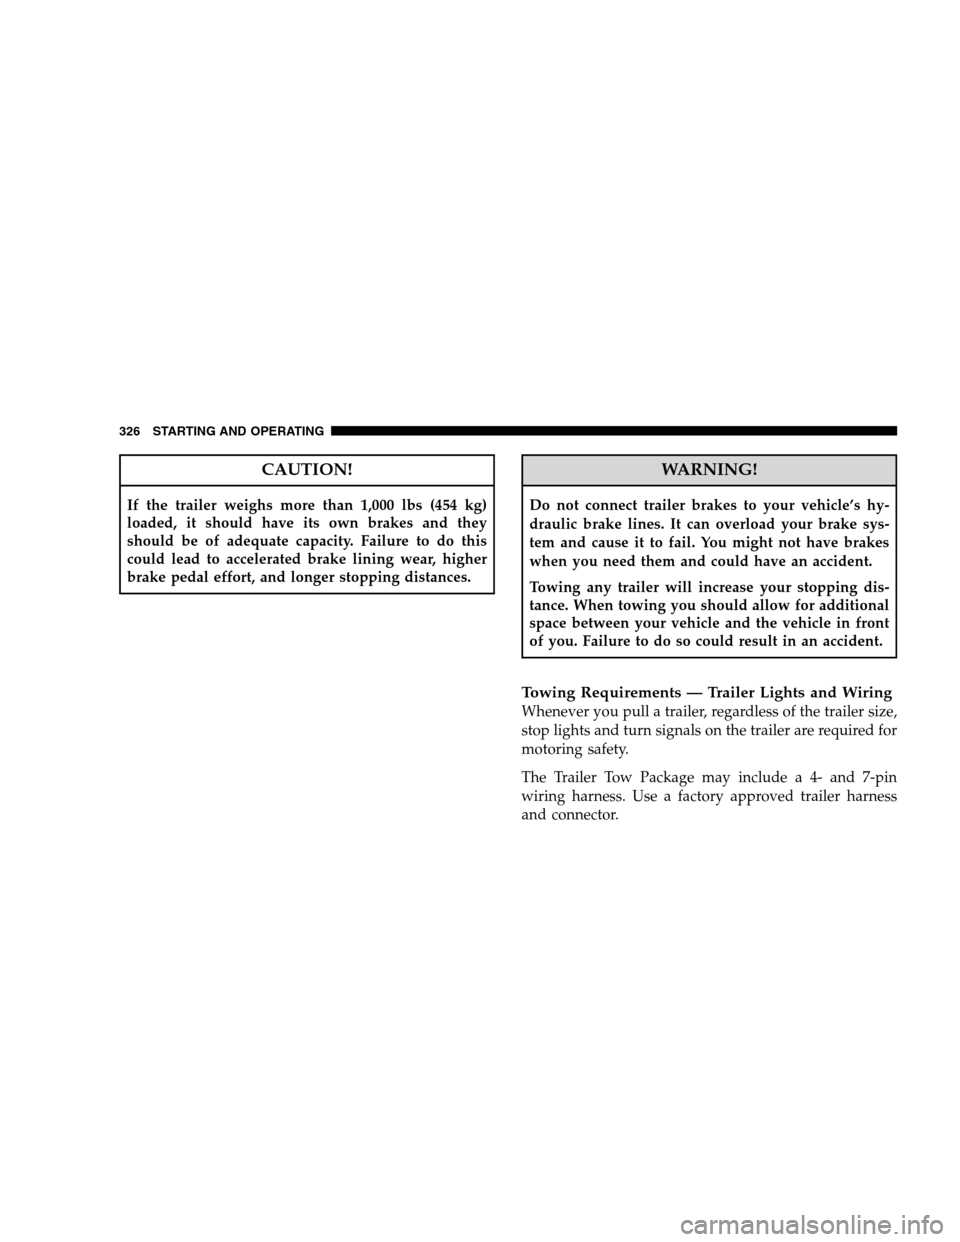
CAUTION!
If the trailer weighs more than 1,000 lbs (454 kg)
loaded, it should have its own brakes and they
should be of adequate capacity. Failure to do this
could lead to accelerated brake lining wear, higher
brake pedal effort, and longer stopping distances.
WARNING!
Do not connect trailer brakes to your vehicle’s hy-
draulic brake lines. It can overload your brake sys-
tem and cause it to fail. You might not have brakes
when you need them and could have an accident.
Towing any trailer will increase your stopping dis-
tance. When towing you should allow for additional
space between your vehicle and the vehicle in front
of you. Failure to do so could result in an accident.
Towing Requirements — Trailer Lights and Wiring
Whenever you pull a trailer, regardless of the trailer size,
stop lights and turn signals on the trailer are required for
motoring safety.
The Trailer Tow Package may include a 4- and 7-pin
wiring harness. Use a factory approved trailer harness
and connector.
326 STARTING AND OPERATING
Page 333 of 438
WHAT TO DO IN EMERGENCIES
CONTENTS
�Hazard Warning Flasher..................332
�If Your Engine Overheats.................332
�Automatic Transaxle Overheating...........333
�Jacking And Tire Changing................334
▫Jack Location........................334
▫Spare Tire Stowage....................335
▫Preparations For Jacking................335▫Jacking Instructions....................336
�Jump-Starting Procedures Due To A
Low Battery..........................340
�Freeing A Stuck Vehicle..................342
�Towing A Disabled Vehicle................343
▫With Ignition Key.....................343
▫Without The Ignition Key...............344
6