2008 INFINITI FX35 Coolant Temperature Sensor
[x] Cancel search: Coolant Temperature SensorPage 111 of 3924

AT-38
< SERVICE INFORMATION >
ON BOARD DIAGNOSTIC (OBD) SYSTEM
ON BOARD DIAGNOSTIC (OBD) SYSTEM
IntroductionINFOID:0000000001327143
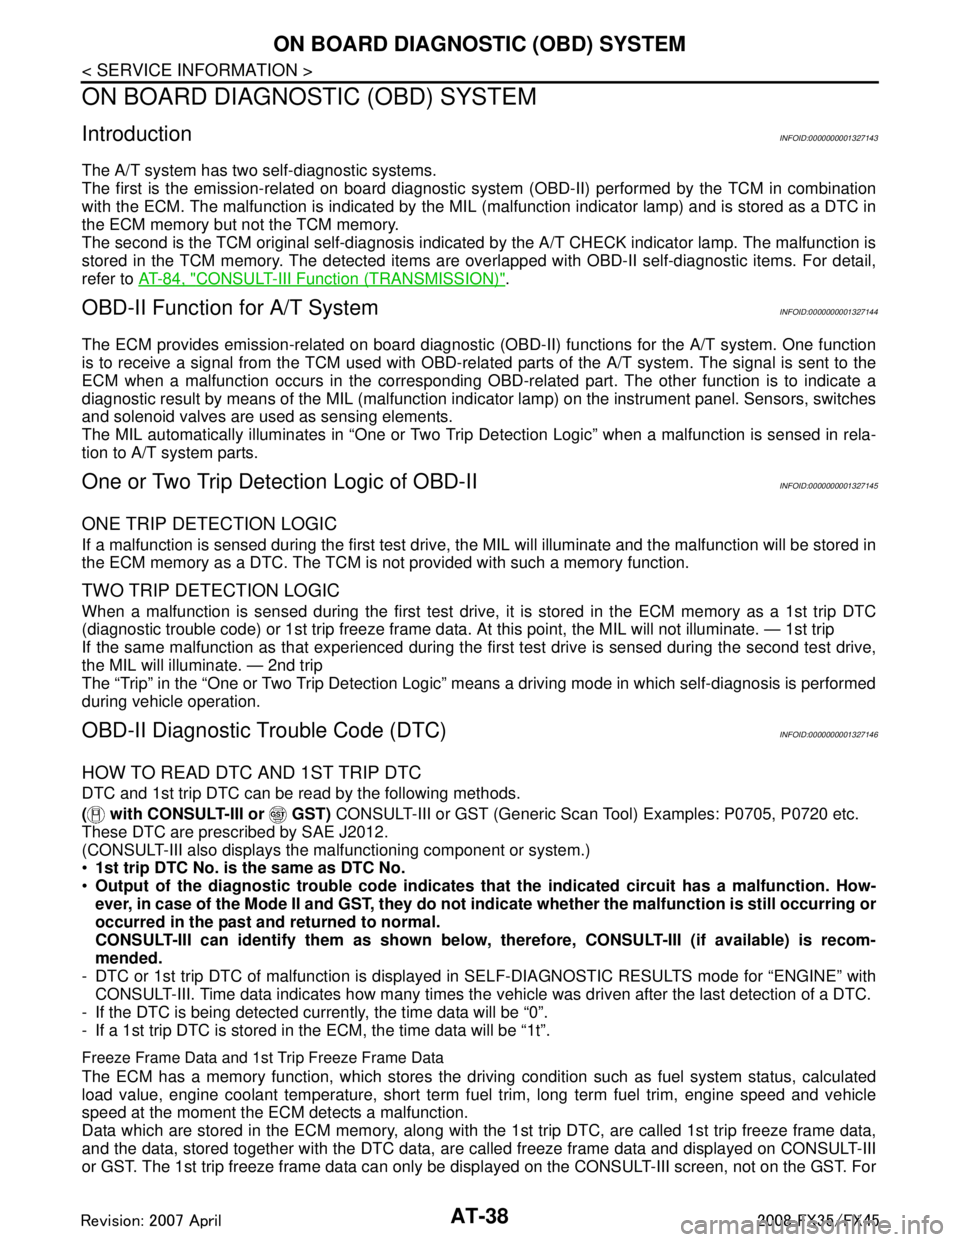
The A/T system has two self-diagnostic systems.
The first is the emission-related on board diagnostic syst em (OBD-II) performed by the TCM in combination
with the ECM. The malfunction is indicated by the MI L (malfunction indicator lamp) and is stored as a DTC in
the ECM memory but not the TCM memory.
The second is the TCM original self-diagnosis indicat ed by the A/T CHECK indicator lamp. The malfunction is
stored in the TCM memory. The detected items are ov erlapped with OBD-II self-diagnostic items. For detail,
refer to AT-84, "
CONSULT-III Function (TRANSMISSION)".
OBD-II Function for A/T SystemINFOID:0000000001327144
The ECM provides emission-related on board diagnostic (O BD-II) functions for the A/T system. One function
is to receive a signal from the TCM used with OBD-relat ed parts of the A/T system. The signal is sent to the
ECM when a malfunction occurs in the corresponding OBD-related part. The other function is to indicate a
diagnostic result by means of the MIL (malfunction indi cator lamp) on the instrument panel. Sensors, switches
and solenoid valves are used as sensing elements.
The MIL automatically illuminates in “One or Two Trip Detection Logic” when a malfunction is sensed in rela-
tion to A/T system parts.
One or Two Trip Detection Logic of OBD-IIINFOID:0000000001327145
ONE TRIP DETECTION LOGIC
If a malfunction is sensed during the first test drive, the MIL will illuminate and the malfunction will be stored in
the ECM memory as a DTC. The TCM is not provided with such a memory function.
TWO TRIP DETECTION LOGIC
When a malfunction is sensed during the first test drive, it is stored in the ECM memory as a 1st trip DTC
(diagnostic trouble code) or 1st trip freeze frame data. At this point, the MIL will not illuminate. — 1st trip
If the same malfunction as that experienced during the fi rst test drive is sensed during the second test drive,
the MIL will illuminate. — 2nd trip
The “Trip” in the “One or Two Trip Detection Logic” means a driving mode in which self-diagnosis is performed
during vehicle operation.
OBD-II Diagnostic Trouble Code (DTC)INFOID:0000000001327146
HOW TO READ DTC AND 1ST TRIP DTC
DTC and 1st trip DTC can be read by the following methods.
( with CONSULT-III or GST) CONSULT-III or GST (Generic Scan Tool) Examples: P0705, P0720 etc.
These DTC are prescribed by SAE J2012.
(CONSULT-III also displays the malfunctioning component or system.)
1st trip DTC No. is the same as DTC No.
Output of the diagnostic troubl e code indicates that the indicated circuit has a malfunction. How-
ever, in case of the Mode II and GST, they do not indicate whether the malfunction is still occurring or
occurred in the past and returned to normal.
CONSULT-III can identify them as shown below, therefore, CONSULT-III (if available) is recom-
mended.
- DTC or 1st trip DTC of malfunction is displayed in SELF-DIAGNOSTIC RESULTS mode for “ENGINE” with
CONSULT-III. Time data indicates how many times the vehicle was driven after the last detection of a DTC.
- If the DTC is being detected currently, the time data will be “0”.
- If a 1st trip DTC is stored in t he ECM, the time data will be “1t”.
Freeze Frame Data and 1st Trip Freeze Frame Data
The ECM has a memory function, which stores the driv ing condition such as fuel system status, calculated
load value, engine coolant temperature, short term f uel trim, long term fuel trim, engine speed and vehicle
speed at the moment the ECM detects a malfunction.
Data which are stored in the ECM memory, along with the 1st trip DTC, are called 1st trip freeze frame data,
and the data, stored together with the DTC data, are called freeze frame data and displayed on CONSULT-III
or GST. The 1st trip freeze frame data can only be disp layed on the CONSULT-III screen, not on the GST. For
3AA93ABC3ACD3AC03ACA3AC03AC63AC53A913A773A893A873A873A8E3A773A983AC73AC93AC03AC3
3A893A873A873A8F3A773A9D3AAF3A8A3A8C3A863A9D3AAF3A8B3A8C
Page 431 of 3924

ATC-26
< SERVICE INFORMATION >
AIR CONDITIONER CONTROL
The air mix doors are automatically controlled so that in-vehicle temperature is maintained at a predetermined
value by the temperature setting, ambient temper ature, in-vehicle temperature and amount of sunload.
FAN SPEED CONTROL
Blower speed is automatically controlled by the temperature setting, ambient temperature, in-vehicle tempera-
ture, intake temperature, amount of sunload and air mix door position.
With pressing AUTO switch, the blower motor starts to gradually increase air flow volume.
When engine coolant temperature is low, the blower moto r operation is delayed to prevent cool air from flow-
ing.
INTAKE DOOR CONTROL
The intake doors are automatically controlled by the tem perature setting, ambient temperature, in-vehicle tem-
perature, intake temperature, amount of s unload and ON/OFF operation of the compressor.
MODE DOOR CONTROL
The mode door is automatically controlled by the temperat ure setting, ambient temperature, in-vehicle temper-
ature, intake temperature and amount of sunload.
MAGNET CLUTCH CONTROL
When A/C switch, AUTO switch or DEF switch is pr essed, unified meter and A/C amp. transmits compressor
ON signal to BCM.
BCM sends compressor ON signal to ECM, via CAN communication.
ECM judges whether compressor can be turned ON, based on each sensor status (refrigerant-pressure sen-
sor signal, throttle angle, etc.). If it judges compre ssor can be turned ON, it sends compressor ON signal to
IPDM E/R, via CAN communication.
Upon receipt of compressor ON signal from ECM, IPDM E/R turns air conditioner relay ON to operate com-
pressor.
When sending compressor ON signal to IPDM E/R via CAN communication, ECM simultaneously sends com-
pressor feedback signal to unified meter and A/C amp. via CAN communication.
Unified meter and A/C amp., then, uses input compressor feedback signal to control air inlet.
SELF-DIAGNOSIS SYSTEM
The self-diagnosis system is built into the unified mete r and A/C amp. to quickly locate the cause of malfunc-
tions.
RJIA1957E
3AA93ABC3ACD3AC03ACA3AC03AC63AC53A913A773A893A873A873A8E3A773A983AC73AC93AC03AC3
3A893A873A873A8F3A773A9D3AAF3A8A3A8C3A863A9D3AAF3A8B3A8C
Page 471 of 3924

ATC-66
< SERVICE INFORMATION >
TROUBLE DIAGNOSIS
Intake sensor
System Operation
Automatic Mode
In the automatic mode, the blower motor speed is calculated by the unified meter and A/C amp. based on the
input from the PBR, in-vehicle sensor, sunl oad sensor, intake sensor and ambient sensor.
When the air flow is increased, the duty ratio of the blower fan motor’s drive signal is changed at 8%/sec. to
prevent a sudden increase in air flow.
In addition to manual air flow control and the usual automat ic air flow control, starting air flow control, low
water temperature starting control and high passenger co mpartment temperature starting control are avail-
able.
Starting Fan Speed Control
Start up from COLD SOAK Condition (Automatic mode)
In a cold start up condition where the engine coolant temperature is below 56 °C (133 °F), the blower will not
operate for a short period of time (up to 150 seconds ). The exact start delay time varies depending on the
ambient and engine coolant temperature.
In the most extreme case (very low ambient) the blower starting delay will be 150 seconds as described
above. After this delay, the blower will operate at lo w speed until the engine coolant temperature rises above
56 °C (133 °F), and then the blower speed will increase to the objective speed.
Start up from usual or HOT SOAK Condition (Automatic mode)
The blower will begin operation momentarily after the AU TO switch is pressed. The blower speed will gradu-
ally rise to the objective speed over a time period of 3 seconds or less (actual time depends on the objective
blower speed).
Blower Speed Compensation
Sunload
When the in-vehicle temperature and the set temperature are very close, the blower will be operating at low
speed. The low speed will vary depending on the sunload. Du ring conditions of low or no sunload, the blower
speed is at duty ratio 25%. During high sunload conditi ons, the unified meter and A/C amp. raise the blower
speed (duty ratio 49%).
Fan Speed Control Specification
RJIA1995E
RJIA1996E
3AA93ABC3ACD3AC03ACA3AC03AC63AC53A913A773A893A873A873A8E3A773A983AC73AC93AC03AC3
3A893A873A873A8F3A773A9D3AAF3A8A3A8C3A863A9D3AAF3A8B3A8C
Page 1100 of 3924
![INFINITI FX35 2008 Service Manual
WATER OUTLET AND WATER PIPINGCO-29
< SERVICE INFORMATION > [VQ35DE]
C
D
E
F
G H
I
J
K L
M A
CO
NP
O
WATER OUTLET AND WATER PIPING
ComponentINFOID:0000000001325860
Removal and InstallationINFOID:00000 INFINITI FX35 2008 Service Manual
WATER OUTLET AND WATER PIPINGCO-29
< SERVICE INFORMATION > [VQ35DE]
C
D
E
F
G H
I
J
K L
M A
CO
NP
O
WATER OUTLET AND WATER PIPING
ComponentINFOID:0000000001325860
Removal and InstallationINFOID:00000](/manual-img/42/57017/w960_57017-1099.png)
WATER OUTLET AND WATER PIPINGCO-29
< SERVICE INFORMATION > [VQ35DE]
C
D
E
F
G H
I
J
K L
M A
CO
NP
O
WATER OUTLET AND WATER PIPING
ComponentINFOID:0000000001325860
Removal and InstallationINFOID:0000000001325861
REMOVAL
1. Remove front engine undercover with power tool.
2. Drain engine coolant from radiator drain plug at the
bottom of radiator, and from water drain plug at the
front of cylinder block. Refer to CO-10, "
Changing Engine Coolant" and CO-22, "Component".
CAUTION:
Perform this step when the engine is cold.
Do not spill engine coolant on drive belts.
3. Remove engine cover with power tool. Refer to EM-19, "
Component".
4. Remove air duct (inlet), air duct and air cleaner case assembly. Refer to EM-17, "
Component".
5. Remove radiator hose (upper) and heater hose.
6. Remove the following parts, when remove water outlet. A/T fluid charging pipe: Refer to AT-241, "
Removal and Installation (2WD Models)".
Intake manifold collectors (upper and lower). Refer to EM-19, "
Component".
Rocker cover (right bank). Refer to EM-51, "
Component".
7. Remove engine coolant temperature sensor as necessary. CAUTION:
Be careful not to damage engi ne coolant temperature sensor.
8. Remove water outlet, heater pipe, water bypass hoses and water pipe.
INSTALLATION
1. Harness bracket 2. Water hose 3. Water bypass hose
4. Engine coolant temperature sensor 5. Gasket 6. Water outlet
7. Heater hose 8. Water pipe 9. Radiator hose (upper)
10. Heater pipe 11. Washer 12. O-ring
SBIA0484E
3AA93ABC3ACD3AC03ACA3AC03AC63AC53A913A773A893A873A873A8E3A773A983AC73AC93AC03AC3
3A893A873A873A8F3A773A9D3AAF3A8A3A8C3A863A9D3AAF3A8B3A8C
Page 1127 of 3924

DI-1
ELECTRICAL
C
DE
F
G H
I
J
L
M
SECTION DI
A
B
DI
N
O P
CONTENTS
DRIVER INFORMATION SYSTEM
SERVICE INFORMATION .. ..........................3
DTC INDEX ..................................................... .....3
U1000 - U1010 .................................................... ......3
B2202 - B2205 ..........................................................3
C1B00 - C1B03 .........................................................3
PRECAUTION .....................................................4
Precaution for Supplemental Restraint System
(SRS) "AIR BAG" and "SEAT BELT PRE-TEN-
SIONER" ............................................................. ......
4
COMBINATION METERS ...................................5
System Description ............................................. ......5
Component Parts and Harness Connector Loca-
tion ............................................................................
8
Arrangement of Combination Meter ..........................9
Circuit Diagram .......................................................10
Wiring Diagram - METER - .....................................11
Terminal and Reference Value for Combination
Meter .......................................................................
13
Terminal and Reference Value for Unified Meter
and A/C Amp ...........................................................
14
Self-Diagnosis Mode of Combination Meter ............14
CONSULT-III Function (METER/M&A) ...................15
Trouble Diagnosis ...................................................15
Symptom Chart .......................................................16
Power Supply and Ground Circuit Inspection .........16
Vehicle Speed Signal Inspection .............................17
Engine Speed Signal Inspection .............................18
Engine Coolant Temperature Signal Inspection ......19
Fuel Level Sensor Signal Inspection .......................19
Fuel Gauge Pointer Fluctuates, Indicator Wrong
Value or Varies ........................................................
21
Fuel Gauge Does Not Move to FULL Position ........21
Odo/Trip Meter and Illumination Control Switch In-
spection ............................................................... ....
21
Electrical Component Inspection .............................21
Removal and Installation of Combination Meter .....22
Disassembly and Assembly of Combination Meter
....
23
Removal and Installation of Odo/Trip Meter and Il-
lumination Control Switch .................................... ....
24
UNIFIED METER AND A/C AMP ......................26
System Description ..................................................26
Schematic ................................................................27
CONSULT-III Function (METER/M&A) ....................27
Power Supply and Ground Circuit Inspection ..........29
DTC [U1000] CAN Communication Circuit ..............30
DTC [B2202] Meter Commun ication Circuit ............30
DTC [B2205] Vehicle Speed Circuit .................... ....32
Removal and Installation of Unified Meter and A/C
Amp .........................................................................
32
WARNING LAMPS ............................................34
System Description .............................................. ....34
Schematic ................................................................35
Wiring Diagram - WARN - .......................................36
Oil Pressure Warning Lamp Stays Off (Ignition
Switch ON) .......................................................... ....
43
Oil Pressure Warning Lamp Does Not Turn Off
(Oil Pressure Is Normal) ...................................... ....
45
Component Inspection .............................................46
A/T INDICATOR ................................................47
System Description ..................................................47
Wiring Diagram - AT/IND - .......................................48
A/T Indicator Is Malfunction .....................................49
WARNING CHIME .............................................51
System Description .............................................. ....51
Component Parts and Harness Connector Loca-
tion ...........................................................................
53
Schematic ................................................................54
Wiring Diagram - CHIME - .......................................55
Terminal and Reference Value for BCM ..................57
Terminal and Reference Value for Unified Meter
and A/C Amp. ...................................................... ....
59
Terminal and Reference Value for Combination
Meter .......................................................................
59
CONSULT-III Function (METER/M&A) ....................60
3AA93ABC3ACD3AC03ACA3AC03AC63AC53A913A773A893A873A873A8E3A773A983AC73AC93AC03AC3
3A893A873A873A8F3A773A9D3AAF3A8A3A8C3A863A9D3AAF3A8B3A8C
Page 1132 of 3924

DI-6
< SERVICE INFORMATION >
COMBINATION METERS
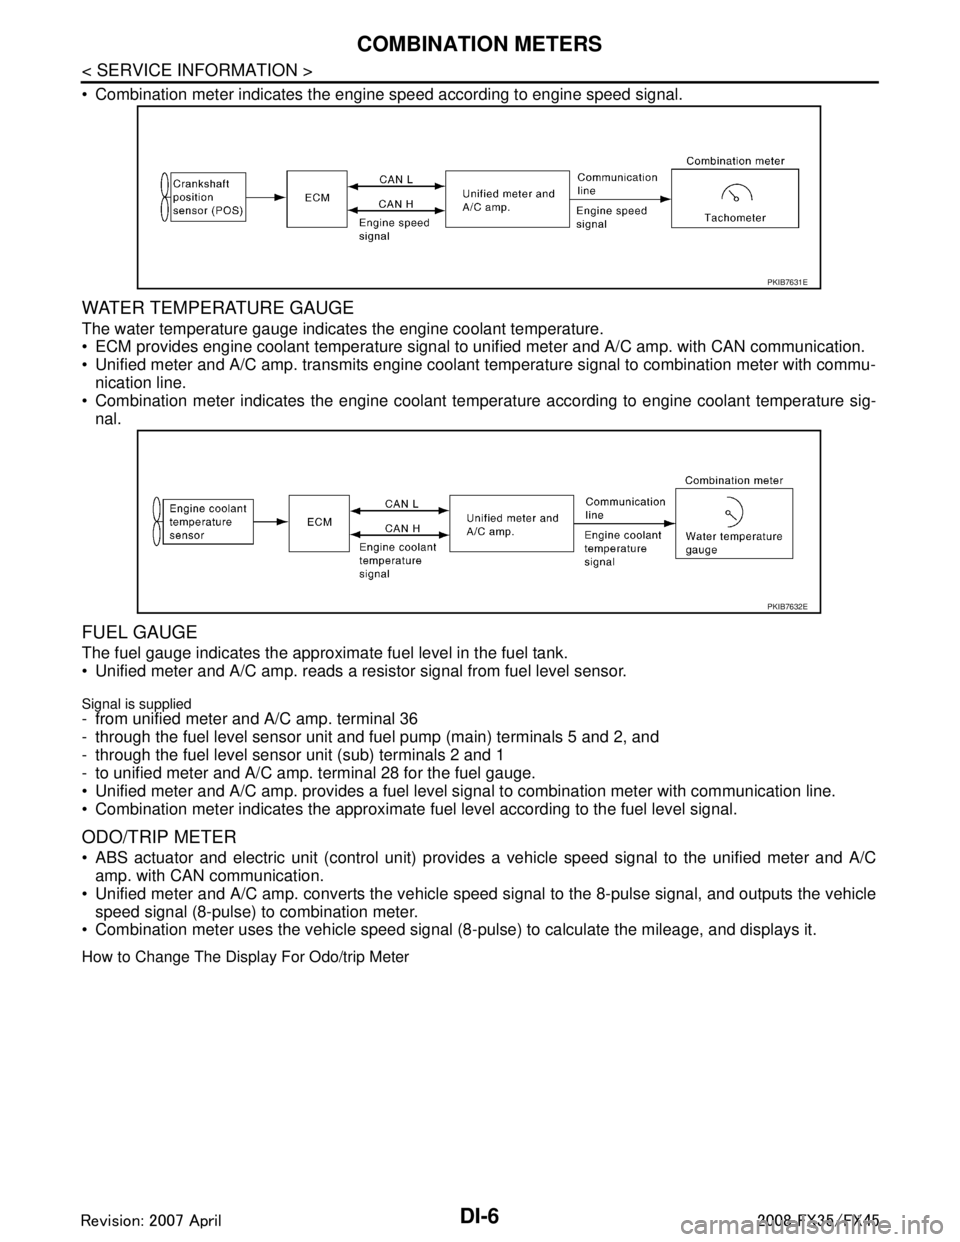
Combination meter indicates the engine speed according to engine speed signal.
WATER TEMPERATURE GAUGE
The water temperature gauge indicates the engine coolant temperature.
ECM provides engine coolant temperature signal to unified meter and A/C amp. with CAN communication.
Unified meter and A/C amp. transmits engine coolant temperature signal to combination meter with commu-
nication line.
Combination meter indicates the engine coolant temper ature according to engine coolant temperature sig-
nal.
FUEL GAUGE
The fuel gauge indicates the approximate fuel level in the fuel tank.
Unified meter and A/C amp. reads a resistor signal from fuel level sensor.
Signal is supplied- from unified meter and A/C amp. terminal 36
- through the fuel level sensor unit and fuel pump (main) terminals 5 and 2, and
- through the fuel level sensor unit (sub) terminals 2 and 1
- to unified meter and A/C amp. terminal 28 for the fuel gauge.
Unified meter and A/C amp. provides a fuel level signal to combination meter with communication line.
Combination meter indicates the approximate fuel level according to the fuel level signal.
ODO/TRIP METER
ABS actuator and electric unit (control unit) provi des a vehicle speed signal to the unified meter and A/C
amp. with CAN communication.
Unified meter and A/C amp. converts the vehicle s peed signal to the 8-pulse signal, and outputs the vehicle
speed signal (8-pulse) to combination meter.
Combination meter uses the vehicle speed signal (8- pulse) to calculate the mileage, and displays it.
How to Change The Display For Odo/trip Meter
PKIB7631E
PKIB7632E
3AA93ABC3ACD3AC03ACA3AC03AC63AC53A913A773A893A873A873A8E3A773A983AC73AC93AC03AC3
3A893A873A873A8F3A773A9D3AAF3A8A3A8C3A863A9D3AAF3A8B3A8C
Page 1142 of 3924

DI-16
< SERVICE INFORMATION >
COMBINATION METERS
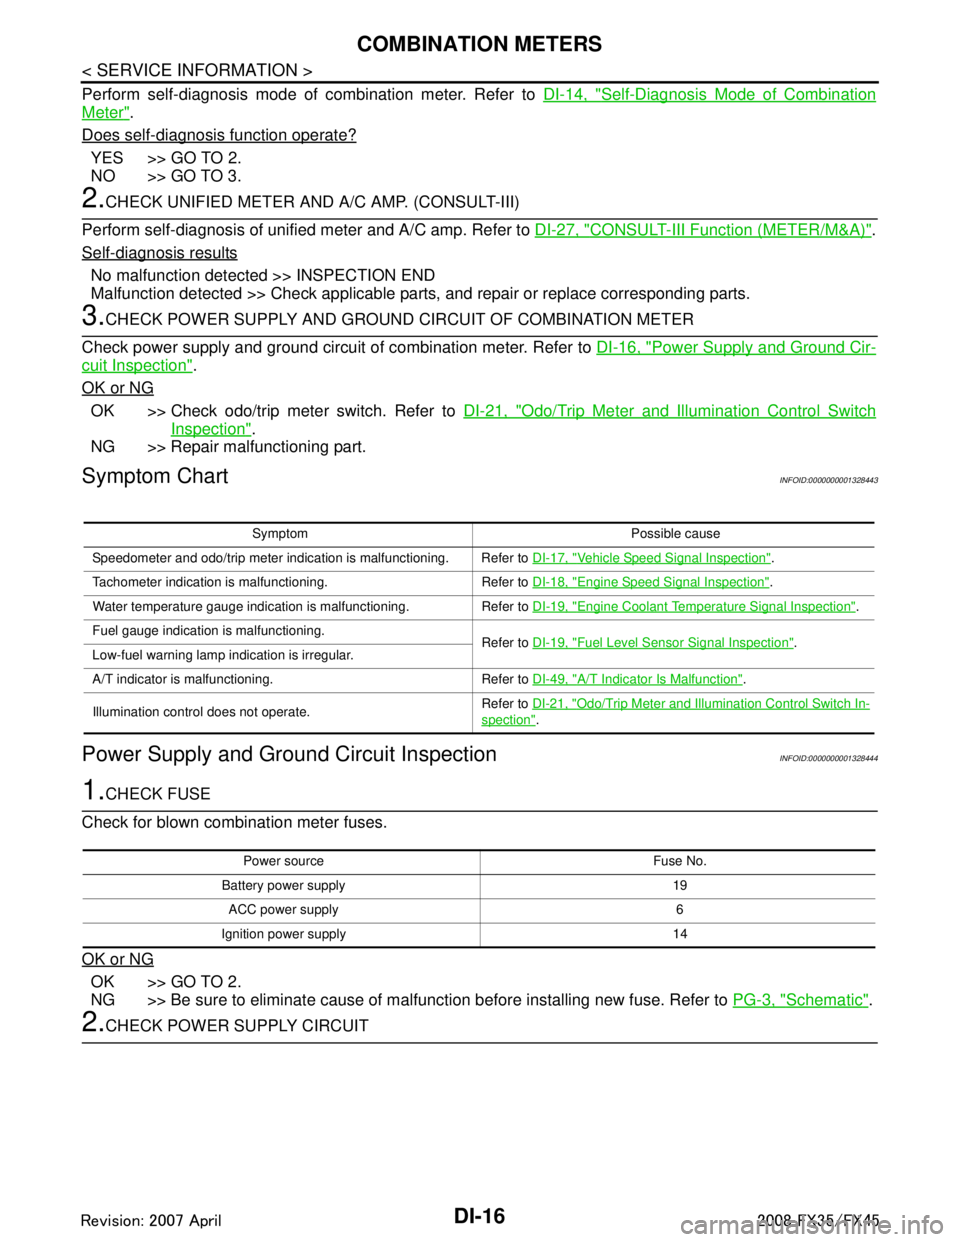
Perform self-diagnosis mode of combination meter. Refer to DI-14, "Self-Diagnosis Mode of Combination
Meter".
Does self-diagnosis function operate?
YES >> GO TO 2.
NO >> GO TO 3.
2.CHECK UNIFIED METER AND A/C AMP. (CONSULT-III)
Perform self-diagnosis of unified meter and A/C amp. Refer to DI-27, "
CONSULT-III Function (METER/M&A)".
Self-diagnosis results
No malfunction detected >> INSPECTION END
Malfunction detected >> Check applicable parts, and repair or replace corresponding parts.
3.CHECK POWER SUPPLY AND GROUND CIRCUIT OF COMBINATION METER
Check power supply and ground circuit of combination meter. Refer to DI-16, "
Power Supply and Ground Cir-
cuit Inspection".
OK or NG
OK >> Check odo/trip meter switch. Refer to DI-21, "Odo/Trip Meter and Illumination Control Switch
Inspection".
NG >> Repair malfunctioning part.
Symptom ChartINFOID:0000000001328443
Power Supply and Ground Circuit InspectionINFOID:0000000001328444
1.CHECK FUSE
Check for blown combination meter fuses.
OK or NG
OK >> GO TO 2.
NG >> Be sure to eliminate cause of malfunction before installing new fuse. Refer to PG-3, "
Schematic".
2.CHECK POWER SUPPLY CIRCUIT
Symptom Possible cause
Speedometer and odo/trip meter indication is malfunctioning. Refer to DI-17, "
Vehicle Speed Signal Inspection".
Tachometer indication is malfunctioning. Refer to DI-18, "
Engine Speed Signal Inspection".
Water temperature gauge indication is malfunctioning. Refer to DI-19, "
Engine Coolant Temperature Signal Inspection".
Fuel gauge indication is malfunctioning. Refer to DI-19, "
Fuel Level Sensor Signal Inspection".
Low-fuel warning lamp indication is irregular.
A/T indicator is malfunctioning. Refer to DI-49, "
A/T Indicator Is Malfunction".
Illumination control does not operate. Refer to
DI-21, "
Odo/Trip Meter and Illumination Control Switch In-
spection".
Power source Fuse No.
Battery power supply 19 ACC power supply 6
Ignition power supply 14
3AA93ABC3ACD3AC03ACA3AC03AC63AC53A913A773A893A873A873A8E3A773A983AC73AC93AC03AC3
3A893A873A873A8F3A773A9D3AAF3A8A3A8C3A863A9D3AAF3A8B3A8C
Page 1145 of 3924

COMBINATION METERSDI-19
< SERVICE INFORMATION >
C
DE
F
G H
I
J
L
M A
B
DI
N
O P
Engine Coolant Temperature Signal InspectionINFOID:0000000001328447
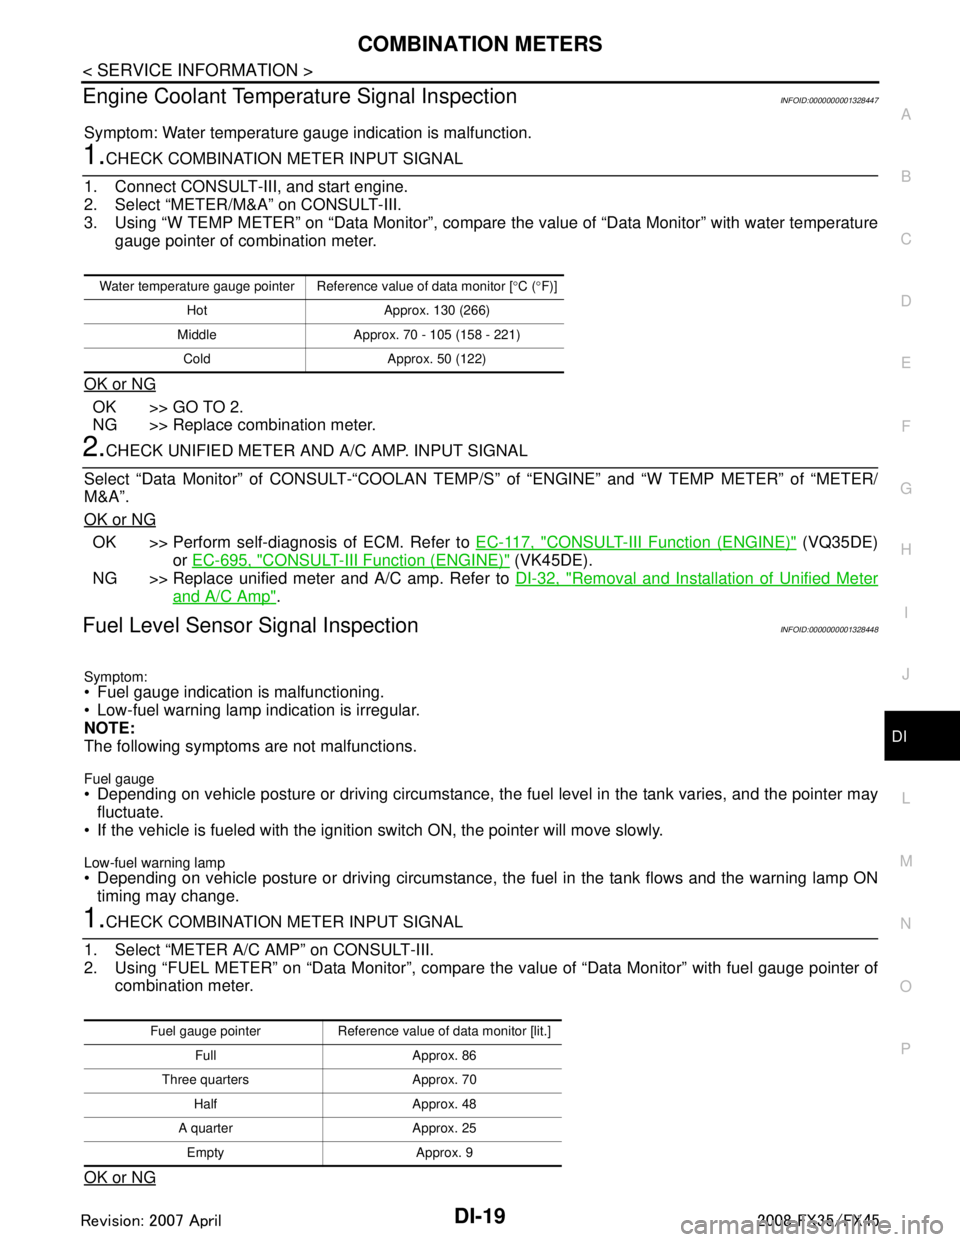
Symptom: Water temperature gauge indication is malfunction.
1.CHECK COMBINATION METER INPUT SIGNAL
1. Connect CONSULT-III, and start engine.
2. Select “METER/M&A” on CONSULT-III.
3. Using “W TEMP METER” on “Data Monitor”, compare the value of “Data Monitor” with water temperature
gauge pointer of combination meter.
OK or NG
OK >> GO TO 2.
NG >> Replace combination meter.
2.CHECK UNIFIED METER AND A/C AMP. INPUT SIGNAL
Select “Data Monitor” of CONSULT-“COOLAN TEMP/S ” of “ENGINE” and “W TEMP METER” of “METER/
M&A”.
OK or NG
OK >> Perform self-diagnosis of ECM. Refer to EC-117, "CONSULT-III Function (ENGINE)" (VQ35DE)
or EC-695, "
CONSULT-III Function (ENGINE)" (VK45DE).
NG >> Replace unified meter and A/C amp. Refer to DI-32, "
Removal and Installation of Unified Meter
and A/C Amp".
Fuel Level Sensor Signal InspectionINFOID:0000000001328448
Symptom:
Fuel gauge indication is malfunctioning.
Low-fuel warning lamp indication is irregular.
NOTE:
The following symptoms are not malfunctions.
Fuel gauge Depending on vehicle posture or driving circumstance, the fuel level in the tank varies, and the pointer may
fluctuate.
If the vehicle is fueled with the ignition switch ON, the pointer will move slowly.
Low-fuel warning lamp
Depending on vehicle posture or driving circumstance, t he fuel in the tank flows and the warning lamp ON
timing may change.
1.CHECK COMBINATION METER INPUT SIGNAL
1. Select “METER A/C AMP” on CONSULT-III.
2. Using “FUEL METER” on “Data Monitor”, compare t he value of “Data Monitor” with fuel gauge pointer of
combination meter.
OK or NG
Water temperature gauge pointer Reference value of data monitor [ °C ( °F)]
Hot Approx. 130 (266)
Middle Approx. 70 - 105 (158 - 221) Cold Approx. 50 (122)
Fuel gauge pointer Reference value of data monitor [lit.] Full Approx. 86
Three quarters Approx. 70 Half Approx. 48
A quarter Approx. 25 Empty Approx. 9
3AA93ABC3ACD3AC03ACA3AC03AC63AC53A913A773A893A873A873A8E3A773A983AC73AC93AC03AC3
3A893A873A873A8F3A773A9D3AAF3A8A3A8C3A863A9D3AAF3A8B3A8C