Page 53 of 392
461. Avoid fuel ejection
2. Disconnect fuel tank hose
3. Disconnect fuel tank return hose
4. Disconnect fuel tank gas exhaust hose
5. Detach fuel pump assembly with filter screen. See (Figure 103)
Using special tool, loose fuel tank cap. Be careful not to bend the fuel
level sensor arm when pulling out fuel pump.
6. Install fuel pump assembly. See (Figure 104). Replace ring seal .
Align the tab on the fuel pump to the notch on the fuel tank port. Tighten
the fuel tank cap with special tool.
Torque: 40N. m
7. Install fuel gas exhaust hose
(a) Install return hose;
(b) Install fuel hose;
(c) Check fuel for leakage.Figure 103
Figure 104New Washer
Page 54 of 392

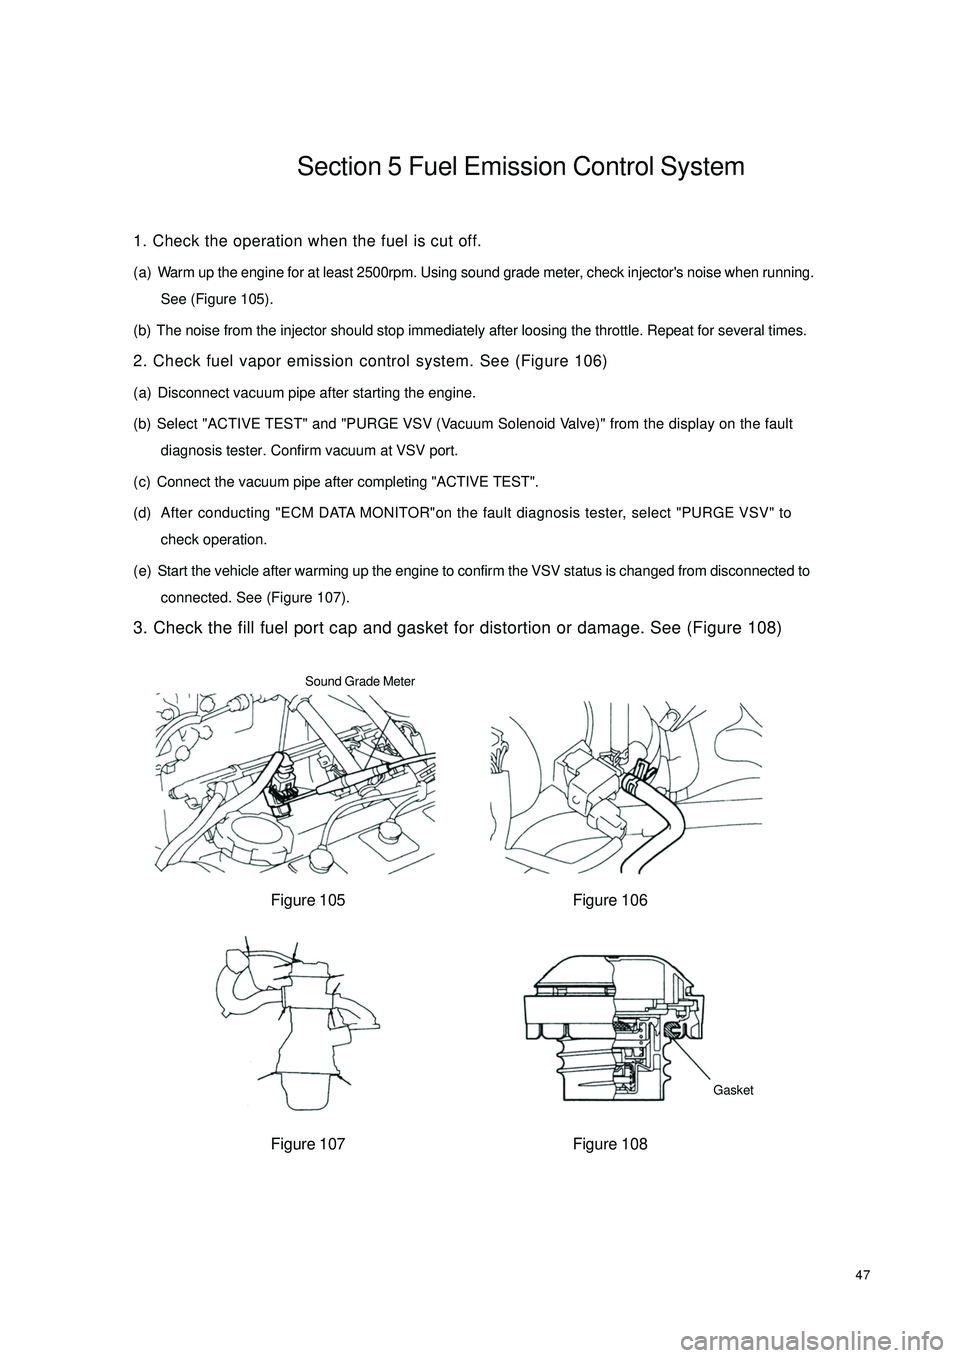
47Section 5 Fuel Emission Control System1. Check the operation when the fuel is cut off.
(a) Warm up the engine for at least 2500rpm. Using sound grade meter, check injector's noise when running.
See (Figure 105).
(b) The noise from the injector should stop immediately after loosing the throttle. Repeat for several times.
2. Check fuel vapor emission control system. See (Figure 106)
(a) Disconnect vacuum pipe after starting the engine.
(b) Select "ACTIVE TEST" and "PURGE VSV (Vacuum Solenoid Valve)" from the display on the fault
diagnosis tester. Confirm vacuum at VSV port.
(c) Connect the vacuum pipe after completing "ACTIVE TEST".
(d) After conducting "ECM DATA MONITOR"on the fault diagnosis tester, select "PURGE VSV" to
check operation.
(e) Start the vehicle after warming up the engine to confirm the VSV status is changed from disconnected to
connected. See (Figure 107).
3. Check the fill fuel port cap and gasket for distortion or damage. See (Figure 108)
Figure 105 Figure 106
Figure 107 Figure 108Sound Grade Meter
Gasket
Page 325 of 392
318Chapter 2 Inside & outside Trim and AccessorySection 1 Configuration Index(I) Outside Trim And Front Accessory1 Door handle 6 Windshield
Front fender
(See the engine hood adjustment)
Front bumper
(See front bumper
r em o v a l/ in s t allat io n )
The engine hood
(See the engine hood
r em o v a l/ in s t a llat io n )
Elec tric outs ide rear view mirror
(See elec tric outs ide rear view
m ir r o r r em o v a l/ in s t allat io n ) 5 Co w l v e n t g r ille 1 0Front mudguard skirt
4 9 Fuel fill port cap 2 Ra d ia t o r g r ill a s s em b ly 7
38