2008 FORD SUPER DUTY automatic transmission fluid
[x] Cancel search: automatic transmission fluidPage 20 of 368

Fuel gauge:Indicates
approximately how much fuel is left
in the fuel tank (when the ignition
is in the RUN position). The fuel
gauge may vary slightly when the
vehicle is in motion or on a grade.
The FUEL icon and arrow indicates
which side of the vehicle the fuel
filler door is located.
Refer toFilling the tankin theMaintenance and Specifications
chapter for more information.
Battery voltage gauge (manual
transmission only):Indicates the
battery voltage when the ignition is
in the RUN position. If the pointer
moves and stays outside the normal
operating range, have the vehicle’s
electrical system checked as soon as
possible.
Transmission fluid temperature gauge (automatic transmission
only):If the gauge is in the:
Normal area(normal) - the
transmission fluid is within the
normal operating temperature
(between “H” and “C”).
Yellow area(warning) — the
transmission fluid is higher than
normal operating temperature. This
can be caused by special operation
conditions (i.e. snowplowing, towing
or off road use). Refer toSpecial
Operating Conditionsin the
scheduled maintenance
informationfor instructions. Operating the transmission for extended
periods of time with the gauge in the yellow area may cause internal
transmission damage.
2008 F-250/350/450/550(f23)
Owners Guide (post-2002-fmt)
USA(fus)
Instrument Cluster
20
Page 230 of 368

•Disconnect the trailer tow electrical connector to prevent blown fuses
caused by water entering into your trailer’s electrical wiring.
Exceeding these limits may allow water to enter critical vehicle
components, adversely affecting driveability, emissions and reliability.
Replace front and rear axle lubricants any time the axles have been
submerged in water. Axle lubricant quantities are not to be checked
unless a leak is suspected.
RECREATIONAL TOWING
An example of recreational towing is towing your vehicle behind a
motorhome. The following recreational towing guidelines are designed to
ensure that your transmission is not damaged.
Transmission Drivetrain
configurationRequirements for neutral
towing
Manual 4x2 Remove driveshaft
1
Automatic
Manual 4x4 with
manual-shift
transfer caseTransmission in Neutral;
Transfer case in N
(Neutral); Hublocks set to
FREE
2Automatic
Manual 4x4 with
electronic-shift
transfer caseTransmission in neutral;
Remove rear driveshaft;
Transfer case set to 2WD
4;
Hublocks set to AUTO2, 3Automatic
1Ford recommends the driveshaft be removed/installed only by a
qualified technician. See your local authorized dealer for driveshaft
removal/installation.Improper removal/installation of the driveshaft
can cause transmission fluid loss, damage to the driveshaft and
internal transmission components.
2Always make sure that both hub locks are set to the same position.
3To ensure the automatic hub locks are unlocked, cycle the hub lock dial
from AUTO to LOCK and back to AUTO.
4To ensure the transfer case is in 2WD, turn the ignition key on, then
shift to 2WD. The 4x4 HIGH light or 4x4 LOW light should not be
illuminated in the instrument cluster; if either one is illuminated, the
transfer case is not in 2WD.
2008 F-250/350/450/550(f23)
Owners Guide (post-2002-fmt)
USA(fus)
Tires, Wheels and Loading
230
Page 258 of 368

can be found in theMaintenance and Specificationschapter. You
should become thoroughly familiar with this information before you
operate your vehicle.
Normal characteristics
On some 4WD models, the initial shift from two-wheel drive to 4x4 while
the vehicle is moving can cause some momentary clunk and ratcheting
sounds. This is the front drivetrain coming up to speed and the
automatic locking hubs engaging and is not cause for concern.
Sand
When driving over sand, try to keep all four wheels on the most solid
area of the trail. Avoid reducing the tire pressures but shift to a lower
gear and drive steadily through the terrain. Apply the accelerator slowly
and avoid spinning the wheels.
Avoid excessive speed because vehicle momentum can work against you
and cause the vehicle to become stuck to the point that assistance may
be required from another vehicle. Remember, you may be able to back
out the way you came if you proceed with caution.
Mud and water
If you must drive through high
water, drive slowly. Traction or
brake capability may be limited.
When driving through water,
determine the depth; avoid water
higher than the bottom of the hubs
(if possible) and proceed slowly. If
the ignition system gets wet, the
vehicle may stall.
Once through water, always try the brakes. Wet brakes do not stop the
vehicle as effectively as dry brakes. Drying can be improved by moving
your vehicle slowly while applying light pressure on the brake pedal.
Be cautious of sudden changes in vehicle speed or direction when you
are driving in mud. Even 4WD vehicles can lose traction in slick mud. As
when you are driving over sand, apply the accelerator slowly and avoid
spinning your wheels. If the vehicle does slide, steer in the direction of
the slide until you regain control of the vehicle.
If the transmission, transfer case or front axle are submerged in water,
their fluids should be checked and changed, if necessary.
Driving through deep water may damage the transmission.
2008 F-250/350/450/550(f23)
Owners Guide (post-2002-fmt)
USA(fus)
Driving
258
Page 264 of 368

All occupants of the vehicle, including the driver, should always
properly wear their safety belts, even when an air bag
supplemental restraint system (SRS) is provided.
Never remove or defeat the “tripping mechanisms” designed into the
snow removal equipment by its manufacturer. Doing so may cause
damage to the vehicle and the snow removal equipment as well as
possible airbag deployment.
Do not attempt to service, repair, or modify the air bag
supplemental restraint system (SRS) or its fuses. See your Ford
or Lincoln Mercury dealer.
Additional equipment such as snowplow equipment may effect
the performance of the airbag sensors increasing the risk of
injury. Please refer to theFord Truck Body Builders Layout Bookfor
instructions about the appropriate installation of additional equipment.
Transmission operation while plowing
Operate the vehicle with the automatic transmission gearshift lever in
the D (Overdrive) position and Tow/Haul OFF.
•Shift transfer case to 4x4 LOW when plowing in small areas at speeds
below 5 mph (8 km/h).
•Shift transfer case to 4x4 HIGH when plowing larger areas or light
snow at higher speeds. Do not exceed 15 mph (24 km/h).
•Do not shift the transmission from a forward gear to R (Reverse) until
the engine is at idle and the wheels are stopped.
•If the vehicle is stuck, shift the transmission in a steady motion
between forward and reverse gears. Do not rock the vehicle for more
than a few minutes. The transmission and tires may be damaged or
the engine can overheat.
Do not rock the vehicle if the engine is not at normal operating
temperature. Do not rock the vehicle for more than a minute. The
transmission and tires may be damaged or the engine may overheat.
Refer toTransmission fluid temperature gaugein theInstrument
Clusterchapter for transmission fluid temperature information.
Do not spin the wheels at over 35 mph (55 km/h). The tires may
fail and injure a passenger or bystander.
2008 F-250/350/450/550(f23)
Owners Guide (post-2002-fmt)
USA(fus)
Driving
264
Page 314 of 368

SERVICE RECOMMENDATIONS
To help you service your vehicle:
•We highlight do-it-yourself items in the engine compartment for easy
location.
•We provide a scheduled maintenance guide which makes tracking
routine service easy.
If your vehicle requires professional service, your authorized dealer can
provide the necessary parts and service. Check yourWarranty
Guide/Owner Information Guideto find out which parts and services
are covered.
Use only recommended fuels, lubricants, fluids and service parts
conforming to specifications. Motorcraft parts are designed and built to
provide the best performance in your vehicle.
PRECAUTIONS WHEN SERVICING YOUR VEHICLE
•Do not work on a hot engine.
•Make sure that nothing gets caught in moving parts.
•Do not work on a vehicle with the engine running in an enclosed
space, unless you are sure you have enough ventilation.
•Keep all open flames and other burning (cigarettes) material away
from the battery and all fuel related parts.
Working with the engine off
•Automatic transmission:
1. Set the parking brake and shift to P (Park).
2. Turn off the engine and remove the key.
3. Block the wheels.
•Manual transmission:
1. Set the parking brake, depress the clutch and place the gearshift in 1
(First).
2. Turn off the engine and remove the key.
3. Block the wheels.
Working with the engine on
•Automatic transmission:
1. Set the parking brake and shift to P (Park).
2008 F-250/350/450/550(f23)
Owners Guide (post-2002-fmt)
USA(fus)
Maintenance and Specifications
314
Page 316 of 368

IDENTIFYING COMPONENTS IN THE ENGINE COMPARTMENT
Refer to the6.0/6.4 Liter Power Stroke Direct Injection Turbo Diesel
Owner’s Guide Supplementfor diesel engine component locations.
5.4L V8 gasoline engines
1. Windshield washer fluid reservoir
2. Battery
3. Transmission fluid dipstick (automatic transmission)
4. Engine oil filler cap
5. Engine oil dipstick
6. Power steering fluid reservoir
7. Brake fluid reservoir
8. Engine coolant reservoir
9. Air filter assembly
10. Power distribution box
2008 F-250/350/450/550(f23)
Owners Guide (post-2002-fmt)
USA(fus)
Maintenance and Specifications
316
Page 317 of 368

6.8L V10 gasoline engine
1. Windshield washer fluid reservoir
2. Battery
3. Transmission fluid dipstick (automatic transmission)
4. Engine oil filler cap
5. Engine oil dipstick
6. Power steering fluid reservoir
7. Brake fluid reservoir
8. Engine coolant reservoir
9. Air filter assembly
10. Power distribution box
2008 F-250/350/450/550(f23)
Owners Guide (post-2002-fmt)
USA(fus)
Maintenance and Specifications
317
Page 343 of 368

Carefully read cautionary information on product label. For
MEDICAL EMERGENCY INFORMATION, contact a physician or
Poison Control Center immediately; on Ford-Motorcraft products call:
1-800-959-3673 (FORD). Failure to follow these instructions may result
in personal injury.
During normal operation, the fluid level in the clutch reservoir should
remain constant or rise slightly. If the fluid level drops, refill the fluid
level to the step in the reservoir.
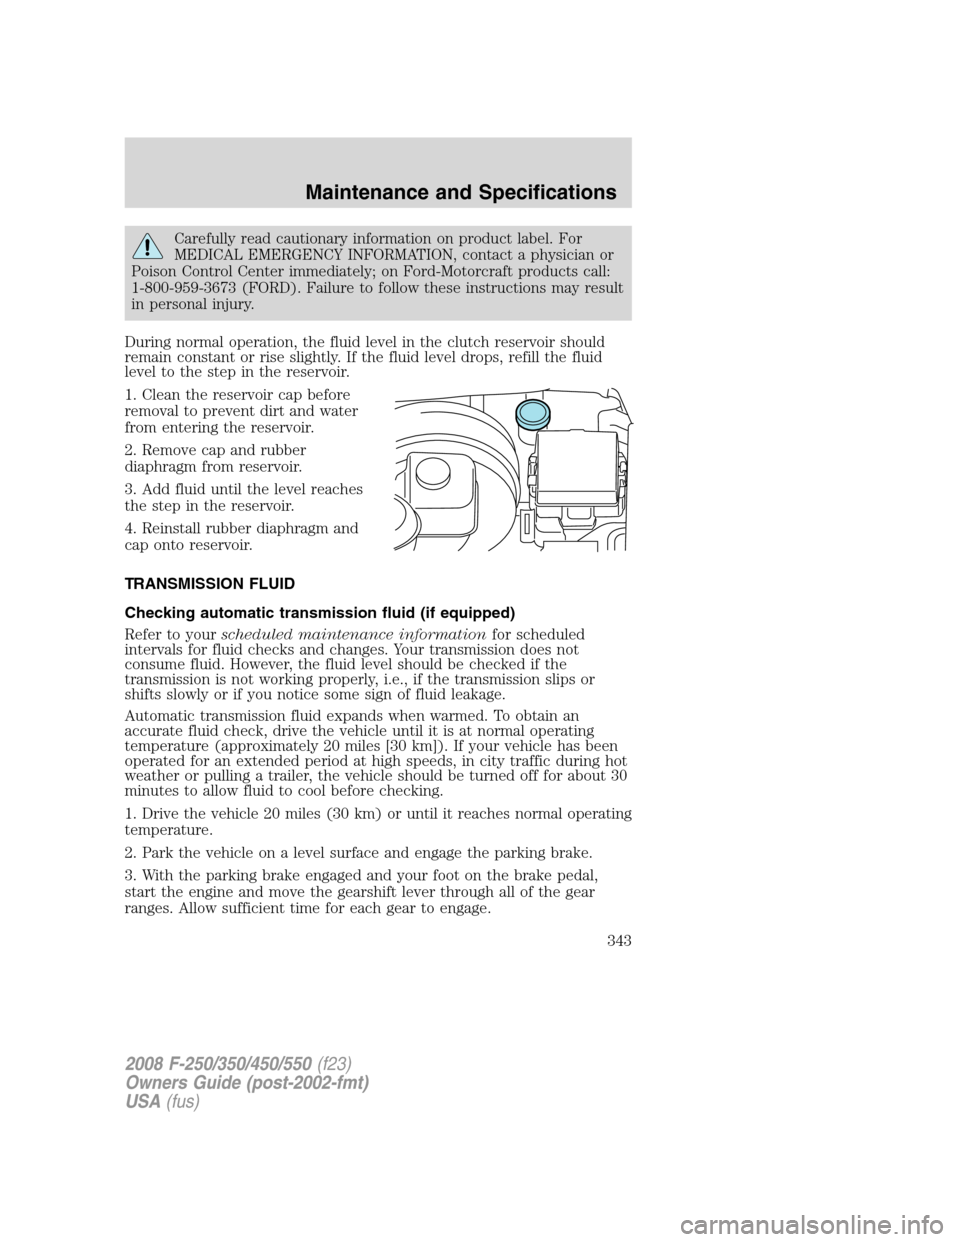
1. Clean the reservoir cap before
removal to prevent dirt and water
from entering the reservoir.
2. Remove cap and rubber
diaphragm from reservoir.
3. Add fluid until the level reaches
the step in the reservoir.
4. Reinstall rubber diaphragm and
cap onto reservoir.
TRANSMISSION FLUID
Checking automatic transmission fluid (if equipped)
Refer to yourscheduled maintenance informationfor scheduled
intervals for fluid checks and changes. Your transmission does not
consume fluid. However, the fluid level should be checked if the
transmission is not working properly, i.e., if the transmission slips or
shifts slowly or if you notice some sign of fluid leakage.
Automatic transmission fluid expands when warmed. To obtain an
accurate fluid check, drive the vehicle until it is at normal operating
temperature (approximately 20 miles [30 km]). If your vehicle has been
operated for an extended period at high speeds, in city traffic during hot
weather or pulling a trailer, the vehicle should be turned off for about 30
minutes to allow fluid to cool before checking.
1. Drive the vehicle 20 miles (30 km) or until it reaches normal operating
temperature.
2. Park the vehicle on a level surface and engage the parking brake.
3. With the parking brake engaged and your foot on the brake pedal,
start the engine and move the gearshift lever through all of the gear
ranges. Allow sufficient time for each gear to engage.
2008 F-250/350/450/550(f23)
Owners Guide (post-2002-fmt)
USA(fus)
Maintenance and Specifications
343