Page 245 of 494
3. Do not apply paper, paper CD labels, or tape to the
disc; avoid scratching the disc.
4. Do not use solvents such as benzine, thinner, cleaners,
or antistatic sprays.
5. Store the disc in its case after playing.
6. Do not expose the disc to direct sunlight.
7. Do not store the disc where temperatures may become
too high.
8. Do not play discs that are small in size or have
irregular shapes.CLIMATE CONTROLS
The Air Conditioning and Heating System is designed to
make you comfortable in all types of weather.
Manual Air Conditioning and Heating System
The Manual Temperature Controls consist of a series of
outer rotary dials and inner push knobs.
UNDERSTANDING YOUR INSTRUMENT PANEL 243
4
Page 248 of 494

Defrost
Air is directed through the windshield and side
window demist outlets. Use this mode with maxi-
mum blower and temperature settings for best wind-
shield and side window defrosting.
NOTE:The air conditioning compressor operates in Mix
and Defrost, or a blend of these modes, even if the Air
Conditioning Snowflake button is not pressed. This de-
humidifies the air to help dry the windshield. To improve
fuel economy, use these modes only when necessary.Recirculation Control
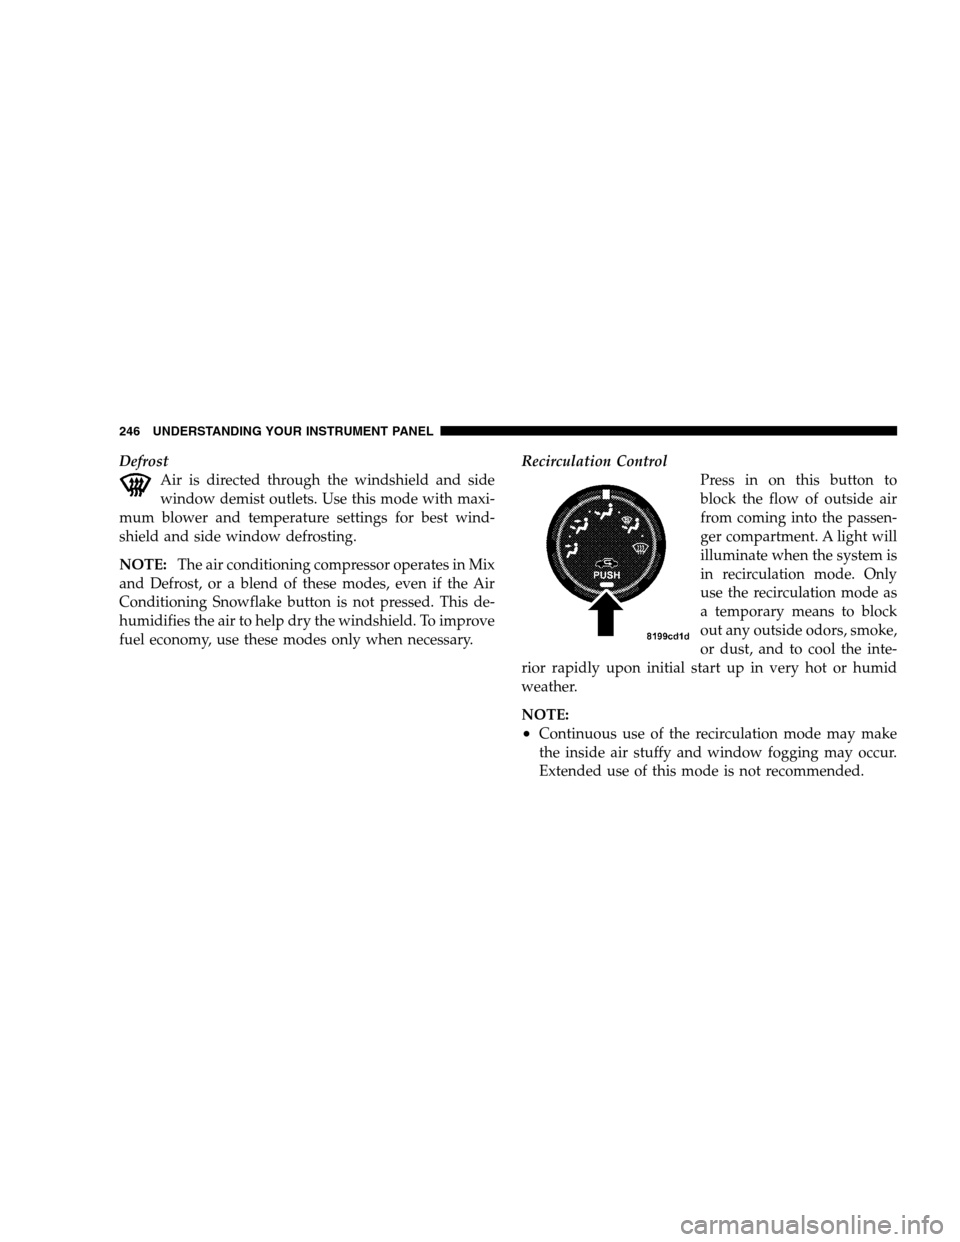
Press in on this button to
block the flow of outside air
from coming into the passen-
ger compartment. A light will
illuminate when the system is
in recirculation mode. Only
use the recirculation mode as
a temporary means to block
out any outside odors, smoke,
or dust, and to cool the inte-
rior rapidly upon initial start up in very hot or humid
weather.
NOTE:
•Continuous use of the recirculation mode may make
the inside air stuffy and window fogging may occur.
Extended use of this mode is not recommended.
246 UNDERSTANDING YOUR INSTRUMENT PANEL
Page 249 of 494

•The use of the recirculation mode in cold or damp
weather will cause windows to fog on the inside,
because of moisture build-up inside the vehicle. Select
the Outside Air position for maximum defogging.
•The A/C will engage automatically to prevent fogging
when the recirculation button is pressed and the mode
control is set to panel or panel / floor.
•The A/C can be deselected manually without disturb-
ing the mode control selection.
•When the ignition switch is turned to the LOCK
position, the recirculation feature will be cancelled.
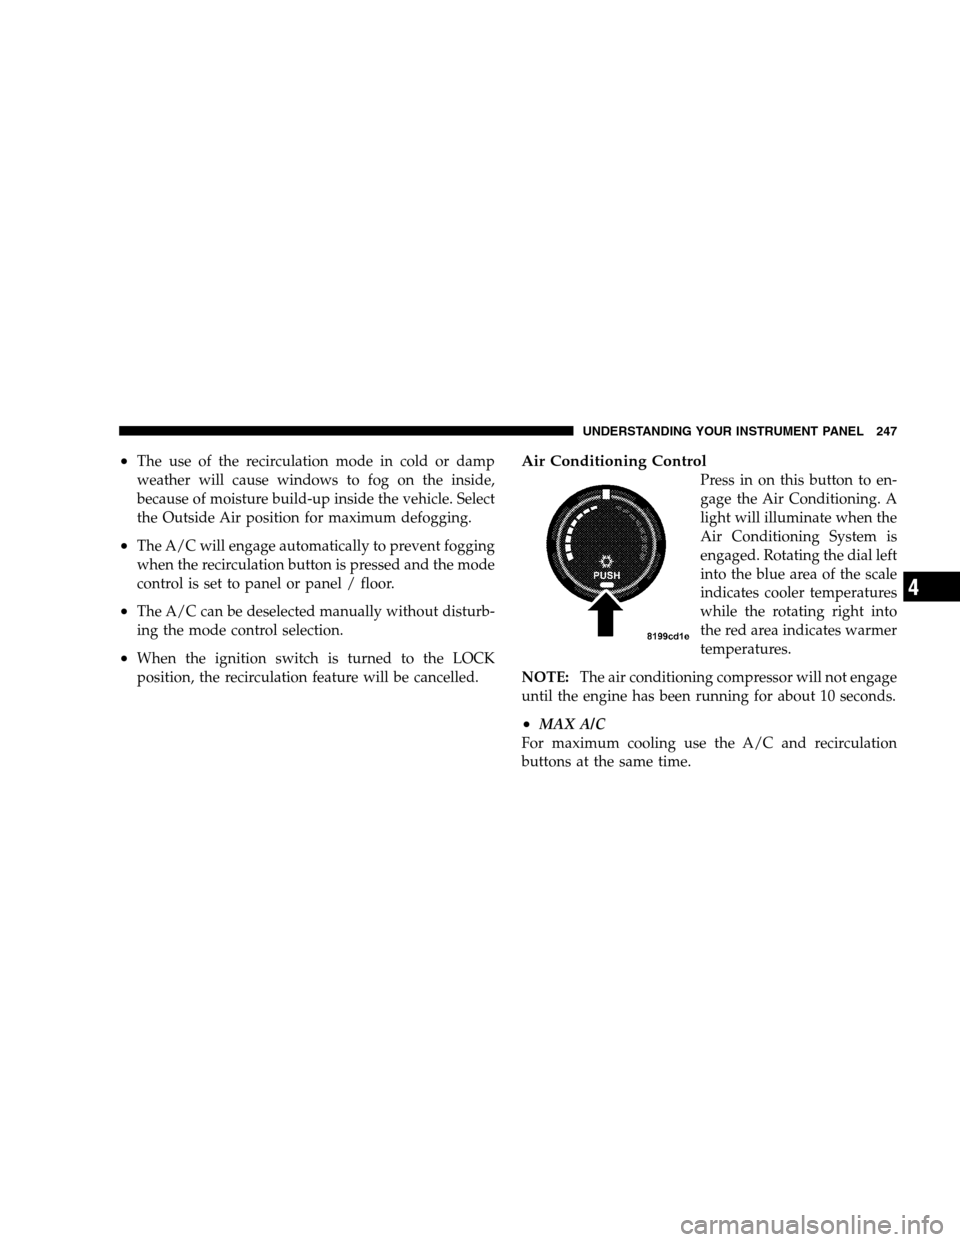
Air Conditioning Control
Press in on this button to en-
gage the Air Conditioning. A
light will illuminate when the
Air Conditioning System is
engaged. Rotating the dial left
into the blue area of the scale
indicates cooler temperatures
while the rotating right into
the red area indicates warmer
temperatures.
NOTE:The air conditioning compressor will not engage
until the engine has been running for about 10 seconds.
•MAX A/C
For maximum cooling use the A/C and recirculation
buttons at the same time.
UNDERSTANDING YOUR INSTRUMENT PANEL 247
4
Page 250 of 494
•ECONOMY MODE
If economy mode is desired, press the A/C button to turn
off the indicator light and the A/C compressor. Then,
move the temperature control to the desired temperature.Automatic Temperature Control (ATC) — If
Equipped
Automatic Operation
The Infrared Climate Control System automatically
maintains the climate in the cabin of the vehicle at the
comfort levels desired by the driver and passenger. To
Automatic Temperature Control
248 UNDERSTANDING YOUR INSTRUMENT PANEL
Page 271 of 494
NOTE:When the vehicle is in the Remote Start mode,
power window and sunroof operation are disabled for
security.
The following conditions must be met before the engine
will remote start:
•Automatic Transaxle in Park
•All doors are closed
•Hood is closed
•Hazard Switch is off
•Brake Switch is inactive
•Key is not in the ignition
•Battery is at an acceptable charge level
•Panic button on key fob is not depressed
ENGINE BLOCK HEATER — IF EQUIPPED
The engine block heater warms engine coolant and
permits quicker starts in cold weather. Connect the cord
to a standard 110-115 volt AC electrical outlet with a
grounded, three-wire extension cord.
The engine block heater cord is bundled under the hood
between the headlight assembly and the Totally Inte-
grated Power Module (Fuse Box) on the driver side of the
vehicle.
WARNING!
Remember to disconnect the cord before driving.
Damage to the 110-115 volt electrical cord could cause
electrocution.
STARTING AND OPERATING 269
5
Page 279 of 494

AutoStick�General Information
•
You can start out in first or second gear. The system
will ignore attempts to upshift at too low of a vehicle
speed.
•If a ratio other than 1st is selected, and the vehicle is
brought to a stop, the transaxle control logic will
automatically select the 1st gear ratio.
•Starting out in second gear is helpful in snowy or icy
conditions.
•Avoid using speed control when Autostick�is en-
gaged.
•The transaxle will automatically shift up when maxi-
mum engine speed is reached while Autostick�is
engaged.
•Transaxle shifting will be more noticeable when
Autostick�is engaged.
•If a downshift would cause the engine to over-speed,
that shift will not occur until it is safe for the engine.
Mostly the transaxle will stay in the manually selected
ratio, however.
•If the system detects powertrain overheating, the
transaxle will revert to the automatic shift mode and
remain in that mode until the powertrain cools off.
•If the system detects a problem, it will disable the
AutoStick�mode and the transaxle will return to the
automatic mode until the problem is corrected.
PARKING BRAKE
When the parking brake is applied with the
ignition on, the Brake Light in the instrument
cluster will come on.
NOTE:This light, when illuminated with parking brake
application, shows only that the parking brake is on. It
does not show the degree of brake application.
STARTING AND OPERATING 277
5
Page 280 of 494

NOTE:If the light remains on with the parking brake
released, a brake system malfunction is indicated. Have
the brake system serviced by an authorized dealer im-
mediately.
NOTE:If the parking brake is applied while the vehicle
is moving, a chime will sound to alert the driver. The
chime will sound up to 10 times or until the vehicle has
returned to a stop.
Before leaving the vehicle, make sure that the parking
brake is fully applied and the gear selector is in the PARK
position.
To release the parking brake, slightly pull up the handle
while pushing the lock button, and guide the lever
downward to its stop. The brake warning light in the
instrument cluster should go out.
NOTE:The parking brake lever will not release unless
the lever is pulled up slightly past its applied position.Operation with an Automatic Transaxle
When parking on a flat surface, place the gear selector
lever in the PARK position first, and then apply the
parking brake.
NOTE:When parking on a hill, it is important to set the
parking brakeBEFOREplacing the gear selector in
PARK, otherwise the load on the automatic transaxle
locking mechanism may make it difficult to move the
selector out of PARK. As an added precaution, turn the
front wheels toward the curb on a downhill grade and
away from the curb on an uphill grade.
Operation with a Manual Transaxle — If Equipped
Place the gear selector in REVERSE. As an added precau-
tion, when parking on a hill, turn the front wheels toward
the curb on a downhill grade and away from the curb on
an uphill grade.
278 STARTING AND OPERATING
Page 281 of 494
Applying the Parking Brake
To apply the parking brake, grasp the handle and pull it
upward until you feel resistance. To release the parking
brake, grasp the handle and pull it slightly while pressing
the button on the end of the handle. When the button
drops into the handle (releasing the lock), guide the
handle downward to its stop and then release the button
and the handle.
NOTE:You should always apply the parking brake
before leaving the vehicle.
Parking Brake Lever
STARTING AND OPERATING 279
5