Page 149 of 494

NOTE:
•Some gate operators and garage door openers may
require you to replace Step 3 with procedures noted in
the “Gate Operator/Canadian Programming” section.
•After training a HomeLink�channel, if the garage
door does not operate with HomeLink�and the ga-
rage door opener was manufactured after 1995, the
garage door opener may have a rolling code. If so,
proceed to the heading “Programming A Rolling Code
System.”
4. Press and hold the just-trained HomeLink�button
and observe the indicator light.
If the indicator light stays on constantly, programming is
complete and the garage door (or device) should activate
when the HomeLink�button is pressed.If the indicator light blinks rapidly for two seconds, and
then turns to a constant light, continue with program-
ming for a Rolling Code.
5. PROGRAMMING A ROLLING CODE SYSTEM
At the garage door opener motor (in the garage), locate
the “Learn” or “Training” button.
This can usually be found where the hanging antenna
wire is attached to the garage door opener motor (it is
NOT the button normally used to open and close the
door).
UNDERSTANDING THE FEATURES OF YOUR VEHICLE 147
3
Page 151 of 494

Similar to this Canadian law, some U.S. gate operators are
designed to “time-out” in the same manner.
It may be helpful to unplug the device during the cycling
process to prevent possible overheating of the garage
door or gate motor.
If you are having difficulties programming a garage door
opener or a gate operator, replace “Programming
HomeLink�” Step 3 with the following:
3. Continue to press and hold the HomeLink�button
while you press and release - every two seconds
(“cycle”) your hand-held transmitter until HomeLink�
has successfully accepted the frequency signal. The
indicator light will flash slowly and then rapidly when
fully trained.
If you unplugged the device for training, plug it back in
at this time.Then proceed with Step 4 under “Programming
HomeLink�” earlier in this section.
Using HomeLink�
To operate, simply press and release the programmed
HomeLink�button. Activation will now occur for the
trained device (i.e., garage door opener, gate operator,
Security system, entry door lock, home/office lighting,
etc. The hand-held transmitter of the device may also be
used at any time.
Reprogramming A Single HomeLink�Button
To re-program a channel that has been previously
trained, follow these steps:
1. Turn the ignition switch to the ON/RUN position.
2. Press and hold the desired HomeLink�button until
the indicator light begins to flash after 20 seconds.Do not
release the button.
UNDERSTANDING THE FEATURES OF YOUR VEHICLE 149
3
Page 153 of 494
NOTE:The transmitter has been tested and it complies
with FCC and IC rules. Changes or modifications not
expressly approved by the party responsible for compli-
ance could void the user ’s authority to operate the
device.
The term IC before the certification/registration number
only signifies that Industry Canada technical specifica-
tions were met.
POWER SUNROOF — IF EQUIPPED
The sunroof controls are mounted between the sun visors
in the Dome/Reading Lamp.
Power Sunroof Switch
1 - Left Interior Light 3 - ATC Sensor - If Equipped
2 - Power Sunroof Switch 4 - Right Interior LightUNDERSTANDING THE FEATURES OF YOUR VEHICLE 151
3
Page 156 of 494

Sunroof Maintenance
Use only a non-abrasive cleaner and a soft cloth to clean
the glass panel.
Ignition Off Operation
For vehicles not equipped with the Electronic Vehicle
Information Center (EVIC), the power sunroof switch
will remain active for 45 seconds after the ignition switch
is turned off. Opening either front door will cancel this
feature.
For vehicles equipped with the EVIC, the power sunroof
switch will remain active for up to 10 minutes after the
ignition switch is turned off. Opening either front door
will cancel this feature. The time is programmable. For
details, refer to “Key-Off Power Delay,” under “Personal
Settings (Customer Programmable Features)” under
“Electronic Vehicle Information Center (EVIC)” in Sec-
tion 4 of this manual.
ELECTRICAL POWER OUTLETS
There are two 12-volt electrical outlets on this vehicle.
Both of the outlets are protected by a fuse.
The instrument panel power outlet, located below the
climate control knobs, has power available only when the
ignition is on. This outlet will also operate a conventional
cigar lighter unit.
NOTE:If desired, the instrument panel power outlet
can be converted by your authorized dealer to provide
power with the ignition switch while in the LOCK
position.
154 UNDERSTANDING THE FEATURES OF YOUR VEHICLE
Page 158 of 494

Electrical Outlet Use With Engine Off
CAUTION!
•Many accessories that can be plugged in draw
power from the vehicle’s battery, even when not in
use (i.e., cellular phones, etc.). Eventually, if
plugged in long enough, the vehicle’s battery will
discharge sufficiently to degrade battery life
and/or prevent engine starting.
•Accessories that draw higher power (i.e., coolers,
vacuum cleaners, lights, etc.) will degrade the
battery even more quickly. Only use these inter-
mittently and with greater caution.
•After the use of high power draw accessories, or
long periods of the vehicle not being started (with
accessories still plugged in), the vehicle must be
driven a sufficient length of time to allow the
generator to recharge the vehicle’s battery.
CIGAR LIGHTER AND ASH RECEIVER — IF
EQUIPPED
Cupholder Ash Receiver — If Equipped
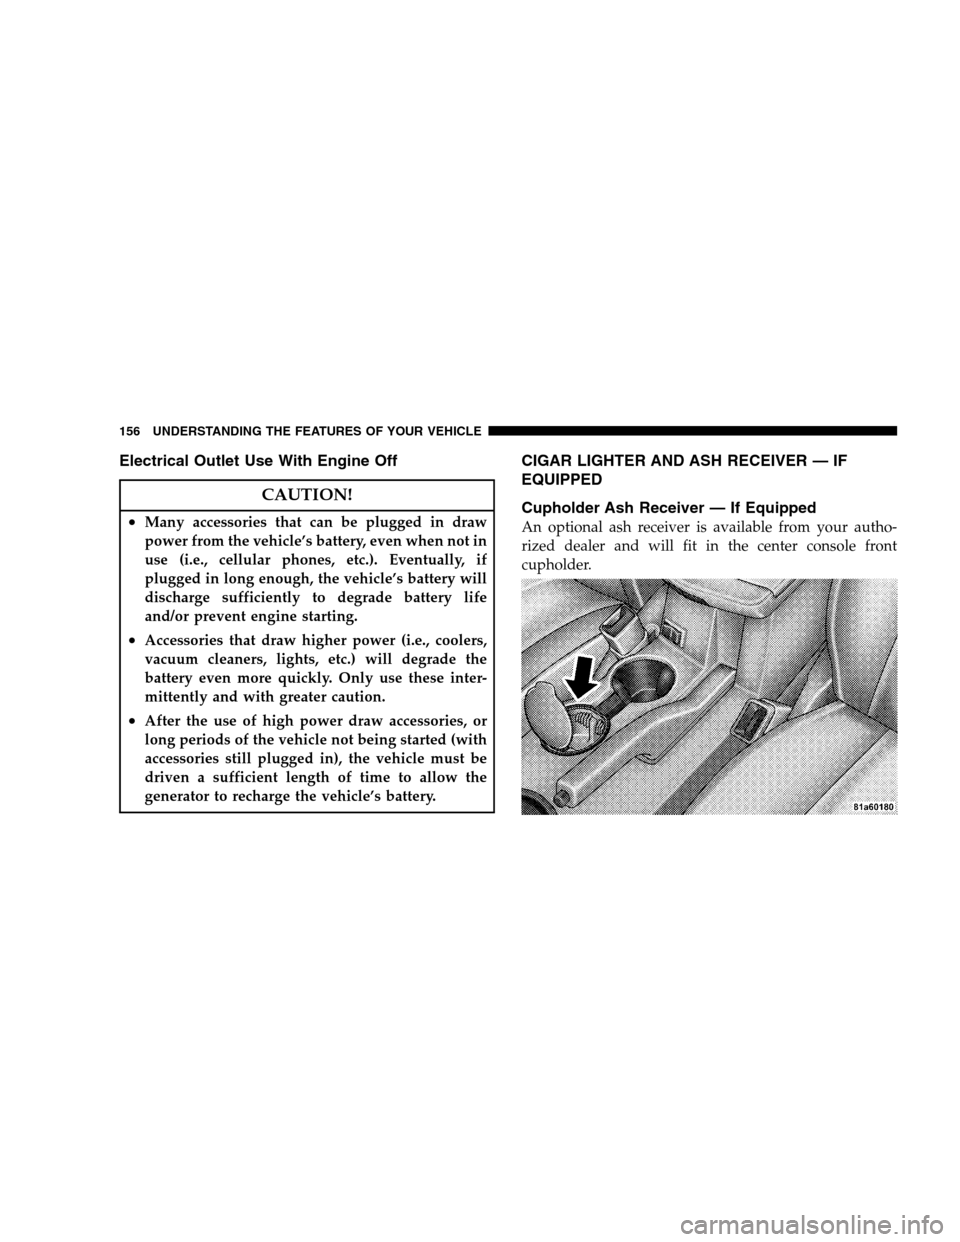
An optional ash receiver is available from your autho-
rized dealer and will fit in the center console front
cupholder.
156 UNDERSTANDING THE FEATURES OF YOUR VEHICLE
Page 159 of 494
CAUTION!
For vehicles equipped with the heated and cooled
cupholder, locate the cup holder ash receiver in the
forward cupholder.
The optional ash receiver also comes with a cigar lighter.
You may use the power outlet, located in the instrument
panel below the climate control knobs, or in the bottom of
the console compartment, for this cigar lighter.
CONSOLE FEATURES
Console Features
The center console armrest slides forward from design
position to provide added user comfort. Two cupholderscan accommodate large sized fast food beverage contain-
ers, and 20 oz (500 ml) bottles. A one-piece cup holder
insert for both cavities can easily be removed for clean-
ing.
UNDERSTANDING THE FEATURES OF YOUR VEHICLE 157
3
Page 160 of 494
Dual Storage Bins
Lifting a latch at the front of the hinged armrest provides
access to these storage areas.1. The left latch opens to the top storage area.
2. The lower bin can be accessed directly, without first
exposing the upper bin, by operating the right latch with
the armrest down.
3. The first storage bin can be used to hold smaller items.
4. The lower storage bin includes a molded-in coin
holder, room for CDs, DVDs, and a power outlet that
allows a cell phone to recharge while concealed.
NOTE:A notch in the side of the console base under the
armrest will also allow use of cell phone while still
plugged into the power outlet and with the armrest
latched down.
NOTE:The power outlet located inside the console can
also energize the cigar lighter in the available Smoker’s
Package.
1 — Release Top Compartment 3 — Top Compartment
2 — Release Bottom Compart-
ment4 — Bottom Compartment 158 UNDERSTANDING THE FEATURES OF YOUR VEHICLE
Page 175 of 494

5. Low Fuel Light
When the fuel level drops to two gal (7.6 L), the fuel
symbol will light and a single chime will sound.
6. Charging System Light
This light shows the status of the electrical charg-
ing system. The light should come on briefly when
the ignition is first turned ON and remain on briefly as a
bulb check. If the light stays on or comes on while
driving, turn off some of the vehicle’s electrical devices,
such as the Fog Lights or Rear Defroster. If the Charging
System Light remains on, it means that the vehicle is
experiencing a problem with the charging system. Obtain
SERVICE IMMEDIATELY. See your local authorized
dealer.
7. Airbag Light
The light comes on and remains on for six to
eight seconds as a bulb check when the ignition
switch is first turned ON. If the light does notcome on during starting, stays on, or comes on while
driving, have the system checked by an authorized
dealer.
8. Theft Alarm Light — If Equipped
This light will flash rapidly for several seconds when the
alarm system is arming. The light will begin to flash
slowly indicating that the system is armed.
9. Seat Belt Reminder Light
When the ignition switch is first turned ON, this
light will come on for about six seconds. A chime
will sound if you have not pulled the shoulder belt
out of the retractor. This is a reminder to “buckle up.” If
you do not buckle up, the light will remain on.
10. Oil Pressure Light
Shows low engine oil pressure. The light will come
on and remain on when the ignition switch is
turned from the OFF to the ON position, and the light
UNDERSTANDING YOUR INSTRUMENT PANEL 173
4