Page 226 of 457

NOTE:Changes or modifications not expressively ap-
proved by the party responsible for compliance could
void the user's authority to operate the equipment.
CD Player Operation
NOTE:
²The ignition switch must be in the ON or ACC
position and the volume control ON before the CD
player will operate.
²This Radio is capable of playing compact discs (CD),
recordable compact discs (CD-R), rewritable compact
discs (CD-RW) compact discs with MP3 tracks and
multi-session compact discs with CD and MP3 tracks.
Inserting The Compact Disc
CAUTION!
This CD player will accept only 4±3/4 inch (12 cm)
discs only. The use of other sized discs may damage
the CD player mechanism.
You may either insert or eject a disc with the radio OFF.
If you insert a disc with the ignition ON and the radio
OFF, the display will show the time of day. If you insert
a disc with the ignition OFF, the display will show the
time of day for about 5 seconds, then go out.
If the power is ON, the unit will switch from radio to CD
mode and begin to play when you insert the disc. The
display will show the track number and index time in
minutes and seconds. Play will begin at the start of track
one.
226 UNDERSTANDING YOUR INSTRUMENT PANEL
Page 228 of 457

CD/DVD Changer Operation
Press the MODE button to select between the CD player
and the optional remote CD/DVD changer.
Time
Press the TIME button to change the display from
elapsed CD or DVD playing time to time of day.
Notes On Playing MP3 Files
The radio can play MP3 files, however, acceptable MP3
file recording media and formats are limited. When
writing MP3 files, pay attention to the following restric-
tions.
Supported media (disc types)
The MP3 file recording media supported by the radio are
CD-ROM, CD-R and CD-RW.
Supported medium formats (file systems)
The medium formats supported by the radio are ISO 9660
Level 1 and Level 2 and includes the Joliet extension.When reading discs recorded using formats other than
ISO 9660 Level 1 and Level 2, the radio may fail to read
files properly and may be unable to play the file nor-
mally. UDF and Apple HFS formats are not supported.
The radio uses the following limits for file systems:
²Maximum number of directory levels: 15
²Maximum number of files: 255
²Maximum number of folders: 100
²Maximum number of characters in file/folder names:
²Level 1: 12 (including a separator9.9anda3
character extension)
²Level 2: 31 (including a separator9.9anda3
character extension)
Multi-session disc formats are supported by the radio.
Multi-session discs may contain combinations of normal
228 UNDERSTANDING YOUR INSTRUMENT PANEL
Page 231 of 457

RW/FF (CD Mode For MP3 Play)
Press the FF side of the button to move forward through
the MP3 selection. Press the RW side of the button to
move back through the MP3 selection.
AM/FM Button (CD Mode For MP3 Play)
Switches back to Radio mode.
RND Button (CD Mode For MP3 Play)
Pressing this button plays files randomly.
DIR Button (CD Mode For MP3 Play)
Press the DIR Button to display folders, when playing an
MP3 discs that have a file/folder structure. Press DISC
up (button 1) or DISC down (button 5) to move through
the folders. Press the SET button to select a folder.
Operating Instructions - Hands Free Phone (If
Equipped)
Refer to Hands Free Phone section of the Owner's
Manual.
Operating Instructions - Satellite Radio Mode (If
Equipped)
Refer to the Satellite Radio section of the Owner's
Manual.
Operating Instructions Ð MP3 Player, Portable
Walkman
An MP3 player can be connected to the audio system.
Connect the cables to the RCA jacks located on the front
of the CD/DVD changer.
NOTE:Follow the manufactures instructions for the
correct colors when connecting the RCA cables. (Refer to
the illustration below).
Operating Instructions Ð Video
Games/Camcorders
A video game unit or camcorder can be connected to the
rear audio/video system. Connect the cables to the RCA
jacks located on the front of the CD/DVD changer.
UNDERSTANDING YOUR INSTRUMENT PANEL 231
4
Page 234 of 457

which numbered position the disc will be loaded into.
The disc will automatically be pulled into the CD/DVD
changer.
3. Upon insertion, the disc will begin to play, and the
light below the loading slot will turn off. On vehicles
equipped with the premium version the light above the
chosen button will remain illuminated.
4. Repeat the process for loading any additional CD/
DVDs into the premium version multi-disc changer. The
CD/DVD changer will stop while additional CD/DVDs
are loaded.
If the radio volume control is ON, the unit will switch
from radio to CD/DVD mode and the video screen will
turn on. If the DVD supports the autoplay feature, play
will begin automatically in approximately 10 seconds,
after the DVD disc menu is displayed. If the DVD does
not play automatically, press the ENTER button on the
remote control or on the side of the video screen to selectplay from the menu options. The radio display will show
the chapter number and index time in hours and minutes
of the DVD, or the track number, minutes and second of
the CD.
NOTE:
²You may eject a disc with the radio OFF.
²If you insert a disc with the ignition ON and the radio
OFF, the DVD will automatically be pulled into the
DVD changer and the display will show the time of
day.
²It is recommended to label home made burned discs
with a permanent marker instead of adhesive labels.
These types of labels may become loose and cause the
disc to be stuck in the DVD player. This may cause
permanent damage to the DVD mechanism.
234 UNDERSTANDING YOUR INSTRUMENT PANEL
Page 235 of 457
EJECT (EJT) Button
If there is a disc in the changer, press the EJT button and
the disc will eject. If you do not remove the disc within 10
seconds, it will be reloaded and the display will show
PAUSE. The radio mode will continue to operate.
To eject additional discs from the premium version
multi-disc changer, first select the numbered button
where the disc is located and then press the EJT button.
Operating Instructions Ð Remote Control
NOTE:Aim the remote control at the radio located on
the center of the instrument panel and press the desired
button. Direct sunlight or objects blocking the line of
sight may affect the function of the remote control.
Remote Control
UNDERSTANDING YOUR INSTRUMENT PANEL 235
4
Page 236 of 457
Remote Control Buttons
1. Headphone Transmitter
2. Menu Up/Next Track/Chapter
3. Menu Left/Fast Rewind
4. Return
5. Setup
6. Pause/Play
7. Mute
8. Display
9. Mode
10. Program Down - Previous Disc
11. Program Up - Next Disc
12. Slow
13. Stop
14. Menu
15. Menu Down/Previous Track/Chapter
16. Menu Right/Fast ForwardRemote Control Buttons
17. Enter
18. Light
Headphone Transmitter Button (1)
The headphone transmitter button on the remote control
and the power button on the headphones must be turned
ON before sound can be heard from the headphones. On
some radios the headphone symbol will flash for ap-
proximately 5 seconds in the radio display, indicating the
headphones are in use.
ARROW Buttons (2, 3, 15, 16)
These arrow buttons only function in CD/ DVD mode.
Use the arrow buttons to toggle through the disc menu
screen options.
236 UNDERSTANDING YOUR INSTRUMENT PANEL
Page 237 of 457

RTN Button (4)
This button only functions in CD/DVD mode. Press this
button to return to the previous menu when in the disc
menu mode.
SETUP Button (5)
This button only functions in CD/DVD mode. Press the
button after pressing the STOP button to access the set up
menu. Use the right and left arrows to move between
tabs for language, rating, mark, audio and aspect. Use the
up and down arrows to move between options within
each tab.
To change an item highlighted in blue, press ENTER. This
should cause the highlight to turn yellow. Again, using
the up and down arrows will cause the arrow to move up
or down. Once the arrow is on the desired selection, press
ENTER. When finished, press setup or play to return to
playing the CD/DVD or Menu to return to the disc
menu.
PAUSE/PLAY Button (6)
This button only functions in DVD video mode. Press this
button once to pause the video, press a second time to
play the video.
MUTE Button (7)
This button mutes audio playing through the DVD
player.
DISP Button (8)
This button only functions in DVD video mode. When a
DVD video is playing, press this button to display the
play menu options.
MODE Button (9)
²
With DVD Radio (REV) and DVD changer, this button
changes between radio DVD, Radio AUX Jacks and
DVD changer input.
²All other radios: No Function.
UNDERSTANDING YOUR INSTRUMENT PANEL 237
4
Page 243 of 457

Operating Instructions Ð Auxiliary Input
²
Connect your auxiliary device (video game system,
video camera, or MP3 player) cables to the color coded
auxiliary jacks on the front of the DVD changer. (Refer
to the illustration below).
²Turn your auxiliary device on and adjust its volume to
mid or high position.
NOTE:Audio can now be heard through the vehicle's
speaker system or through the headphones (if Rear Seat
Audio is turned ON).
²Video will be displayed on the screen if connected to a
video device.
²Your auxiliary device must be disconnected or turned
off to return to DVD changer mode.NOTE:To operate a video game unit a DC to AC
adapter may be required, plug the adapter into any
power outlet.
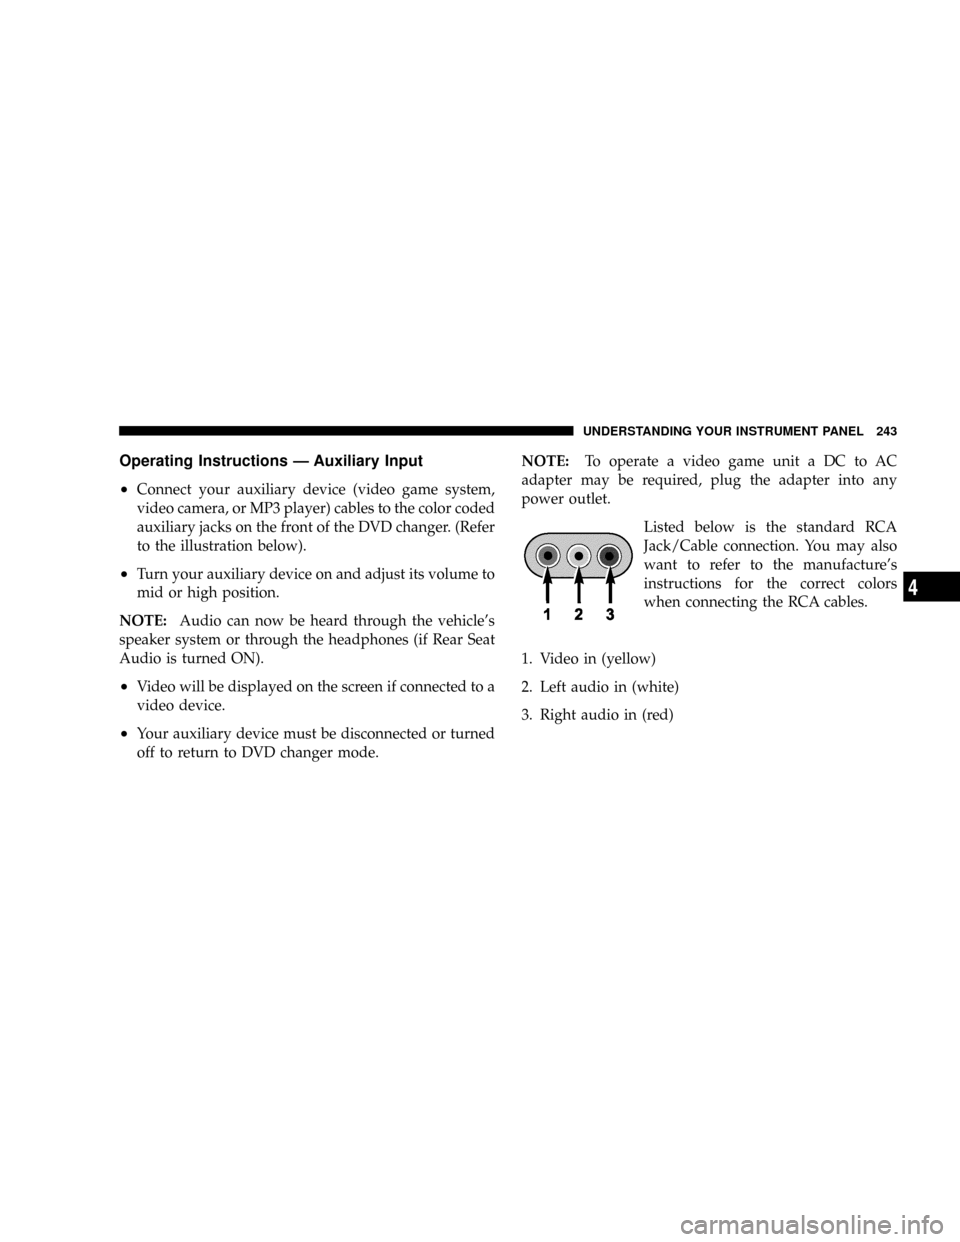
Listed below is the standard RCA
Jack/Cable connection. You may also
want to refer to the manufacture's
instructions for the correct colors
when connecting the RCA cables.
1. Video in (yellow)
2. Left audio in (white)
3. Right audio in (red)
UNDERSTANDING YOUR INSTRUMENT PANEL 243
4