2008 CHEVROLET TRAIL BLAZER light
[x] Cancel search: lightPage 115 of 472
Automatic Dimming Mirror Operation
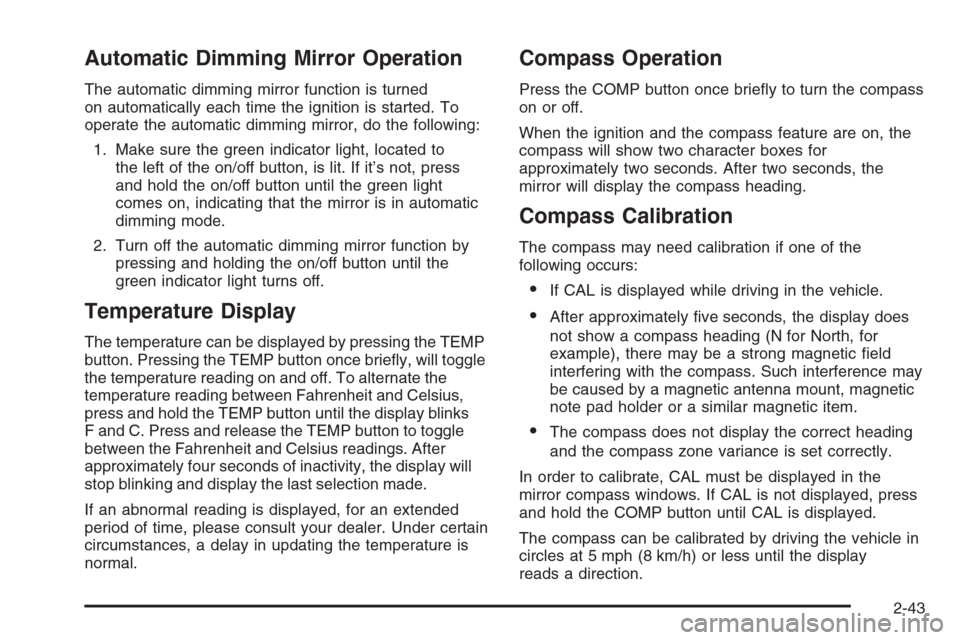
The automatic dimming mirror function is turned
on automatically each time the ignition is started. To
operate the automatic dimming mirror, do the following:
1. Make sure the green indicator light, located to
the left of the on/off button, is lit. If it’s not, press
and hold the on/off button until the green light
comes on, indicating that the mirror is in automatic
dimming mode.
2. Turn off the automatic dimming mirror function by
pressing and holding the on/off button until the
green indicator light turns off.
Temperature Display
The temperature can be displayed by pressing the TEMP
button. Pressing the TEMP button once brie�y, will toggle
the temperature reading on and off. To alternate the
temperature reading between Fahrenheit and Celsius,
press and hold the TEMP button until the display blinks
F and C. Press and release the TEMP button to toggle
between the Fahrenheit and Celsius readings. After
approximately four seconds of inactivity, the display will
stop blinking and display the last selection made.
If an abnormal reading is displayed, for an extended
period of time, please consult your dealer. Under certain
circumstances, a delay in updating the temperature is
normal.
Compass Operation
Press the COMP button once brie�y to turn the compass
on or off.
When the ignition and the compass feature are on, the
compass will show two character boxes for
approximately two seconds. After two seconds, the
mirror will display the compass heading.
Compass Calibration
The compass may need calibration if one of the
following occurs:
If CAL is displayed while driving in the vehicle.
After approximately �ve seconds, the display does
not show a compass heading (N for North, for
example), there may be a strong magnetic �eld
interfering with the compass. Such interference may
be caused by a magnetic antenna mount, magnetic
note pad holder or a similar magnetic item.
The compass does not display the correct heading
and the compass zone variance is set correctly.
In order to calibrate, CAL must be displayed in the
mirror compass windows. If CAL is not displayed, press
and hold the COMP button until CAL is displayed.
The compass can be calibrated by driving the vehicle in
circles at 5 mph (8 km/h) or less until the display
reads a direction.
2-43
Page 122 of 472
Your vehicle must have a working electrical system
(including adequate battery power) for the OnStar
equipment to operate. There are other problems OnStar
cannot control that may prevent OnStar from providing
OnStar service to you at any particular time or place.
Some examples are damage to important parts of your
vehicle in an accident, hills, tall buildings, tunnels,
weather or wireless phone network congestion.
Your Responsibility
Increase the radio volume if you cannot hear the OnStar
advisor. If the light next to the OnStar buttons is red,
this means that your system is not functioning properly
and should be checked by your dealer/retailer. If the
light appears clear (no light is appearing), your OnStar
subscription has expired. You can always press the
OnStar button to con�rm that your OnStar equipment is
active.
Universal Home Remote
System
The Universal Home Remote System provides a way to
replace up to three hand-held Radio-Frequency (RF)
transmitters used to activate devices such as garage
door openers, security systems, and home lighting.
This device complies with Part 15 of the FCC Rules.
Operation is subject to the following two conditions:
1. This device may not cause harmful interference.
2. This device must accept any interference received,
including interference that may cause undesired
operation.
This device complies with RSS-210 of Industry Canada.
Operation is subject to the following two conditions:
1. This device may not cause interference.
2. This device must accept any interference received,
including interference that may cause undesired
operation of the device.
Changes or modi�cations to this system by other than
an authorized service facility could void authorization to
use this equipment.
2-50
Page 123 of 472
Universal Home Remote System
Operation (With One Triangular LED)
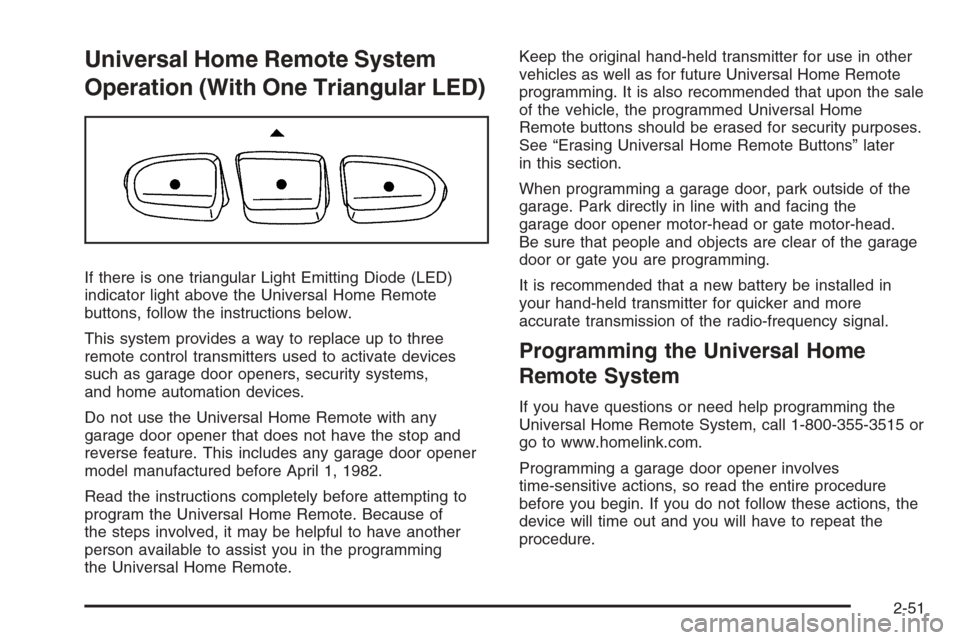
If there is one triangular Light Emitting Diode (LED)
indicator light above the Universal Home Remote
buttons, follow the instructions below.
This system provides a way to replace up to three
remote control transmitters used to activate devices
such as garage door openers, security systems,
and home automation devices.
Do not use the Universal Home Remote with any
garage door opener that does not have the stop and
reverse feature. This includes any garage door opener
model manufactured before April 1, 1982.
Read the instructions completely before attempting to
program the Universal Home Remote. Because of
the steps involved, it may be helpful to have another
person available to assist you in the programming
the Universal Home Remote.Keep the original hand-held transmitter for use in other
vehicles as well as for future Universal Home Remote
programming. It is also recommended that upon the sale
of the vehicle, the programmed Universal Home
Remote buttons should be erased for security purposes.
See “Erasing Universal Home Remote Buttons” later
in this section.
When programming a garage door, park outside of the
garage. Park directly in line with and facing the
garage door opener motor-head or gate motor-head.
Be sure that people and objects are clear of the garage
door or gate you are programming.
It is recommended that a new battery be installed in
your hand-held transmitter for quicker and more
accurate transmission of the radio-frequency signal.
Programming the Universal Home
Remote System
If you have questions or need help programming the
Universal Home Remote System, call 1-800-355-3515 or
go to www.homelink.com.
Programming a garage door opener involves
time-sensitive actions, so read the entire procedure
before you begin. If you do not follow these actions, the
device will time out and you will have to repeat the
procedure.
2-51
Page 124 of 472
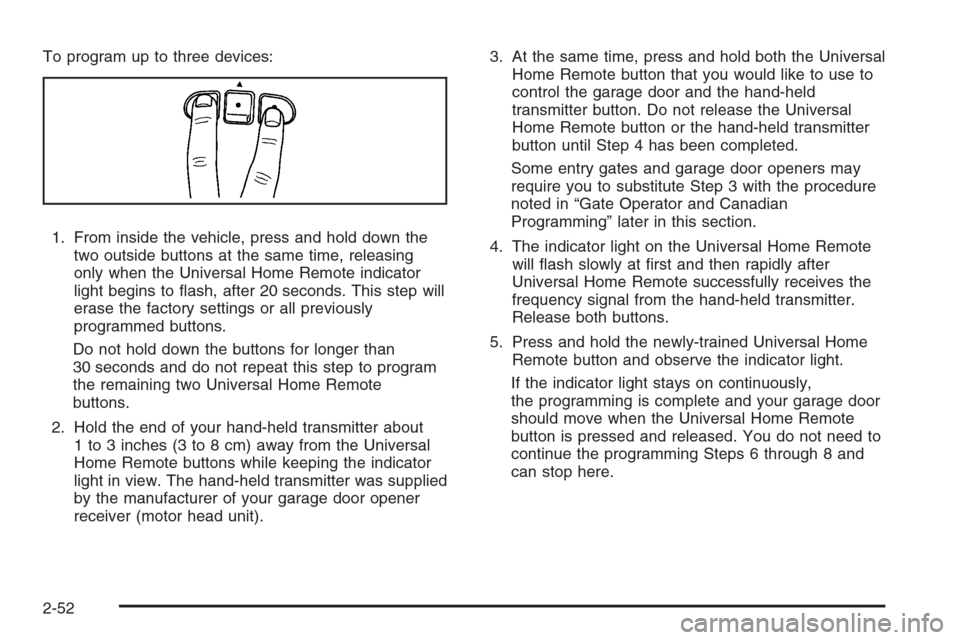
To program up to three devices:
1. From inside the vehicle, press and hold down the
two outside buttons at the same time, releasing
only when the Universal Home Remote indicator
light begins to �ash, after 20 seconds. This step will
erase the factory settings or all previously
programmed buttons.
Do not hold down the buttons for longer than
30 seconds and do not repeat this step to program
the remaining two Universal Home Remote
buttons.
2. Hold the end of your hand-held transmitter about
1 to 3 inches (3 to 8 cm) away from the Universal
Home Remote buttons while keeping the indicator
light in view. The hand-held transmitter was supplied
by the manufacturer of your garage door opener
receiver (motor head unit).3. At the same time, press and hold both the Universal
Home Remote button that you would like to use to
control the garage door and the hand-held
transmitter button. Do not release the Universal
Home Remote button or the hand-held transmitter
button until Step 4 has been completed.
Some entry gates and garage door openers may
require you to substitute Step 3 with the procedure
noted in “Gate Operator and Canadian
Programming” later in this section.
4. The indicator light on the Universal Home Remote
will �ash slowly at �rst and then rapidly after
Universal Home Remote successfully receives the
frequency signal from the hand-held transmitter.
Release both buttons.
5. Press and hold the newly-trained Universal Home
Remote button and observe the indicator light.
If the indicator light stays on continuously,
the programming is complete and your garage door
should move when the Universal Home Remote
button is pressed and released. You do not need to
continue the programming Steps 6 through 8 and
can stop here.
2-52
Page 125 of 472
If the Universal Home Remote indicator light blinks
rapidly for two seconds and then turns to a
constant light, continue with the programming Steps
6 through 8.
It may be helpful to have another person available
to assist with the remaining steps.
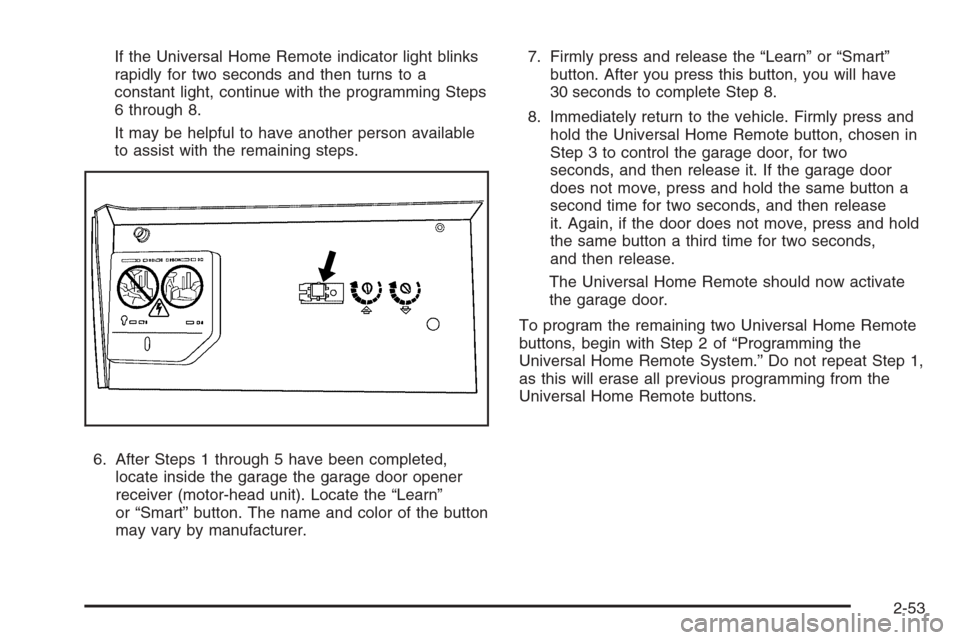
6. After Steps 1 through 5 have been completed,
locate inside the garage the garage door opener
receiver (motor-head unit). Locate the “Learn”
or “Smart” button. The name and color of the button
may vary by manufacturer.7. Firmly press and release the “Learn” or “Smart”
button. After you press this button, you will have
30 seconds to complete Step 8.
8. Immediately return to the vehicle. Firmly press and
hold the Universal Home Remote button, chosen in
Step 3 to control the garage door, for two
seconds, and then release it. If the garage door
does not move, press and hold the same button a
second time for two seconds, and then release
it. Again, if the door does not move, press and hold
the same button a third time for two seconds,
and then release.
The Universal Home Remote should now activate
the garage door.
To program the remaining two Universal Home Remote
buttons, begin with Step 2 of “Programming the
Universal Home Remote System.” Do not repeat Step 1,
as this will erase all previous programming from the
Universal Home Remote buttons.
2-53
Page 126 of 472
Gate Operator and Canadian
Programming
If you have questions or need help programming the
Universal Home Remote System, call 1-800-355-3515 or
go to www.homelink.com.
Canadian radio-frequency laws require transmitter
signals to time out or quit after several seconds of
transmission. This may not be long enough for Universal
Home Remote to pick up the signal during programming.
Similarly, some U.S. gate operators are manufactured
to time out in the same manner.
If you live in Canada, or you are having difficulty
programming a gate operator or garage door opener by
using the “Programming Universal Home Remote”
procedures, regardless of where you live, replace
Step 3 under “Programming Universal Home Remote”
with the following:
Continue to press and hold the Universal Home Remote
button while you press and release every two seconds
(cycle) the hand-held transmitter button until the
frequency signal has been successfully accepted by the
Universal Home Remote. The Universal Home Remote
indicator light will �ash slowly at �rst and then rapidly.
Proceed with Step 4 under “Programming Universal
Home Remote” to complete.
Using Universal Home Remote
Press and hold the appropriate Universal Home Remote
button for at least half of a second. The indicator light
will come on while the signal is being transmitted.
Erasing Universal Home Remote
Buttons
Erase the programmed buttons when you sell or
terminate your lease.
To erase all programmed buttons on the Universal
Home Remote device:
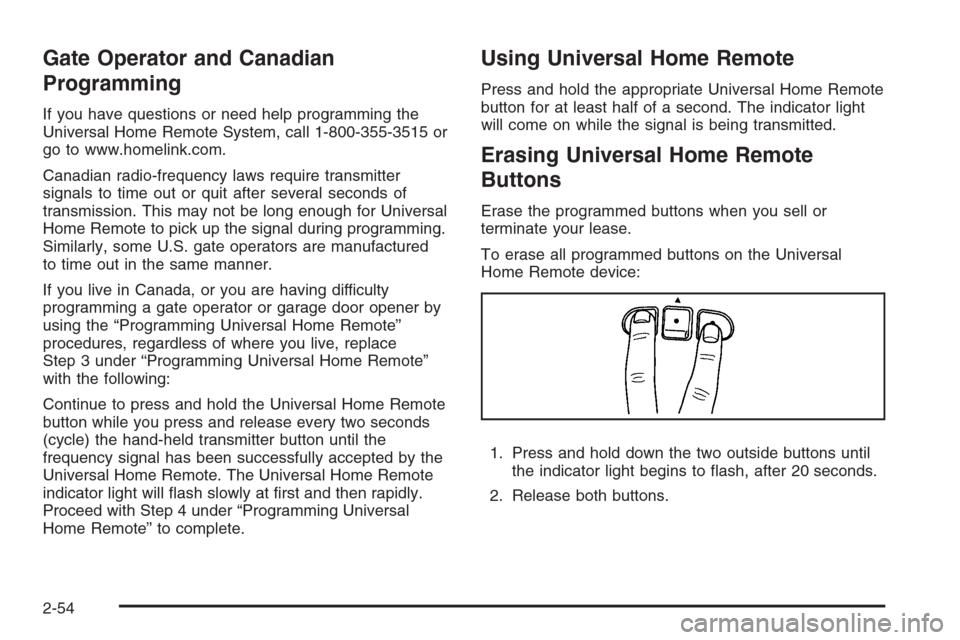
1. Press and hold down the two outside buttons until
the indicator light begins to �ash, after 20 seconds.
2. Release both buttons.
2-54
Page 129 of 472
Rear Floor Storage Lid
{CAUTION:
If any removable convenience item is not
secured properly, it can move around in a
collision or sudden stop. People in the vehicle
could be injured. Be sure to secure any such
item properly.
Your vehicle has a rear cargo area with a removable
storage lid.
To remove the rear �oor storage lid:
1. Press the latch release and lift up the latch handle.
2. Raise the lid slightly to unhook it.
3. Pull the lid toward you to release it from the forward
mounting tabs.
To reinstall the rear �oor storage lid, reverse the
previous steps. Make sure the lid is secure by applying
slight pressure to the latch until you hear it click.
Convenience Net
Your vehicle may have a convenience net in the rear of
the vehicle. Store small loads as far forward as
possible. The net should not be used to store
heavy loads.
Cargo Cover
If your vehicle has a cargo cover, you can use it to
cover items in the cargo area of your vehicle.
To install the cargo cover:
1. Align the endcap with the pocket in the trim panel
located behind the rear seat.
2. Squeeze the opposite endcap, align it with the
pocket located on the opposite side of the trim
panel and release.
3. Grasp the handle and unroll the cover.
4. Latch the posts into the sockets on the inside of the
vehicle to secure it.
2-57
Page 131 of 472
Instrument Panel Overview...............................3-4
Hazard Warning Flashers................................3-6
Other Warning Devices...................................3-6
Horn .............................................................3-6
Tilt Wheel.....................................................3-6
Turn Signal/Multifunction Lever.........................3-7
Turn and Lane-Change Signals........................3-7
Headlamp High/Low-Beam Changer..................3-8
Flash-to-Pass.................................................3-8
Windshield Wipers..........................................3-9
Windshield Washer.........................................3-9
Rear Window Wiper/Washer...........................3-10
Cruise Control..............................................3-10
Headlamps..................................................3-14
Headlamps on Reminder................................3-14
Daytime Running Lamps (DRL).......................3-15
Automatic Headlamp System..........................3-15
Fog Lamps ..................................................3-16
Instrument Panel Brightness...........................3-17
Dome Lamps ...............................................3-17
Dome Lamp Override....................................3-17
Entry Lighting...............................................3-18
Exit Lighting.................................................3-18
Reading Lamps............................................3-18
Electric Power Management...........................3-18
Battery Run-Down Protection..........................3-19
Accessory Power Outlet(s).............................3-20Ashtray(s) and Cigarette Lighter......................3-21
Climate Controls............................................3-21
Dual Climate Control System..........................3-21
Dual Automatic Climate Control System...........3-24
Outlet Adjustment.........................................3-28
Rear Climate Control System.........................3-28
Warning Lights, Gages, and Indicators............3-30
Instrument Panel Cluster................................3-31
Speedometer and Odometer...........................3-32
Trip Odometer..............................................3-32
Tachometer.................................................3-32
Safety Belt Reminders...................................3-33
Airbag Readiness Light..................................3-34
Passenger Airbag Status Indicator...................3-35
Charging System Light..................................3-37
Voltmeter Gage............................................3-37
Brake System Warning Light..........................3-38
Anti-lock Brake System (ABS) Warning Light. . . .3-39
StabiliTrak Service Light................................3-39
StabiliTrak Indicator Light...............................3-40
Engine Coolant Temperature Gage..................3-40
Tire Pressure Light.......................................3-41
Malfunction Indicator Lamp.............................3-41
Oil Pressure Gage........................................3-44
Change Engine Oil Light................................3-45
Security Light...............................................3-46
Section 3 Instrument Panel
3-1