2008 CHEVROLET SILVERADO tow bar
[x] Cancel search: tow barPage 161 of 596

When the System Does Not Seem to
Work Properly
If the URPA system will not activate due to a temporary
condition, the message PARKING ASSIST OFF will be
displayed on the DIC and a red light will be shown on the
rear URPA display when the shift lever is moved into
R (Reverse). This occurs under the following conditions:
The driver disables the system.
The parking brake pedal is depressed.
The ultrasonic sensors are not clean. Keep the
vehicle’s rear bumper free of mud, dirt, snow, ice and
slush. For cleaning instructions, seeWashing Your
Vehicle on page 5-118.
A trailer was attached to the vehicle, or a bicycle or
an object was hanging out of the tailgate during the
last drive cycle, the red light may illuminate in the
rear display. Once the attached object is removed,
URPA will return to normal operation.
A tow bar is attached to the vehicle.
The vehicle’s bumper is damaged. Take the vehicle
to your dealer/retailer to repair the system.
Other conditions may affect system performance,
such as vibrations from a jackhammer or the
compression of air brakes on a very large truck.
If the system is still disabled, after driving forward at
least 15 mph (25 km/h), take the vehicle to your
dealer/retailer.
OnStar®System
OnStar uses several innovative technologies and live
advisors to provide you with a wide range of safety,
security, information, and convenience services. If your
airbags deploy, the system is designed to make an
automatic call to OnStar Emergency advisors who can
request emergency services be sent to your location.
If you lock your keys in the vehicle, call OnStar at
1-888-4-ONSTAR and they can send a signal to unlock
your doors. If you need roadside assistance, press
the OnStar button and they can contact Roadside
Service for you.
OnStar service is provided to you subject to the
OnStar Terms and Conditions. You may cancel your
OnStar service at any time by contacting OnStar.
2-67
Page 240 of 596
Trailer Gain and Output
On vehicles with the Integrated Trailer Brake Control
(ITBC) system, the trailer brake display appears in
the DIC. Press the vehicle information button until
TRAILER GAIN and OUTPUT display.
TRAILER GAIN shows the trailer gain setting. This
setting can be adjusted from 0.0 to 10.0 with either a
trailer connected or disconnected. To adjust this setting,
see “Integrated Trailer Brake Control System” under
Towing a Trailer on page 4-55for more information.
OUTPUT shows the power output to the trailer anytime
a trailer with electric brakes is connected. Output is
displayed in 0 to 10 bars. Dashes may appear in
the OUTPUT display. See “Integrated Trailer Brake
Control System” underTowing a Trailer on page 4-55
for more information.
Engine Hours
Press the vehicle information button until ENGINE
HOURS displays. This display shows the total number
of hours the engine has run.
Relearn Remote Key
This display allows you to match Remote Keyless Entry
(RKE) transmitters to your vehicle. To match an RKE
transmitter to your vehicle:
1. Press the vehicle information button until
PRESS
VTO RELEARN REMOTE KEY displays.
2. Press the set/reset button until REMOTE KEY
LEARNING ACTIVE is displayed.
3. Press and hold the lock and unlock buttons on the �rst
transmitter at the same time for about 15 seconds.
On vehicles with memory recall seats, the �rst
transmitter learned will match driver 1 and
the second will match driver 2.
A chime will sound indicating that the transmitter
is matched.
4. To match additional transmitters at this time,
repeat Step 3.
Each vehicle can have a maximum of
eight transmitters matched to it.
5. To exit the programming mode, you must cycle the
key to LOCK/OFF.
Blank Display
This display shows no information.
3-62
Page 242 of 596
To use the retro-active reset feature, press and hold the
trip odometer reset stem for at least four seconds.
The trip odometer will display the number of miles (mi)
or kilometers (km) driven since the ignition was last
turned on and the vehicle was moving. Once the vehicle
begins moving, the trip odometer will accumulate
mileage. For example, if the vehicle was driven
5 miles (8 km) before it is started again, and then the
retro-active reset feature is activated, the display
will show 5 miles (8 km). As the vehicle begins moving,
the display will then increase to 5.1 miles (8.2 km),
5.2 miles (8.4 km), etc.
Transmission Temperature
Press the trip odometer reset stem until TRANS TEMP
displays. This display shows the temperature of the
automatic transmission �uid in either degrees
Fahrenheit (°F) or degrees Celsius (°C).
Trailer Gain and Output
On vehicles with the Integrated Trailer Brake Control
(ITBC) system, the trailer brake display appears in the
DIC. Press the trip odometer reset stem until TRAILER
GAIN and OUTPUT display.TRAILER GAIN shows the trailer gain setting. This
setting can be adjusted from 0.0 to 10.0 with either a
trailer connected or disconnected. To adjust this setting,
see “Integrated Trailer Brake Control System” under
Towing a Trailer on page 4-55for more information.
OUTPUT shows the power output to the trailer anytime
a trailer with electric brakes is connected. Output is
displayed in 0 to 10 bars. Dashes may appear in
the OUTPUT display. See “Integrated Trailer Brake
Control System” underTowing a Trailer on page 4-55
for more information.
Oil Life
To access this display, the vehicle must be in PARK (P).
Press the trip odometer reset stem until OIL LIFE
REMAINING displays. This display shows an estimate
of the oil’s remaining useful life. If you see 99% OIL LIFE
REMAINING on the display, that means 99% of the
current oil life remains. The engine oil life system
will alert you to change the oil on a schedule consistent
with your driving conditions.
When the remaining oil life is low, the CHANGE
ENGINE OIL SOON message will appear on the
display. See “CHANGE ENGINE OIL SOON” under
DIC Warnings and Messages on page 3-66.
3-64
Page 405 of 596
Electric Brake Control Wiring
Provisions
These wiring provisions are included with your vehicle
as part of the trailer wiring package. These provisions
are for an electric brake controller. The instrument panel
contains blunt cut wires near the data link connector
for the trailer brake controller. The harness contains the
following wires:
Dark Blue: Brake Signal to Trailer Connector
Red/Black: Battery
Light Blue/White: Brake Switch
White: Ground
It should be installed by your dealer or a quali�ed
service center.
If your vehicle is equipped with an ITBC, the blunt cuts
exist, but are not connected further in the harness. If
you install an aftermarket trailer brake controller,
the ITBC must be disconnected. Do not power both
ITBC and aftermarket controllers to control the trailer
brakes at the same time.
Auxiliary Battery
The auxiliary battery provision can be used to supply
electrical power to additional equipment that you may
choose to add, such as a slide-in camper. If your vehicle
has this provision, this relay will be located on the driver’s
side of the vehicle, next to the underhood electrical
center.
Be sure to follow the proper installation instructions that
are included with any electrical equipment that you install.
Notice:Leaving electrical equipment on for
extended periods will drain the battery. Always turn
off electrical equipment when not in use and do
not use equipment that exceeds the maximum
amperage rating for the auxiliary battery provision.
Trailer Recommendations
You must subtract your hitch loads from the CWR for
your vehicle. Weigh your vehicle with the trailer
attached, so that you won’t go over the GVWR or
GAWR. If you are using a weight-distributing hitch,
weigh the vehicle without the spring bars in place.
You’ll get the best performance if you spread out the
weight of your load the right way, and if you choose the
correct hitch and trailer brakes.
For more information, seeTowing a Trailer on
page 4-55.
4-93
Page 521 of 596
Your dealer/retailer has a product for cleaning your
vehicle’s glass. Should it become necessary, you can
also obtain a product from your dealer/retailer to remove
odors from your vehicle’s upholstery.
Do not clean your vehicle using:
A knife or any other sharp object to remove a soil
from any interior surface.
A stiff brush. It can cause damage to your vehicle’s
interior surfaces.
Heavy pressure or aggressive rubbing with a
cleaning cloth. Use of heavy pressure can damage
your interior and does not improve the effectiveness
of soil removal.
Laundry detergents or dishwashing soaps with
degreasers can leave residue that streaks and
attracts dirt. For liquid cleaners, about 20 drops per
gallon (3.78 L) of water is a good guide. Use only
mild, neutral-pH soaps.
Too much cleaner that saturates the upholstery.
Organic solvents such as naptha, alcohol, etc. that
can damage your vehicle’s interior.
Fabric/Carpet
Use a vacuum cleaner with a soft brush attachment
frequently to remove dust and loose dirt. A canister
vacuum with a beater bar in the nozzle may only
be used on �oor carpet and carpeted �oor mats.
For any soil, always try to remove it �rst with plain water
or club soda. Before cleaning, gently remove as much
of the soil as possible using one of the following
techniques:
For liquids: gently blot the remaining soil with a
paper towel. Allow the soil to absorb into the
paper towel until no more can be removed.
For solid dry soils: remove as much as possible
and then vacuum.
To clean:
1. Saturate a lint-free, clean white cloth with water or
club soda.
2. Wring the cloth to remove excess moisture.
3. Start on the outside edge of the soil and gently rub
toward the center. Continue cleaning, using a clean
area of the cloth each time it becomes soiled.
5-115
Page 588 of 596
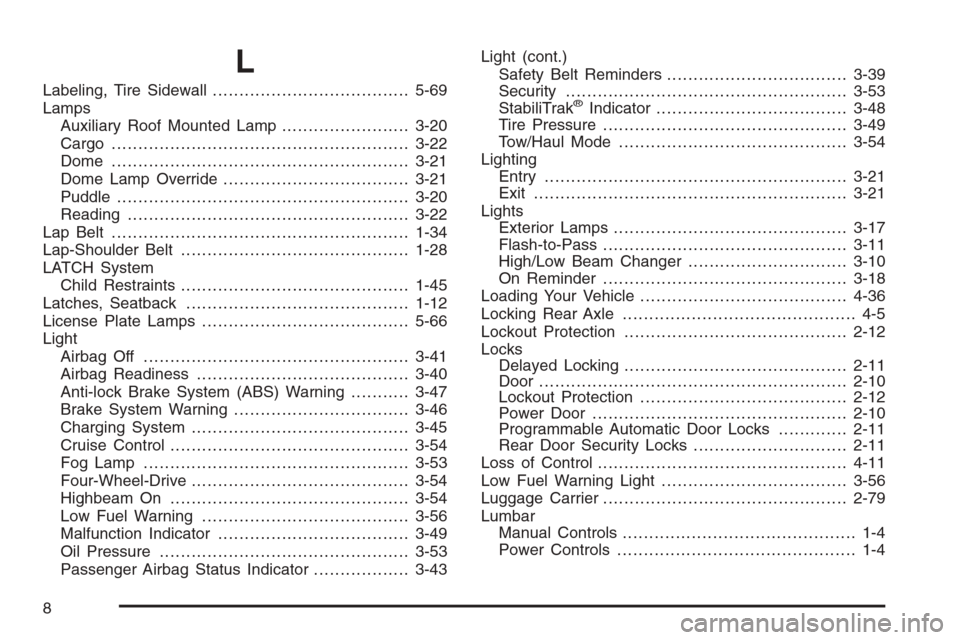
L
Labeling, Tire Sidewall.....................................5-69
Lamps
Auxiliary Roof Mounted Lamp........................3-20
Cargo........................................................3-22
Dome ........................................................3-21
Dome Lamp Override...................................3-21
Puddle.......................................................3-20
Reading.....................................................3-22
Lap Belt ........................................................1-34
Lap-Shoulder Belt...........................................1-28
LATCH System
Child Restraints...........................................1-45
Latches, Seatback..........................................1-12
License Plate Lamps.......................................5-66
Light
Airbag Off..................................................3-41
Airbag Readiness........................................3-40
Anti-lock Brake System (ABS) Warning...........3-47
Brake System Warning.................................3-46
Charging System.........................................3-45
Cruise Control.............................................3-54
Fog Lamp ..................................................3-53
Four-Wheel-Drive.........................................3-54
Highbeam On.............................................3-54
Low Fuel Warning.......................................3-56
Malfunction Indicator....................................3-49
Oil Pressure...............................................3-53
Passenger Airbag Status Indicator..................3-43Light (cont.)
Safety Belt Reminders..................................3-39
Security.....................................................3-53
StabiliTrak®Indicator....................................3-48
Tire Pressure..............................................3-49
Tow/Haul Mode ...........................................3-54
Lighting
Entry.........................................................3-21
Exit...........................................................3-21
Lights
Exterior Lamps............................................3-17
Flash-to-Pass..............................................3-11
High/Low Beam Changer..............................3-10
On Reminder..............................................3-18
Loading Your Vehicle.......................................4-36
Locking Rear Axle............................................ 4-5
Lockout Protection..........................................2-12
Locks
Delayed Locking..........................................2-11
Door ..........................................................2-10
Lockout Protection.......................................2-12
Power Door................................................2-10
Programmable Automatic Door Locks.............2-11
Rear Door Security Locks.............................2-11
Loss of Control...............................................4-11
Low Fuel Warning Light...................................3-56
Luggage Carrier..............................................2-79
Lumbar
Manual Controls............................................ 1-4
Power Controls............................................. 1-4
8
Page 589 of 596
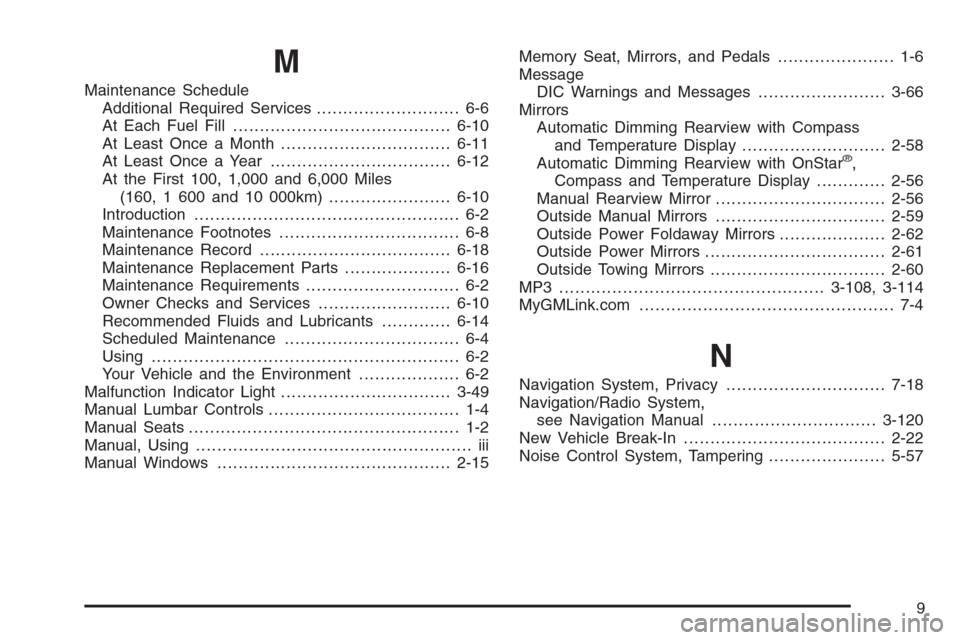
M
Maintenance Schedule
Additional Required Services........................... 6-6
At Each Fuel Fill.........................................6-10
At Least Once a Month................................6-11
At Least Once a Year..................................6-12
At the First 100, 1,000 and 6,000 Miles
(160, 1 600 and 10 000km).......................6-10
Introduction.................................................. 6-2
Maintenance Footnotes.................................. 6-8
Maintenance Record....................................6-18
Maintenance Replacement Parts....................6-16
Maintenance Requirements............................. 6-2
Owner Checks and Services.........................6-10
Recommended Fluids and Lubricants.............6-14
Scheduled Maintenance................................. 6-4
Using.......................................................... 6-2
Your Vehicle and the Environment................... 6-2
Malfunction Indicator Light................................3-49
Manual Lumbar Controls.................................... 1-4
Manual Seats................................................... 1-2
Manual, Using.................................................... iii
Manual Windows............................................2-15Memory Seat, Mirrors, and Pedals...................... 1-6
Message
DIC Warnings and Messages........................3-66
Mirrors
Automatic Dimming Rearview with Compass
and Temperature Display...........................2-58
Automatic Dimming Rearview with OnStar
®,
Compass and Temperature Display.............2-56
Manual Rearview Mirror................................2-56
Outside Manual Mirrors................................2-59
Outside Power Foldaway Mirrors....................2-62
Outside Power Mirrors..................................2-61
Outside Towing Mirrors.................................2-60
MP3 ..................................................3-108, 3-114
MyGMLink.com................................................ 7-4
N
Navigation System, Privacy..............................7-18
Navigation/Radio System,
see Navigation Manual...............................3-120
New Vehicle Break-In......................................2-22
Noise Control System, Tampering......................5-57
9
Page 590 of 596
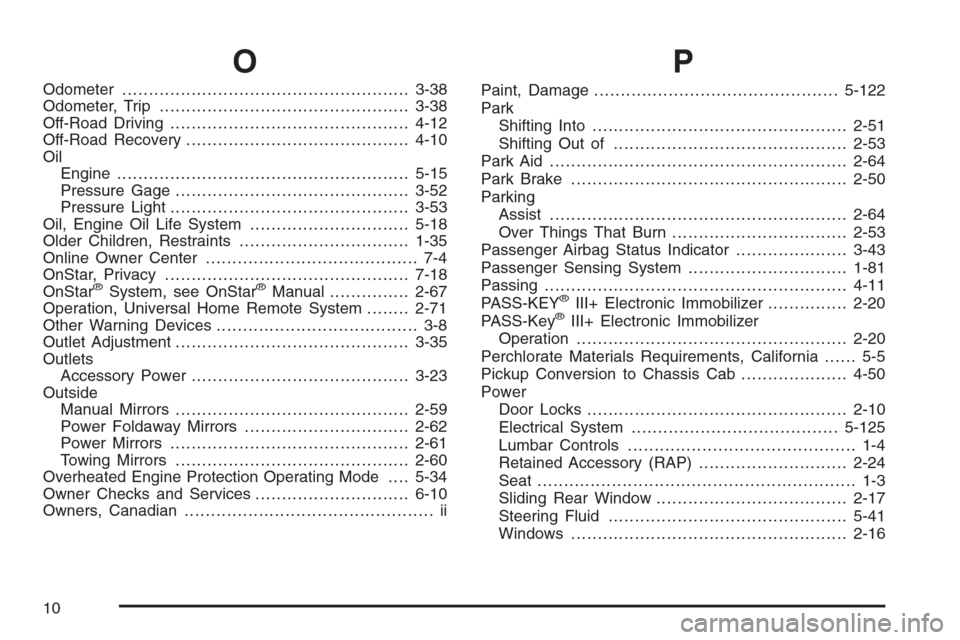
O
Odometer......................................................3-38
Odometer, Trip...............................................3-38
Off-Road Driving.............................................4-12
Off-Road Recovery..........................................4-10
Oil
Engine.......................................................5-15
Pressure Gage............................................3-52
Pressure Light.............................................3-53
Oil, Engine Oil Life System..............................5-18
Older Children, Restraints................................1-35
Online Owner Center........................................ 7-4
OnStar, Privacy..............................................7-18
OnStar
®System, see OnStar®Manual...............2-67
Operation, Universal Home Remote System........2-71
Other Warning Devices...................................... 3-8
Outlet Adjustment............................................3-35
Outlets
Accessory Power.........................................3-23
Outside
Manual Mirrors............................................2-59
Power Foldaway Mirrors...............................2-62
Power Mirrors.............................................2-61
Towing Mirrors............................................2-60
Overheated Engine Protection Operating Mode....5-34
Owner Checks and Services.............................6-10
Owners, Canadian............................................... ii
P
Paint, Damage..............................................5-122
Park
Shifting Into................................................2-51
Shifting Out of............................................2-53
Park Aid........................................................2-64
Park Brake....................................................2-50
Parking
Assist........................................................2-64
Over Things That Burn.................................2-53
Passenger Airbag Status Indicator.....................3-43
Passenger Sensing System..............................1-81
Passing.........................................................4-11
PASS-KEY
®III+ Electronic Immobilizer...............2-20
PASS-Key®III+ Electronic Immobilizer
Operation...................................................2-20
Perchlorate Materials Requirements, California...... 5-5
Pickup Conversion to Chassis Cab....................4-50
Power
Door Locks.................................................2-10
Electrical System.......................................5-125
Lumbar Controls........................................... 1-4
Retained Accessory (RAP)............................2-24
Seat............................................................ 1-3
Sliding Rear Window....................................2-17
Steering Fluid.............................................5-41
Windows....................................................2-16
10