2008 CHEVROLET EQUINOX instrument cluster
[x] Cancel search: instrument clusterPage 63 of 436
{CAUTION:
Airbags plus lap-shoulder belts offer the
best protection for adults, but not for young
children and infants. Neither the vehicle’s
safety belt system nor its airbag system is
designed for them. Young children and infants
need the protection that a child restraint
system can provide. Always secure children
properly in your vehicle. To read how, see
Older Children on page 1-31orInfants and
Young Children on page 1-34.
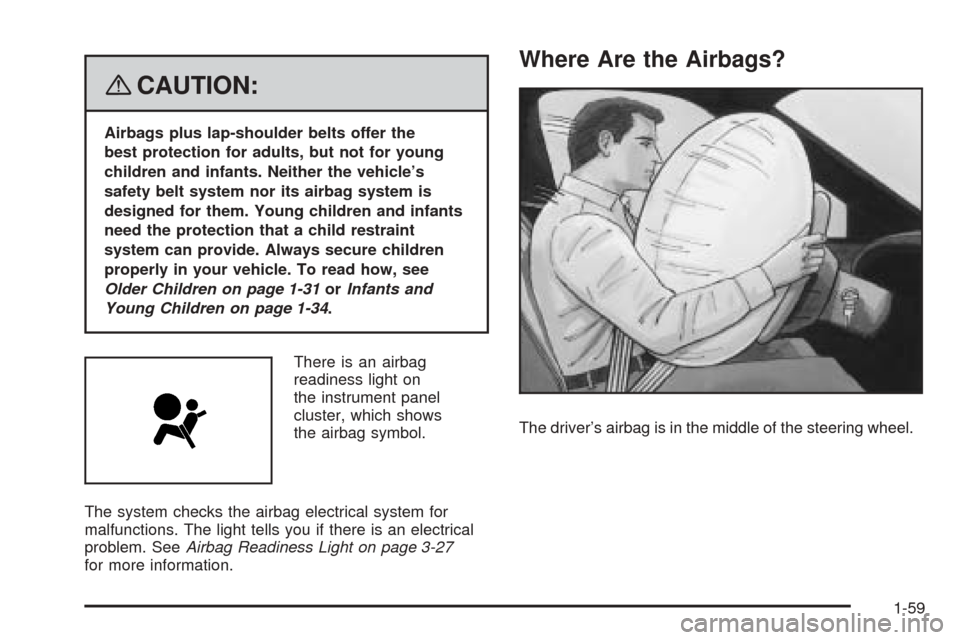
There is an airbag
readiness light on
the instrument panel
cluster, which shows
the airbag symbol.
The system checks the airbag electrical system for
malfunctions. The light tells you if there is an electrical
problem. SeeAirbag Readiness Light on page 3-27
for more information.
Where Are the Airbags?
The driver’s airbag is in the middle of the steering wheel.
1-59
Page 73 of 436
{CAUTION:
If the airbag readiness light in the instrument
panel cluster ever comes on and stays on,
it means that something may be wrong with
the airbag system. If this ever happens, have
the vehicle serviced promptly, because an
adult-size person sitting in the right front
passenger’s seat may not have the protection
of the airbag(s). SeeAirbag Readiness Light
on page 3-27for more on this, including
important safety information.A thick layer of additional material, such as a blanket
or cushion, or aftermarket equipment such as seat
covers, seat heaters, and seat massagers can affect
how well the passenger sensing system operates.
We recommend that you not use seat covers or
other aftermarket equipment other than any that GM
has approved for your speci�c vehicle. SeeAdding
Equipment to Your Airbag-Equipped Vehicle on
page 1-70for more information about modi�cations
that can affect how the system operates.
{CAUTION:
Stowing of articles under the passenger’s seat
or between the passenger’s seat cushion
and seatback may interfere with the proper
operation of the passenger sensing system.
1-69
Page 102 of 436
Automatic Transmission Operation
(3.4L V6 with 5-Speed)
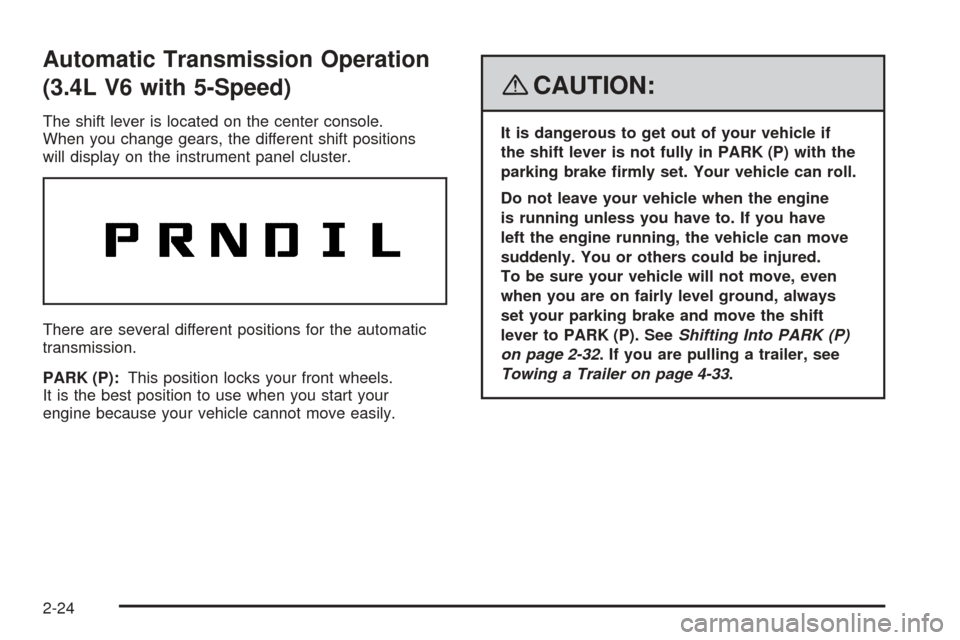
The shift lever is located on the center console.
When you change gears, the different shift positions
will display on the instrument panel cluster.
There are several different positions for the automatic
transmission.
PARK (P):This position locks your front wheels.
It is the best position to use when you start your
engine because your vehicle cannot move easily.
{CAUTION:
It is dangerous to get out of your vehicle if
the shift lever is not fully in PARK (P) with the
parking brake �rmly set. Your vehicle can roll.
Do not leave your vehicle when the engine
is running unless you have to. If you have
left the engine running, the vehicle can move
suddenly. You or others could be injured.
To be sure your vehicle will not move, even
when you are on fairly level ground, always
set your parking brake and move the shift
lever to PARK (P). SeeShifting Into PARK (P)
on page 2-32. If you are pulling a trailer, see
Towing a Trailer on page 4-33.
2-24
Page 105 of 436
Automatic Transmission Operation
(3.6L V6 with 6-Speed)
The shift lever for the automatic transmission is located
on the console between the seats.
Maximum engine speed is limited when the vehicle is in
PARK (P) or NEUTRAL (N) to protect driveline
components from improper operation.
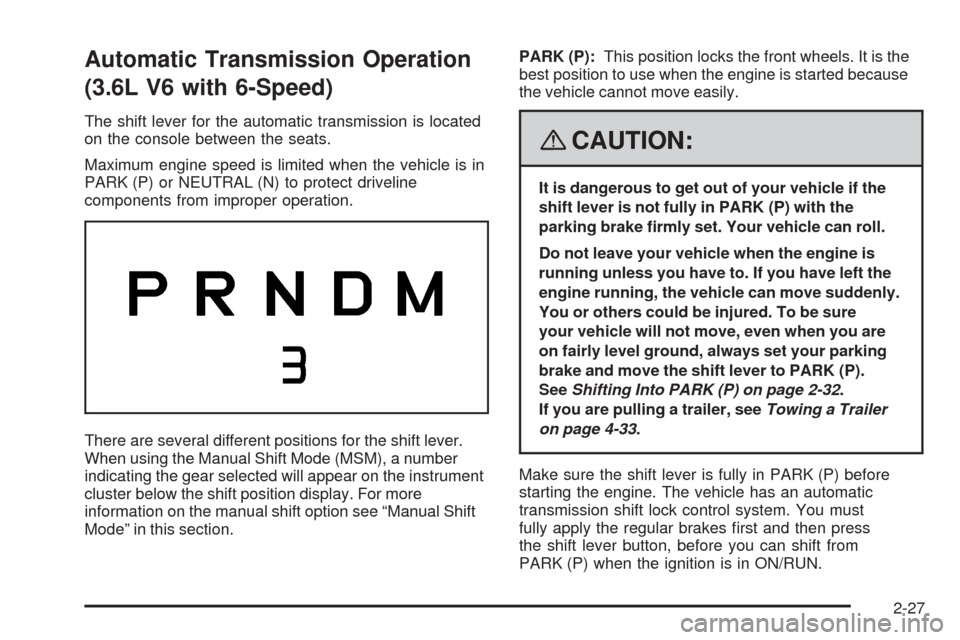
There are several different positions for the shift lever.
When using the Manual Shift Mode (MSM), a number
indicating the gear selected will appear on the instrument
cluster below the shift position display. For more
information on the manual shift option see “Manual Shift
Mode” in this section.PARK (P):This position locks the front wheels. It is the
best position to use when the engine is started because
the vehicle cannot move easily.
{CAUTION:
It is dangerous to get out of your vehicle if the
shift lever is not fully in PARK (P) with the
parking brake �rmly set. Your vehicle can roll.
Do not leave your vehicle when the engine is
running unless you have to. If you have left the
engine running, the vehicle can move suddenly.
You or others could be injured. To be sure
your vehicle will not move, even when you are
on fairly level ground, always set your parking
brake and move the shift lever to PARK (P).
SeeShifting Into PARK (P) on page 2-32.
If you are pulling a trailer, seeTowing a Trailer
on page 4-33.
Make sure the shift lever is fully in PARK (P) before
starting the engine. The vehicle has an automatic
transmission shift lock control system. You must
fully apply the regular brakes �rst and then press
the shift lever button, before you can shift from
PARK (P) when the ignition is in ON/RUN.
2-27
Page 107 of 436
DRIVE (D):This position is for normal driving.
It provides the best fuel economy for your vehicle.
If the vehicle needs more power for passing, and it is:
Going less than 35 mph (55 km/h), push the
accelerator pedal about halfway down.
Going about 35 mph (55 km/h) or more,
push the accelerator pedal all the way down.
The vehicle will shift down to the next gear
and have more power.
Downshifting the transmission in slippery road conditions
could result in skidding, see Skidding underLoss of
Control on page 4-13.
Notice:Spinning the tires or holding the vehicle
in one place on a hill using only the accelerator
pedal may damage the transmission. The repair
will not be covered by your warranty. If you
are stuck, do not spin the tires. When stopping on
a hill, use the brakes to hold the vehicle in place.
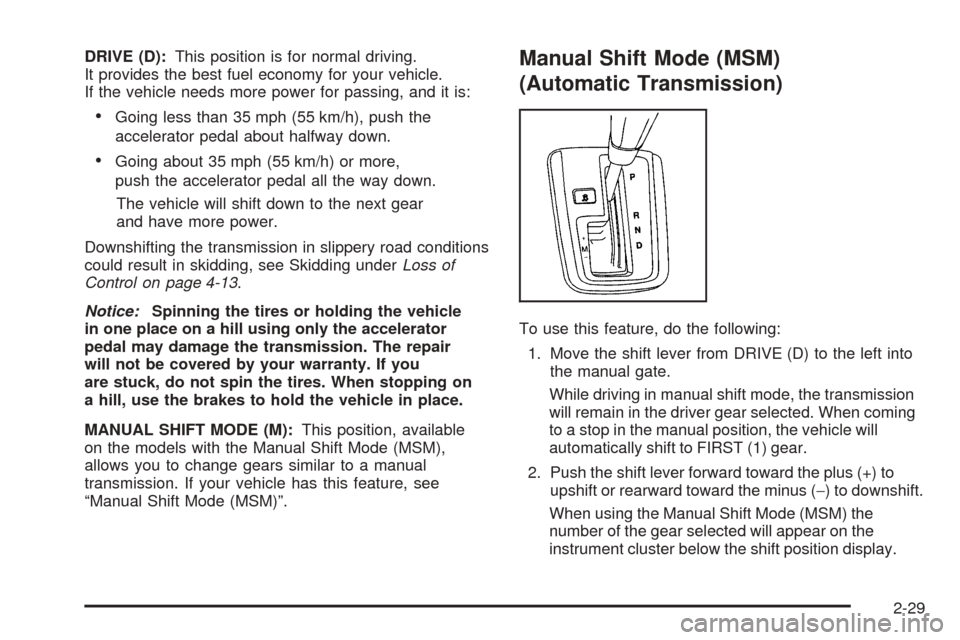
MANUAL SHIFT MODE (M):This position, available
on the models with the Manual Shift Mode (MSM),
allows you to change gears similar to a manual
transmission. If your vehicle has this feature, see
“Manual Shift Mode (MSM)”.
Manual Shift Mode (MSM)
(Automatic Transmission)
To use this feature, do the following:
1. Move the shift lever from DRIVE (D) to the left into
the manual gate.
While driving in manual shift mode, the transmission
will remain in the driver gear selected. When coming
to a stop in the manual position, the vehicle will
automatically shift to FIRST (1) gear.
2. Push the shift lever forward toward the plus (+) to
upshift or rearward toward the minus (−) to downshift.
When using the Manual Shift Mode (MSM) the
number of the gear selected will appear on the
instrument cluster below the shift position display.
2-29
Page 129 of 436
Instrument Panel Overview...............................3-4
Hazard Warning Flashers................................3-6
Other Warning Devices...................................3-6
Horn.............................................................3-6
Tilt Wheel.....................................................3-6
Turn Signal/Multifunction Lever.........................3-7
Turn and Lane-Change Signals........................3-8
Headlamp High/Low-Beam Changer..................3-8
Flash-to-Pass.................................................3-8
Windshield Wipers..........................................3-9
Windshield Washer.......................................3-10
Rear Window Wiper/Washer...........................3-10
Cruise Control..............................................3-10
Headlamps..................................................3-13
Headlamps on Reminder................................3-13
Daytime Running Lamps (DRL).......................3-14
Automatic Headlamp System..........................3-14
Fog Lamps..................................................3-15
Instrument Panel Brightness...........................3-15
Dome Lamp.................................................3-16
Entry Lighting...............................................3-16
Map Lamps.................................................3-16
Cargo Lamp.................................................3-16
Electric Power Management...........................3-17
Battery Run-Down Protection..........................3-17
Accessory Power Outlet(s).............................3-18Ashtray(s) and Cigarette Lighter......................3-18
Climate Controls............................................3-19
Climate Control System.................................3-19
Outlet Adjustment.........................................3-22
Passenger Compartment Air Filter...................3-22
Warning Lights, Gages, and Indicators............3-24
Instrument Panel Cluster................................3-25
Speedometer and Odometer...........................3-26
Trip Odometer..............................................3-26
Tachometer.................................................3-26
Safety Belt Reminders...................................3-27
Airbag Readiness Light..................................3-27
Passenger Airbag Status Indicator...................3-28
Charging System Light..................................3-30
Brake System Warning Light..........................3-31
Antilock Brake System Warning Light...............3-32
Traction Control System (TCS) Warning Light . . .3-32
Engine Coolant Temperature Warning Light......3-33
Engine Coolant Temperature Gage..................3-33
Tire Pressure Light.......................................3-34
Malfunction Indicator Lamp.............................3-34
Oil Pressure Light.........................................3-37
Change Engine Oil Light................................3-38
Security Light...............................................3-38
Fog Lamp Light............................................3-38
Cruise Control Light......................................3-38
Section 3 Instrument Panel
3-1
Page 133 of 436
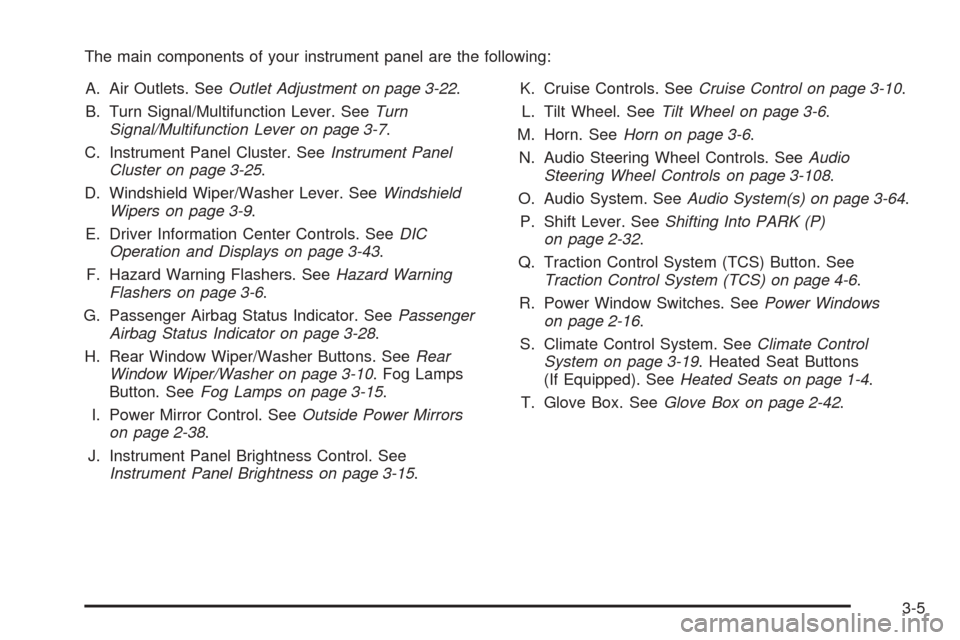
The main components of your instrument panel are the following:
A. Air Outlets. SeeOutlet Adjustment on page 3-22.
B. Turn Signal/Multifunction Lever. SeeTurn
Signal/Multifunction Lever on page 3-7.
C. Instrument Panel Cluster. SeeInstrument Panel
Cluster on page 3-25.
D. Windshield Wiper/Washer Lever. SeeWindshield
Wipers on page 3-9.
E. Driver Information Center Controls. SeeDIC
Operation and Displays on page 3-43.
F. Hazard Warning Flashers. SeeHazard Warning
Flashers on page 3-6.
G. Passenger Airbag Status Indicator. SeePassenger
Airbag Status Indicator on page 3-28.
H. Rear Window Wiper/Washer Buttons. SeeRear
Window Wiper/Washer on page 3-10. Fog Lamps
Button. SeeFog Lamps on page 3-15.
I. Power Mirror Control. SeeOutside Power Mirrors
on page 2-38.
J. Instrument Panel Brightness Control. See
Instrument Panel Brightness on page 3-15.K. Cruise Controls. SeeCruise Control on page 3-10.
L. Tilt Wheel. SeeTilt Wheel on page 3-6.
M. Horn. SeeHorn on page 3-6.
N. Audio Steering Wheel Controls. SeeAudio
Steering Wheel Controls on page 3-108.
O. Audio System. SeeAudio System(s) on page 3-64.
P. Shift Lever. SeeShifting Into PARK (P)
on page 2-32.
Q. Traction Control System (TCS) Button. See
Traction Control System (TCS) on page 4-6.
R. Power Window Switches. SeePower Windows
on page 2-16.
S. Climate Control System. SeeClimate Control
System on page 3-19. Heated Seat Buttons
(If Equipped). SeeHeated Seats on page 1-4.
T. Glove Box. SeeGlove Box on page 2-42.
3-5
Page 136 of 436
Turn and Lane-Change Signals
The turn signal has two upward (for right) and
two downward (for left) positions. These positions
allow you to signal a turn or a lane change.
To signal a turn, move the lever all the way up or
down. When the turn is �nished, the lever will return
automatically.
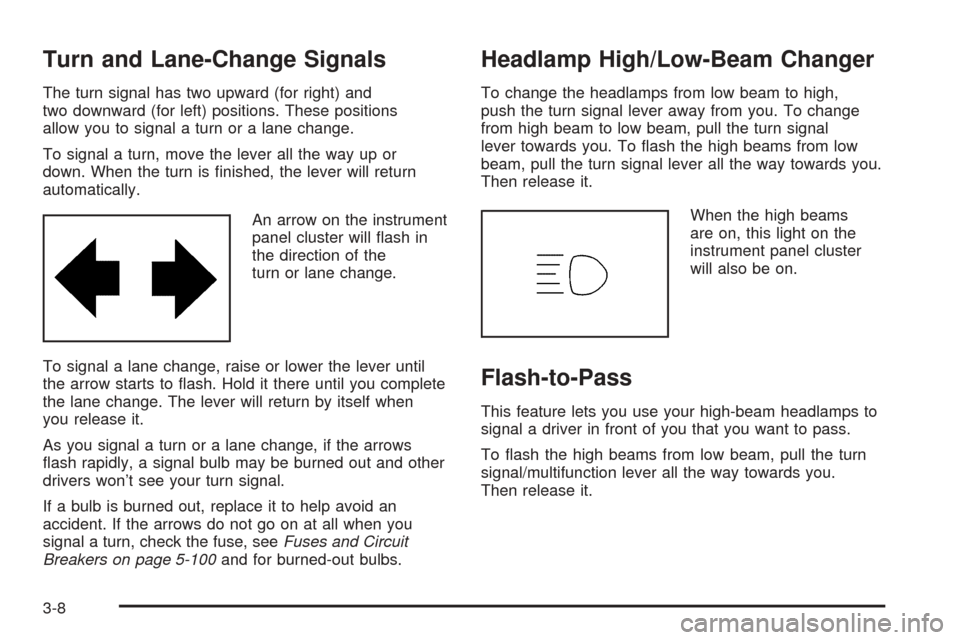
An arrow on the instrument
panel cluster will �ash in
the direction of the
turn or lane change.
To signal a lane change, raise or lower the lever until
the arrow starts to �ash. Hold it there until you complete
the lane change. The lever will return by itself when
you release it.
As you signal a turn or a lane change, if the arrows
�ash rapidly, a signal bulb may be burned out and other
drivers won’t see your turn signal.
If a bulb is burned out, replace it to help avoid an
accident. If the arrows do not go on at all when you
signal a turn, check the fuse, seeFuses and Circuit
Breakers on page 5-100and for burned-out bulbs.
Headlamp High/Low-Beam Changer
To change the headlamps from low beam to high,
push the turn signal lever away from you. To change
from high beam to low beam, pull the turn signal
lever towards you. To �ash the high beams from low
beam, pull the turn signal lever all the way towards you.
Then release it.
When the high beams
are on, this light on the
instrument panel cluster
will also be on.
Flash-to-Pass
This feature lets you use your high-beam headlamps to
signal a driver in front of you that you want to pass.
To �ash the high beams from low beam, pull the turn
signal/multifunction lever all the way towards you.
Then release it.
3-8