Page 137 of 432
Instrument Panel Overview...............................3-4
Hazard Warning Flashers................................3-6
Other Warning Devices...................................3-7
Horn .............................................................3-7
Tilt Wheel.....................................................3-7
Turn Signal/Multifunction Lever.........................3-8
Turn and Lane-Change Signals (Auto Signal).....3-9
Headlamp High/Low-Beam Changer..................3-9
Flash-to-Pass...............................................3-10
Windshield Wipers........................................3-10
Windshield Washer.......................................3-11
Cruise Control..............................................3-11
Exterior Lamps.............................................3-15
Wiper Activated Headlamps............................3-16
Headlamps on Reminder................................3-16
Daytime Running Lamps (DRL).......................3-16
Fog Lamps ..................................................3-17
Twilight Sentinel
®..........................................3-18
Exterior Lighting Battery Saver........................3-19
Instrument Panel Brightness...........................3-19
Courtesy Lamps...........................................3-19
Entry/Exit Lighting.........................................3-19
Reading Lamps............................................3-20Battery Run-Down Protection..........................3-20
Head-Up Display (HUD).................................3-20
Accessory Power Outlet(s).............................3-24
Ashtray(s) and Cigarette Lighter......................3-25
Climate Controls............................................3-26
Dual Automatic Climate Control System...........3-26
Outlet Adjustment.........................................3-32
Passenger Compartment Air Filter...................3-32
Warning Lights, Gages, and Indicators............3-34
Instrument Panel Cluster................................3-35
Speedometer and Odometer...........................3-36
Tachometer.................................................3-36
Safety Belt Reminders...................................3-36
Airbag Readiness Light..................................3-37
Passenger Airbag Status Indicator...................3-38
Voltmeter Gage............................................3-40
One-to-Four Shift Light
(Manual Transmission)...............................3-40
Brake System Warning Light..........................3-41
Antilock Brake System (ABS) Warning Light........3-42
Traction Control System (TCS) Warning Light......3-42
Active Handling System Light.........................3-43
Engine Coolant Temperature Gage..................3-44
Section 3 Instrument Panel
3-1
Page 172 of 432
Speedometer and Odometer
Your speedometer lets you see your speed in either
miles per hour (mph) or kilometers per hour (km/h).
For more information see “Personal Options” under
DIC Vehicle Personalization on page 3-75.
To read the odometer with the ignition off, turn on the
parking lamps.
If your vehicle needs a new odometer installed, the
mileage total of the new odometer will be set to
the original miles (kilometers) of the old odometer.
See your dealer/retailer if the odometer must be
replaced in your vehicle.
Tachometer
The tachometer displays the engine speed in thousands
of revolutions per minute (rpm).
Notice:Fuel will shut off at about 6500 rpm for the
base model and 7000 rpm for the Z06 model. If you
continue to drive your vehicle at the fuel shut off rpm,
you could damage your engine. Be sure to operate
your vehicle below the fuel shut off rpm or reduce
your rpm quickly when the fuel shuts off.
Safety Belt Reminders
Safety Belt Reminder Light
When the engine is started, a chime will come on for
several seconds to remind people to fasten their safety
belts, unless the driver’s safety belt is already buckled.
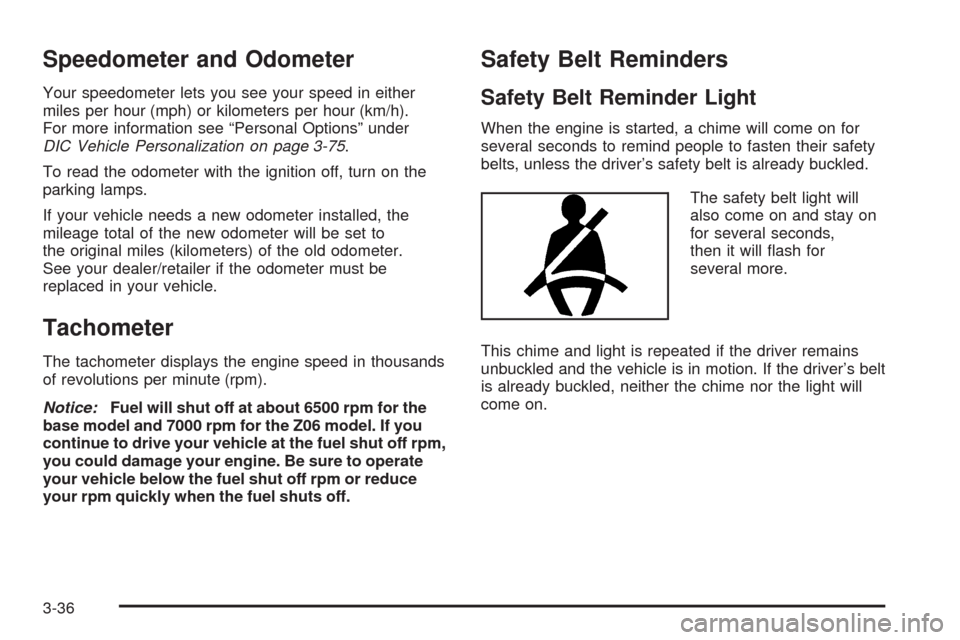
The safety belt light will
also come on and stay on
for several seconds,
then it will �ash for
several more.
This chime and light is repeated if the driver remains
unbuckled and the vehicle is in motion. If the driver’s belt
is already buckled, neither the chime nor the light will
come on.
3-36
Page 191 of 432
Battery Voltage:This display shows the current battery
voltage.
Press the gages button again to display the battery
voltage, such as:
BATTERY VOLTAGE 13.5 VOLTS
Tire Pressure:This display shows the tire pressure for
each tire.
Press the gages button again to display the tire pressure
for the front tires, such as:
FRONT TIRE PRESSURES L 34 PSI R 33 PSI or
FRONT TIRE PRESSURES L 234 kPa R 228 kPa
Press the gages button again to display the tire pressure
for the rear tires, such as:
REAR TIRE PRESSURES L 34 PSI R 33 PSI or
REAR TIRE PRESSURES L 234 kPa R 228 kPa
TRIP Button
The TRIP button displays the odometer, trip distance,
elapsed time, average speed, and oil life remaining
information.
Odometer:The odometer shows how far your vehicle
has been driven in either miles or kilometers.
Press the TRIP button to display odometer readings,
such as:
ODOMETER 12345 MI or
ODOMETER 20008 km
You can also display the odometer by turning on the
parking lamps.
Trip Odometers:There are two trip odometers.
Press the TRIP button to display TRIP ODOMETER A
readings and press the button again to display TRIP
ODOMETER B readings, such as:
TRIP ODOMETER A 130.5 MI or
TRIP ODOMETER A 209.9 km
TRIP ODOMETER B 300.5 MI or
TRIP ODOMETER B 483.5 km
3-55
Page 192 of 432
Both of the trip odometers can be used simultaneously.
TRIP A could be used to track the distance to a
destination. TRIP B could be used to track maintenance
periods. The trip odometers can be reset by pressing
the RESET button on the DIC.
There is also a miles since last ignition feature that
displays the number of miles (kilometers) driven since
you last started the vehicle. Press and hold the
RESET button for three seconds, then release it.
The miles (kilometers) since the last ignition cycle will
be set into the trip odometer.
Elapsed Timer:Press the TRIP button until ELAPSED
TIMER is displayed, such as ELAPSED TIMER .00.
When the ignition is in on, the DIC can be used as a
stopwatch. The display can show hours, minutes and
seconds. The elapsed time indicator will record up to
23 hours, 59 minutes and 59 seconds, then it will reset to
zero and continue counting. The display appears as
ELAPSED TIMER .00 in the elapsed time function.
You can start or stop the elapsed time by pressing the
RESET button. To reset the elapsed time to zero,
press the RESET button for three seconds while the
timer is displayed.Pressing and holding the RESET button for at least
10 seconds will reset the timer display to the time since
last ignition cycle.
Average Speed:Press the TRIP button until the
average speed is displayed, such as:
AVERAGE SPEED 62 MPH or
AVERAGE SPEED 100 km/h
Press and hold the RESET button to reset to
0.0 mph (km/h).
Engine Oil Life:Press the TRIP button until the engine
oil life is displayed, such as OIL LIFE REMAINING 89%.
This is an estimate of the engine oil’s remaining
useful life. It will show 100% when the system is reset
after an oil change. It will alert you to change the oil
on a schedule consistent with your driving conditions.
When the remaining oil life is low, the system will
alert you with the message CHANGE ENGINE OIL.
3-56
Page 351 of 432
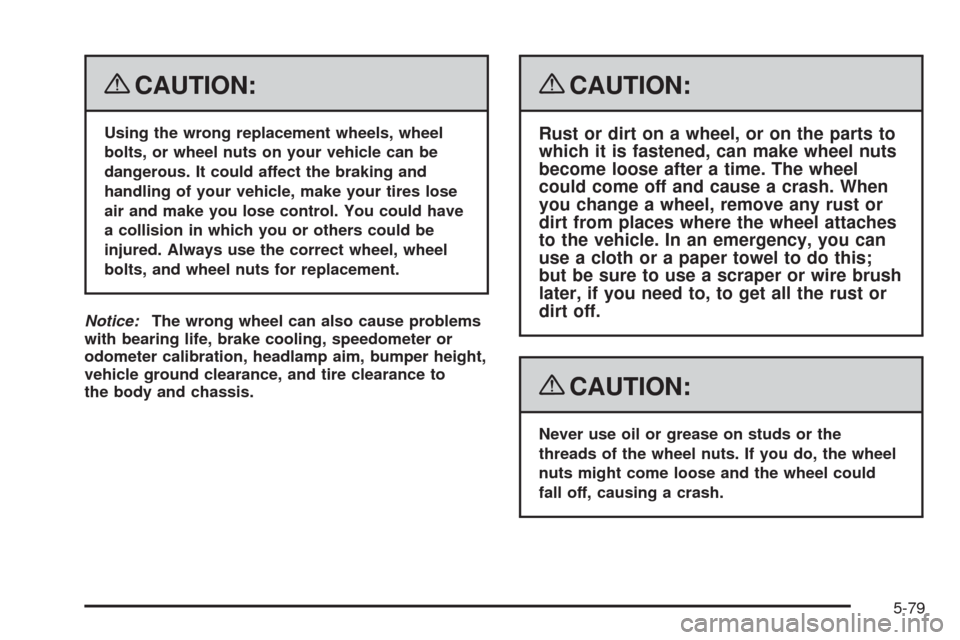
{CAUTION:
Using the wrong replacement wheels, wheel
bolts, or wheel nuts on your vehicle can be
dangerous. It could affect the braking and
handling of your vehicle, make your tires lose
air and make you lose control. You could have
a collision in which you or others could be
injured. Always use the correct wheel, wheel
bolts, and wheel nuts for replacement.
Notice:The wrong wheel can also cause problems
with bearing life, brake cooling, speedometer or
odometer calibration, headlamp aim, bumper height,
vehicle ground clearance, and tire clearance to
the body and chassis.
{CAUTION:
Rust or dirt on a wheel, or on the parts to
which it is fastened, can make wheel nuts
become loose after a time. The wheel
could come off and cause a crash. When
you change a wheel, remove any rust or
dirt from places where the wheel attaches
to the vehicle. In an emergency, you can
use a cloth or a paper towel to do this;
but be sure to use a scraper or wire brush
later, if you need to, to get all the rust or
dirt off.
{CAUTION:
Never use oil or grease on studs or the
threads of the wheel nuts. If you do, the wheel
nuts might come loose and the wheel could
fall off, causing a crash.
5-79
Page 396 of 432
Maintenance Record
After the scheduled services are performed, record the date, odometer reading, who performed the service, and the
type of services performed in the boxes provided. SeeMaintenance Requirements on page 6-2. Any additional
information fromOwner Checks and Services on page 6-8can be added on the following record pages. You should
retain all maintenance receipts.
Maintenance Record
DateOdometer
ReadingServiced ByMaintenanceIor
MaintenanceIIServices Performed
6-16
Page 397 of 432
Maintenance Record (cont’d)
DateOdometer
ReadingServiced ByMaintenanceIor
MaintenanceIIServices Performed
6-17
Page 398 of 432
Maintenance Record (cont’d)
DateOdometer
ReadingServiced ByMaintenanceIor
MaintenanceIIServices Performed
6-18