2008 CHEVROLET CORVETTE key
[x] Cancel search: keyPage 85 of 432
It is possible for the immobilizer system to learn new or
replacement keyless access transmitters. Up to four
keyless access transmitters can be programmed for the
vehicle. To program additional transmitters, see
“Matching transmitter(s) to Your Vehicle” underKeyless
Access System Operation on page 2-6.
Do not leave the key or device that disarms or
deactivates the theft deterrent system in the vehicle.
Starting and Operating
Your Vehicle
New Vehicle Break-In
Notice:Your vehicle does not need an elaborate
break-in. But it will perform better in the long run if
you follow these guidelines:
Keep your speed at 55 mph (88 km/h) or less for
the �rst 500 miles (805 km).
Do not drive at any one constant speed, fast or
slow, for the �rst 500 miles (805 km). Do not
make full-throttle starts. Avoid downshifting to
brake or slow the vehicle.
Avoid making hard stops for the �rst 200 miles
(322 km) or so. During this time the new brake
linings are not yet broken in. Hard stops
with new linings can mean premature wear and
earlier replacement. Follow this breaking-in
guideline every time you get new brake linings.
Following break-in, engine speed and load can be
gradually increased.
Front Air Dam
Your vehicle is equipped with a front air dam which has
minimal ground clearance.
Under normal operation, the air dam will occasionally
contact some road surfaces (speed bumps, driveway
ramps, etc.). This can be heard inside the vehicle as a
scraping noise. This is normal and does not indicate
a problem.
Use care when approaching bumps or objects on road
surfaces and avoid them when possible.
2-21
Page 86 of 432
Ignition Positions
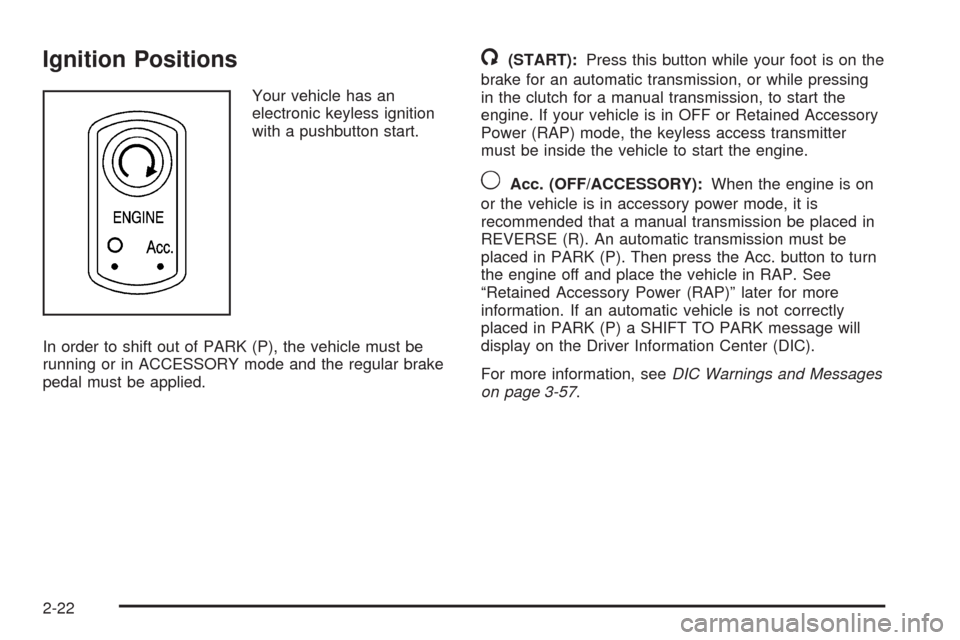
Your vehicle has an
electronic keyless ignition
with a pushbutton start.
In order to shift out of PARK (P), the vehicle must be
running or in ACCESSORY mode and the regular brake
pedal must be applied.
/(START):Press this button while your foot is on the
brake for an automatic transmission, or while pressing
in the clutch for a manual transmission, to start the
engine. If your vehicle is in OFF or Retained Accessory
Power (RAP) mode, the keyless access transmitter
must be inside the vehicle to start the engine.
9Acc. (OFF/ACCESSORY):When the engine is on
or the vehicle is in accessory power mode, it is
recommended that a manual transmission be placed in
REVERSE (R). An automatic transmission must be
placed in PARK (P). Then press the Acc. button to turn
the engine off and place the vehicle in RAP. See
“Retained Accessory Power (RAP)” later for more
information. If an automatic vehicle is not correctly
placed in PARK (P) a SHIFT TO PARK message will
display on the Driver Information Center (DIC).
For more information, seeDIC Warnings and Messages
on page 3-57.
2-22
Page 87 of 432
When the engine is off, press this button to place the
vehicle in accessory mode. ACCESSORY MODE
ON will display on the Driver Information Center (DIC).
This mode allows you to use things like the radio
and the windshield wipers while the engine is off. Use
accessory mode if you must have your vehicle in motion
while the engine is off, for example, if your vehicle is
being pushed or towed.
After being in accessory mode for about 10 minutes, the
vehicle will automatically enter RAP or OFF, depending
on if the doors are opened or closed.
Retained Accessory Power (RAP)
These vehicle accessories can be used for up to
10 minutes after the engine is turned off:
Audio System
Power Windows
These features continue to work up to 10 minutes after
the engine is turned off or until either door is opened.
If a door is opened, the power windows and audio
system will shut off.
Starting the Engine
Move the shift lever to PARK (P) or NEUTRAL (N) for
an automatic transmission. For a manual transmission
the vehicle can be started in NEUTRAL or any other
gear as long as the clutch is depressed. To restart
a manual transmission when you are already moving,
use the NEUTRAL position only. To restart an automatic
transmission when you are already moving, use
NEUTRAL (N).
Notice:Do not try to shift to P (Park) if your vehicle
is moving. If you do, you could damage the
transmission. Shift to P (Park) only when your
vehicle is stopped.
The keyless access transmitter must be inside the
vehicle for the ignition to work.
Cell phone chargers can interfere with the operation of
the Keyless Access System. Battery chargers should
not be plugged in when starting or turning off the engine.
2-23
Page 88 of 432
To start your vehicle, do the following:
1. For an automatic transmission, with your foot on the
brake pedal, press the START button located on
the instrument panel. For a manual transmission,
while pressing in the clutch, press the START
button.
If there is not a keyless access transmitter in the
vehicle or if there is something causing interference
with it, the DIC will display NO FOBS DETECTED.
SeeDIC Warnings and Messages on page 3-57
for more information.
2. When the engine begins cranking, let go of the
button and the engine cranks automatically until
it starts. If the battery in the keyless access
transmitter is weak, the DIC displays FOB
BATTERY LOW. You can still drive the vehicle.
See “Battery Replacement” underKeyless Access
System Operation on page 2-6for more information.
If the fob battery is dead, you need to insert the
fob into the fob slot to enable engine starting.
See “No Fobs Detected” underDIC Warnings and
Messages on page 3-57.3. Do not race the engine immediately after starting it.
Operate the engine and transmission gently until
the oil warms up and lubricates all moving parts.
4. If the engine does not start and no DIC message is
displayed, wait 15 seconds before trying again to let
the cranking motor cool down.
If the engine does not start after 5-10 seconds,
especially in very cold weather (below 0°F or−18°C),
it could be �ooded with too much gasoline. Try
pushing the accelerator pedal all the way to the �oor
while cranking for up to 15 seconds maximum. Wait
at least 15 seconds between each try, to allow the
cranking motor to cool down. When the engine starts,
let go of the accelerator. If the vehicle starts brie�y
but then stops again, do the same thing. This clears
the extra gasoline from the engine.
Notice:Cranking the engine for long periods of
time, by pressing the START button immediately
after cranking has ended, can overheat and damage
the cranking motor, and drain the battery. Wait at
least 15 seconds between each try, to allow the
cranking motor to cool down.
2-24
Page 89 of 432
Your vehicle has a Computer-Controlled Cranking
System. This feature assists in starting the engine and
protects components. Once cranking has been
initiated, the engine continues cranking for a few
seconds or until the vehicle starts. If the engine does
not start, cranking automatically stops after 15 seconds
to prevent cranking motor damage. To prevent gear
damage, this system also prevents cranking if the
engine is already running.
Notice:The engine is designed to work with the
electronics in the vehicle. If electrical parts or
accessories are added, you could change the way
the engine operates. Before adding electrical
equipment, check with your dealer/retailer. If you
do not, the engine might not perform properly.
Any resulting damage would not be covered by the
vehicle warranty.Stopping Your Engine
If your vehicle has an automatic transmission, move the
shift lever to PARK (P) and press and hold the Acc.
(Off/Accessory) button, located on the instrument panel,
until the engine shuts off. If the shift lever is not in
PARK (P), the engine shuts off and the vehicle goes
into the Accessory Mode. The DIC displays SHIFT TO
PARK. Once the shifter is moved to PARK (P), the
vehicle turns off. If your vehicle has a manual
transmission, it is recommended that you move the
shift lever to REVERSE (R) and set the parking
brake after you turn off the engine by pressing the
Acc. (Off/Accessory) button.
If the keyless access transmitter is not detected inside
the vehicle when it is turned to off, the DIC displays
NO FOB – OFF OR RUN?.
SeeDIC Warnings and Messages on page 3-57for
more information.
2-25
Page 107 of 432
OnStar®System
OnStar uses several innovative technologies and live
advisors to provide a wide range of safety, security,
information, and convenience services. If the airbags
deploy, the system is designed to make an automatic call
to OnStar Emergency advisors who can request
emergency services be sent to your location. If the keys
are locked in the vehicle, call OnStar at 1-888-4-ONSTAR
and they can send a signal to unlock the doors. For
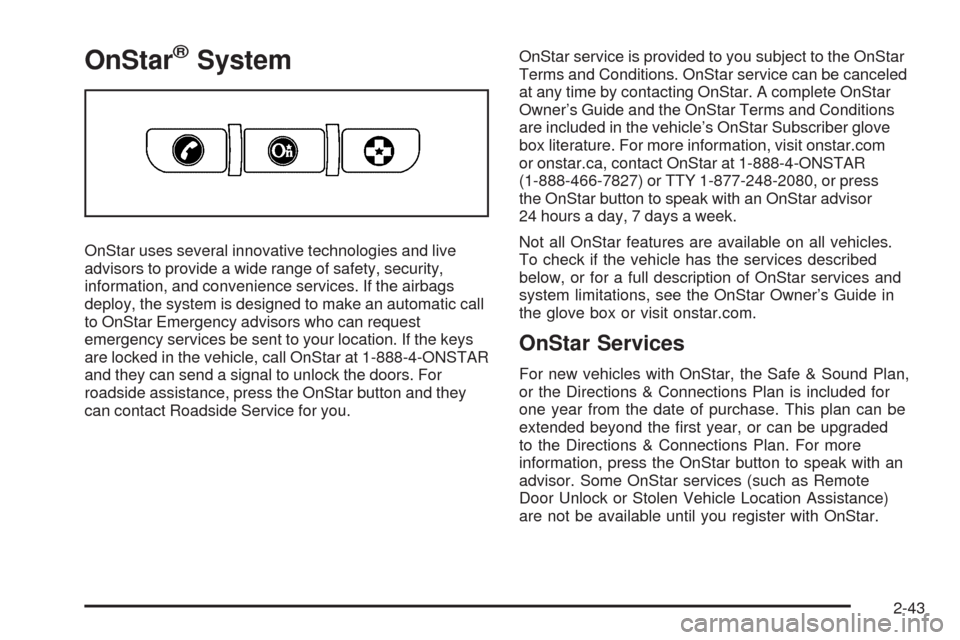
roadside assistance, press the OnStar button and they
can contact Roadside Service for you.OnStar service is provided to you subject to the OnStar
Terms and Conditions. OnStar service can be canceled
at any time by contacting OnStar. A complete OnStar
Owner’s Guide and the OnStar Terms and Conditions
are included in the vehicle’s OnStar Subscriber glove
box literature. For more information, visit onstar.com
or onstar.ca, contact OnStar at 1-888-4-ONSTAR
(1-888-466-7827) or TTY 1-877-248-2080, or press
the OnStar button to speak with an OnStar advisor
24 hours a day, 7 days a week.
Not all OnStar features are available on all vehicles.
To check if the vehicle has the services described
below, or for a full description of OnStar services and
system limitations, see the OnStar Owner’s Guide in
the glove box or visit onstar.com.
OnStar Services
For new vehicles with OnStar, the Safe & Sound Plan,
or the Directions & Connections Plan is included for
one year from the date of purchase. This plan can be
extended beyond the �rst year, or can be upgraded
to the Directions & Connections Plan. For more
information, press the OnStar button to speak with an
advisor. Some OnStar services (such as Remote
Door Unlock or Stolen Vehicle Location Assistance)
are not be available until you register with OnStar.
2-43
Page 117 of 432
Reprogramming Universal Home
Remote Buttons
Any of the three buttons can be reprogrammed by
repeating the instructions.
Erasing Universal Home Remote
Buttons
The programmed buttons should be erased when the
vehicle is sold or the lease ends.
To erase either Rolling Code or Fixed Code on the
Universal Home Remote device:
1. Press and hold the two outside buttons at the same
time for approximately 20 seconds, until the
indicator lights, located directly above the buttons,
begin to blink rapidly.
2. Once the indicator lights begin to blink, release both
buttons. The codes from all buttons are erased.
For help or information on the Universal Home Remote
System, call the customer assistance phone number
underCustomer Assistance Offices on page 7-6.
Storage Areas
Glove Box
To open the glove box, lift up on the lever. Use the key
to lock and unlock. The glove box has a light inside.
Cupholders
There are two cupholders located on the center console
next to the shift lever. To access, place your thumb
on the left side of the lid and slide the handle to
the right.
Center Console Storage
To use this storage area, pull up the lid on the driver’s
side front edge of the console and swing it to the
passenger side.
2-53
Page 156 of 432
Reading Lamps
The inside rearview mirror includes two reading lamps.
The lamps will go on when a door is opened. When
the doors are closed, each lamp can be turned on
individually by pressing the switch for that lamp.
An ambient light is located in the passenger sun visor
clip. This light stays on while driving to keep the
cabin from being too dark.
Battery Run-Down Protection
This vehicle has a feature to help prevent the battery
from being drained in case any of the following
lamps are left on; the underhood lamp, if your vehicle
has this feature, vanity mirror lamps, cargo lamps,
reading lamps, console or glove box lamps. If any of
these lamps are left on, they will automatically time-out
after about 10 minutes. To reset it, all of the above
lamps must be turned off or the ignition key on.
Head-Up Display (HUD)
{CAUTION:
If the HUD image is too bright, or too high in
your �eld of view, it may take you more time to
see things you need to see when it is dark
outside. Be sure to keep the HUD image dim
and placed low in your �eld of view.
If your vehicle has the Head-Up Display (HUD), you can
see some of the driver information that appears on
the instrument panel cluster.
The information may be displayed in English or metric
units and appears as an image focused out toward
the front of the vehicle. The HUD consists of the
following information:
Speedometer
Turn Signal Indicators
High-Beam Indicator Symbol
Tachometer
3-20