Page 42 of 165
recognised as "authorised" for
your motorcycle.A spare key attached
to the same ring as the
ignition key used to start the
engine could "irritate" the
electronics, in which case the
enabling signal for starting is
not issued. The
EWS
warning
appears in the multifunction
display.
Always keep the spare key
separately from the ignition
key.
Replacement keys and
extra keysYou can obtain replace-
ment/extra keys only through
an authorised BMW Motorrad
dealer. The keys are part
of an integrated security
system, so the dealer is under
an obligation to check the
legitimacy of all applications
for replacement/extra keys. If you want to have a lost key
barred, you have to bring with
you all the other keys that
belong to the motorcycle. A
key that has been barred can
subsequently be cleared and
reactivated for use.
Hazard warning flash-
ersSwitching on the hazard
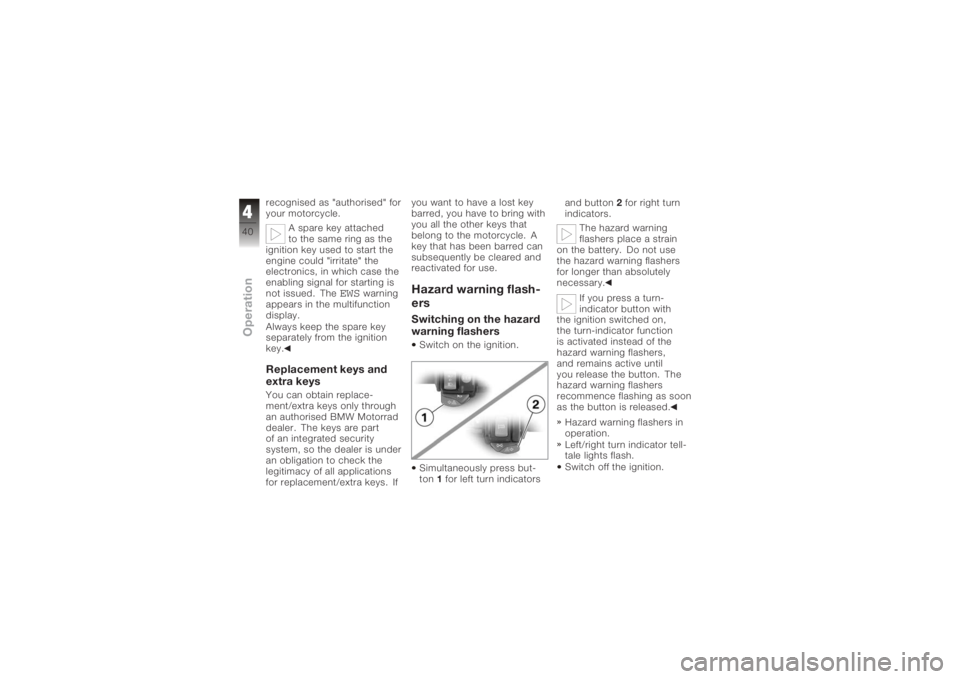
warning flashersSwitch on the ignition.
Simultaneously press but-
ton
1for left turn indicators and button
2for right turn
indicators.
The hazard warning
flashers place a strain
on the battery. Do not use
the hazard warning flashers
for longer than absolutely
necessary.
If you press a turn-
indicator button with
the ignition switched on,
the turn-indicator function
is activated instead of the
hazard warning flashers,
and remains active until
you release the button. The
hazard warning flashers
recommence flashing as soon
as the button is released.
Hazard warning flashers in
operation.
Left/right turn indicator tell-
tale lights flash.
Switch off the ignition.
440zOperation
Page 43 of 165
The hazard warning flashers
continue to operate.
Left/right turn indicator tell-
tale lights off.Switching off the hazard
warning flashersPress cancel button3.
Hazard warning flashers
switched off.
Alternative: Simultaneously
press button 1for left turn
indicators and button 2for
right turn indicators.
Hazard warning flashers
switched off.
TripmasterOperating the TripmasterYou have the option of using
pushbutton 1in the instru-
ment cluster to operate the
Tripmaster as described be-
low.Selecting readingsSwitch on the ignition.
When you switch on the
ignition, the information
shown by the Tripmaster
when the ignition was
switched off always reappears
on the multifunction display. Briefly press the Tripmaster
button
1once to proceed
to each subsequent step in
the cycle.
The Tripmaster display field
cycles through the following
sequence:
441zOperation
Page 51 of 165
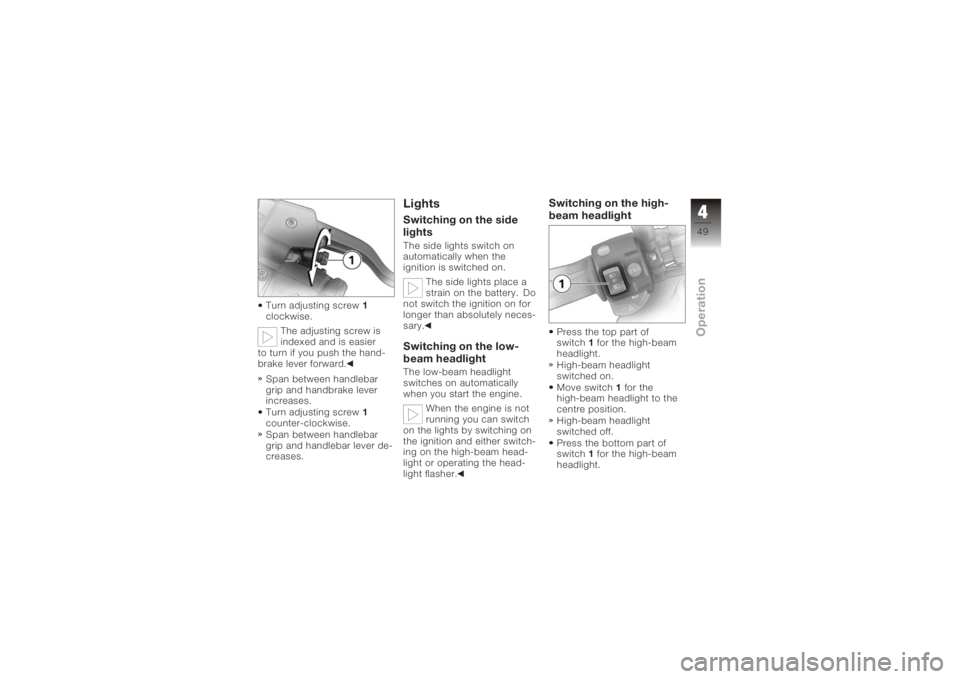
Turn adjusting screw1
clockwise.
The adjusting screw is
indexed and is easier
to turn if you push the hand-
brake lever forward.
Span between handlebar
grip and handbrake lever
increases.
Turn adjusting screw 1
counter-clockwise.
Span between handlebar
grip and handlebar lever de-
creases.
LightsSwitching on the side
lightsThe side lights switch on
automatically when the
ignition is switched on.
The side lights place a
strain on the battery. Do
not switch the ignition on for
longer than absolutely neces-
sary.Switching on the low-
beam headlightThe low-beam headlight
switches on automatically
when you start the engine.
When the engine is not
running you can switch
on the lights by switching on
the ignition and either switch-
ing on the high-beam head-
light or operating the head-
light flasher.
Switching on the high-
beam headlightPress the top part of
switch 1for the high-beam
headlight.
High-beam headlight
switched on.
Move switch 1for the
high-beam headlight to the
centre position.
High-beam headlight
switched off.
Press the bottom part of
switch 1for the high-beam
headlight.
449zOperation
Page 52 of 165
The high-beam headlight
is switched on until you re-
lease the button (headlight
flasher).Switching on the parking
lightsSwitch off the ignition.You can switch on the
parking lights only imme-
diately after switching off the
ignition.
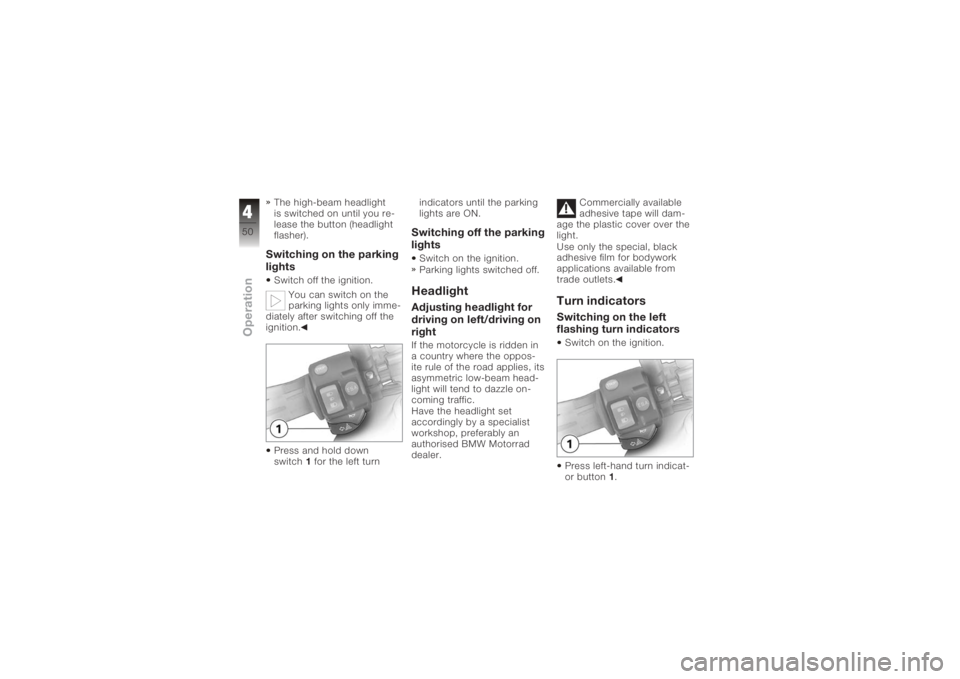
Press and hold down
switch 1for the left turn indicators until the parking
lights are ON.
Switching off the parking
lightsSwitch on the ignition.
Parking lights switched off.HeadlightAdjusting headlight for
driving on left/driving on
rightIf the motorcycle is ridden in
a country where the oppos-
ite rule of the road applies, its
asymmetric low-beam head-
light will tend to dazzle on-
coming traffic.
Have the headlight set
accordingly by a specialist
workshop, preferably an
authorised BMW Motorrad
dealer.
Commercially available
adhesive tape will dam-
age the plastic cover over the
light.
Use only the special, black
adhesive film for bodywork
applications available from
trade outlets.
Turn indicatorsSwitching on the left
flashing turn indicatorsSwitch on the ignition.
Press left-hand turn indicat-
or button 1.
450zOperation
Page 53 of 165
The turn indicators are
cancelled automatically
after you have ridden for ap-
proximately 10 seconds, or
covered a distance of about
200 m.
Left-hand turn indicators
switched on.
Telltale light for left-hand
turn indicators flashes.
Switching on the right
flashing turn indicatorsSwitch on the ignition. Press right-hand turn indic-
ator button
2.
The turn indicators are
cancelled automatically
after you have ridden for ap-
proximately 10 seconds, or
covered a distance of about
200 m.
Right-hand turn indicators
switched on.
Telltale light for right-hand
turn indicator flashes.
Cancelling the turn indic-
atorsPress cancel button 3.
Flashing turn indicators
switched off.
Turn indicator telltale light is
off.SeatRemoving the seatMake sure the ground is
level and firm and place the
motorcycle on its stand.
451zOperation
Page 56 of 165
Luggage loopsLuggage loops under-
neath seatLoops1for attaching luggage
straps are located on the un-
derside of the seat.Using luggage loopsMake sure the ground is
level and firm and place the
motorcycle on its stand.
Removing the seat ( 51)
Turn the seat upside down. Pull loops
1out of hold-
ers 2.
MirrorsAdjusting mirrorsMove the mirror to the de-
sired position by pressing lightly at the appropriate
point close to the rim.
Adjustable mirror armYou can adjust the mirror arm
if you find that the range of
adjustment allowed by the
mirror itself is insufficient.Adjusting mirror armPush protective cap
1up
and clear of the threaded
fastener on the mirror arm.
Slacken union nut 2.
Turn the mirror arm to the
appropriate position.
454zOperation
Page 57 of 165
Tighten the union nut.
Pull the protective cap over
the threaded fastener.Spring preloadAdjusting spring preloadIt is essential to set spring
preload to suit the load
carried by the motorcycle.
Increase spring preload when
the motorcycle is heavily
loaded and reduce spring
preload accordingly when the
motorcycle is lightly loaded.Adjusting spring preload
for rear wheel
Your motorcycle's hand-
ling will suffer if you do
not match the spring-preload
and damping-characteristic
settings.
Adjust the damping char-
acteristic to suit spring pre-
load. Adjusting spring preload
while the motorcycle is
being ridden can lead to acci-
dents.
Do not attempt to adjust
spring preload unless the
motorcycle is at a standstill.
Make sure the ground is
level and firm and place the
motorcycle on its stand.
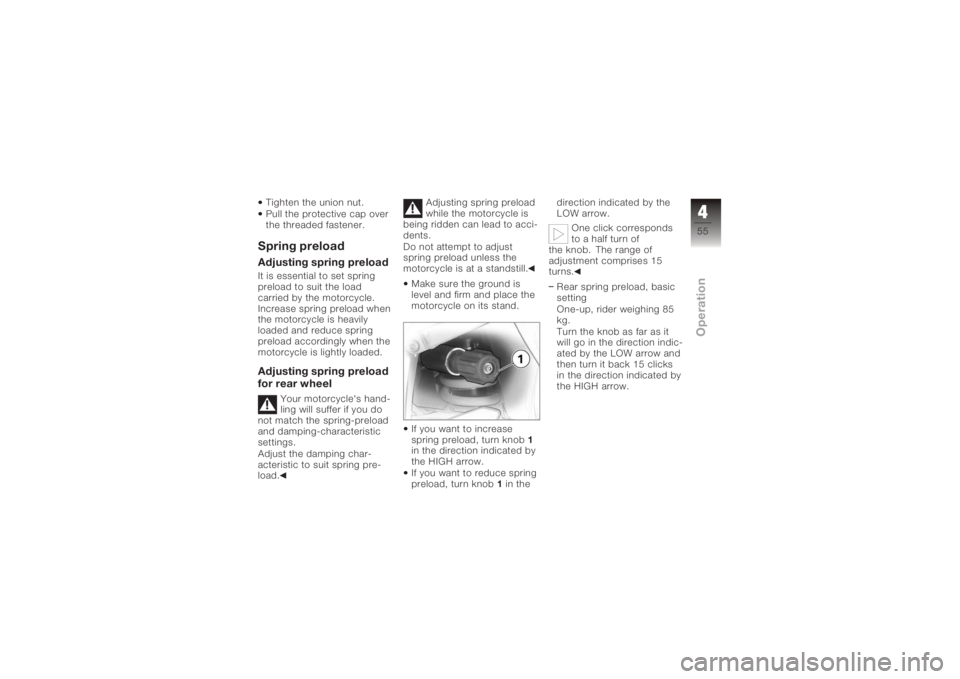
If you want to increase
spring preload, turn knob 1
in the direction indicated by
the HIGH arrow.
If you want to reduce spring
preload, turn knob 1in the direction indicated by the
LOW arrow.
One click corresponds
to a half turn of
the knob. The range of
adjustment comprises 15
turns.
Rear spring preload, basic
setting
One-up, rider weighing 85
kg.
Turn the knob as far as it
will go in the direction indic-
ated by the LOW arrow and
then turn it back 15 clicks
in the direction indicated by
the HIGH arrow.
455zOperation
Page 66 of 165
components are not designed
to withstand. Damage caused
in this way is not covered by
the warranty.
Do not tamper with the
control unit of the electronic
engine-management
system.ChecklistUse the following checklist
to check important functions,
settings and wear limits be-
fore you ride off.Brakes
Brake-fluid levels, front and
rear
Clutch
Clutch fluid level
Shock absorber setting and
spring preload
Tyre-tread depth and tyre
pressures Cases correctly installed
and luggage secured
At regular intervals: Engine oil level (every refuel-
ling stop)
Brake-pad wear (every third
refuelling stop)
StartingSide standYou cannot start the motor-
cycle with the side stand ex-
tended and a gear engaged.
The engine will switch itself
off if you start it with the gear-
box in neutral and then en-
gage a gear before retracting
the side stand.GearboxYou can start the engine
when the gearbox is in neutral
or if you pull the clutch with a
gear engaged. Switch on the
ignition before you pull the clutch. When the gearbox is
in neutral, the green neutral
telltale light is on and the gear
indicator in the multifunction
display shows 0.
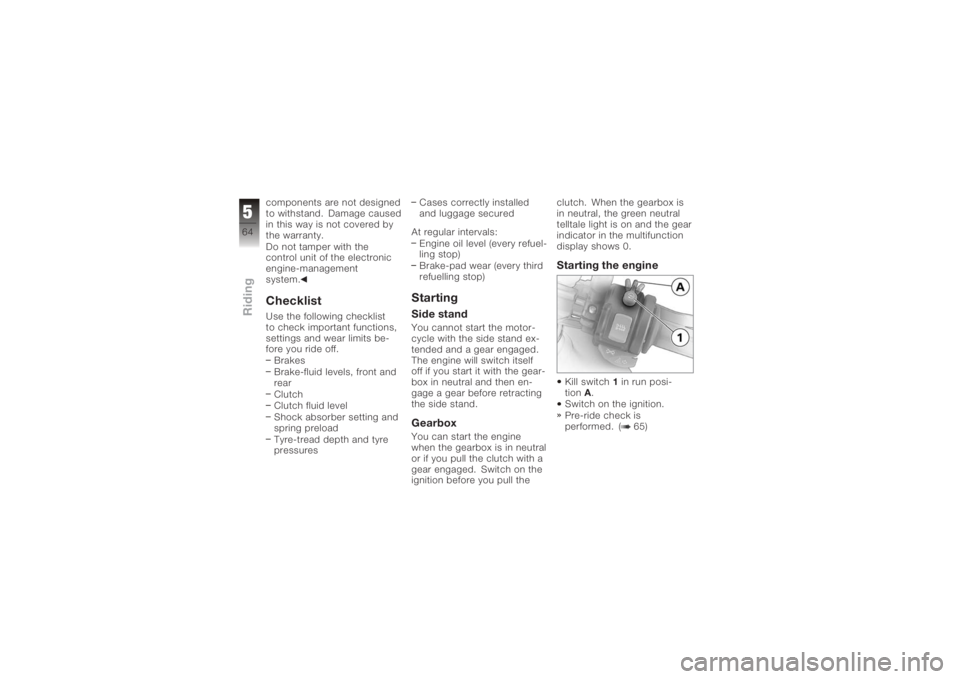
Starting the engineKill switch
1in run posi-
tion A.
Switch on the ignition.
Pre-ride check is
performed. ( 65)
564zRiding