Page 50 of 165
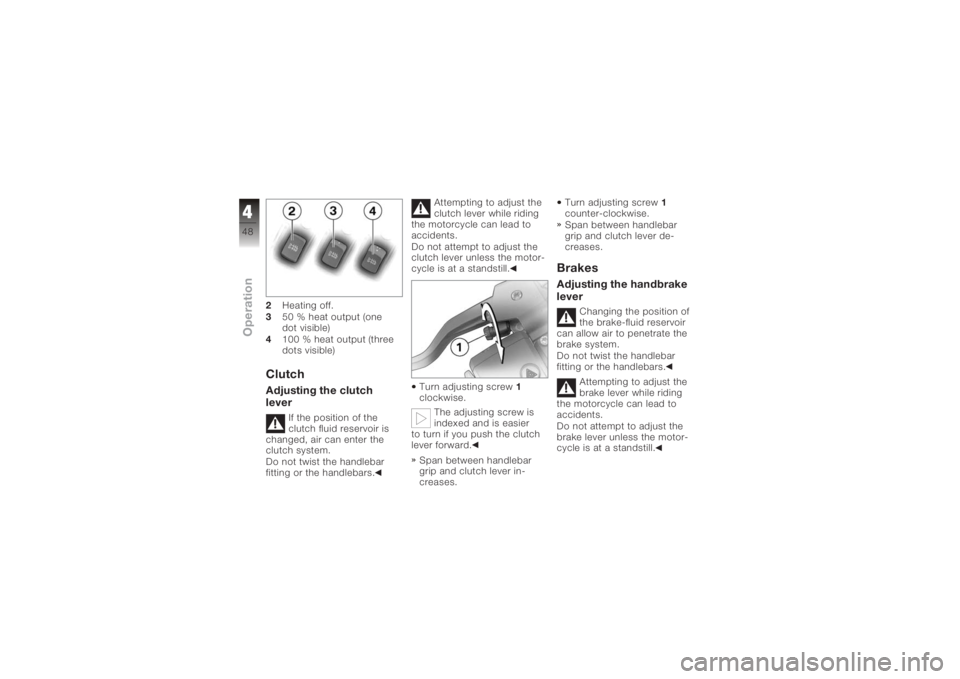
2Heating off.
3 50 % heat output (one
dot visible)
4 100 % heat output (three
dots visible)ClutchAdjusting the clutch
lever
If the position of the
clutch fluid reservoir is
changed, air can enter the
clutch system.
Do not twist the handlebar
fitting or the handlebars. Attempting to adjust the
clutch lever while riding
the motorcycle can lead to
accidents.
Do not attempt to adjust the
clutch lever unless the motor-
cycle is at a standstill.
Turn adjusting screw 1
clockwise.
The adjusting screw is
indexed and is easier
to turn if you push the clutch
lever forward.
Span between handlebar
grip and clutch lever in-
creases. Turn adjusting screw
1
counter-clockwise.
Span between handlebar
grip and clutch lever de-
creases.
BrakesAdjusting the handbrake
lever
Changing the position of
the brake-fluid reservoir
can allow air to penetrate the
brake system.
Do not twist the handlebar
fitting or the handlebars.
Attempting to adjust the
brake lever while riding
the motorcycle can lead to
accidents.
Do not attempt to adjust the
brake lever unless the motor-
cycle is at a standstill.
448zOperation
Page 51 of 165
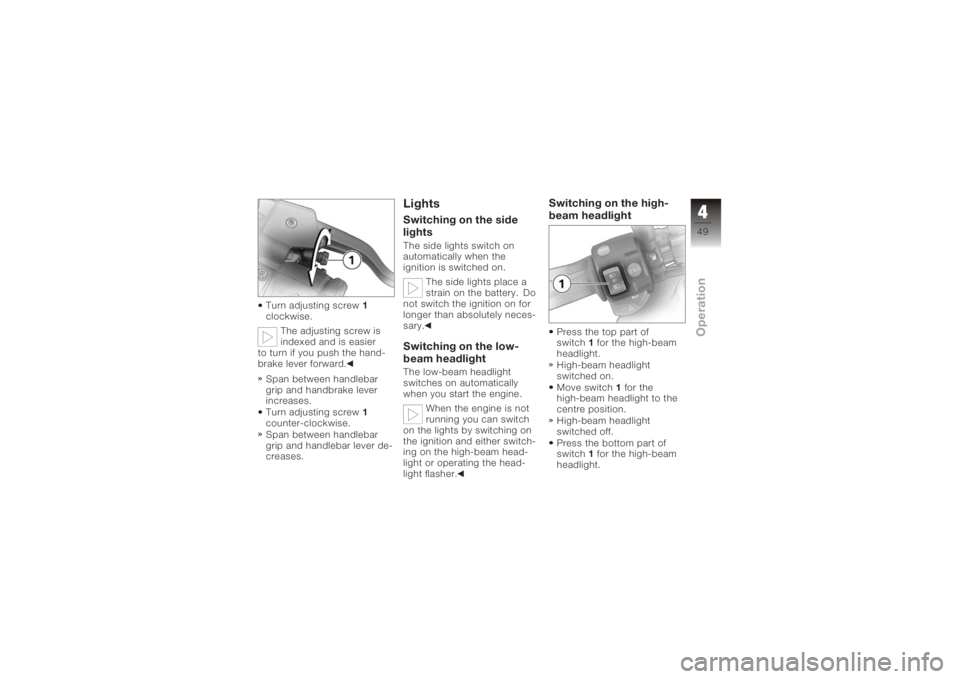
Turn adjusting screw1
clockwise.
The adjusting screw is
indexed and is easier
to turn if you push the hand-
brake lever forward.
Span between handlebar
grip and handbrake lever
increases.
Turn adjusting screw 1
counter-clockwise.
Span between handlebar
grip and handlebar lever de-
creases.
LightsSwitching on the side
lightsThe side lights switch on
automatically when the
ignition is switched on.
The side lights place a
strain on the battery. Do
not switch the ignition on for
longer than absolutely neces-
sary.Switching on the low-
beam headlightThe low-beam headlight
switches on automatically
when you start the engine.
When the engine is not
running you can switch
on the lights by switching on
the ignition and either switch-
ing on the high-beam head-
light or operating the head-
light flasher.
Switching on the high-
beam headlightPress the top part of
switch 1for the high-beam
headlight.
High-beam headlight
switched on.
Move switch 1for the
high-beam headlight to the
centre position.
High-beam headlight
switched off.
Press the bottom part of
switch 1for the high-beam
headlight.
449zOperation
Page 73 of 165
Parking your motor-
cycle
Placing motorcycle on
side stand
If the ground is soft or
uneven, there is no guar-
antee that the motorcycle will
rest firmly on the stand.
Always check that the ground
under the stand is level and
firm.
Switch off the engine.
Pull the handbrake lever.
Hold the motorcycle upright
and balanced.
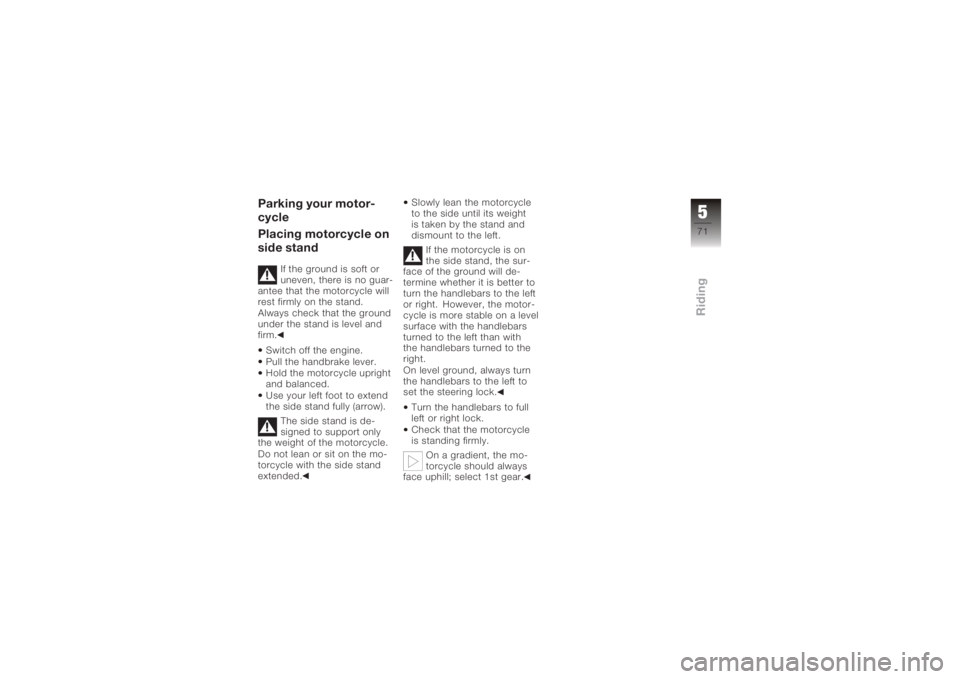
Use your left foot to extend
the side stand fully (arrow). The side stand is de-
signed to support only
the weight of the motorcycle.
Do not lean or sit on the mo-
torcycle with the side stand
extended. Slowly lean the motorcycle
to the side until its weight
is taken by the stand and
dismount to the left.
If the motorcycle is on
the side stand, the sur-
face of the ground will de-
termine whether it is better to
turn the handlebars to the left
or right. However, the motor-
cycle is more stable on a level
surface with the handlebars
turned to the left than with
the handlebars turned to the
right.
On level ground, always turn
the handlebars to the left to
set the steering lock.
Turn the handlebars to full
left or right lock.
Check that the motorcycle
is standing firmly. On a gradient, the mo-
torcycle should always
face uphill; select 1st gear.
571zRiding
Page 75 of 165
Removing motorcycle
from side standUnlock the steering lock.
with OE BMW Motorrad Integ-
ral ABS:
Brake servo assistance
is not available when the
ignition is off; the motorcycle
can start to roll.
Particularly when the motor-
cycle is parked on a gradi-
ent, switch on the ignition and
wait for the ABS to complete
its self-diagnosis.
Switch on the ignition.
Wait for ABS self-diagnosis
to complete.
From the left, grip the
handlebars with both hands.
Pull the handbrake lever.
Swing your right leg over
the seat and lift the motor- cycle to the upright posi-
tion.
Hold the motorcycle upright
and balanced.
An extended side stand
can catch on the ground
when the motorcycle is mov-
ing and lead to a fall.
Retract the side stand before
moving the motorcycle.
Sit on the motorcycle and
use your left foot to retract
the side stand.
573zRiding
Page 82 of 165
use of available braking per-
formance in an emergency.
BMW Integral ABS provides
improved braking deceler-
ation by means of anti-lock
braking for both wheels and
braking force distribution by
means of the integral brak-
ing function. Making full use
of the motorcycle's technical
braking capacity will minimise
braking distances noticeably,
even when road conditions
are poor. When the motor-
cycle is ravelling in a straight
line, BMW Integral ABS en-
ables safe optimised emer-
gency braking adapted to
match the road-surface con-
ditions.Reserves for safetyThe potentially shorter brak-
ing distances which BMW
Integral ABS permits must
not be used as an excusefor careless riding. ABS is
primarily a means of ensur-
ing a safety margin in genuine
emergencies.
Take care when cornering.
When you apply the brakes
on a corner, the motorcycle's
weight and momentum take
over and even BMW Integral
ABS is unable to counteract
their effects.
Partially integral brakesYour motorcycle is equipped
with partially integral brakes.
Both front and rear brakes
are applied when you pull the
handbrake lever. The foot-
brake lever acts only on the
rear brake.
The electronic controller in
the BMW Integral ABS regu-
lates braking-force distribu-
tion between front and rear
wheels. Braking-force distri-
bution depends on load andis recalculated every time the
ABS controller comes into ac-
tion.
Brake boosterThe hydraulic pump in the
BMW Integral ABS boosts
the braking force acting on
the wheel when the brakes
are applied. By boosting the
braking force in this way,
BMW Integral ABS achieves
higher braking efficiency than
standard brake systems.ABS anti-lock braking
systemABS prevents the wheels
locking under braking, thus
contributing significantly to
road safety.
580zRiding
Page 97 of 165
Store or dispose of the ex-
cess engine oil in an envir-
onmentally compatible man-
ner.Brake system, generalReliabilityA fully functional brake sys-
tem is a basic requirement for
the road safety of your motor-
cycle.
Do not ride the motorcycle if
you have any doubts about
the dependability of the brake
system.
Under these circumstances
have the brake system
checked by a specialist
workshop, preferably an
authorised BMW Motorrad
dealer.Incorrect working prac-
tices endanger the reli-
ability of the brakes.
Have all work on the brake
system carried out by a spe-
cialist workshop, preferably
an authorised BMW Motorrad
dealer.
Checking operation of
the brakesPull the handbrake lever.
The pressure point must be
clearly perceptible.
Press the footbrake lever.
The pressure point must be
clearly perceptible.
If pressure points are not
clearly perceptible: Have the brakes checked
by a specialist workshop,
preferably an authorised
BMW Motorrad dealer. with OE BMW Motorrad Integ-
ral ABS:
Switch on the ignition.
Wait for ABS self-diagnosis
to complete.
Pull the handbrake lever.
The pressure point must be
clearly perceptible.
The noise of the hydraulic
pump running must be aud-
ible.
Press the footbrake lever.
The pressure point must be
clearly perceptible.
The noise of the hydraulic
pump running must be aud-
ible.
If the hydraulic pump does
not run or if the pressure
points are not clearly
perceptible: Have the brakes checked
by a specialist workshop,
preferably an authorised
BMW Motorrad dealer.
795zMaintenance
Page 104 of 165
workshop, preferably an
authorised BMW Motorrad
dealer.WheelsApproved wheels and
tyresFor each size of tyre BMW
Motorrad tests certain makes,
and approves those that it
certifies as roadworthy. If
BMW Motorrad has not ap-
proved the wheels and tyres,
it cannot assess their suitab-
ility or provide any guarantee
of road safety.
Use only wheels and tyres
approved by BMW Motorrad
for your type of motorcycle.
You can obtain detailed in-
formation from your author-
ised BMW Motorrad dealer or
on the Internet at www.bmw-
motorrad.com.
Removing front wheelPlace the motorcycle on an
auxiliary stand; BMW re-
commends the BMW Motor-
rad rear-wheel stand.
Install the rear wheel stand.
with OA Centre stand:
Make sure the ground is
level and firm and place
the motorcycle on its centre
stand.
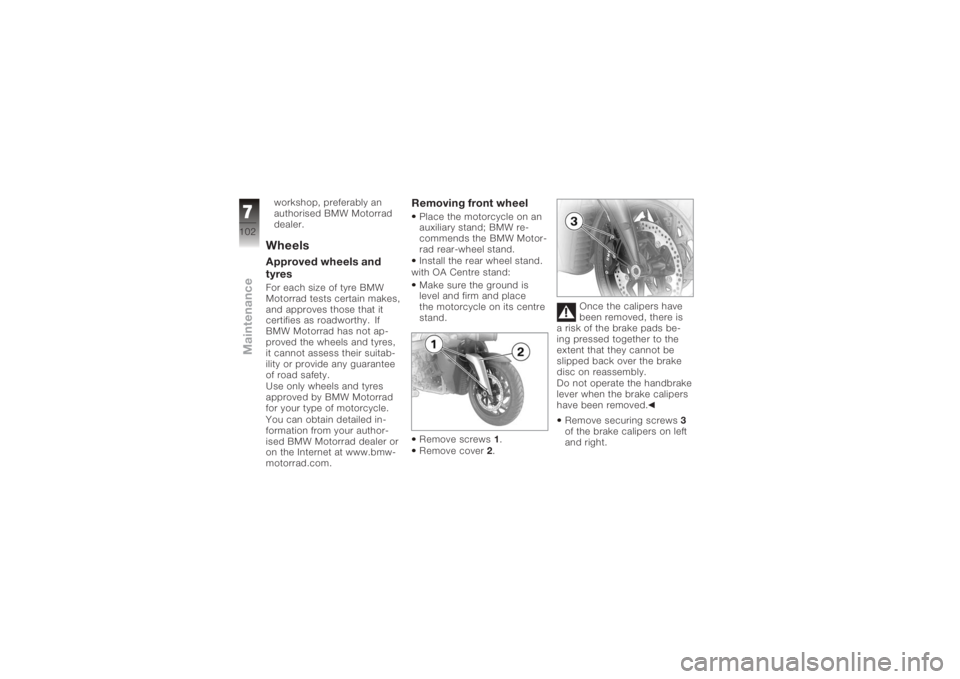
Remove screws 1.
Remove cover 2. Once the calipers have
been removed, there is
a risk of the brake pads be-
ing pressed together to the
extent that they cannot be
slipped back over the brake
disc on reassembly.
Do not operate the handbrake
lever when the brake calipers
have been removed.
Remove securing screws 3
of the brake calipers on left
and right.
7102zMaintenance
Page 108 of 165
Lift the front wheel and in-
stall quick-release axle7.
Quick-release axle in
threaded bush
50 Nm
Install right-hand axle
clamping screw 6.
Clamping screw for quick-
release axle in wheel carrier
19 Nm
Remove the front wheel
stand.
Ease the brake calipers on
to the brake discs. with OE BMW Motorrad Integ-
ral ABS:
The cable of the ABS
sensor could chafe
through if it comes into
contact with the brake disc.
Make sure that the ABS
sensor cable is routed
correctly.
Carefully route the ABS
cable.
Install securing screws 3.
Front brake caliper, wheel
carrier installed ( 133) Remove the adhesive tape
from the wheel rim.
Hold cover
2in position.
Install screws 1.
Firmly pull the handbrake
lever until the pressure point
is perceptible, and repeat
this operation several times.
with OE BMW Motorrad Integ-
ral ABS: Switch on the ignition.
Wait for self-diagnosis to
complete.
Firmly pull the handbrake
lever until the pressure point
7106zMaintenance