2008 AUDI S5 brake
[x] Cancel search: brakePage 126 of 294
Downloaded from www.Manualslib.com manuals search engine Driving 124The cruise control system allows you to drive at a constant speed of
30 km/h or higher.
A constant speed is maintained by adjusting the engine power or
braking the vehicle accordingly (while in cruise mode).
The cruise control system is set using the control lever ⇒page 123,
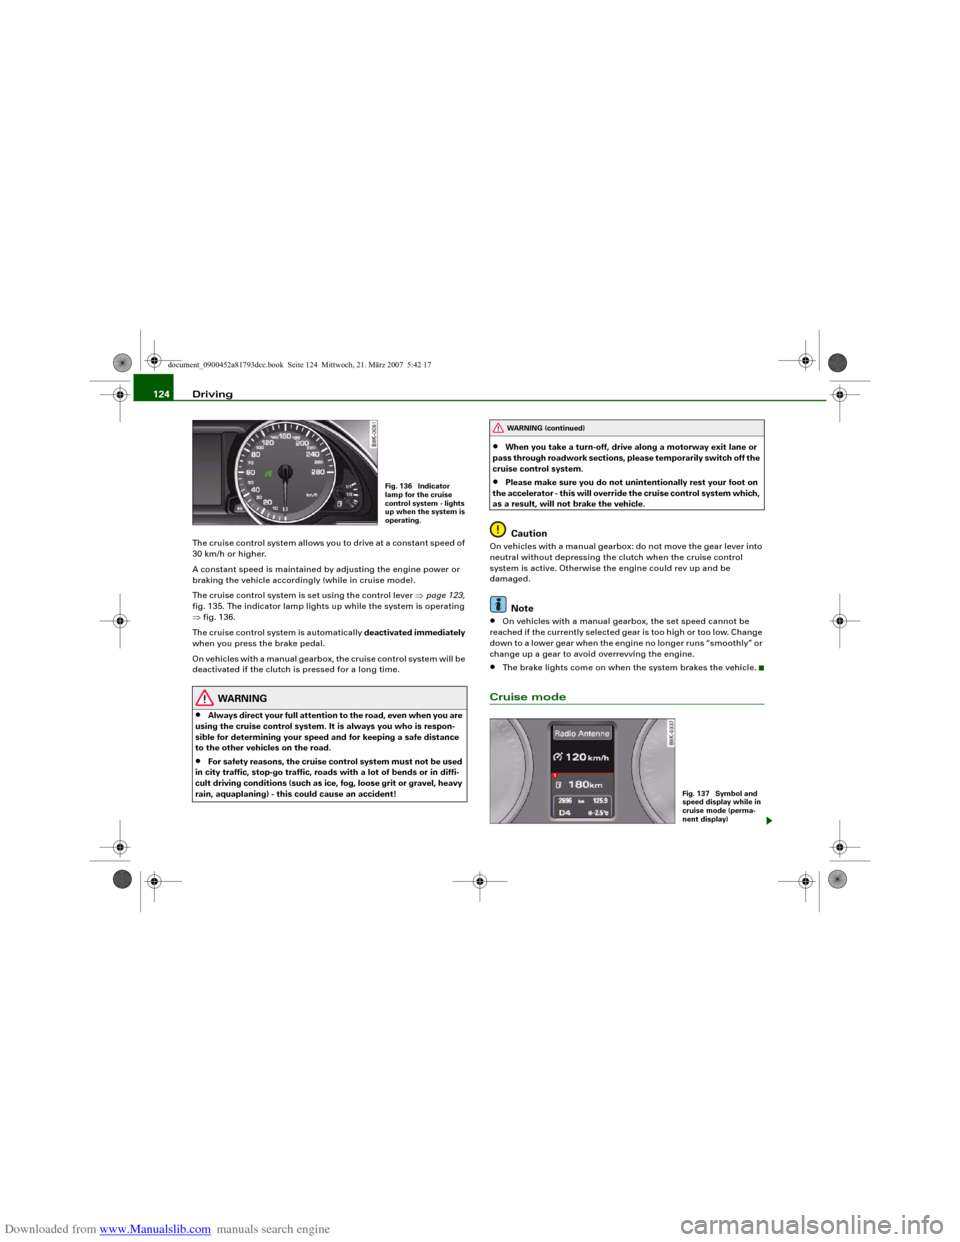
fig. 135. The indicator lamp lights up while the system is operating
⇒fig. 136.
The cruise control system is automatically deactivated immediately
when you press the brake pedal.
On vehicles with a manual gearbox, the cruise control system will be
deactivated if the clutch is pressed for a long time.
WARNING
•
Always direct your full attention to the road, even when you are
using the cruise control system. It is always you who is respon-
sible for determining your speed and for keeping a safe distance
to the other vehicles on the road.
•
For safety reasons, the cruise control system must not be used
in city traffic, stop-go traffic, roads with a lot of bends or in diffi-
cult driving conditions (such as ice, fog, loose grit or gravel, heavy
rain, aquaplaning) - this could cause an accident!
•
When you take a turn-off, drive along a motorway exit lane or
pass through roadwork sections, please temporarily switch off the
cruise control system.
•
Please make sure you do not unintentionally rest your foot on
the accelerator - this will override the cruise control system which,
as a result, will not brake the vehicle.Caution
On vehicles with a manual gearbox: do not move the gear lever into
neutral without depressing the clutch when the cruise control
system is active. Otherwise the engine could rev up and be
damaged.
Note
•
On vehicles with a manual gearbox, the set speed cannot be
reached if the currently selected gear is too high or too low. Change
down to a lower gear when the engine no longer runs “smoothly” or
change up a gear to avoid overrevving the engine.
•
The brake lights come on when the system brakes the vehicle.
Cruise mode
Fig. 136 Indicator
lamp for the cruise
control system - lights
up when the system is
operating.
WARNING (continued)
Fig. 137 Symbol and
speed display while in
cruise mode (perma-
nent display)
document_0900452a81793dcc.book Seite 124 Mittwoch, 21. März 2007 5:42 17
Page 128 of 294
Downloaded from www.Manualslib.com manuals search engine Driving 126Pressing lever briefly
You can increase the set speed in steps of 1 km/h by briefly pressing
the lever up towards ⇒page 123, fig. 135.
You can decrease the set speed in steps of about 1 km/h by briefly
pressing the lever down towards ⇒page 123, fig. 135.Switching off cruise control temporarily– Press the brake pedal, or
– Push lever in direction (click stop not engaged)
⇒page 123, fig. 135, or– Drive more than 10 km/h faster than the stored speed
over a period of more than 5 minutes ⇒page 125.
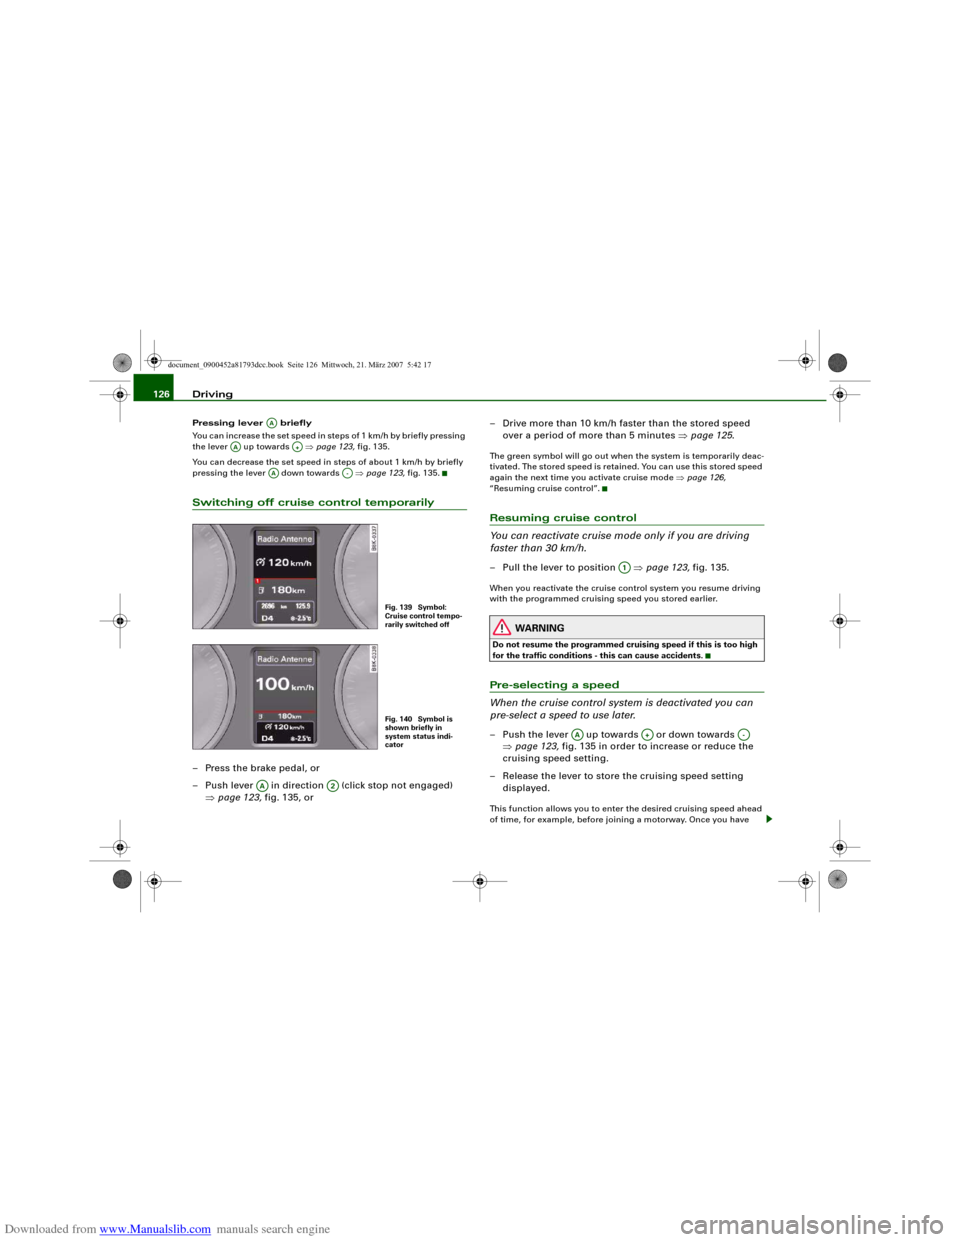
The green symbol will go out when the system is temporarily deac-
tivated. The stored speed is retained. You can use this stored speed
again the next time you activate cruise mode ⇒page 126,
“Resuming cruise control”.Resuming cruise control
You can reactivate cruise mode only if you are driving
faster than 30 km/h.– Pull the lever to position ⇒page 123, fig. 135.When you reactivate the cruise control system you resume driving
with the programmed cruising speed you stored earlier.
WARNING
Do not resume the programmed cruising speed if this is too high
for the traffic conditions - this can cause accidents.Pre-selecting a speed
When the cruise control system is deactivated you can
pre-select a speed to use later.– Push the lever up towards or down towards
⇒page 123, fig. 135 in order to increase or reduce the
cruising speed setting.
– Release the lever to store the cruising speed setting
displayed.This function allows you to enter the desired cruising speed ahead
of time, for example, before joining a motorway. Once you have
AA
AA
A+
AA
A-
Fig. 139 Symbol:
Cruise control tempo-
rarily switched offFig. 140 Symbol is
shown briefly in
system status indi-
cator
AA
A2
A1
AA
A+
A-
document_0900452a81793dcc.book Seite 126 Mittwoch, 21. März 2007 5:42 17
Page 132 of 294
Downloaded from www.Manualslib.com manuals search engine Audi parking system 130
Activating
– Engage reverse gear to automatically activate the
parking system plus, or
– Press the switch
⇒page 129, fig. 141 in the centre
console to activate the parking system plus manually.
You will hear a short beep to confirm that the parking
system has been activated. The indicator lamp in the
switch will light up.
Deactivating
– Drive forwards faster than approx. 10 km/h, or
– Switch off the ignition to automatically deactivate the
complete parking system, or
– Press the switch
⇒page 129, fig. 141 to deactivate the
parking system plus manually. The indicator lamp in the
switch will go out.
Activate the system manually if you are driving forwards and would
like the system to give a warning as you approach potential obsta-
cles, for instance when parking.
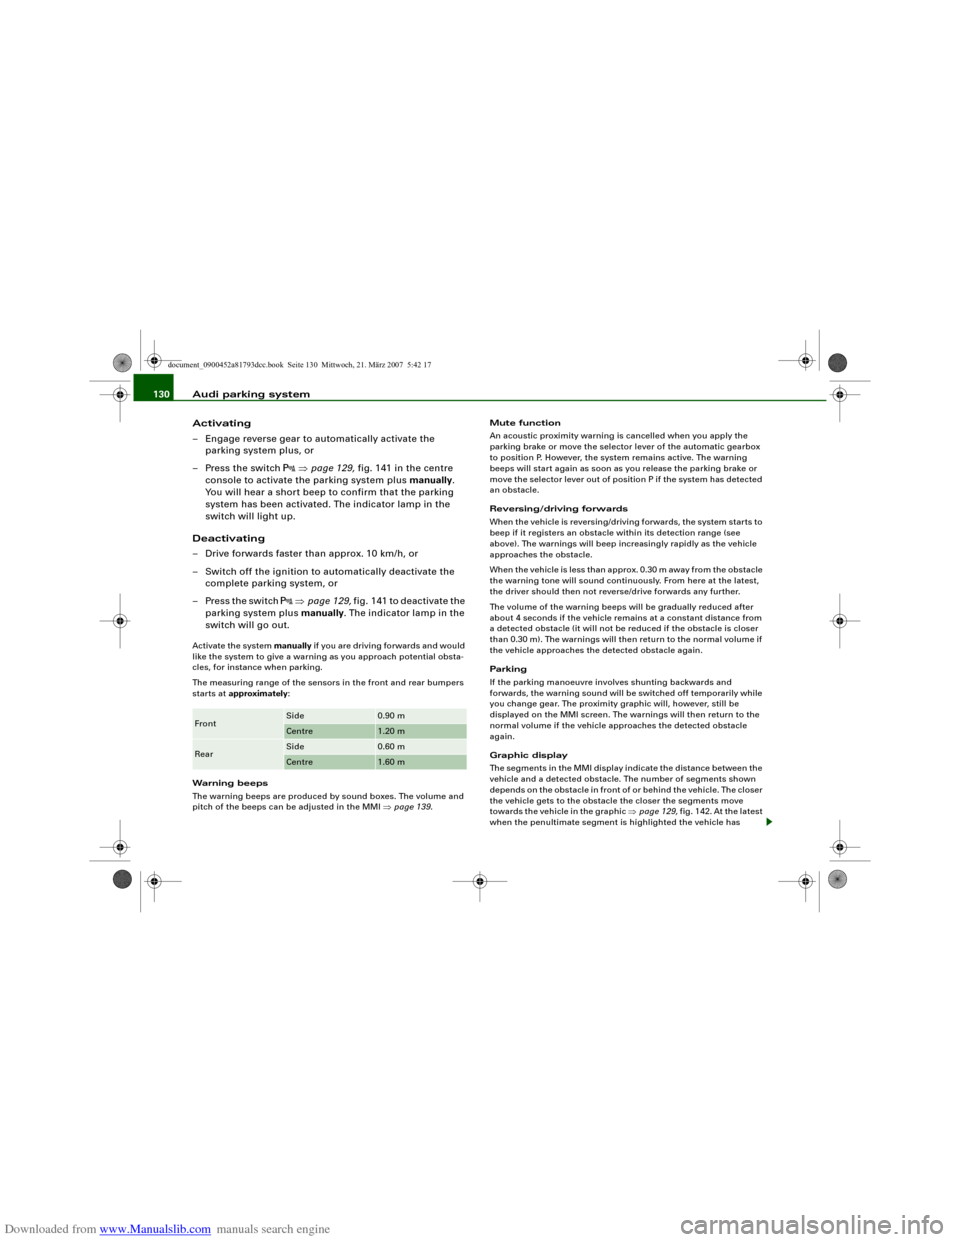
The measuring range of the sensors in the front and rear bumpers
starts at approximately:
Warning beeps
The warning beeps are produced by sound boxes. The volume and
pitch of the beeps can be adjusted in the MMI ⇒page 139.Mute function
An acoustic proximity warning is cancelled when you apply the
parking brake or move the selector lever of the automatic gearbox
to position P. However, the system remains active. The warning
beeps will start again as soon as you release the parking brake or
move the selector lever out of position P if the system has detected
an obstacle.
Reversing/driving forwards
When the vehicle is reversing/driving forwards, the system starts to
beep if it registers an obstacle within its detection range (see
above). The warnings will beep increasingly rapidly as the vehicle
approaches the obstacle.
When the vehicle is less than approx. 0.30 m away from the obstacle
the warning tone will sound continuously. From here at the latest,
the driver should then not reverse/drive forwards any further.
The volume of the warning beeps will be gradually reduced after
about 4 seconds if the vehicle remains at a constant distance from
a detected obstacle (it will not be reduced if the obstacle is closer
than 0.30 m). The warnings will then return to the normal volume if
the vehicle approaches the detected obstacle again.
Parking
If the parking manoeuvre involves shunting backwards and
forwards, the warning sound will be switched off temporarily while
you change gear. The proximity graphic will, however, still be
displayed on the MMI screen. The warnings will then return to the
normal volume if the vehicle approaches the detected obstacle
again.
Graphic display
The segments in the MMI display indicate the distance between the
vehicle and a detected obstacle. The number of segments shown
depends on the obstacle in front of or behind the vehicle. The closer
the vehicle gets to the obstacle the closer the segments move
towards the vehicle in the graphic ⇒page 129, fig. 142. At the latest
when the penultimate segment is highlighted the vehicle has Front
Side
0.90 m
Centre
1.20 m
Rear
Side
0.60 m
Centre
1.60 m
document_0900452a81793dcc.book Seite 130 Mittwoch, 21. März 2007 5:42 17
Page 134 of 294
Downloaded from www.Manualslib.com manuals search engine Audi parking system 132
Activating
– Engage reverse gear to automatically activate the
parking system advanced, or
– Press the switch
in the centre console ⇒page 129,
fig. 141 to manually activate the parking system
advanced. You will hear a short beep to confirm that the
parking system has been activated. The indicator lamp in
the switch will light up.
Deactivating
– Drive forwards faster than approx. 10 km/h, or
– Switch off the ignition to automatically deactivate the
complete parking system, or
– Press the switch
in the centre console ⇒page 129,
fig. 141 to deactivate the parking system advanced. The
indicator lamp in the switch will go out.
Activate the system manually if you are driving forwards and would
like the system to give a warning as you approach potential obsta-
cles, for instance when parking.
The measuring range of the sensors in the front and rear bumpers
starts at approximately:Warning beeps
The warning beeps are produced by sound boxes. The volume and
pitch of the beeps can be adjusted in the MMI ⇒page 139.
Mute function
An acoustic proximity warning is cancelled when you apply the
parking brake or move the selector lever of the automatic gearbox
to position P. However, the system remains active. The warning
beeps will start again as soon as you release the parking brake or
move the selector lever out of position P if the system has detected
an obstacle.
Reversing/driving forwards
When the vehicle is reversing/driving forwards, the system starts to
beep if it registers an obstacle within its detection range (see
above). The warnings will beep increasingly rapidly as the vehicle
approaches the obstacle.
When the vehicle is less than approx. 0.30 m away from the obstacle
the warning tone will sound continuously. From here at the latest,
the driver should then not reverse/drive forwards any further.
The volume of the warning beeps will be gradually reduced after
about 4 seconds if the vehicle remains at a constant distance from
a detected obstacle (it will not be reduced if the obstacle is closer
than 0.30 m). The warnings will then return to the normal volume if
the vehicle approaches the detected obstacle again.
Parking
If the parking manoeuvre involves shunting backwards and
forwards, the warning sound will be switched off temporarily while
you change gear. The proximity graphic will, however, still be
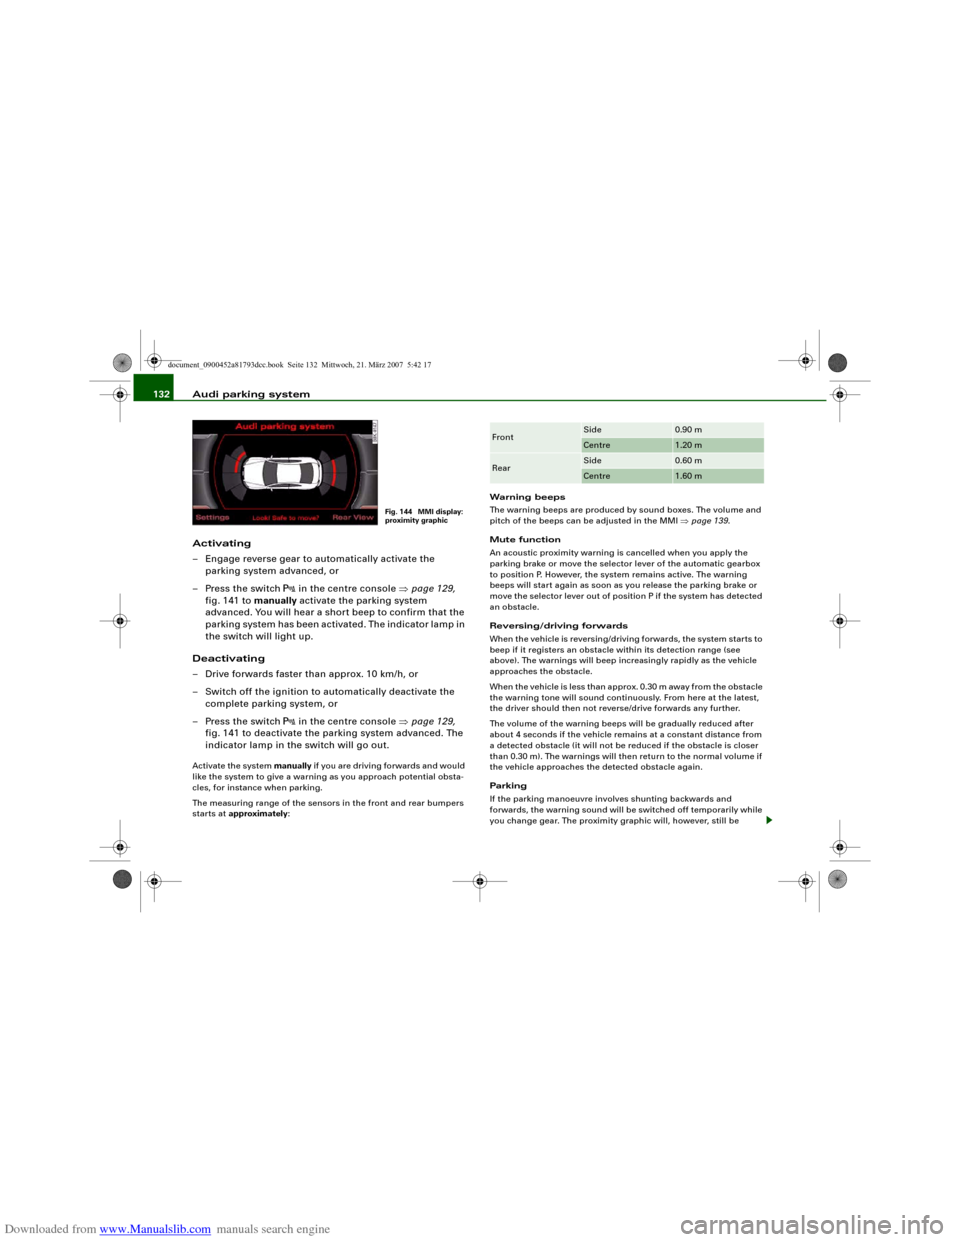
Fig. 144 MMI display:
proximity graphic
Front
Side
0.90 m
Centre
1.20 m
Rear
Side
0.60 m
Centre
1.60 m
document_0900452a81793dcc.book Seite 132 Mittwoch, 21. März 2007 5:42 17
Page 156 of 294
Downloaded from www.Manualslib.com manuals search engine Safe driving 154Correct sitting positionsCorrect sitting position for driver
The correct driving position is important for safe and
fatigue-free driving.For your own safety, and to reduce the risk of injury in the
event of an accident, we recommend the following driving
position.
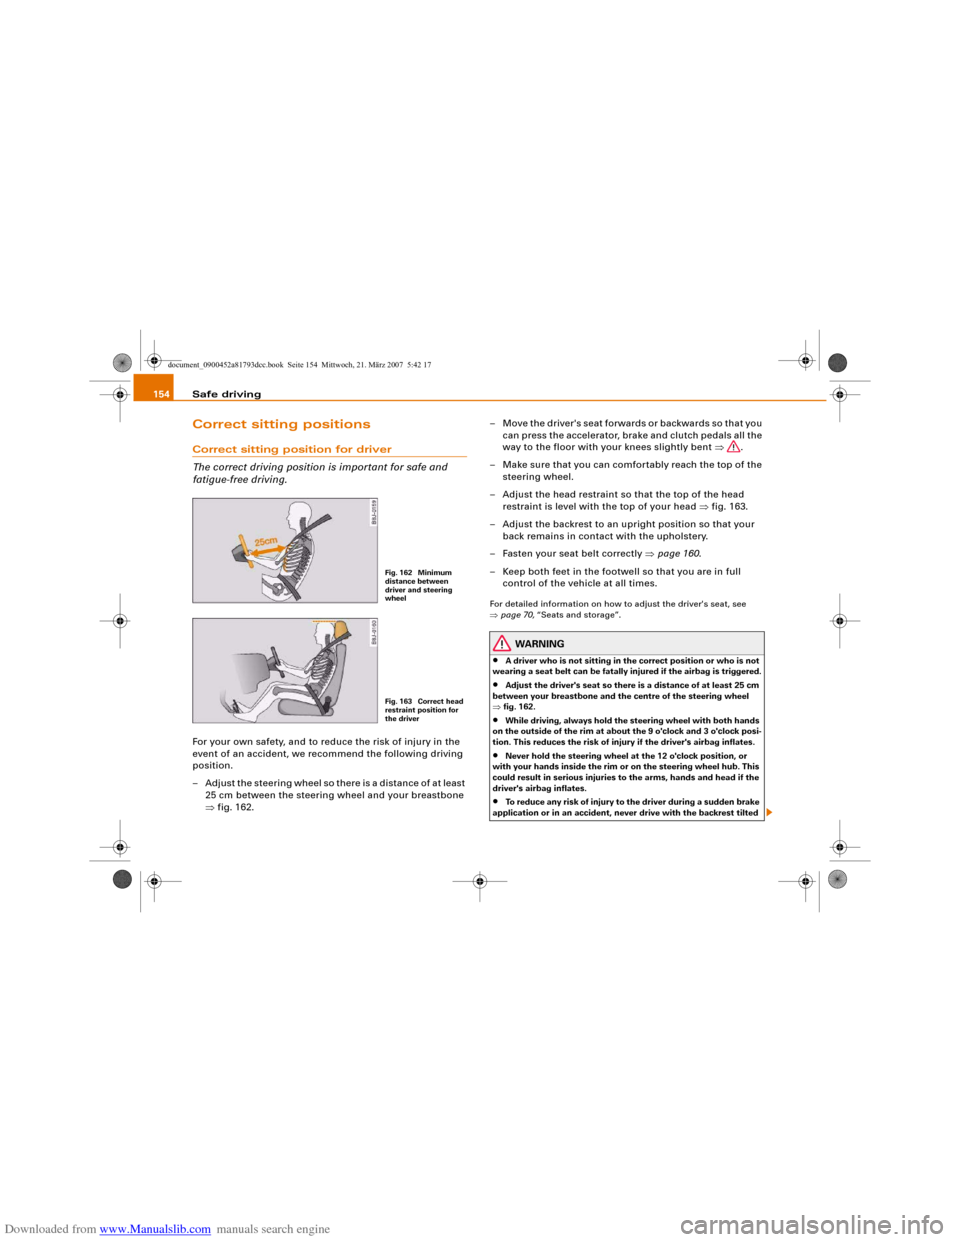
– Adjust the steering wheel so there is a distance of at least
25 cm between the steering wheel and your breastbone
⇒fig. 162.– Move the driver's seat forwards or backwards so that you
can press the accelerator, brake and clutch pedals all the
way to the floor with your knees slightly bent ⇒.
– Make sure that you can comfortably reach the top of the
steering wheel.
– Adjust the head restraint so that the top of the head
restraint is level with the top of your head ⇒fig. 163.
– Adjust the backrest to an upright position so that your
back remains in contact with the upholstery.
– Fasten your seat belt correctly ⇒page 160.
– Keep both feet in the footwell so that you are in full
control of the vehicle at all times.
For detailed information on how to adjust the driver's seat, see
⇒page 70, “Seats and storage”.
WARNING
•
A driver who is not sitting in the correct position or who is not
wearing a seat belt can be fatally injured if the airbag is triggered.
•
Adjust the driver's seat so there is a distance of at least 25 cm
between your breastbone and the centre of the steering wheel
⇒fig. 162.
•
While driving, always hold the steering wheel with both hands
on the outside of the rim at about the 9 o'clock and 3 o'clock posi-
tion. This reduces the risk of injury if the driver's airbag inflates.
•
Never hold the steering wheel at the 12 o'clock position, or
with your hands inside the rim or on the steering wheel hub. This
could result in serious injuries to the arms, hands and head if the
driver's airbag inflates.
•
To reduce any risk of injury to the driver during a sudden brake
application or in an accident, never drive with the backrest tilted
Fig. 162 Minimum
distance between
driver and steering
wheelFig. 163 Correct head
restraint position for
the driver
document_0900452a81793dcc.book Seite 154 Mittwoch, 21. März 2007 5:42 17
Page 159 of 294
Downloaded from www.Manualslib.com manuals search engine Safe driving157
Controls
Safety
Driving tips
General maintenance
Self-help
Technical data
Examples of incorrect sitting positions
Occupants can suffer severe or fatal injuries injuries if
they sit in an incorrect position while the vehicle is
moving.Seat belts can only provide maximum protection if the belt
webbing is positioned correctly. Sitting out of position
greatly reduces the effectiveness of the seat belts and
increases the risk of injury since the belt webbing is not
worn in the position for which it is designed. The driver is
responsible for the safety of all vehicle occupants, espe-
cially for children.
– Never allow anyone to sit out of position while the
vehicle is moving ⇒.The following list shows just some examples of incorrect sitting
positions which can be dangerous to all occupants. The list is not
complete, but will help to make you aware of possible dangers
which can be avoided.
Therefore, whenever the vehicle is moving:•
never stand up in the vehicle,
•
never stand on the seats,
•
never kneel on the seats,
•
never travel with the backrest reclined too far,
•
never lean against the dash panel,
•
never lie down on the rear seat,
•
never sit on the front edge of a seat,
•
never sit sideways,
•
never lean out of the window,
•
never put your feet out of the window,
•
never put your feet on the dash panel,
•
never put your feet on the seat cushion,
•
never ride in the footwell,
•
never travel on a seat without wearing the seat belt,
•
never climb into the luggage compartment.
WARNING
Sitting out of position increases the risk of severe injuries.•
Sitting out of position exposes the occupants to potentially
fatal injuries: if the airbags inflate they can strike any occupant
who is not in one of the designed seat positions.
•
Before starting a trip, sit in the correct position and stay in this
position as long as the vehicle is moving. Before every trip, make
sure all passengers are sitting in the correct positions and remain
correctly seated at all times ⇒page 70, “Seats and storage”.
Pedal are aPedal s
The pedals must always be free to move and must never
be obstructed by floor mats or any objects in the footwell.– Make sure that the accelerator, brake and clutch pedals
are not obstructed and can be pressed all the way down
to the floor.
– Make sure that all pedals are able to return freely to their
original positions.Only use floor mats which leave the pedal area free and can be
securely fastened in the footwell.
If one of the brake circuits should fail, increased brake pedal travel
will be required to bring the vehicle safely to a stop.
document_0900452a81793dcc.book Seite 157 Mittwoch, 21. März 2007 5:42 17
Page 162 of 294
Downloaded from www.Manualslib.com manuals search engine Seat belts 160Seat beltsWhy is it so important to use seat
belts?Seat belts provide effective protection
The common belief that passengers can brace their
weight with their hands in a minor collision is false.It is an established fact that seat belts provide good protection in
accidents. Therefore wearing a seat belt is required by law in most
countries.
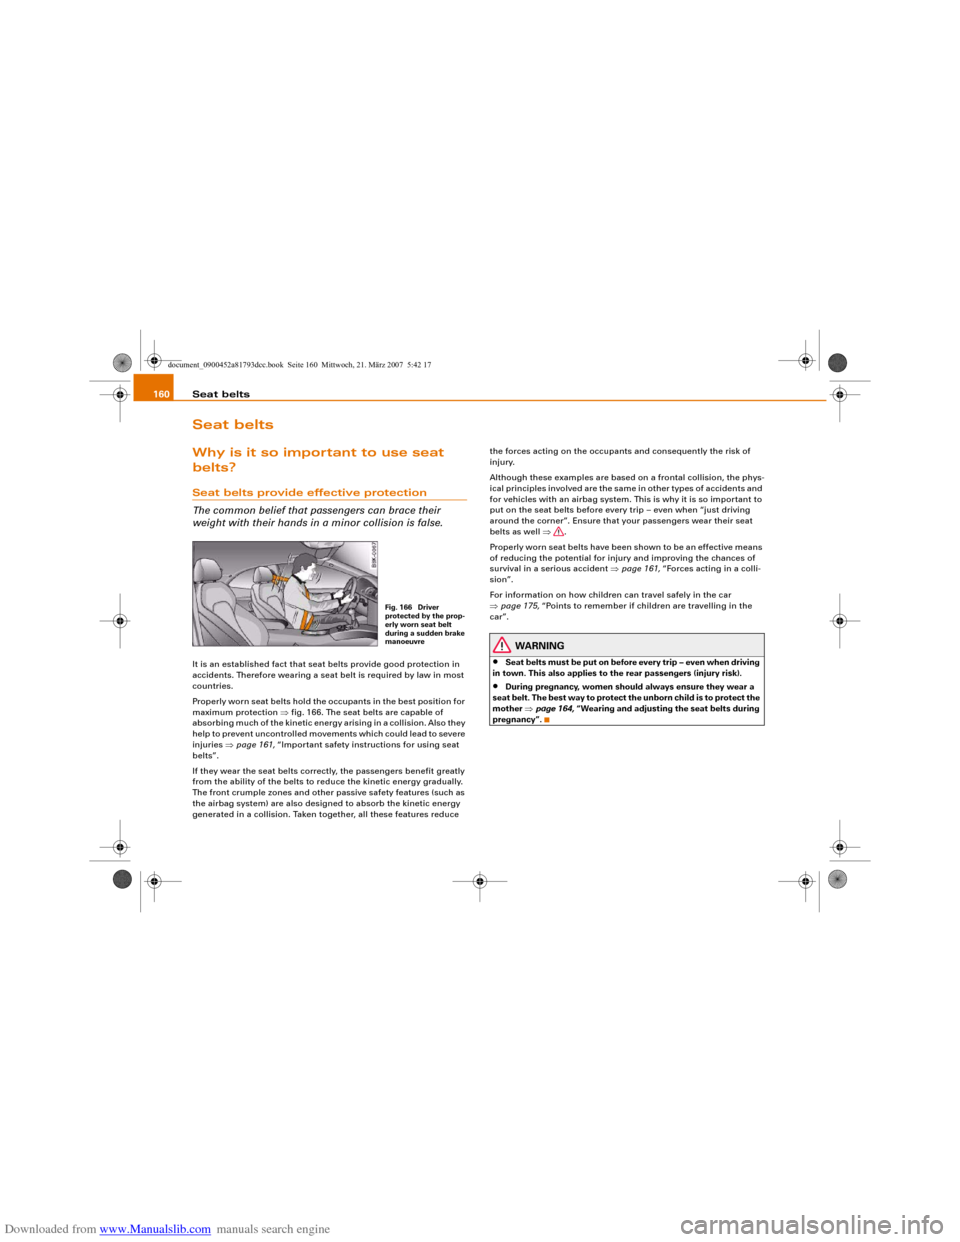
Properly worn seat belts hold the occupants in the best position for
maximum protection ⇒fig. 166. The seat belts are capable of
absorbing much of the kinetic energy arising in a collision. Also they
help to prevent uncontrolled movements which could lead to severe
injuries ⇒page 161, “Important safety instructions for using seat
belts”.
If they wear the seat belts correctly, the passengers benefit greatly
from the ability of the belts to reduce the kinetic energy gradually.
The front crumple zones and other passive safety features (such as
the airbag system) are also designed to absorb the kinetic energy
generated in a collision. Taken together, all these features reduce the forces acting on the occupants and consequently the risk of
injury.
Although these examples are based on a frontal collision, the phys-
ical principles involved are the same in other types of accidents and
for vehicles with an airbag system. This is why it is so important to
put on the seat belts before every trip – even when “just driving
around the corner”. Ensure that your passengers wear their seat
belts as well ⇒.
Properly worn seat belts have been shown to be an effective means
of reducing the potential for injury and improving the chances of
survival in a serious accident ⇒page 161, “Forces acting in a colli-
sion”.
For information on how children can travel safely in the car
⇒page 175, “Points to remember if children are travelling in the
car”.
WARNING
•
Seat belts must be put on before every trip – even when driving
in town. This also applies to the rear passengers (injury risk).
•
During pregnancy, women should always ensure they wear a
seat belt. The best way to protect the unborn child is to protect the
mother ⇒page 164, “Wearing and adjusting the seat belts during
pregnancy”.
Fig. 166 Driver
protected by the prop-
erly worn seat belt
during a sudden brake
manoeuvre
document_0900452a81793dcc.book Seite 160 Mittwoch, 21. März 2007 5:42 17
Page 188 of 294
Downloaded from www.Manualslib.com manuals search engine Intelligent technology 186Intelligent technologyElectronic stabilisation program (ESP)General notes
The electronic stabilisation program increases the car's
stability on the road.The ESP is designed to enhance the control over the vehicle in crit-
ical handling situations, such as when accelerating and cornering.
It reduces the tendency to skid under all road conditions and
improves the stability and roadholding of the vehicle. The system
works at all speeds.The anti-lock brake system (ABS), the electronic differential lock
(EDL) and the traction control system (ASR) are all integrated into
the electronic stabilisation program.
How the system works
The ESP control unit processes data from the three integrated
systems. It also processes additional inputs provided by other high-
precision sensors. These register the vehicle's rotation about the
vertical axis (yaw rate), lateral acceleration, brake pressure and
steering wheel angle.
The system uses the steering wheel angle and road speed to calcu-
late the changes of direction intended by the driver, and constantly
compares them with the actual behaviour of the vehicle. If the
desired course is not being maintained (for instance, if the car is
starting to skid), then the ESP compensates automatically by
braking the appropriate wheel.
The forces acting on the braked wheel effectively bring the car back
to a stable condition. If the car is oversteering (rear wheels losing
grip first) the brake application is concentrated on the outside front
wheel; if the car is understeering (front wheels losing grip first), ESP
brakes the inside rear wheel. This automatic brake application is
accompanied by characteristic noises.
The ESP works in conjunction with the ABS ⇒page 187. If a
malfunction should occur in the ABS, the ESP will also be out of
action.
Switching on
The ESP is switched on automatically when the engine is started
and performs a self-test routine. As soon as this routine is complete,
the system switches back to normal operating mode. You can press
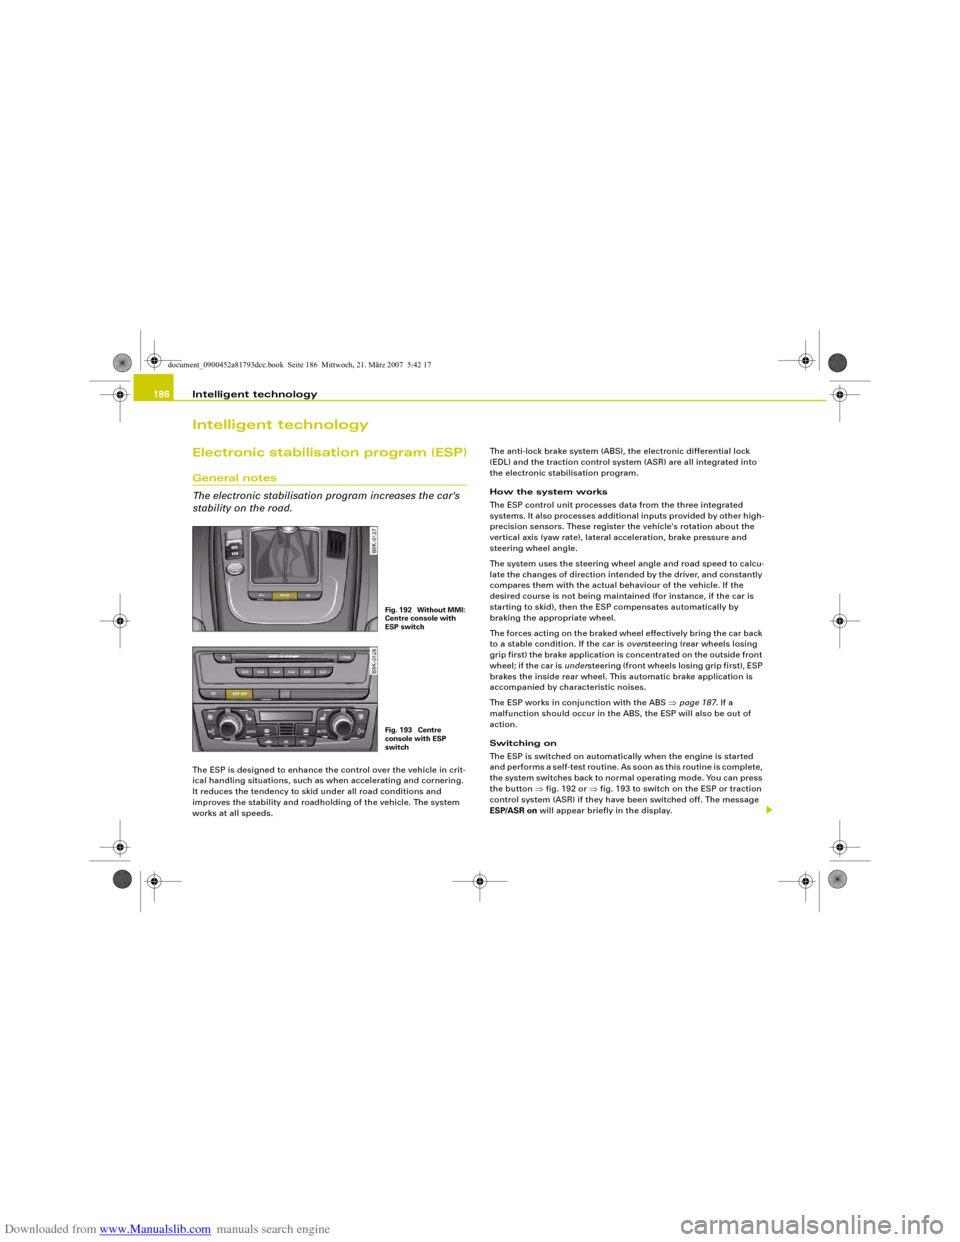
the button ⇒fig. 192 or ⇒fig. 193 to switch on the ESP or traction
control system (ASR) if they have been switched off. The message
ESP/ASR on will appear briefly in the display.
Fig. 192 Without MMI:
Centre console with
ESP switchFig. 193 Centre
console with ESP
switch
document_0900452a81793dcc.book Seite 186 Mittwoch, 21. März 2007 5:42 17