2008 AUDI S5 check engine light
[x] Cancel search: check engine lightPage 39 of 294
Downloaded from www.Manualslib.com manuals search engine Driver information system37
Controls
Safety
Driving tips
General maintenance
Self-help
Technical data Message comes on and does not go out
If the message appears in the display after the ignition is switched
on or while driving, and does not go out again, the battery is not
being maintained at the proper power level. Starting reliability may
be impaired. You should have the battery checked by a qualified
workshop as soon as possible.
Check engine oil level
Please check oil level
If the symbol lights up, check the engine oil level as soon as
possible ⇒page 223. Top up the oil at the next opportunity
⇒page 224.
Engine oil sensor defective
Oil level ! Sensor defective
If the
symbol lights up, take the vehicle to a qualified workshop
and have the oil level sensor checked. Until then it is advisable to
check the oil level every time you fill up with fuel ⇒page 223.
Applies to vehicles: with dynamic headlight range controlHeadlight range control defective
Headlight range control defective
This symbol
indicates a malfunction in the dynamic headlight
range control. Take the vehicle to a qualified workshop to have the
dynamic headlight range control function repaired.
Applies to vehicles: with adaptive lightadaptive light defective
adaptive light defective
This symbol
indicates that the adaptive light is defective. Take
the vehicle to a qualified workshop to have the headlights and/or
the control unit for the adaptive light repaired.
Ignition lock defective
Ignition lock defective
If the symbol
lights up in the display, there is a malfunction in
the electronic ignition lock. Take the vehicle to a qualified workshop
to have the problem remedied.
Windscreen wipers defective
Windscreen wipers defective
This symbol
indicates a malfunction in the electronics for the
windscreen wipers. Take the vehicle to a qualified workshop to have
the windscreen wiper system repaired.
document_0900452a81793dcc.book Seite 37 Mittwoch, 21. März 2007 5:42 17
Page 43 of 294
Downloaded from www.Manualslib.com manuals search engine Doors and windows41
Controls
Safety
Driving tips
General maintenance
Self-help
Technical data
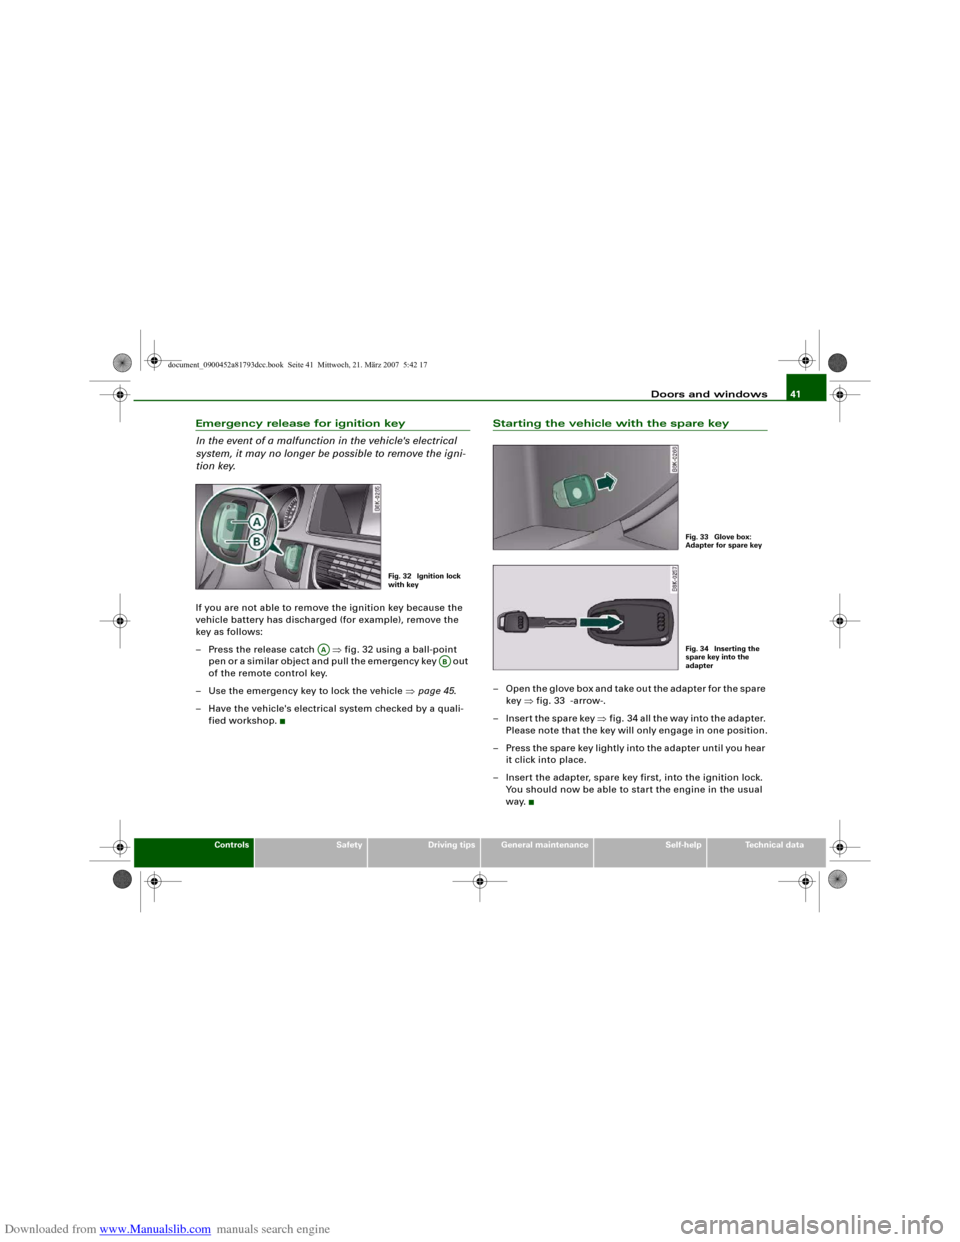
Emergency release for ignition key
In the event of a malfunction in the vehicle's electrical
system, it may no longer be possible to remove the igni-
tion key.If you are not able to remove the ignition key because the
vehicle battery has discharged (for example), remove the
key as follows:
– Press the release catch ⇒fig. 32 using a ball-point
pen or a similar object and pull the emergency key out
of the remote control key.
– Use the emergency key to lock the vehicle ⇒page 45.
– Have the vehicle's electrical system checked by a quali-
fied workshop.
Starting the vehicle with the spare key– Open the glove box and take out the adapter for the spare
key ⇒fig. 33 -arrow-.
– Insert the spare key ⇒fig. 34 all the way into the adapter.
Please note that the key will only engage in one position.
– Press the spare key lightly into the adapter until you hear
it click into place.
– Insert the adapter, spare key first, into the ignition lock.
You should now be able to start the engine in the usual
way.
Fig. 32 Ignition lock
with key
AA
AB
Fig. 33 Glove box:
Adapter for spare keyFig. 34 Inserting the
spare key into the
adapter
document_0900452a81793dcc.book Seite 41 Mittwoch, 21. März 2007 5:42 17
Page 50 of 294
Downloaded from www.Manualslib.com manuals search engine Doors and windows 48Once the door has been closed it can no longer be opened from the
outside. The door can be opened from the inside by pulling the door
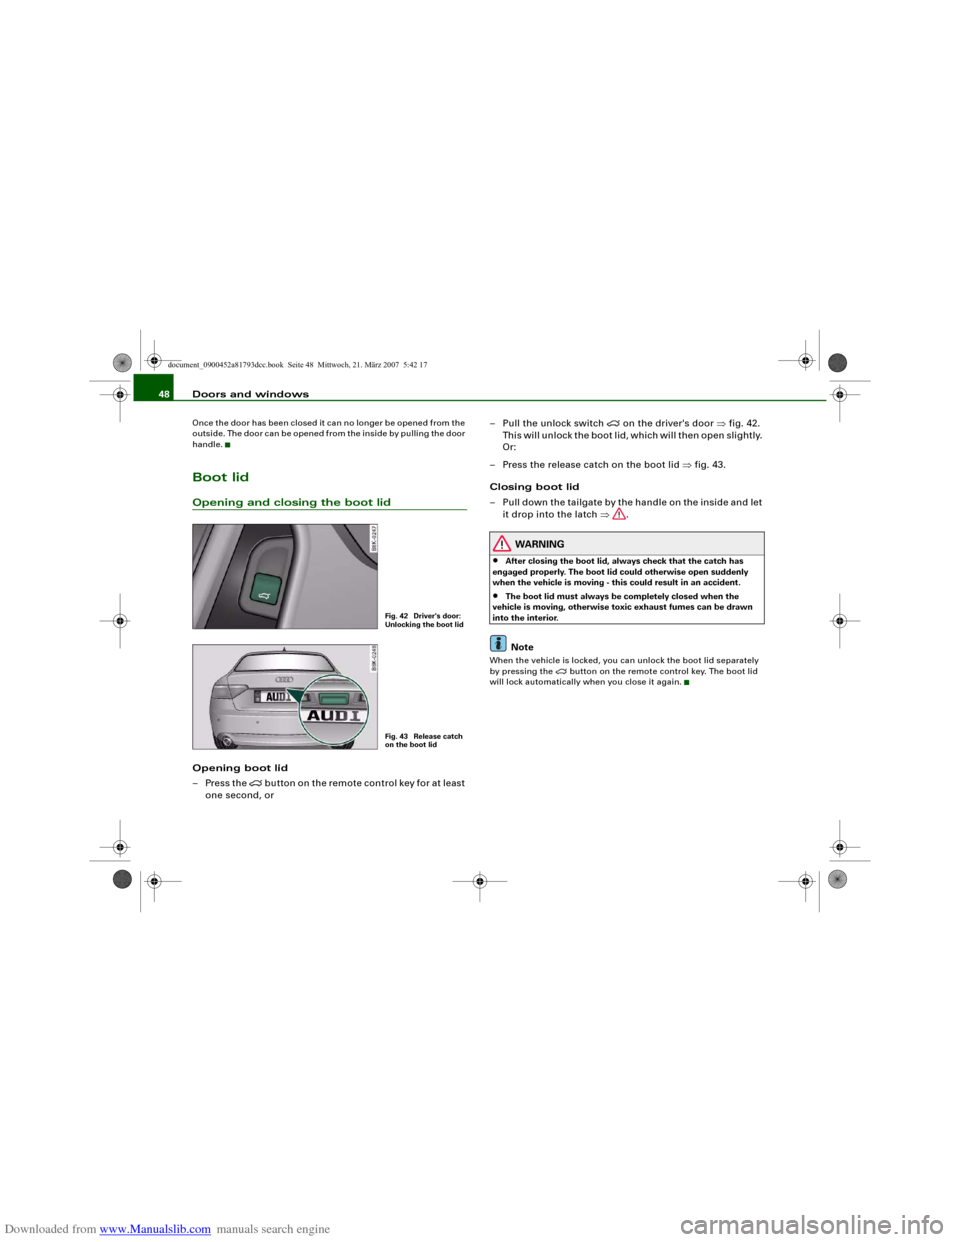
handle.Boot lidOpening and closing the boot lidOpening boot lid
– Press the
button on the remote control key for at least
one second, or– Pull the unlock switch
on the driver's door ⇒fig. 42.
This will unlock the boot lid, which will then open slightly.
Or:
– Press the release catch on the boot lid ⇒fig. 43.
Closing boot lid
– Pull down the tailgate by the handle on the inside and let
it drop into the latch ⇒.
WARNING
•
After closing the boot lid, always check that the catch has
engaged properly. The boot lid could otherwise open suddenly
when the vehicle is moving - this could result in an accident.
•
The boot lid must always be completely closed when the
vehicle is moving, otherwise toxic exhaust fumes can be drawn
into the interior.Note
When the vehicle is locked, you can unlock the boot lid separately
by pressing the
button on the remote control key. The boot lid
will lock automatically when you close it again.
Fig. 42 Driver's door:
Unlocking the boot lidFig. 43 Release catch
on the boot lid
document_0900452a81793dcc.book Seite 48 Mittwoch, 21. März 2007 5:42 17
Page 56 of 294
Downloaded from www.Manualslib.com manuals search engine Lights and vision 54Lights and visionLightsSwitching lights on and off
Switching on automatic headlights* (AUTO)
– Turn the light switch to AUTO ⇒fig. 50.
Switching on the side lights
– Turn the light switch to position
.
Switching on dipped headlights
– Turn the light switch to position
.
Switching off the lights
– Turn the light switch to position O.
The dipped beam headlights will only work with the ignition on.
The symbol
next to the light switch will light up when the side
lights or headlights are on.Automatic headlight control (AUTO)*
When the switch is set to AUTO, the headlights switch on automati-
cally according to the ambient light conditions, for instance in a
tunnel, at sunset, or in the rain or snow. The
symbol lights up
when the dipped headlights are on. The headlights are switched on,
regardless of the light conditions, when you switch on the fog
lights.
The headlights are switched off automatically when you switch off
the ignition.
On vehicles with a rain sensor, the headlights switch on automati-
cally after several windscreen wiper cycles. The instrument lighting
does not switch on, however.
While using the automatic headlights you can activate the main
beam headlights as normal if this function has been activated in the
MMI. However, if you switch on the main beam headlights while
using the AUTO function and then do not switch back to the dipped
headlights setting, only the dipped headlights will come on the next
time you switch on the AUTO function. To be able to use the main
beam headlights again you must first pull the main beam lever back
to the "off" position and then push it forward to "on".
Malfunction of light sensor
If a malfunction should occur in the light sensor, the instrument
cluster will show the message:
Automatic headlights/ automatic wipers defective
For safety reasons, the dipped beam headlights will then be
switched on permanently when the light switch is set to the AUTO
position. However, you can still switch the lights on and off in the
normal way with the light switch. You should have the light sensor
checked by a qualified workshop as soon as possible.
Fig. 50 Dashboard:
Light switch
document_0900452a81793dcc.book Seite 54 Mittwoch, 21. März 2007 5:42 17
Page 65 of 294
Downloaded from www.Manualslib.com manuals search engine Lights and vision63
Controls
Safety
Driving tips
General maintenance
Self-help
Technical data To reduce the sensitivity level of the rain sensor move control
⇒page 62, fig. 63 to the left. To increase the sensitivity level of the
rain sensor move the control to the right.
If you have selected a high sensitivity level for the rain sensor the
windscreen wipers will react sooner to any moisture on the wind-
screen. The wiper intervals in the intermittent wipe setting are also
varied automatically according to the road speed (in addition to the
sensitivity setting).
WARNING
•
Poor visibility can cause accidents. Always ensure that the
wiper blades are in good condition ⇒page 64, “Changing wiper
blades”.
•
The rain sensor is only intended to assist the driver. The driver
is still obliged to manually operate the windscreen wipers as
required depending on visibility.
•
Do not use water-repellent coatings on the windscreen. In bad
visibility conditions such as light rain, low sun or when driving at
night these coatings can cause increased dazzle, which is a
serious safety hazard. Such coatings can also cause the wiper
blades to judder.Caution
•
In icy conditions, always check that the wiper blades are not
frozen to the glass before using the wiper for the first time. If you
switch on the wipers when the wiper blades are frozen to the glass,
this could damage both the wiper blades and the wiper motor.
•
Make sure you switch off the windscreen wiper system (lever in
position "0") before you use an automatic car wash. This will avoid
inadvertent triggering of the wipers and possible damage to the
wiper system.
Note
•
Check that the washer fluid reservoir is full before starting a long
journey. Filling the reservoir ⇒page 231.
•
Worn or dirty wiper blades can cause smearing on the glass
which can also impair the effectiveness of the rain sensor. Please
check the wiper blades regularly.
Applies to vehicles: with headlight washersHeadlight washer systemThe headlight washer system only operates when the lights
are switched on.
– Move the automatic wash and wipe lever to position
⇒page 62, fig. 63.The headlight washer system is always activated the first time you
operate the automatic wash and wipe. Subsequently, it is only acti-
vated about every five wash and wipe cycles. The headlights are
always washed if you hold the lever for longer than about
2 seconds.
The headlight washer jets come out of the bumper automatically
(under water pressure).
Clean off stubborn dirt (insects, etc.) from the lenses at regular
intervals, for instance when stopping for fuel.
To ensure that the system works properly in winter, keep the nozzle
holders free of snow and remove any ice with a de-icer spray.
AA
A5
document_0900452a81793dcc.book Seite 63 Mittwoch, 21. März 2007 5:42 17
Page 94 of 294
Downloaded from www.Manualslib.com manuals search engine Heating and cooling 92
WARNING
For safety reasons it is important that all the windows are kept
free of ice, snow and condensation. These can cause poor visibility
and lead to an accident. Please familiarise yourself with the oper-
ating controls for the air conditioner, including the demist/defrost
functions for the windows.
Caution
•
If you suspect that the air conditioner is damaged, switch it off
to prevent further damage and have the system checked by a quali-
fied workshop.
•
Repairs to the Audi air conditioner require specialist knowledge
and special tools. For this reason, please contact a qualified work-
shop if the system is not working properly.Note
•
Keep the air intake slots in front of the windscreen clear of snow,
ice and leaves to ensure unimpaired heating and cooling, and to
prevent the windows misting over.
•
The air from the outlets flows through the passenger compart-
ment and out through the slots at the rear of the vehicle. Do not
cover these slots with clothing or other objects.
•
The air conditioner operates most effectively with the windows
and the tilting panorama roof* closed. However, if the vehicle has
heated up after standing in the sun for some time, the air inside can
be cooled more quickly by opening the windows for a short time.
Applies to vehicles: with deluxe automatic air conditionerControls
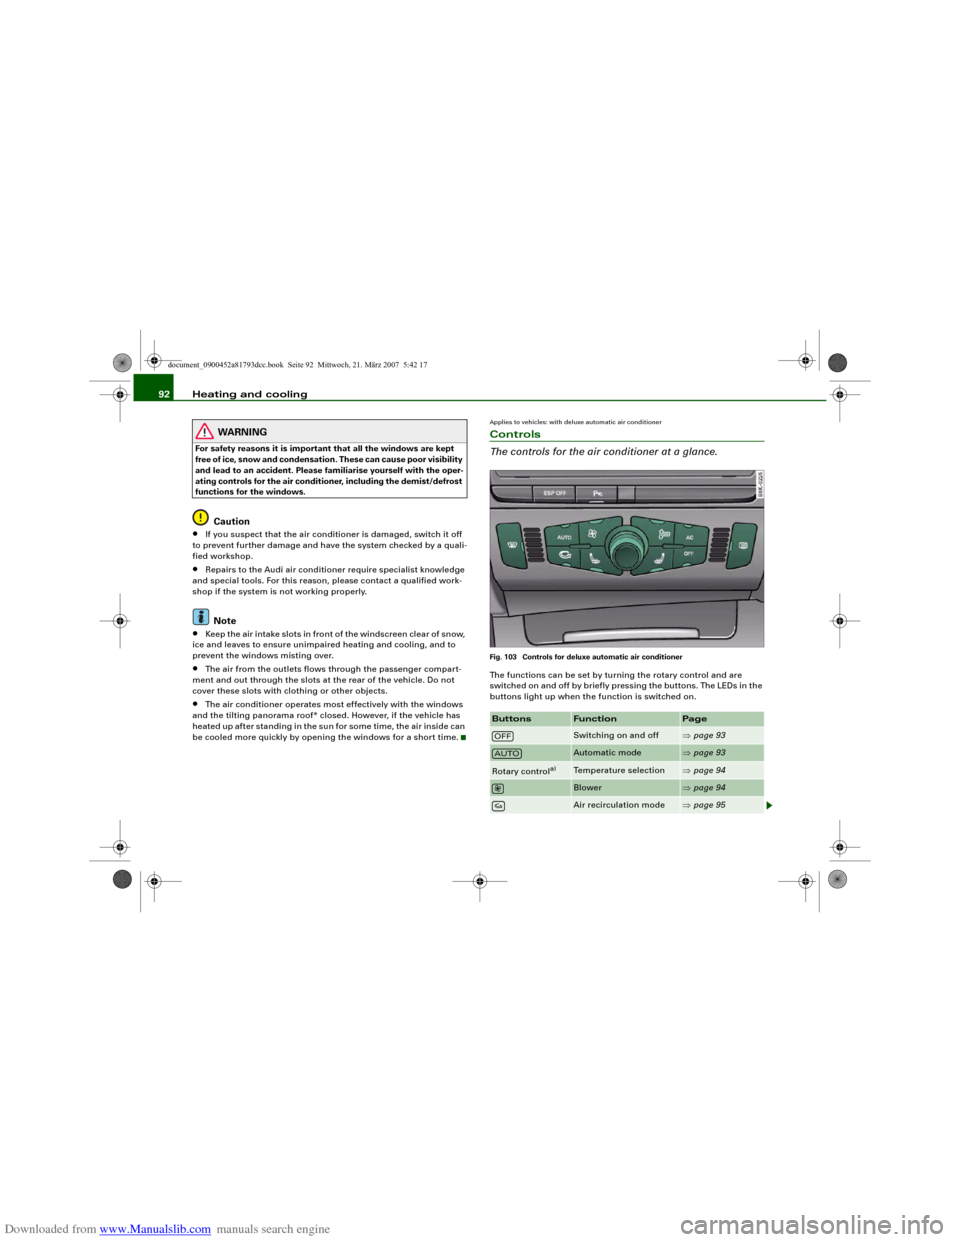
The controls for the air conditioner at a glance.Fig. 103 Controls for deluxe automatic air conditionerThe functions can be set by turning the rotary control and are
switched on and off by briefly pressing the buttons. The LEDs in the
buttons light up when the function is switched on.Buttons
Function
Page
Switching on and off
⇒page 93
Automatic mode
⇒page 93
Rotary control
a)
Temperature selection
⇒page 94
Blower
⇒page 94
Air recirculation mode
⇒page 95
OFFAUTO
document_0900452a81793dcc.book Seite 92 Mittwoch, 21. März 2007 5:42 17
Page 102 of 294
Downloaded from www.Manualslib.com manuals search engine Heating and cooling 100Power management
To prevent the battery from becoming discharged and to maintain
the necessary power level, the system will temporarily shut off the
electrical components that are using a lot of power, or reduce the
current they are consuming ⇒page 192. Heating systems in partic-
ular use a large amount of electrical power. If you notice, for
instance, that the rear window heater is not working, it may have
been temporarily switched off by the power management function,
or regulated to a lower heat output. These systems will be available
again as soon as sufficient electrical power is available.
WARNING
For safety reasons it is important that all the windows are kept
free of ice, snow and condensation. These can cause poor visibility
and lead to an accident. Please familiarise yourself with the oper-
ating controls for the air conditioner, including the demist/defrost
functions for the windows.
Caution
•
If you suspect that the air conditioner is damaged, switch it off
to prevent further damage and have the system checked by a quali-
fied workshop.
•
Repairs to the air conditioning system require specialist knowl-
edge and special tools. For this reason, please contact a qualified
workshop if the system is not working properly.Note
•
Keep the air intake slots in front of the windscreen clear of snow,
ice and leaves to ensure unimpaired heating and cooling, and to
prevent the windows misting over.
•
The air from the outlets flows through the passenger compart-
ment and out through the slots at the rear of the vehicle. Do not
cover these slots with clothing or other objects.
•
The air conditioner operates most effectively with the windows
and the tilting panorama roof* closed. However, if the vehicle has
heated up after standing in the sun for some time, the air inside can
be cooled more quickly by opening the windows for a short time.
Applies to vehicles: with deluxe automatic air conditioner plusControls
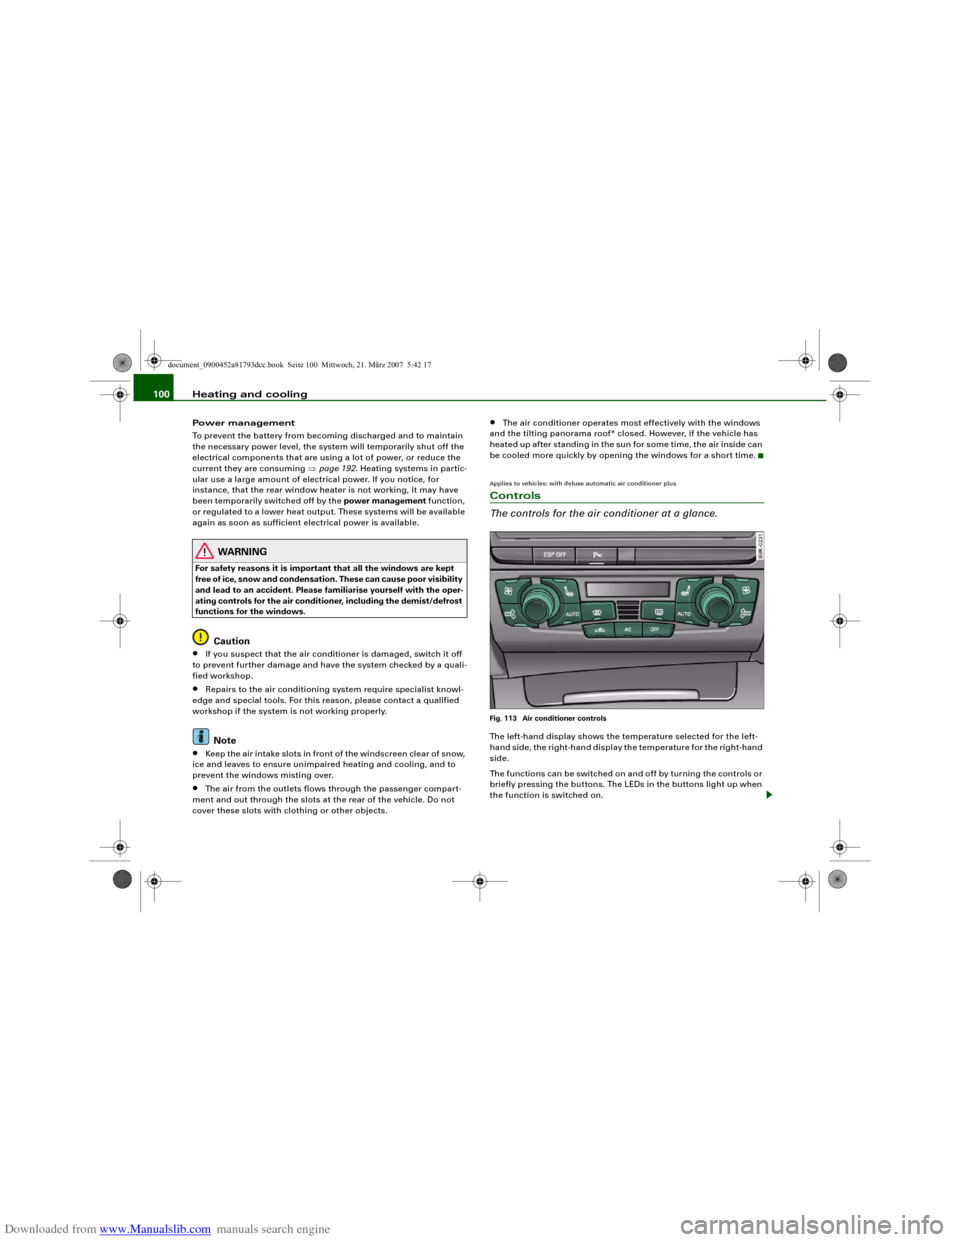
The controls for the air conditioner at a glance.Fig. 113 Air conditioner controlsThe left-hand display shows the temperature selected for the left-
hand side, the right-hand display the temperature for the right-hand
side.
The functions can be switched on and off by turning the controls or
briefly pressing the buttons. The LEDs in the buttons light up when
the function is switched on.
document_0900452a81793dcc.book Seite 100 Mittwoch, 21. März 2007 5:42 17
Page 146 of 294
Downloaded from www.Manualslib.com manuals search engine Audi parking system 144•
Do not allow the camera images in the MMI display to distract
you from watching the traffic.
•
When parking or manoeuvring do not rely solely on the MMI
display. Some objects (e.g. narrow posts or bars) may - due to the
resolution of the display screen - not be displayed in a satisfactory
manner or may not be displayed at all.
•
Only use the reversing camera to assist you if it is supplying
you with a good and clear picture. The quality of the picture could
be impaired by adverse light, dirt on the lens or a defect (accident
risk).
•
If the MMI display is switched on and the picture is obscured or
the area behind the vehicle is not visible (e.g. due to a dirty or
defective lens) you must not use the reversing camera to assist
you when manoeuvring (accident risk).
•
The reversing camera produces two-dimensional images.
Please remember that ridges in the ground, parts protruding on
other vehicles or fixed objects jutting out are all more difficult to
detect on the MMI display screen due to a lack of spatial depth. In
some cases it may not be possible to detect them at all.
•
For safety reasons, you should not use the system if the posi-
tion and installation angle of the camera have been changed, e.g.
in a rear-end collision. Have it checked by a qualified workshop.
•
Only use the reversing camera when the boot lid is completely
c lo s e d . P l e a se m a k e su re t h a t t here are no objects mounted to the
rear end of the vehicle which could block the view of the reversing
camera.Caution
•
Never remove snow and ice from the lens of the reversing
camera using warm or hot water - danger of cracks appearing on the
lens.
•
Never use abrasive cleaning agents on the lens.WARNING (continued)
document_0900452a81793dcc.book Seite 144 Mittwoch, 21. März 2007 5:42 17