Page 15 of 422
 OPERATION ............................................6-1
Starting a cold engine ...........................6-3
Starting a warm engine .........................6-9
Jump-starting ......................")
OPERATION ............................................6-1
Starting a cold engine ...........................6-3
Starting a warm engine .........................6-9
Jump-starting ........................................6-9
Warming up.........................................6-13
Drive select lever operation and
reverse driving ..................................6-15
Engine break-in ...................................6-21
Parking ................................................6-25
Parking on a slope ..............................6-25
Accessories and loading .....................6-29
DRIVING YOUR VEHICLE .......................7-1
Getting to know your vehicle .................7-1
Learning to operate your vehicle...........7-9
Turning your vehicle............................7-13
Braking ................................................7-15
Going uphill .........................................7-17
Going downhill ....................................7-21
Crossing through shallow water ..........7-27
Riding over rough terrain ....................7-33
Riding in brush or wooded areas ........7-35
Encountering obstacles on the trail .....7-37
67
PERIODIC MAINTENANCE AND
ADJUSTMENT ......................................... 8-1
Owner’s manual and tool kit ................. 8-3
Periodic maintenance/lubrication.......... 8-7
Hood ................................................... 8-17
Console .............................................. 8-21
Engine oil and oil filter cartridge ......... 8-23
Final gear oil ....................................... 8-35
Differential gear oil.............................. 8-41
Coolant ............................................... 8-47
Axle boots ........................................... 8-51
Spark plug inspection ......................... 8-53
Cleaning the air filter elements ........... 8-61
V-belt cooling duct check hose ........... 8-73
V-belt case drain plug ......................... 8-75
Cleaning the spark arrester ................ 8-77
Carburetor adjustment ........................ 8-81
Idle speed adjustment ........................ 8-83
Valve clearance .................................. 8-85
Front brake pad check ........................ 8-87
Rear brake pad check ........................ 8-89
Checking the brake fluid level............. 8-89
Brake fluid replacement ...................... 8-93
Checking the brake pedal ................... 8-95
Parking brake lever free play
adjustment ........................................ 8-97
Brake light switch adjustment ........... 8-101
8
EE.book Page 2 Friday, August 4, 2006 12:02 PM
Page 54 of 422
3-1
EVU00080
1-DESCRIPTION AND VEHICLE IDENTIFICATION
1. Headlights
2. Front shock absorber assembly adjusting ring
3. Brake fluid reservoir
4. Air filter elements (engine and air intake duct)
5. V-belt case
6. Driver seat
7. Driver seat belt
8. Spark plug
9. Cargo bed
10. Tail/brake lights
11. Rear shock absorber assembly adjusting ring
12. Cargo bed release levers
13. Spark arrester
14. Passenger seat belt
15. Passenger seat
16. Oil filter cartridge
17. Engine oil dipstick
18. Battery
19. Fuses
20. Coolant reservoir
21. Radiator cap
22. Fuel tank cap
EE.book Page 1 Friday, August 4, 2006 12:02 PM
Page 255 of 422
 8-8
Fuel line*Check fuel hose for cracks or damage.
Replace if necessary.Engine oilReplace (warm engine before draining).Engine oil filter cartridgeReplace.Final gear oil
Check oil level/oil leak")
8-8
Fuel line*Check fuel hose for cracks or damage.
Replace if necessary.Engine oilReplace (warm engine before draining).Engine oil filter cartridgeReplace.Final gear oil
Check oil level/oil leakage.
Replace.Differential gear oil
Front brake*Check operation/brake pad wear/fluid leakage/see NOTE page
8-9.
Correct if necessary. Replace pads if worn to the limit.Rear brake*Check operation/brake pad wear/fluid leakage/see NOTE page
8-9.
Correct if necessary. Replace pads if worn to the limit.Accelerator pedal*Check operation and free play.V-belt*Check operation.
Check for wear, cracks, or damage.Wheels*Check balance/damage/runout.
Repair if necessary.Wheel bearings*Check bearing assemblies for looseness/damage.
Replace if damaged.Front and rear
suspension*Check operation and for leakage.
Correct if necessary.Steering system*Check operation and for looseness/Replace if damaged.
Check toe-in/Adjust if necessary.Rear upper and lower
knuckle pivots*Lubricate with lithium-soap-based grease.Drive shaft universal joint*Lubricate with lithium-soap-based grease.Engine mount*Check for cracks or damage.
Check bolt tightness.Front and rear axle boots*Check operation.
Replace if damaged.Stabilizer bushings*Check for cracks or damage.
ITEM ROUTINEWhichever
comes firstINITIAL EVERY
month136612
km
(mi)320
(200)1,200
(750)2,400
(1,500)2,400
(1,500)4,800
(3,000)
hours 20 75 150 150 300
EE.book Page 8 Friday, August 4, 2006 12:02 PM
Page 270 of 422
8-23
EVU00701
Engine oil and oil filter cartridge
The engine oil level should be checked before
each operation. In addition, the oil must be
changed and the oil filter cartridge replaced at the
intervals specified in the periodic maintenance and
lubrication chart.
To check the engine oil level
1. Place the vehicle on a level surface.
2. Remove the console. (See page 8-21 for
console removal and installation proce-
dures.)
3. Check the engine oil level on a cold engine.NOTE:If the engine was started before checking the oil
level, be sure to warm up the engine sufficiently,
and then wait at least ten minutes until the oil set-
tles for an accurate reading.
EE.book Page 23 Friday, August 4, 2006 12:02 PM
Page 274 of 422
8-27 1. Engine oil drain bolt
1. Vis de vidange d’huile moteur
1. Perno de vaciado del aceite del motor
1. Oil filter cartridge 2. Oil filter wrench
1. Cartouche de filtre à huile 2. Clé pour filtre à huile
1. Cartucho del filtro de aceite 2. Llave para filtros de aceite
To change the engine oil (with or without oil fil-
ter cartridge replacement)
1. Remove the console. (See page 8-21 for
console removal and installation proce-
dures.)
2. Place an oil pan under the engine to collect
the used oil, and then remove the engine oil
filler cap.
3. Remove the engine oil drain bolt to drain the
oil from the crankcase.NOTE:_ Skip steps 4–6 if the oil filter cartridge is not being
replaced. _4. Remove the oil filter cartridge with an oil filter
wrench.NOTE:_ An oil filter wrench is available at a nearby
Yamaha dealer. _
EE.book Page 27 Friday, August 4, 2006 12:02 PM
Page 276 of 422
8-29 1. O-ring
1. Joint torique
1. Junta tórica
1. Oil filter cartridge 2. Torque wrench
1. Cartouche de filtre à huile 2. Clé dynamométrique
1. Cartucho del filtro de aceite 2. Llave dinamométrica
5. Apply a light coat of engine oil to the O-ring of
the new oil filter cartridge.NOTE:_ Make sure the O-ring is seated properly. _6. Install the new oil filter cartridge with an oil fil-
ter wrench, and then tighten it to the specified
torque with a torque wrench.
7. Install the engine oil drain bolt, and then tight-
en it to the specified torque.
8. Add the specified amount of recommended
engine oil, and then install the engine oil filler
cap and tighten it. Tightening torque:
Oil filter cartridge:
17 Nm (1.7 m·kgf, 12 ft·lbf)
Tightening torque:
Engine oil drain bolt:
30 Nm (3.0 m·kgf, 22 ft·lbf)
EE.book Page 29 Friday, August 4, 2006 12:02 PM
Page 278 of 422
8-31
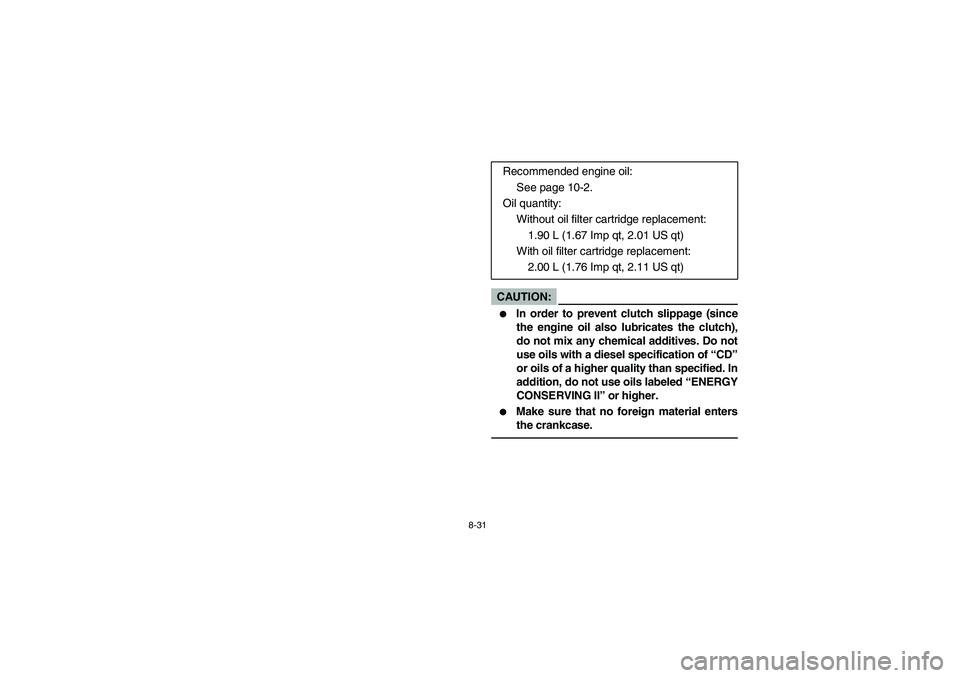
CAUTION:_ �
In order to prevent clutch slippage (since
the engine oil also lubricates the clutch),
do not mix any chemical additives. Do not
use oils with a diesel specification of “CD”
or oils of a higher quality than specified. In
addition, do not use oils labeled “ENERGY
CONSERVING II” or higher.
�
Make sure that no foreign material enters
the crankcase.
_
Recommended engine oil:
See page 10-2.
Oil quantity:
Without oil filter cartridge replacement:
1.90 L (1.67 Imp qt, 2.01 US qt)
With oil filter cartridge replacement:
2.00 L (1.76 Imp qt, 2.11 US qt)
EE.book Page 31 Friday, August 4, 2006 12:02 PM
Page 316 of 422
8-69 1. Crankcase breather hose
1. Durite de mise à l’air du carter moteur
1. Tubo respiradero del cárter
8. Check the sponge material and replace it if
damaged.
9. Thoroughly apply Yamaha foam air filter oil or
other quality liquid foam air filter oil (not spray
type) to the sponge material.NOTE:_ The sponge material should be wet but not drip-
ping. _10. Pull the sponge material over its frame.
11. Install the air filter element.
12. Install the air filter case cover and be sure the
crankcase breather hose is connected.
13. Install the console.
14. Install the seats.
EE.book Page 69 Friday, August 4, 2006 12:02 PM
 3-1
EVU00080
1-DESCRIPTION AND VEHICLE IDENTIFICATION
1. Headlights
2. Front shock absorber assembly adjusting ring
3. Brake fluid reservoir
4. Air filter elements (engine and air intake duct)
5. V-be")
 8-23
EVU00701
Engine oil and oil filter cartridge
The engine oil level should be checked before
each operation. In addition, the oil must be
changed and the oil filter cartridge replaced at the
interv")
 8-27 1. Engine oil drain bolt
1. Vis de vidange d’huile moteur
1. Perno de vaciado del aceite del motor
1. Oil filter cartridge 2. Oil filter wrench
1. Cartouche de filtre à huile 2. Clé pour filt")
 8-29 1. O-ring
1. Joint torique
1. Junta tórica
1. Oil filter cartridge 2. Torque wrench
1. Cartouche de filtre à huile 2. Clé dynamométrique
1. Cartucho del filtro de aceite 2. Llave dinamométri")
 8-69 1. Crankcase breather hose
1. Durite de mise à l’air du carter moteur
1. Tubo respiradero del cárter
8. Check the sponge material and replace it if
damaged.
9. Thoroughly apply Yamaha foam ai")