2007 VOLKSWAGEN GOLF PLUS light
[x] Cancel search: lightPage 44 of 541
Doors
Introduction
In thi s sec tion you'll find information on the fol
l owi ng:
Warning . . . . . . . . . . . . . . . . . . . . . . . . . . . . . . . 43
. . . . . . . . . .. . . . . . . .. . . . . . . . . . . 44
More information :
key page 34
page 38
E m erge ncy clos ing and 322
A
door that i s not closed properly suddenly when t h e ve hicle is moving and cause se
v ere injuries .
Make sure that th e door is safe ly and co m
p letel y la tc hed w he n closed. The closed door must be flush with the surrounding auto body parts.
or close doors only if n o one is in the way.
fir st read and note the introdu ctory information heed the on page 43.
Lig hts
cause up
At least one ve hicl e door is open or prope rl y closed.
Whe n th e ignit i
on is switched on, severa l warning and indicato r light s come on briefly for function
check. They
warning light or strument cluste r display.
Opening and
response
a nd clo se the respective door aga in.
Depending on the vehicle options,
42 43
Page 46 of 541
Rear hatch
this sectio n you'll find information on the following:
Warning light .............................. .
th e rear hatch .......•......... ......
Closing the rear hatch
More information:
Powe r loc kin g system page 38
page 137
Emergency closing and page 322
46
46
47
Improper or unsupervised unlocking, opening or closing of the rear hatch can cause accidents and severe injuries.
Never close the rear hatch by pushin g on the rear window with your hand. The rear window
could break and cause injuries.
After closing the rear hatch, always make sure that it is properly closed and locked so that it cannot open suddenly when the vehicle is moving. The closed rear hatch must be flu sh
with the surrounding auto body parts.
A lways keep the rear hatch closed while
driving to help keep poisonous exhaust gas from being drawn into the vehicle.
and closing
Never open the rear hatch when a luggage
rack is installed and load ed. for example,
there are bicycle s on a carrier on the rear it is possible that the rear hatch will not be able
to open automatically. An open rear hatch may fall on its own b eca use of the additional weight. The open rear hatch must be supported or the weight must be removed from the lu ggage rack
first.
Never leave your vehicle unattended or let
children play around your vehicle, especially
with the rear hatch left open. A child could crawl
into the vehicle and pull the rear hatch shut, becoming trapped and unable to get out. A closed vehicle can become very hot or very cold, depending on the season. in the summer, heat build-up in the passenger and luggage compartment of parked ve hicle can result in temperatures in the vehicle that are much higher than the outside temperatures. Temperatures can quickly reach levels that can cause unconsciousn ess and death, particularly
to small children.
Never leave children or anyone who cannot help themselves behind in the vehicle. They may lock the vehicle with the vehicle key or the power locking switch and lock themselves in.
Note
Before opening or closing the rear hatch, make sure there is enough room to do as for example when the vehicle has a trailer or is in a garage.
44 45
Page 47 of 541
Warning
Please fir st r ead and note th e introductory in rormatio n and heed the o n page 45.
Lights
Possible cause
u p
the ignition is sw itch ed on, several warning and indica to r ligh ts come o n brierly ror a ru nctio n
c h ec k. They go out a
the rear h a tc h is not clo se d prope rly . wa rnin g light in the i nstrumen t clu ste r o r the hicl e symbol in th e MFD comes o n showin g the ope n r ear hat ch .
D ep en d in g o n the ve hi
cle opti ons, a symbol m ay
b e di splayed in th e in strument clu ster in ste ad or
t h e warnin g lig h t. The ligh t o r symbol
the vehicle key: button to unlock ond open
the rear hatch .
first read a nd n ote th e introducto ry inrorm atio n and heed t he o n page 45.
Fo r example, ir a lo ad ed b icy cle or lu gg age rac k is
m oun te d on the rear ha tc h , it m ay no t b e poss ible
t o o pe n th e rear He move the load rrom the rack and prop u p the rear ha tc h once it
i s ope n .
butto n on th e ve hicle 23 ror about o ne se cond to unl o ck th e re ar hatch or p ush
B efore dr
iving
Prope r response
S top! and close rea r hatc h again.
p la y goes o
ut ab o ut 15 seconds arte r the ve hicl e has been l ocke d.
1 r th e r
ear hatch i s not closed p ro perly, it m ay
o pe n sudde nly w hen the vehicle is movin g and cause seve re injuri es .
Sto p immedi ately and close t h e rear h atc h .
Alwa ys make sure the rear h atc h is sec u re ly
l a tc h ed
butt o n on the ve hicl e key th e rear hatch open s several in ch e s o n its The n open th e rear h a tc h usin g th e Volkswa gen e m ble m .
with the V olk swagen emblem
Un loc k th e ve h icl e or rear hatch , o r o pen
U sin g your thumb, p ress the to p or th e swa gen fig. 24 and move the e mble m G ra s p the bott o m part or th e e mble m and to
Page 55 of 541
Programming the garage door opener
Fig. 28 The remo te contro l ond buttons for the Homelink Universal Transmitter ore in the sun visor.
fir s t r ead and note th e int ro d uctory info rm ation on page 53.
The buttons
read the dev ic e manufacturer's tions b efo re programmin g a gara ge door open er o r dev ice.
Sa fe ly pa rk t he o f the d evic e to b e programmed.
S w itch the ig nition o n, but do no t sta rt the gin e.
B efo re initial
programming:
and ho ld b utton s seconds. Whe n th e indic at or light above begin s to
immedi a te ly rel ea se both buttons. T his s te p
d e letes an y o ld se ttin gs. Thi s s te p does h av e to
b e
th e s te ps for getti ng ready to gram a s describ ed pag e 54.
Hold the han d -h e ld remote contr o l f or the
m itt er key pad in the sun fig . 26 whil e
B efo re
driving
Fig. 29 To program : simultaneously press the buttons
for the Home link Universal Transmitter end the remo te
control.
k
eepi ng the indica to r ligh t above view. yo u ho ld the hand-held remote too far away, the process may have to be repeate d .
and ho ld the button o n the hand-held m ote contro l fo r th e device bein g prog rammed and at the sa m e time press and ho ld the Un iv e rsal Tran smitter button th at
yo u want to use on th e sun visor ( until the indi c a to r light abov e fig. 29 .
Hele ase the buttons. The device is now
these ste ps to p rogra m th e o ther buttons
f o r th e Hom eLink® Universal Tra nsmitt er on the
s u n visor k ey p ad to contro l o ther dev ic es.
S y nchronizing a
device that uses a
the steps for ge tt in g re ad y to g ra m described page 54.
the page 54.
th e m anufacturer's instr u c tions fo r th e rage door o pe ne r or other device, find the button " fo r synch ron iz ing new han d-h eld remote
co ntro ls to th e device yo u wa nt to co n trol.
W ithin second s aft er p ress ing the on th e su n visor ke ypad for the H om cLink ® Uni versal
Tran sm itter. t h at sa me button second tim e
t o comple te the process. For som e sys te m s. th e
b u tto n on t he s un visor key p ad m ay have to be
pressed
Page 56 of 541

Deleting programming for
pro gramming for th e or turning it ove r to people you do not know.
the s te p s for getting ready to pro
gram as describ ed p age 5 4.
Operating the garage door opener
fir st re ad and note the introductory information on page 53.
The vehicl e must be in the operating range of th e garage or outer ga te drive.
W ith ig nit ion on or engin e running, press the appropriate button in th e sun
an d h old at the same tim e, for about seco nds. When the indicator
light abov e b egi ns to
immediately re lease both buttons. Thi s step dele tes
page 55, door
The rang e of th e 1-lomeLink® Trans
m itt er roughly
corresponds to th e range of the orig inal re mot e control of the device or th e e lec
tri ca l drive. Jfthe garage door or the e lec trical drive
does not work, this coul d be fo r o ne o f the fol
lo wing reasons:
re medy
Batteri es in th e remote con-batteries.
tr ol are dead.
Dis ta nce
or tr ansmission
G arag e door or e lectrica l
angl e too great.
dri ve does not work. Garage door or electrical
drive no t compatible.
In co rre ct programmin g.
usc th e HomcLink ® Trans
mi tter when you arc within range and no one is
th e way.
Note
The wro n g batteries can damage the remote control. Rep lace a discharge d battery wi th one that has th e sam e vo ltage , size , and specifications.
Opening and closin g
Try differe nt dista nces and angles to there-ce iver.
May not co mpl y with legal requirements and may have to be r e placed .
Re-program garage d
oor opener.
di spose of old batteries properly and in a n envir onmentally respon sibl e manner.
clas sified Material. S pec ial handling m ay apply. Se c wwlv.cltsc.ca .gov/ haza rdou swaste/perchlorate . lega l requir ements rega rdin g proper
54 5 5
Page 59 of 541
Prope r sea ting posit ion
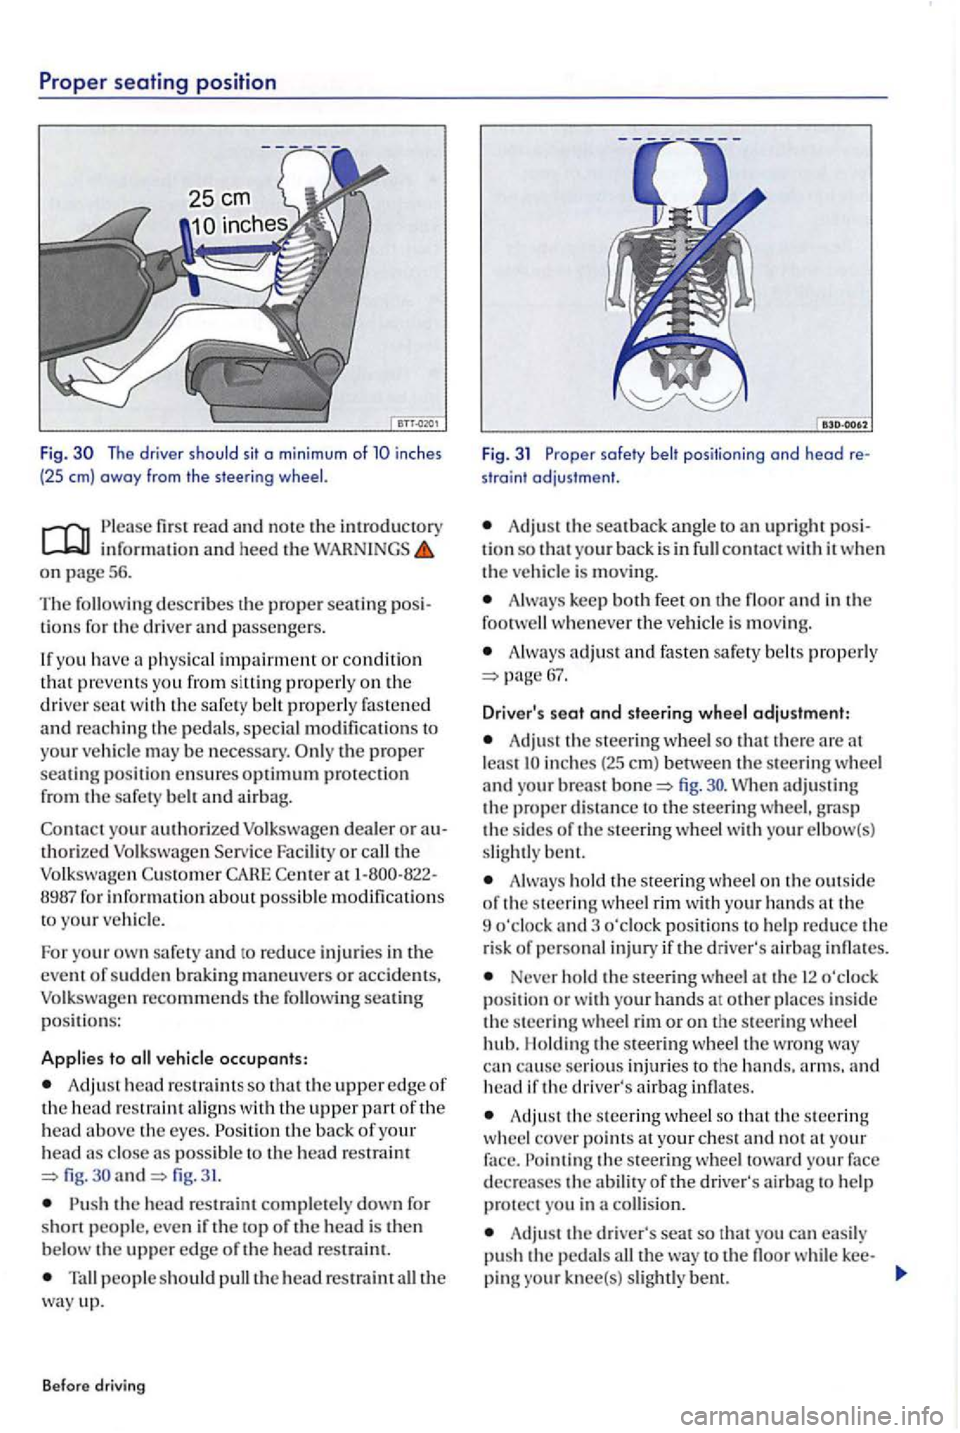
Fig. The driver should sit o min imum of inches
(25 em) away from the steering
first read and note the introductory information an d heed the WARNINGS on page 5 6.
Th e
describes th e proper sea tin g lio ns for the driver and passengers .
If yo u hav e
physical impairment or condition that preve nts you from siltin g properly on the driver wit h the safe ty belt properly fastened and re a ching th e pedals, special modificatio ns to
your ve hicle may be necessary. p roper seating positi on ensures optimum protection from the safety belt and airbag.
Con t
act yo ur authorized Volkswagen dealer o r authorized Volk swage n Serv ice Facility or the Volkswagen Custo m er CAHE Cente r 1-800-822-
8987 fo r informati on about poss ible modification s
t o your ve hicl e.
F o r yo u r
own safety and to reduce inj urie s in the
event of sudde n brakin g maneuve rs or accid ents, Volkswagen recommends the seating p o siti ons:
Applies to vehicle occupants:
Adj ust head re straint s so that the upper edge of the head restraint aligns with the upper part of the head above th e eyes . the ba ck of your head close as poss ible fig. and fig. 31.
the head re straint completely down fo r
short people. eve n if the top of th e head is the n
b elow the uppe r edge o f the head re strai nt.
people s ho uld pull the head restraint the way up.
Before driving
Fig. 31 Proper safety belt positioning ond head re
straint adjustment.
Adjust the sea t back ang le to upri ght posi
tion so that your back is in conta ct w ith it w he n the vehicle is moving.
Alw ays keep both feet on th e floor a nd in the
foot whenever the vehicl e is mov in g.
A lway s adjust a nd fasten safety belt s pro perly
A dju st the steering wheel so that the re are lea st fig .
Always ho ld th e s teering wheel o n the out sid e
o f th e s teerin g wheel rim with your hands the
9 o'cloc k and 3 o'cloc k pos ition s to help re duce the
r is k of personal injury if the driver' s airb ag infl ates.
Never ho ld the steering wheel a t th e 12 o'clock position or w ith your hands at ot her places in side the steerin g wheel rim or o n the steerin g whee l
hub. l lo ldin g the steerin g w hee l the wro ng can cause se rious injurie s to the arms. and head if the driver's airbag infl ates.
Adju st the s teerin g wheel so that the s teerin g
w heel cove r points the ste erin g wh ee l toward your face
d ecrea ses the abilit y of the driver's airba g to help protect you in a collision.
Adju st the driver's seat so that you can easily
pu sh the pedal s the way to th e floo r while kee-
pin g knee(s) slightl y bent.
Page 64 of 541
Note
When removin g or reinstalling the head restrai nt,
take car e t ha t head restraint does not strik e the headliner or the back of the front seat. T he
headlin er or oth er parts of the vehicle could erw ise be
position
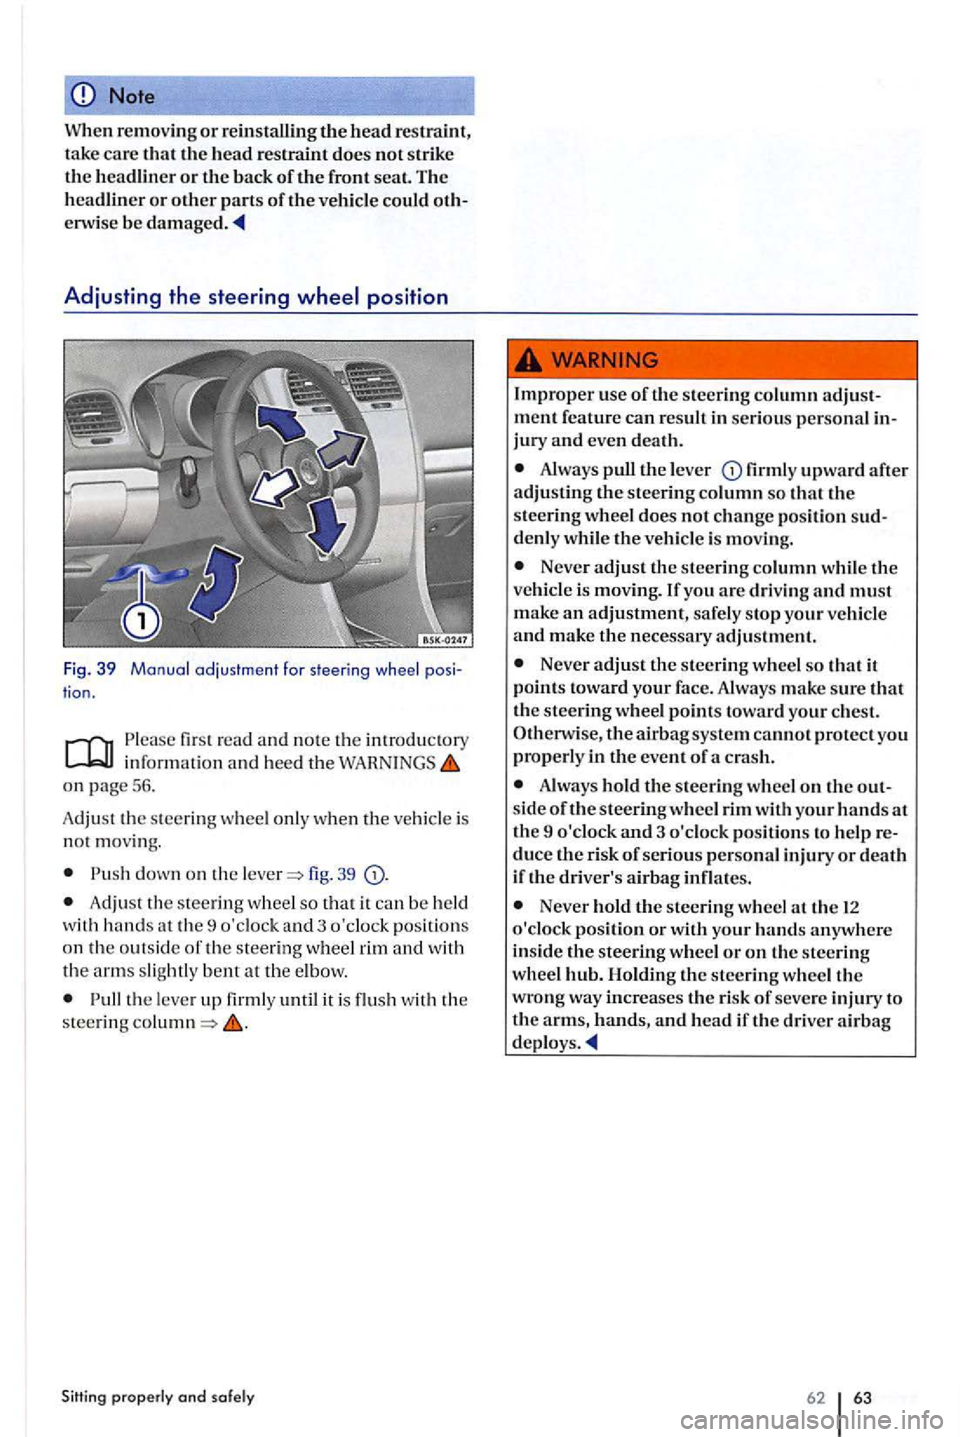
Fig. 39 Manual adjustment far steering whee l pos i
tion.
firs t read and note the introd ucto ry
on page 56.
A dju st th e
steering wheel only when the vehicle is not movin g.
fig. 39
Adju st th e steerin g w hee l so th a t it ca n be held
w ith hands at th e 9 o'clock and 3 o'clock pos itions on the ou ts ide of the stee ring whee l rim and w ith
the arm s slight ly at the e lb ow.
the lever up firmly until it is flu sh with the steering
Always puLl the lever firml y upward after adjustin g th e steering column so that th e
s teering wheel does not ch ange positi on sud
d enl y whil e U1e vehicl e is movin g.
Neve r adjust the stee rin g column w hile the ve hicl e is moving. you are driving and must make an adjustment, safely s top you r vehicle and make the necessary adjustment.
Neve r adjust the steerin g wheel so that it points toward your fac e. Alway s make sure th at
Alwa ys hold U1e steering w hee l o n th e out side of th e steering wheel rim with your hands at
th e 9 o'clo ck and 3 o'clock positions to h elp
Neve r hold the steering w heel at the 12 o'clock position or with your hands anywhere
in side the s teering wheel o r on th e steering
w hee l hub. Holdin g th e stee rin g wheel the wro ng way increases the r isk of seve re injury to the arms, hands, and head if th e driver airb ag
62 63
Page 67 of 541
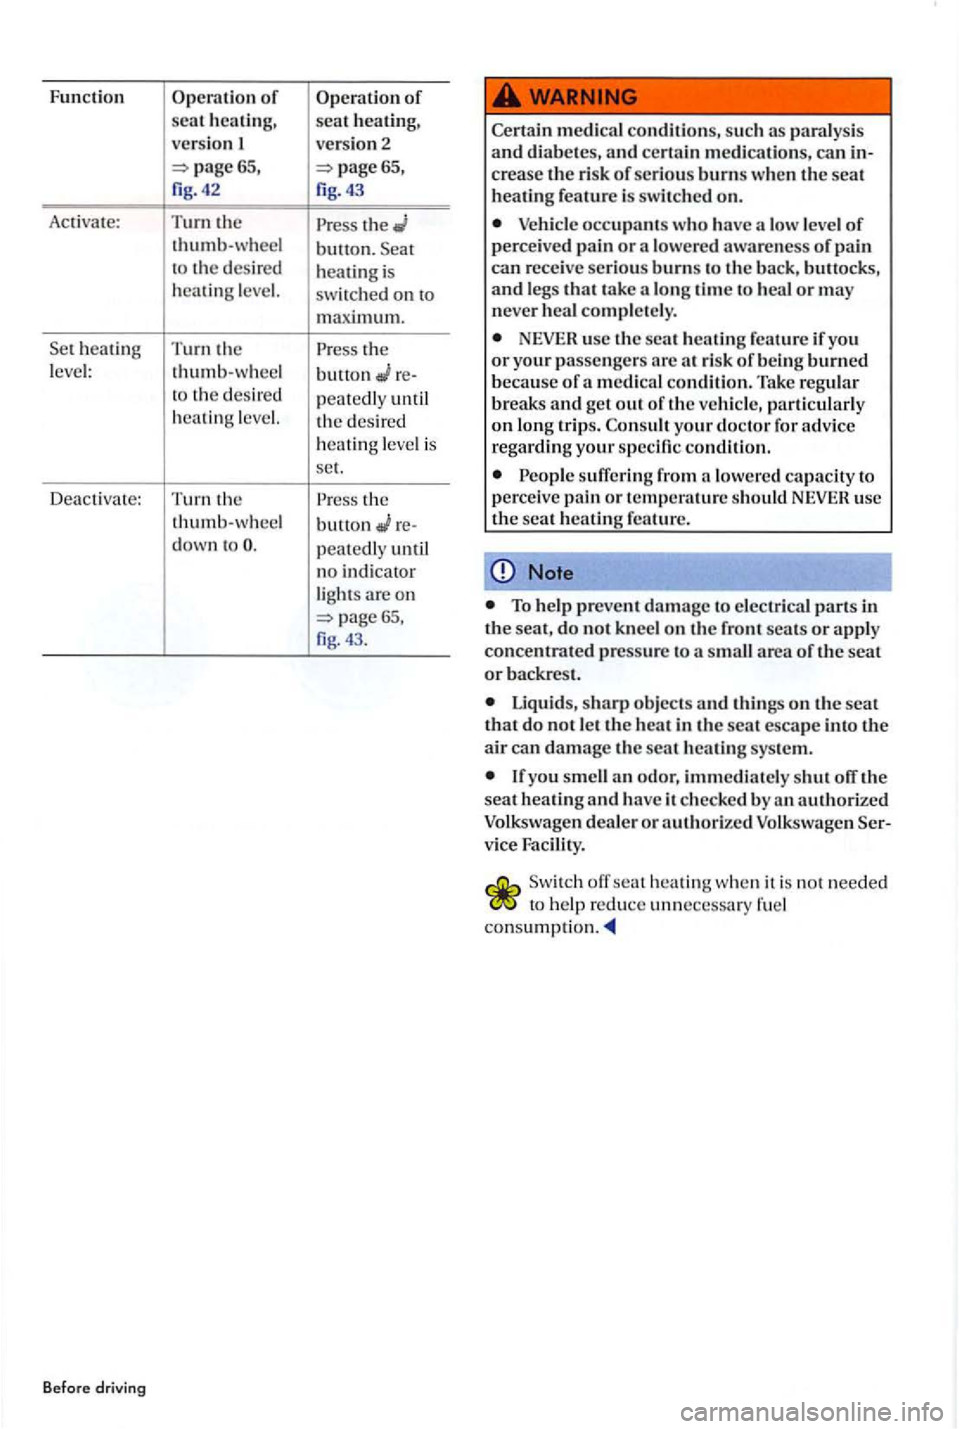
Function Operation of scat heating,
versio n
Activate:
Turn the
thumb-wheel
t o th e desired
h eat
ing level.
heatin g T urn the
l eve l: thumb- w heel to th e desired
heatin g level.
D eac tivate:
Turn the
thumb-w hee l
down t o
Befo re driving
Operation of sca t heating,
versio n 2
th e button. heating is
switc h ed on maximum.
the
button
re-
p
eat e dl y until
th e des ired
h
eatin g leve l is
set.
th e
button
rc-
pcat cdly until
n o indi cator
light s are o n
Certain medical conditions, su ch as pa ralysis and diabetes, and certai n medication s, can crease the risk of seriou s burns when the seat heating feature is swi tched on.
Vehicle occupants who have a low level of perceived pain or a lowered awareness of pain can rece ive seriou s burns to the back, buttocks, and leg s that take a long tim e to heal or may neve r heal completely.
NEVER usc the scat
To help preven t damage to elec trica l parts in the seat, do not kneel on the front scats or apply concentrated pressure to a small area or the seat or backrest.
Liquids, sharp objects and things on the scat that do not le t th e heat in the seat escape into the air can damage the seat heating system.
lfyou smell an odor, immediatel y shut off the seat heating and have it checked by an authorized
Volkswagen dealer or authorized Volkswagen vice Facility.
off