2007 SUBARU IMPREZA ignition
[x] Cancel search: ignitionPage 127 of 364

3-18Instruments and controls
.The warning light does not come
on when the ignition switch is
turned to the “ON ”position.
. The warning light comes on when
the ignition switch is turned tothe “ON ”position, but it does not
go out even when the vehicle
speed exceeds approximately 8
mph (12 km/h).
. The warning light comes on dur-
ing driving.
If any of these conditions occur,
have the ABS system repaired at
the first available opportunity by
your SUBARU dealer.
With a vehicle equipped with an EBD
system, the ABS warning light comes on
together with the brake system warning
light if the EBD system becomes faulty.
For further details of the EBD system fault
warning, refer to “Brake system warning
light ”.
NOTE
If the warning light behavior is as
described in the following, the ABS
system may be considered normal. . The warning light comes on right
after the engine is started but goes out
immediately, remaining off.. The warning light remains on after the engine has been started, but it goes
out when the vehicle speed reaches
approximately 8 mph (12 km/h)..
The warning light comes on during
driving, but it goes out immediately and
remains off.
When driving with an insufficient battery
voltage such as when the engine is jump
started, the ABS warning light may come
on. This is due to the low battery voltage
and does not indicate a malfunction.
When the battery becomes fully charged,
the light will go out. & Brake system warning light
WARNING
. Driving with the brake system
warning light on is dangerous.
This indicates your brake system
may not be working properly. If
the light remains on, we recom-
mend that you have the brakes
inspected by a SUBARU dealer
immediately.
. If at all in doubt about whether
the brakes are operating prop-
erly, do not drive the vehicle.
Have your vehicle towed to the
nearest SUBARU dealer for re- pair.
This light has the following three functions: ! Parking brake warning
The light comes on with the parking brake
applied while the ignition switch is in the“ ON ”position. It goes out when the
parking brake is fully released. ! Brake fluid level warning
This light comes on when the brake fluid
level has dropped to near the “MIN ”level
of the brake fluid reservoir with the ignition
switch in the “ON ”position and with the
parking brake fully released.
If the brake system warning light should
come on while driving (with the parking
brake fully released and with the ignition
switch positioned in “ON ”), it could be an
indication of leaking of brake fluid or worn
brake pads. If this occurs, immediately
stop the vehicle at the nearest safe place
and check the brake fluid level. If the fluid
level is below the “MIN ”mark in the
reservoir, do not drive the vehicle. Have
the vehicle towed to the nearest SUBARU
dealer for repair. ! Electronic Brake Force Distribution
(EBD) system warning
The brake system warning light also
Page 128 of 364

illuminates if a malfunction occurs in the
EBD system. In that event, it comes on
together with the ABS warning light.
The EBD system may be malfunctioning if
the brake system warning light and ABS
warning light illuminate simultaneously
during driving.
Even if the EBD system fails, the conven-
tional braking system will still function.
However, the rear wheels will be more
prone to locking when the brakes are
applied harder than usual and the vehi-cle’s motion may therefore become some-
what harder to control.
If the brake system warning light and ABS
warning light illuminate simultaneously,
take the following steps:
1. Stop the vehicle in the nearest safe,
flat place.
2. Shut down the engine, apply the
parking brake and then restart it.
3. Release the parking brake. If both
warning lights go out, the EBD system
may be faulty. Drive carefully to the
nearest SUBARU dealer and have the
system inspected.
4. If both warning lights come on again
and stay illuminated after the engine has
been restarted, shut down the engine
again, apply the parking brake, and check
the brake fluid level. 5. If the brake fluid level is not below the“
MIN ”mark, the EBD system may be
faulty. Drive carefully to the nearest
SUBARU dealer and have the systeminspected.
6. If the brake fluid level is below the “ MIN ”mark, DO NOT drive the vehicle.
Instead, have the vehicle towed to the
nearest SUBARU dealer for repair.
& Door open warning light
The door open warning light comes on if
any door or the rear gate is not fullyclosed.
Always make sure this light is out before
you start to drive. &All-Wheel Drive warn-
ing light (AWD AT vehicles –if equipped)
The All-Wheel Drive warning light comes
on when the ignition switch is turned to the“ON ”position and goes out after the
engine has started.
This light comes on when All-Wheel Drive
is disengaged and the drive mechanism is
switched to Front Wheel Drive for main-
tenance or similar purposes (Non-turbo vehicles). It flashes if the vehicle is driven with tires
of differing diameters fitted on the wheels
or with an excessively low air pressure in
any of the tires.
CAUTION
Continuing to drive with the AWD
warning light flashing can damage
the powertrain. If the AWD warning
light starts to flash, promptly park in
a safe place and check whether the
tires have differing diameters and
whether any of the tires has an
excessively low inflation pressure.
& Intercooler water spray
warning light (WRX-STI)
This light comes on when the water level
in the intercooler water spray tank falls to
the lower limit (approximately 0.4 US qt,
0.4 liter, 0.4 Imp qt). Instruments and controls
3-19
– CONTINUED –
Page 129 of 364
3-20Instruments and controls
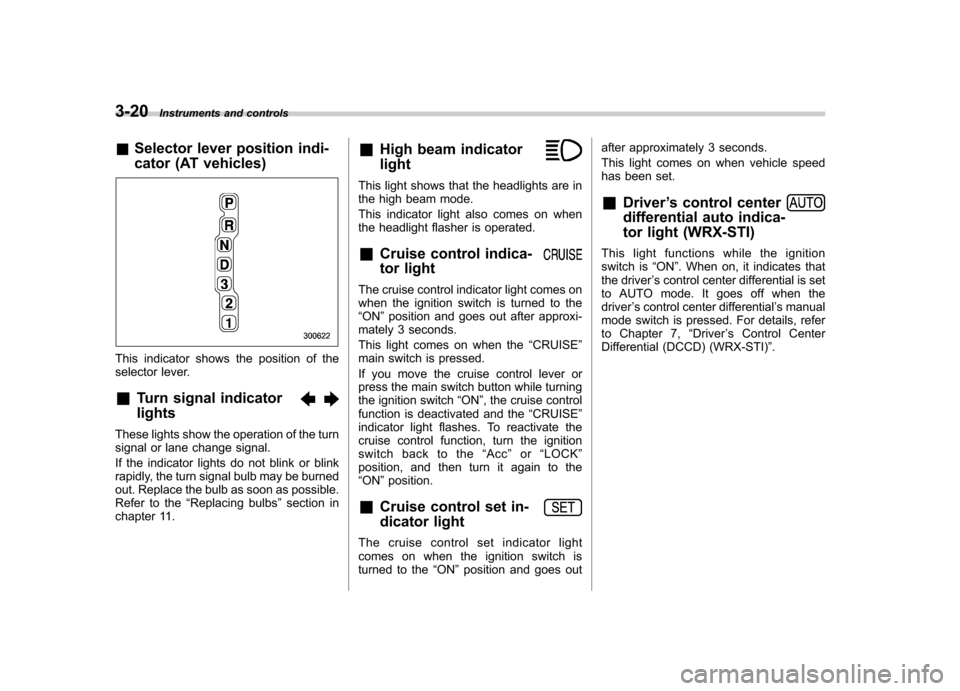
& Selector lever position indi-
cator (AT vehicles)
This indicator shows the position of the
selector lever. & Turn signal indicator lights
These lights show the operation of the turn
signal or lane change signal.
If the indicator lights do not blink or blink
rapidly, the turn signal bulb may be burned
out. Replace the bulb as soon as possible.
Refer to the “Replacing bulbs ”section in
chapter 11. &
High beam indicator light
This light shows that the headlights are in
the high beam mode.
This indicator light also comes on when
the headlight flasher is operated. &Cruise control indica-
tor light
The cruise control indicator light comes on
when the ignition switch is turned to the“ON ”position and goes out after approxi-
mately 3 seconds.
This light comes on when the “CRUISE ”
main switch is pressed.
If you move the cruise control lever or
press the main switch button while turning
the ignition switch “ON ”, the cruise control
function is deactivated and the “CRUISE ”
indicator light flashes. To reactivate the
cruise control function, turn the ignition
switch back to the “Acc ”or “LOCK ”
position, and then turn it again to the“ ON ”position.
& Cruise control set in-
dicator light
The cruise control set indicator light
comes on when the ignition switch is
turned to the “ON ”position and goes out after approximately 3 seconds.
This light comes on when vehicle speed
has been set.
& Driver ’s control center
differential auto indica-
tor light (WRX-STI)
This light functions while the ignition
switch is “ON ”. When on, it indicates that
the driver ’s control center differential is set
to AUTO mode. It goes off when thedriver ’s control center differential ’s manual
mode switch is pressed. For details, refer
to Chapter 7, “Driver ’s Control Center
Differential (DCCD) (WRX-STI) ”.
Page 131 of 364
3-22Instruments and controls
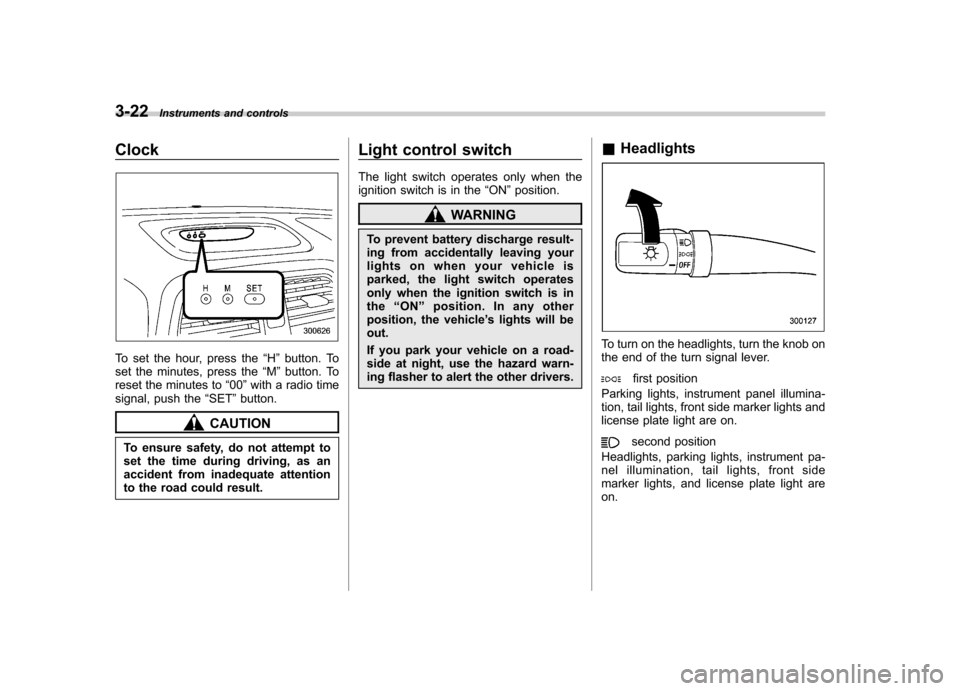
Clock
To set the hour, press the “H ” button. To
set the minutes, press the “M ”button. To
reset the minutes to “00 ”with a radio time
signal, push the “SET ”button.
CAUTION
To ensure safety, do not attempt to
set the time during driving, as an
accident from inadequate attention
to the road could result. Light control switch
The light switch operates only when the
ignition switch is in the
“ON ”position.
WARNING
To prevent battery discharge result-
ing from accidentally leaving your
lights on when your vehicle is
parked, the light switch operates
only when the ignition switch is inthe “ON ”position. In any other
position, the vehicle ’s lights will be
out.
If you park your vehicle on a road-
side at night, use the hazard warn-
ing flasher to alert the other drivers. &
Headlights
To turn on the headlights, turn the knob on
the end of the turn signal lever.
first position
Parking lights, instrument panel illumina-
tion, tail lights, front side marker lights and
license plate light are on.
second position
Headlights, parking lights, instrument pa-
nel illumination, tail lights, front side
marker lights, and license plate light areon.
Page 134 of 364
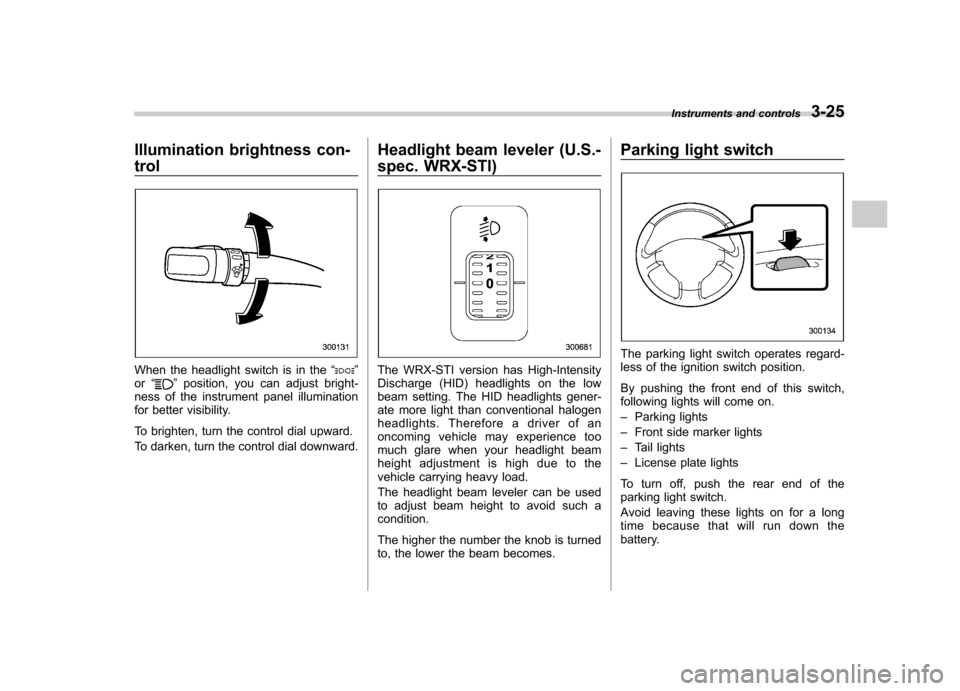
Illumination brightness con- trol
When the headlight switch is in the“”
or “”position, you can adjust bright-
ness of the instrument panel illumination
for better visibility.
To brighten, turn the control dial upward.
To darken, turn the control dial downward. Headlight beam leveler (U.S.-
spec. WRX-STI)The WRX-STI version has High-Intensity
Discharge (HID) headlights on the low
beam setting. The HID headlights gener-
ate more light than conventional halogen
headlights. Therefore a driver of an
oncoming vehicle may experience too
much glare when your headlight beam
height adjustment is high due to the
vehicle carrying heavy load.
The headlight beam leveler can be used
to adjust beam height to avoid such acondition.
The higher the number the knob is turned
to, the lower the beam becomes.Parking light switch
The parking light switch operates regard-
less of the ignition switch position.
By pushing the front end of this switch,
following lights will come on. –
Parking lights
– Front side marker lights
– Tail lights
– License plate lights
To turn off, push the rear end of the
parking light switch.
Avoid leaving these lights on for a long
time because that will run down the
battery. Instruments and controls
3-25
Page 135 of 364
3-26Instruments and controls
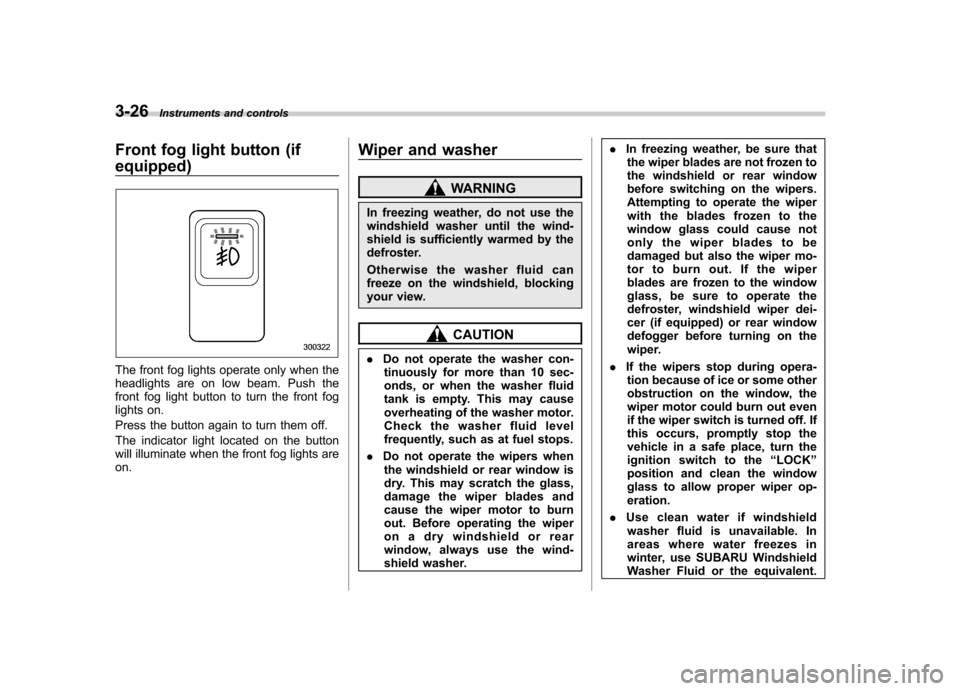
Front fog light button (if equipped)
The front fog lights operate only when the
headlights are on low beam. Push the
front fog light button to turn the front fog
lights on.
Press the button again to turn them off.
The indicator light located on the button
will illuminate when the front fog lights areon. Wiper and washer
WARNING
In freezing weather, do not use the
windshield washer until the wind-
shield is sufficiently warmed by the
defroster.
Otherwise the washer fluid can
freeze on the windshield, blocking
your view.
CAUTION
. Do not operate the washer con-
tinuously for more than 10 sec-
onds, or when the washer fluid
tank is empty. This may cause
overheating of the washer motor.
Check the washer fluid level
frequently, such as at fuel stops.
. Do not operate the wipers when
the windshield or rear window is
dry. This may scratch the glass,
damage the wiper blades and
cause the wiper motor to burn
out. Before operating the wiper
on a dry windshield or rear
window, always use the wind-
shield washer. .
In freezing weather, be sure that
the wiper blades are not frozen to
the windshield or rear window
before switching on the wipers.
Attempting to operate the wiper
with the blades frozen to the
window glass could cause not
only the wiper blades to be
damaged but also the wiper mo-
tor to burn out. If the wiper
blades are frozen to the window
glass, be sure to operate the
defroster, windshield wiper dei-
cer (if equipped) or rear window
defogger before turning on the
wiper.
. If the wipers stop during opera-
tion because of ice or some other
obstruction on the window, the
wiper motor could burn out even
if the wiper switch is turned off. If
this occurs, promptly stop the
vehicle in a safe place, turn the
ignition switch to the “LOCK ”
position and clean the window
glass to allow proper wiper op-eration.
. Use clean water if windshield
washer fluid is unavailable. In
areas where water freezes in
winter, use SUBARU Windshield
Washer Fluid or the equivalent.
Page 136 of 364
(See the“Windshield washer
fluid ”section in chapter 11.)
Also, when driving the vehicle
when there are freezing tempera-
tures, use non-freezing type wi-
per blades.
. Do not clean the wiper blades
with gasoline or a solvent, such
as paint thinner or benzene. This
will cause deterioration of the
wiper blades.
NOTE . The wiper operates only when the
ignition switch is in the “ON ”or “Acc ”
position. . Clean your wiper blades and win-
dow glass periodically with a washer
solution to prevent streaking, and to
remove accumulations of road salt or
road film. Keep the washer button
depressed at least for 1 second so that
washer solution will be sprinkled all
over the windshield or rear window.. Grease, wax, insects or other mate-
rial on the windshield or the wiper
blade results in jerky wiper operation
and streaking on the glass. If you
cannot remove those streaks after
operating the washer or if the wiper
operation is jerky, clean the outer sur- face of the windshield or rear window
and the wiper blades using a sponge or
soft cloth with a neutral detergent or
mild-abrasive cleaner. After cleaning,
rinse the window glass and wiper
blades with clean water. The glass is
clean if no beads form on the glass
when you rinse with water..
If you cannot eliminate the streaking
even after following this procedure,
replace the wiper blades with new
ones. Refer to the “Replacement of
wiper blades ”section (chapter 11) for
replacement instructions. &
Windshield wiper and washer switches
! Windshield wipers
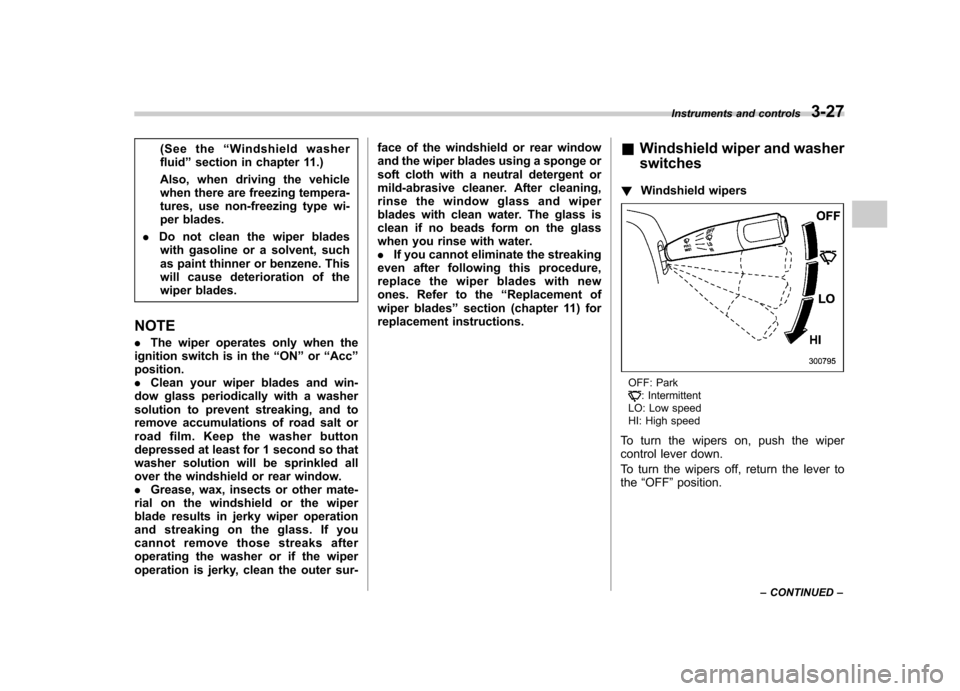
OFF: Park: Intermittent
LO: Low speed
HI: High speed
To turn the wipers on, push the wiper
control lever down.
To turn the wipers off, return the lever to the “OFF ”position.
Instruments and controls
3-27
– CONTINUED –
Page 138 of 364
To turn the wiper off, return the knob to the “OFF ”position.
! Washer
To wash the rear window while the rear
wiper is operating, turn the knob clockwise
to the “
”position. The washer fluid
sprays until you release the knob.
To wash the rear window when the rear
wiper is not in use, turn the knob counter-
clockwise to the “
”position. The washer
fluid sprays and the wiper operates until
you release the knob. Rear window defogger but- ton
The rear window defogger operates only
when the ignition switch is in the
“ON ”
position.
The rear window defogger button is
located on the climate control panel.
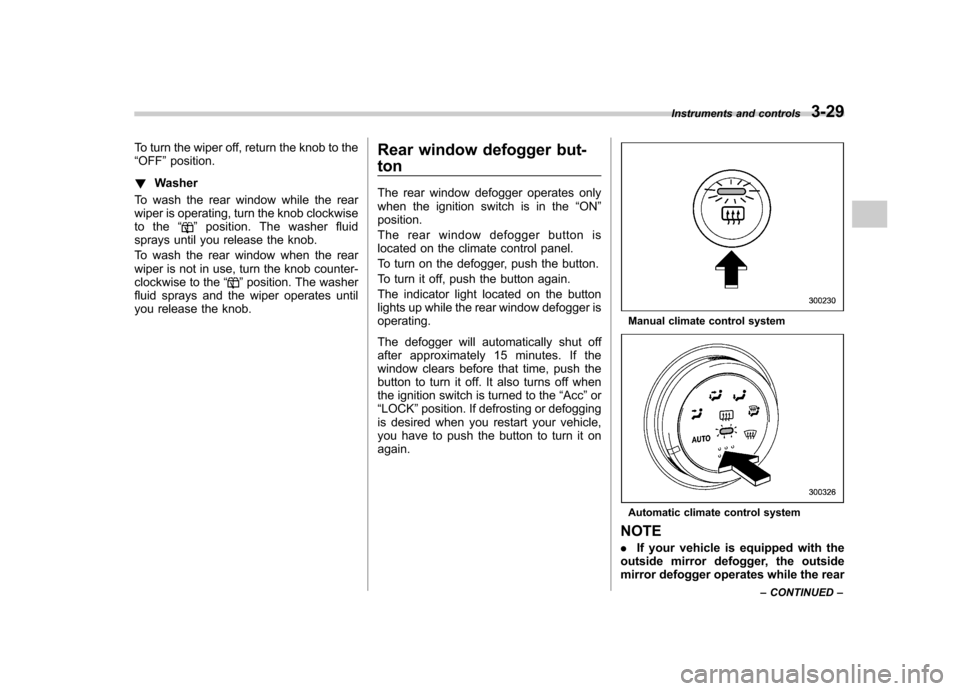
To turn on the defogger, push the button.
To turn it off, push the button again.
The indicator light located on the button
lights up while the rear window defogger isoperating.
The defogger will automatically shut off
after approximately 15 minutes. If the
window clears before that time, push the
button to turn it off. It also turns off when
the ignition switch is turned to the “Acc ”or
“ LOCK ”position. If defrosting or defogging
is desired when you restart your vehicle,
you have to push the button to turn it onagain.
Manual climate control system
Automatic climate control system
NOTE . If your vehicle is equipped with the
outside mirror defogger, the outside
mirror defogger operates while the rear Instruments and controls
3-29
– CONTINUED –