2007 SUBARU IMPREZA roof
[x] Cancel search: roofPage 98 of 364

tically lock. !To arm the system using power
door locking switches
1. Close all windows.
2. Remove the key from the ignition switch.
3. Open the doors and get out of the vehicle.
4. Make sure that the engine hood is locked.
5. Close the doors (and the rear gate on
the Wagon) but leave only the driver ’s
door or the front passenger ’s door open.
6. Push the front side ( “LOCK ”side) of
the power door locking switch to set the
door locks.
7. Close the door. An electronic chirp will sound once, the turn signal lights will flash
once and the indicator lights will start
flashing rapidly. After rapid flashing for 30
seconds (standby time), the indicator
lights will then flash slowly (twice approxi-
mately every 2 seconds), indicating that
the system has been armed for surveil-lance.
NOTE . The system can be armed even if the
engine hood, the windows and/or
moonroof are opened. Always make
sure that they are fully closed before
arming the system.. The 30-second standby time can be
eliminated if you prefer. Have it per-
formed by your SUBARU dealer.. The system is in the standby mode
for a 30-second period after locking the
doors with the remote transmitter. The
security indicator light will flash at
short intervals during this period.. If any of the following actions are
done during the standby period, the
system will not switch to the surveil-
lance state.
.Doors are unlocked using the
remote transmitter. . Any door (including the rear gate
of a Wagon or the trunk of a Sedan)
is opened. .
Ignition switch is turned to the
“ ON ”position.
. The engine does not start even
when the ignition switch is turned tothe “START ”position once the alarm
system has been triggered.
& Disarming the system
Briefly press the “
”button (for less than
2 seconds) on the remote transmitter. The
driver ’s door will unlock, an electronic
chirp will sound twice, the turn signal
lights will flash twice and the indicator
light will go off.
NOTE (Models with immobilizer)
If your vehicle is equipped with an
immobilizer, the immobilizer ’s function
will cause the security indicator light to
flash (approximately once every 3
seconds) even after the system isdisarmed. NOTE
The system can be disarmed by the
following method, too. . Cycle the ignition switch from the
“ LOCK ”to the “ON ”position three
times within 5 seconds. Keys and doors
2-15
– CONTINUED –
Page 107 of 364
2-24Keys and doors
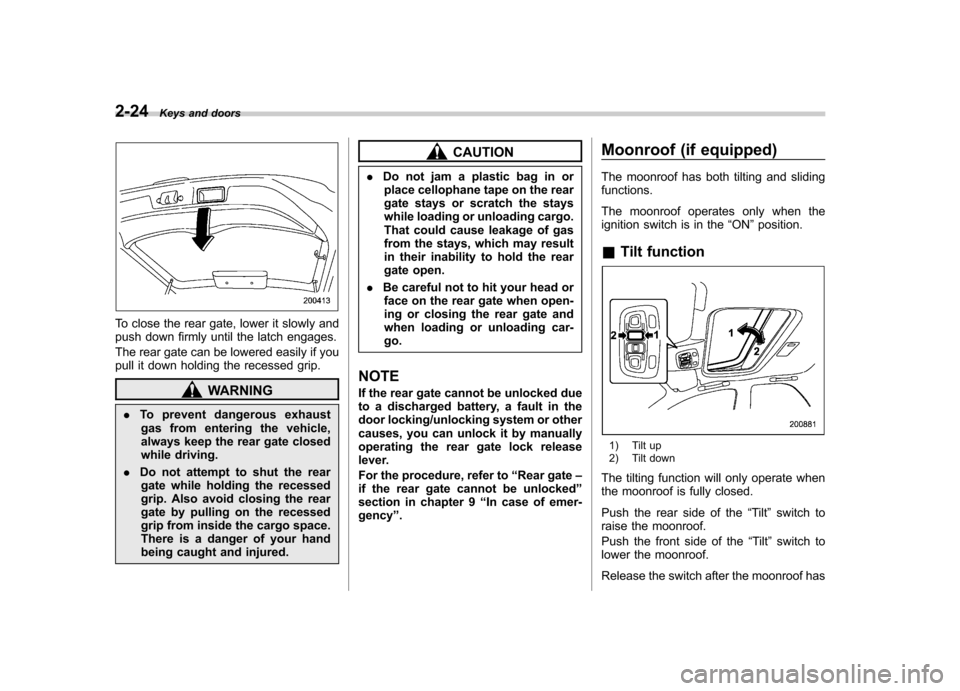
To close the rear gate, lower it slowly and
push down firmly until the latch engages.
The rear gate can be lowered easily if you
pull it down holding the recessed grip.
WARNING
. To prevent dangerous exhaust
gas from entering the vehicle,
always keep the rear gate closed
while driving.
. Do not attempt to shut the rear
gate while holding the recessed
grip. Also avoid closing the rear
gate by pulling on the recessed
grip from inside the cargo space.
There is a danger of your hand
being caught and injured.
CAUTION
. Do not jam a plastic bag in or
place cellophane tape on the rear
gate stays or scratch the stays
while loading or unloading cargo.
That could cause leakage of gas
from the stays, which may result
in their inability to hold the rear
gate open.
. Be careful not to hit your head or
face on the rear gate when open-
ing or closing the rear gate and
when loading or unloading car-go.
NOTE
If the rear gate cannot be unlocked due
to a discharged battery, a fault in the
door locking/unlocking system or other
causes, you can unlock it by manually
operating the rear gate lock release
lever.
For the procedure, refer to “Rear gate –
if the rear gate cannot be unlocked ”
section in chapter 9 “In case of emer-
gency ”. Moonroof (if equipped)
The moonroof has both tilting and sliding functions.
The moonroof operates only when the
ignition switch is in the
“ON ”position.
& Tilt function
1) Tilt up
2) Tilt down
The tilting function will only operate when
the moonroof is fully closed.
Push the rear side of the “Tilt ”switch to
raise the moonroof.
Push the front side of the “Tilt ”switch to
lower the moonroof.
Release the switch after the moonroof has
Page 108 of 364
been raised or has been lowered com-
pletely. Pushing the switch continuously
may cause damage to the moonroof. &Sliding function
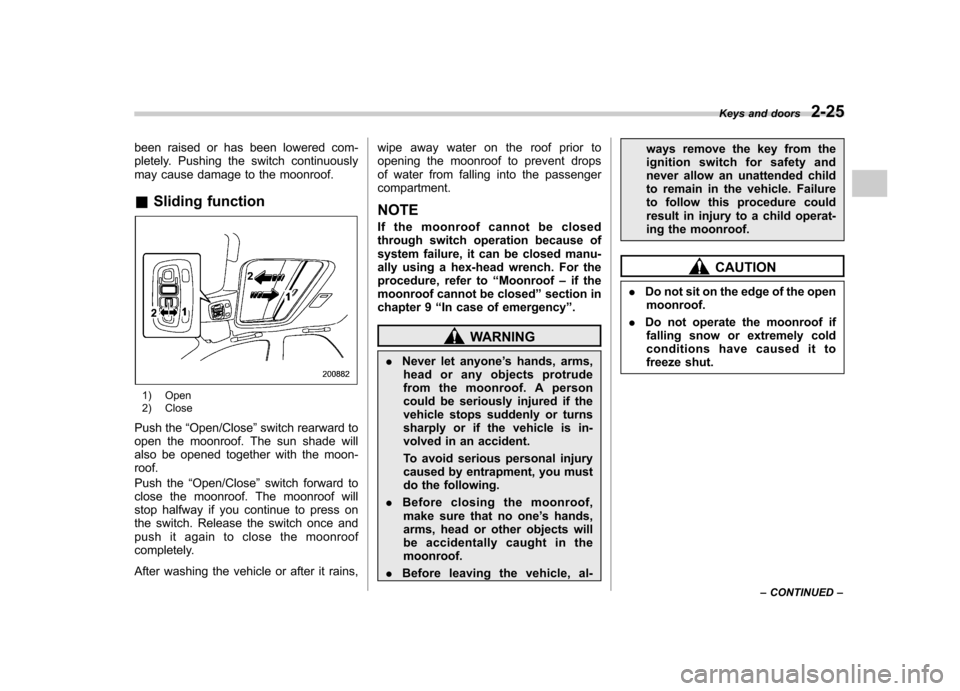
1) Open
2) Close
Push the “Open/Close ”switch rearward to
open the moonroof. The sun shade will
also be opened together with the moon-roof.
Push the “Open/Close ”switch forward to
close the moonroof. The moonroof will
stop halfway if you continue to press on
the switch. Release the switch once and
push it again to close the moonroof
completely.
After washing the vehicle or after it rains, wipe away water on the roof prior to
opening the moonroof to prevent drops
of water from falling into the passengercompartment.
NOTE
If the moonroof cannot be closed
through switch operation because of
system failure, it can be closed manu-
ally using a hex-head wrench. For the
procedure, refer to “Moonroof –if the
moonroof cannot be closed ”section in
chapter 9 “In case of emergency ”.
WARNING
. Never let anyone ’s hands, arms,
head or any objects protrude
from the moonroof. A person
could be seriously injured if the
vehicle stops suddenly or turns
sharply or if the vehicle is in-
volved in an accident.
To avoid serious personal injury
caused by entrapment, you must
do the following.
. Before closing the moonroof,
make sure that no one ’s hands,
arms, head or other objects will
be accidentally caught in themoonroof.
. Before leaving the vehicle, al- ways remove the key from the
ignition switch for safety and
never allow an unattended child
to remain in the vehicle. Failure
to follow this procedure could
result in injury to a child operat-
ing the moonroof.
CAUTION
. Do not sit on the edge of the open
moonroof.
. Do not operate the moonroof if
falling snow or extremely cold
conditions have caused it to
freeze shut. Keys and doors
2-25
– CONTINUED –
Page 109 of 364
2-26Keys and doors
& Sun shade
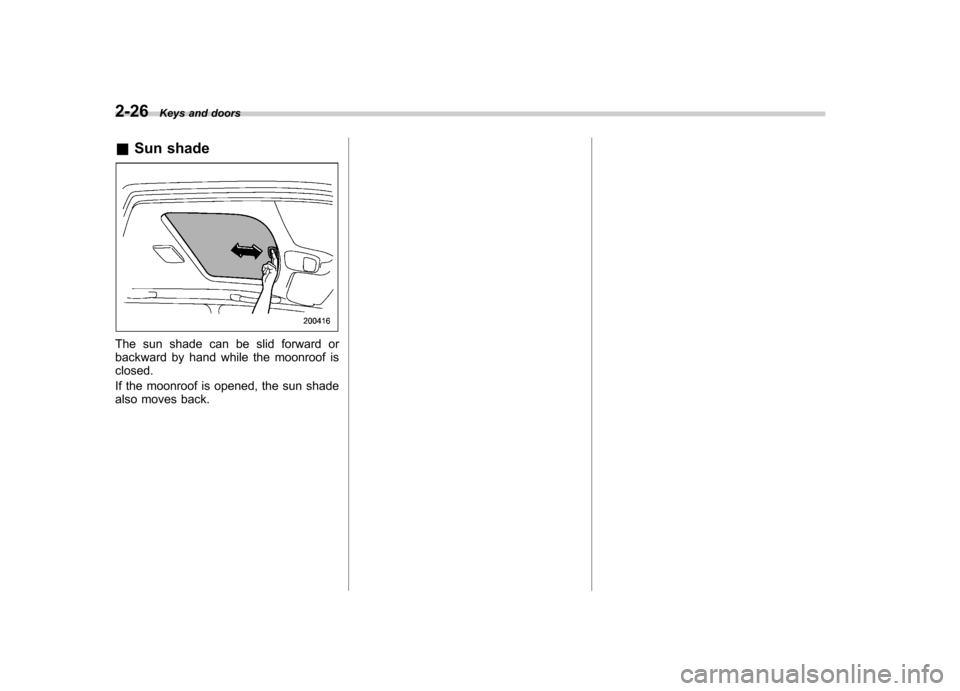
The sun shade can be slid forward or
backward by hand while the moonroof isclosed.
If the moonroof is opened, the sun shade
also moves back.
Page 112 of 364
Ignition switch
WARNING
. Never turn the ignition switch to
“ LOCK ”while the vehicle is
being driven or towed because
that will lock the steering wheel,
preventing steering control. And
when the engine is turned off, it
takes a much greater effort than
usual to steer.
. Before leaving the vehicle, al-
ways remove the key from the
ignition switch for safety and
never allow an unattended child
to remain in the vehicle. Failure
to follow this procedure could
result in injury to a child or
others. Children could operate
the power windows, the moon-
roof or other controls or even
make the vehicle move.
CAUTION
Do not attach a large key holder or
key case to either key. If it banged
against your knees or hands while
you are driving, it could turn the
ignition switch from the “ON ”posi- tion to the
“Acc ”or “LOCK ”posi-
tion, thereby stopping the engine.
Also, if the key is attached to a
keyholder or to a large bunch of
other keys, centrifugal force may act
on it as the vehicle moves, resulting
in unwanted turning of the ignitionswitch.
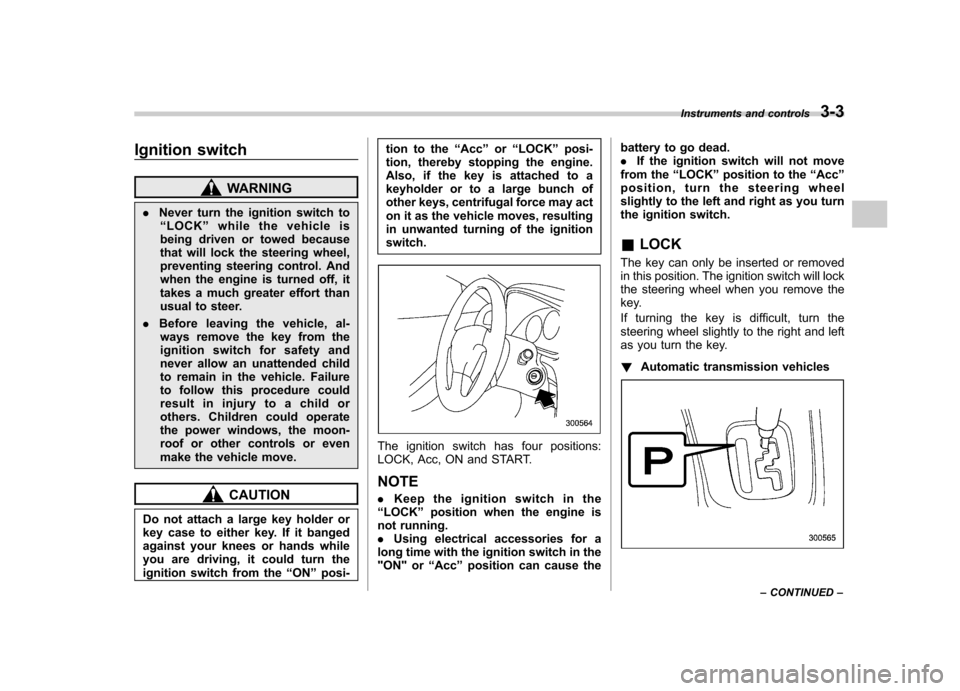
The ignition switch has four positions:
LOCK, Acc, ON and START. NOTE . Keep the ignition switch in the
“ LOCK ”position when the engine is
not running. . Using electrical accessories for a
long time with the ignition switch in the
"ON" or “Acc ”position can cause the battery to go dead..
If the ignition switch will not move
from the “LOCK ”position to the “Acc ”
position, turn the steering wheel
slightly to the left and right as you turn
the ignition switch. & LOCK
The key can only be inserted or removed
in this position. The ignition switch will lock
the steering wheel when you remove the
key.
If turning the key is difficult, turn the
steering wheel slightly to the right and left
as you turn the key. ! Automatic transmission vehicles
Instruments and controls 3-3
– CONTINUED –
Page 186 of 364
6-2Interior equipment
Interior lights
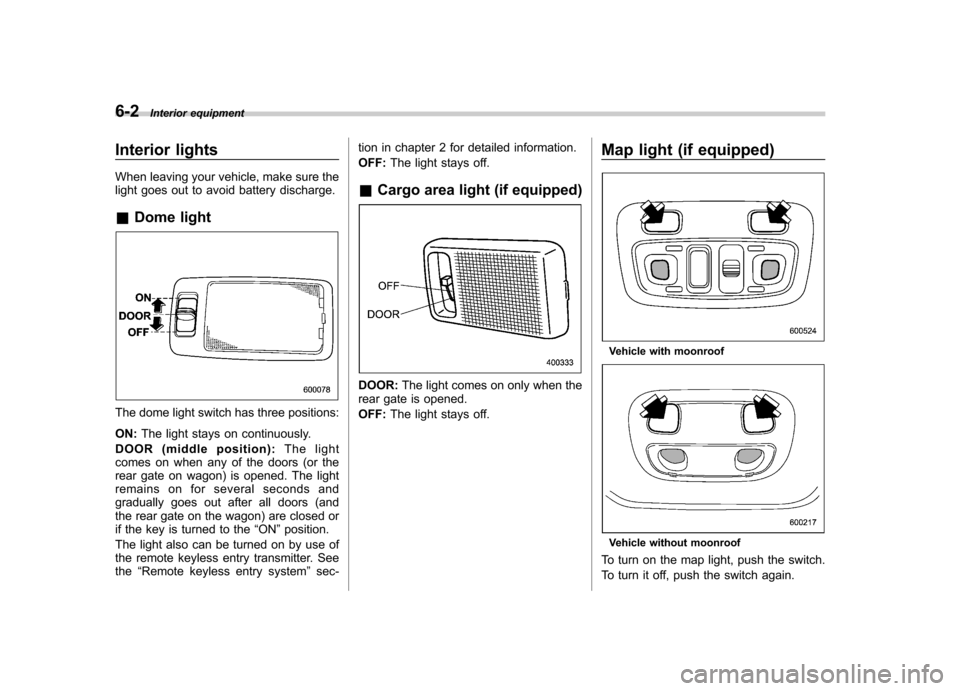
When leaving your vehicle, make sure the
light goes out to avoid battery discharge. &Dome light
The dome light switch has three positions: ON: The light stays on continuously.
DOOR (middle position): The light
comes on when any of the doors (or the
rear gate on wagon) is opened. The light
remains on for several seconds and
gradually goes out after all doors (and
the rear gate on the wagon) are closed or
if the key is turned to the “ON ”position.
The light also can be turned on by use of
the remote keyless entry transmitter. Seethe “Remote keyless entry system ”sec- tion in chapter 2 for detailed information. OFF:
The light stays off.
& Cargo area light (if equipped)
DOOR: The light comes on only when the
rear gate is opened. OFF: The light stays off. Map light (if equipped)
Vehicle with moonroof
Vehicle without moonroof
To turn on the map light, push the switch.
To turn it off, push the switch again.
Page 227 of 364

New vehicle break-in driving–the first
1,000 miles (1,600 km) ..................................... 8-2
Fuel economy hints ............................................ 8-2
Engine exhaust gas (Carbon monoxide) ........... 8-2
Catalytic converter .............................................. 8-3
Periodic inspections ........................................... 8-4
Driving in foreign countries ............................... 8-4
Driving tips for AWD vehicles ............................ 8-5
Off road driving ................................................... 8-6
All AWD models except OUTBACK SPORT .......... 8-6
OUTBACK SPORT ............................................... 8-6
Winter driving ...................................................... 8-8
Operation during cold weather ............................. 8-8
Driving on snowy and icy roads .......................... 8-9
Corrosion protection .......................................... 8-10
Snow tires ......................................................... 8-10
Tire chains ......................................................... 8-11 Rocking the vehicle
........................................... 8-12
Loading your vehicle ......................................... 8-12
Vehicle capacity weight ...................................... 8-13
GVWR and GAWR (Gross Vehicle Weight Rating and Gross Axle Weight Rating) ........................ 8-14
Roof rail and crossbar (if equipped) ................... 8-14
Trailer hitch (if equipped) .................................. 8-17
Connecting a trailer ........................................... 8-18
When you do not tow a trailer .. .......................... 8-19
Trailer towing ..................................................... 8-20
Warranties and maintenance .............................. 8-20
Maximum load limits .......................................... 8-20
Trailer hitches .................................................... 8-23
Connecting a trailer ........................................... 8-24
Trailer towing tips .............................................. 8-25
STI front lip spoiler (if equipped) ...................... 8-28Driving tips
8
Page 233 of 364

with your fingers and thumbs on the
outside of the rim. .If driving through water, such as when
crossing shallow streams, first check the
depth of the water and the bottom of the
stream bed for firmness and ensure that
the bed of the stream is flat. Drive slowly
and completely through the stream. The
water should be shallow enough that it
does not reach the vehicle ’s undercar-
riage. Water entering the engine air intake
or the exhaust pipe or water splashing
onto electrical parts may damage your
vehicle and may cause it to stall. Never
attempt to drive through rushing water;
regardless of its depth, it can wash away
the ground from under your tires, resulting
in possible loss of traction and even
vehicle rollover. . Always check your brakes for effec-
tiveness immediately after driving in sand,
mud or water. Do this by driving slowly
and stepping on the brake pedal. Repeat
that process several times to dry out the
brake discs and brake pads. . Do not drive or park over or near
flammable materials such as dry grass or
fallen leaves, as they may burn easily. The
exhaust system is very hot while the
engine is running and right after the
engine stops. This could create a firehazard. .
After driving through tall grass, mud,
rocks, sand, rivers, etc., check that there
is no grass, bush, paper, rags, stones,
sand, etc. adhering to or trapped on the
underbody. Clear off any such matter from
the underbody. If the vehicle is used with
these materials trapped or adhering to the
underbody, a mechanical breakdown or
fire could occur. . Secure all cargo carried inside the
vehicle and make certain that it is not
piled higher than the seatbacks. During
sudden stops or jolts, unsecured cargo
could be thrown around in the vehicle and
cause injury. Do not pile heavy loads on
the roof. Those loads raise the vehicle ’s
center of gravity and make it more prone
to tip over. . If you must rock the vehicle to free it
from sand or mud, depress the accelerator
pedal slightly and move the selector lever
back and forth between “D ” and “R ”
repeatedly. Do not race the engine. For
the best possible traction, avoid spinning
the wheels when trying to free the vehicle.
When the road surface is extremely
slippery, you can obtain better traction by
starting the vehicle with the transmission
in 2nd than 1st (both for MT and AT). . Never equip your vehicle with tires
larger than those specified in this manual.. Frequent driving of an AWD vehicle under hard-driving conditions such as
rough roads or off roads will necessitate
more frequent replacement of engine oil,
brake fluid and transmission oil than that
specified in the maintenance schedule
described in the
“Warranty and Mainte-
nance Booklet ”.
Remember that damage done to your
Subaru while operating it off-road and
not using common sense precautions
such as those listed above is not eligible
for warranty coverage. . Wash the vehicle ’s underbody after off-
road driving. Suspension components are
particularly prone to dirt buildup, so they
need to be washed thoroughly. Driving tips
8-7