Page 288 of 473
287 Operation
Driving instructions
Standing waterPassenger compartment
Driving abroad
Abroad, there is an extensive
Mercedes-Benz service network at your
disposal. If you plan to drive into areas
which are not listed in the index of your
Mercedes-Benz Center directory, you
should request pertinent information from
an authorized Mercedes-Benz Center.Control and operation of radio
transmitter
COMAND*, radio, and telephone*
!Do not drive through flooded areas or water
of unknown depth. Before driving through water,
determine its depth. Never accelerate before
driving into water. The bow wave could force wa-
ter into the engine and auxiliary equipment, thus
damaging them.
If you must drive through standing water, drive
slowly to prevent water from entering the pas-
senger compartment or the engine compart-
ment. Water in these areas could cause damage
to electrical components or wiring of the engine
or transmission, or could result in water being in-
gested by the engine through the air intake,
causing severe internal engine damage. Any
such damage is not covered by the
Mercedes-Benz Limited Warranty.
Warning!G
Always fasten items being carried as
securely as possible.
In an accident, during hard braking or sud-
den maneuvers, loose items will be thrown
around inside the vehicle, and cause injury
to vehicle occupants unless the items are
securely fastened in the vehicle.
The trunk is the preferred place to carry
objects.
Warning!G
Please do not forget that your primary re-
sponsibility is to drive the vehicle safely.
Only operate the COMAND*, radio or tele-
phone
1 if road, traffic and weather condi-
tions permit.
Bear in mind that at a speed of just 30 mph
(approximately 50 km/h), your vehicle is
covering a distance of 44 feet
(approximately 14 m) every second.
1Observe all legal requirements.
Page 301 of 473
300 Operation
Engine compartment
�Unscrew filler cap1 from filler neck.
�Add engine oil as required.
Be careful not to overfill with oil.
Be careful not to spill any oil when adding.
Avoid environmental damage caused by oil
entering the ground or water.
�Screw filler cap1 back on filler neck.
For more information on engine oil, see
“Technical data” (
�page 443) and
(
�page 445).
Transmission fluid level*
Vehicles with automatic transmission*:
The transmission fluid level does not need
to be checked. If you notice transmission
fluid loss or gear shifting malfunctions,
have an authorized Mercedes-Benz Center
check the transmission.Coolant level
The engine coolant is a mixture of water
and anticorrosion/antifreeze. To check
the coolant level, the vehicle must be
parked on level ground and the engine
must be cool.
!Excess oil must be siphoned or drained off.
It could cause damage to the engine and
emission control system not covered by the
Mercedes-Benz Limited Warranty.Warning!G
In order to avoid any potentially serious
burns:
�Use extreme caution when opening the
hood if there are any signs of steam or
coolant leaking from the cooling system,
or if the coolant temperature gauge indi-
cates that the coolant is overheated.
�Do not remove pressure cap on coolant
reservoir if coolant temperature is
above 158°F (70°C). Allow engine to
cool down before removing cap. The
coolant reservoir contains hot fluid and
is under pressure.
Page 328 of 473
327 Operation
Tires and wheels
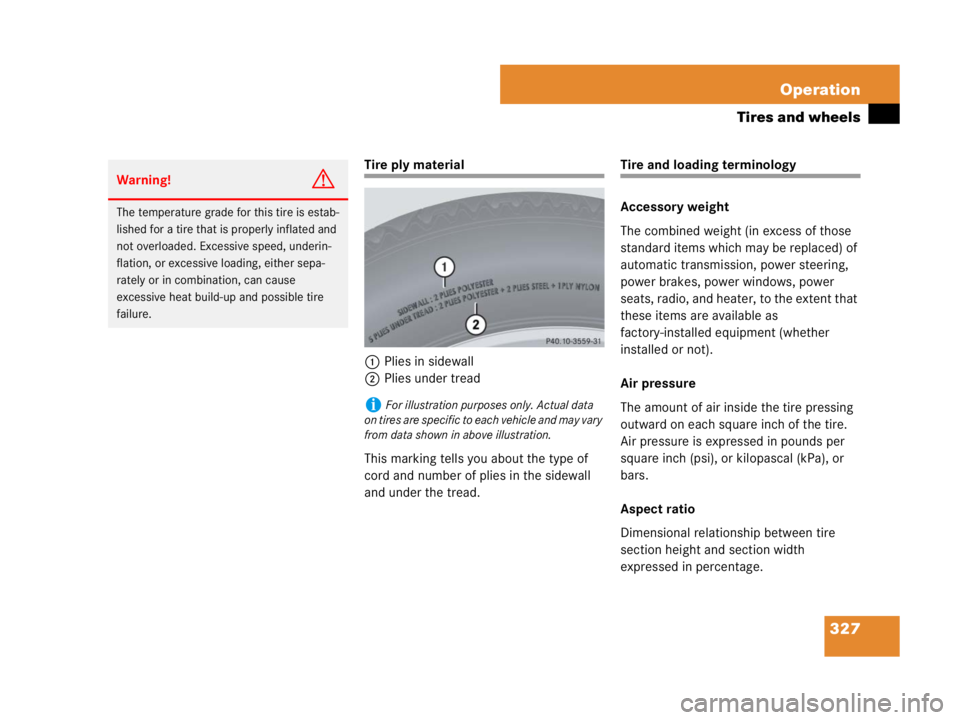
Tire ply material
1Plies in sidewall
2Plies under tread
This marking tells you about the type of
cord and number of plies in the sidewall
and under the tread.Tire and loading terminology
Accessory weight
The combined weight (in excess of those
standard items which may be replaced) of
automatic transmission, power steering,
power brakes, power windows, power
seats, radio, and heater, to the extent that
these items are available as
factory-installed equipment (whether
installed or not).
Air pressure
The amount of air inside the tire pressing
outward on each square inch of the tire.
Air pressure is expressed in pounds per
square inch (psi), or kilopascal (kPa), or
bars.
Aspect ratio
Dimensional relationship between tire
section height and section width
expressed in percentage.
Warning!G
The temperature grade for this tire is estab-
lished for a tire that is properly inflated and
not overloaded. Excessive speed, underin-
flation, or excessive loading, either sepa-
rately or in combination, can cause
excessive heat build-up and possible tire
failure.
iFor illustration purposes only. Actual data
on tires are specific to each vehicle and may vary
from data shown in above illustration.
Page 347 of 473
346 Practical hints
What to do if …
Lamps in instrument clusterGeneral information:
If any of the following lamps in the instru-
ment cluster fails to come on during thebulb self-check when switching on ignition
(
�page 37), have the respective bulb
checked and replaced if necessary.
ProblemPossible cause/consequenceSuggested solution
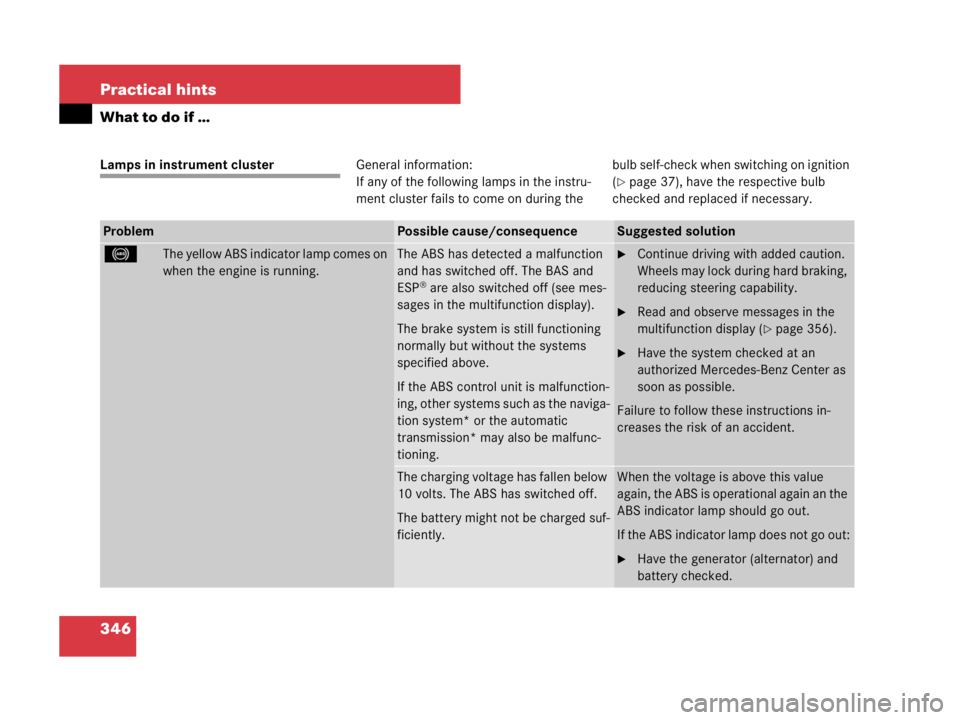
-The yellow ABS indicator lamp comes on
when the engine is running.The ABS has detected a malfunction
and has switched off. The BAS and
ESP
® are also switched off (see mes-
sages in the multifunction display).
The brake system is still functioning
normally but without the systems
specified above.
If the ABS control unit is malfunction-
ing, other systems such as the naviga-
tion system* or the automatic
transmission* may also be malfunc-
tioning.
�Continue driving with added caution.
Wheels may lock during hard braking,
reducing steering capability.
�Read and observe messages in the
multifunction display (
�page 356).
�Have the system checked at an
authorized Mercedes-Benz Center as
soon as possible.
Failure to follow these instructions in-
creases the risk of an accident.
The charging voltage has fallen below
10 volts. The ABS has switched off.
The battery might not be charged suf-
ficiently.When the voltage is above this value
again, the ABS is operational again an the
ABS indicator lamp should go out.
If the ABS indicator lamp does not go out:
�Have the generator (alternator) and
battery checked.
Page 361 of 473
360 Practical hints
What to do if …
Display messagePossible cause/consequencePossible solution
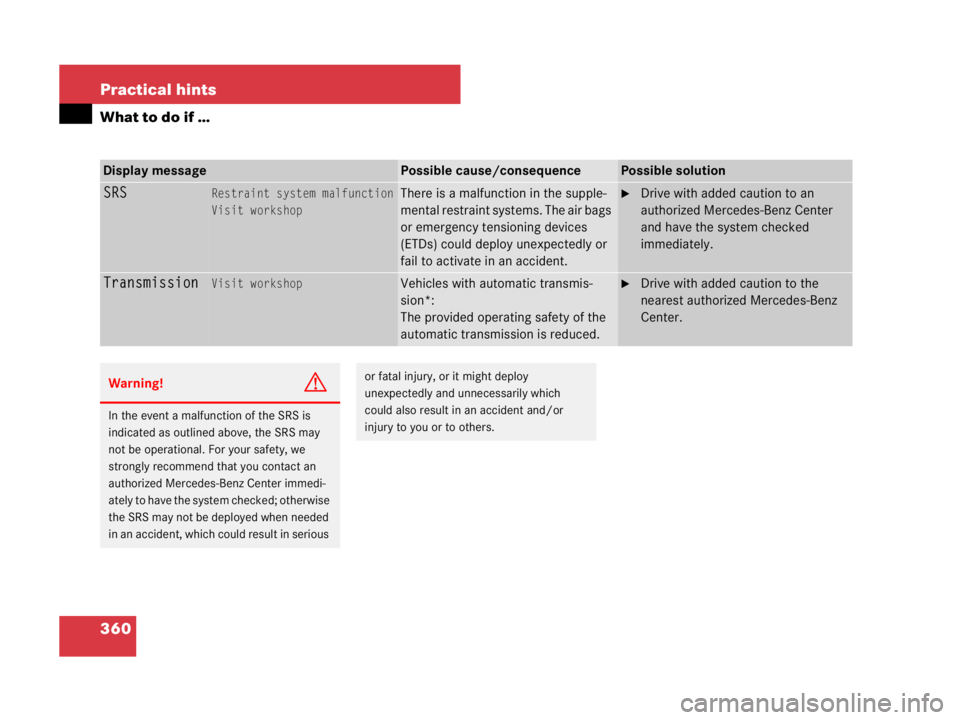
SRSRestraint system malfunction
Visit workshopThere is a malfunction in the supple-
mental restraint systems. The air bags
or emergency tensioning devices
(ETDs) could deploy unexpectedly or
fail to activate in an accident.�Drive with added caution to an
authorized Mercedes-Benz Center
and have the system checked
immediately.
TransmissionVisit workshopVehicles with automatic transmis-
sion*:
The provided operating safety of the
automatic transmission is reduced.�Drive with added caution to the
nearest authorized Mercedes-Benz
Center.
Warning!G
In the event a malfunction of the SRS is
indicated as outlined above, the SRS may
not be operational. For your safety, we
strongly recommend that you contact an
authorized Mercedes-Benz Center immedi-
ately to have the system checked; otherwise
the SRS may not be deployed when needed
in an accident, which could result in serious
or fatal injury, or it might deploy
unexpectedly and unnecessarily which
could also result in an accident and/or
injury to you or to others.
Page 390 of 473
389 Practical hints
Unlocking/locking in an emergency
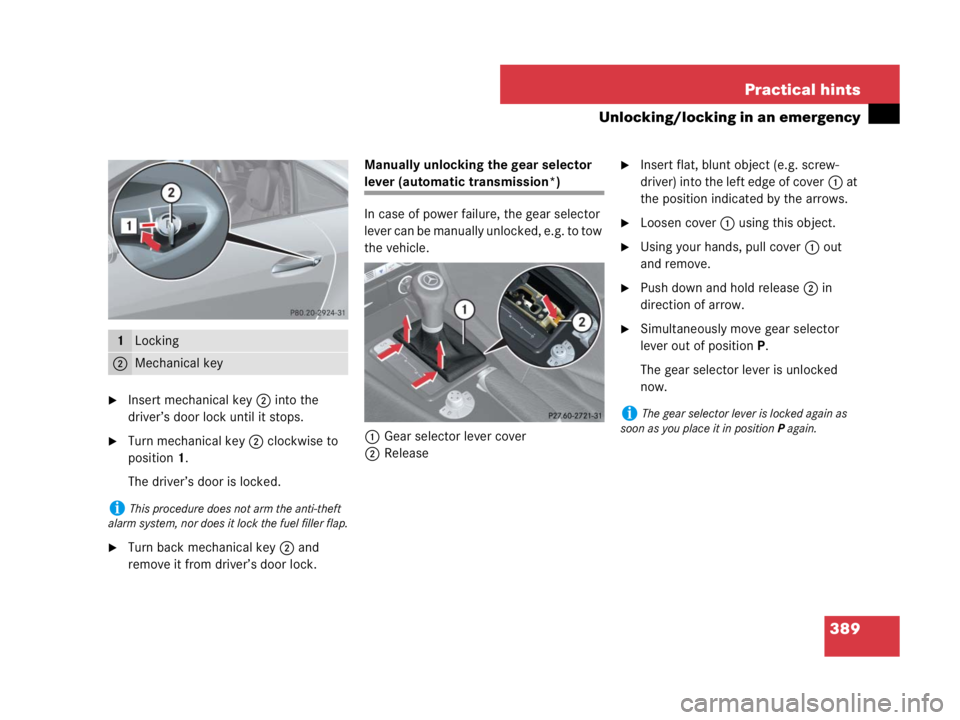
�Insert mechanical key 2 into the
driver’s door lock until it stops.
�Turn mechanical key 2 clockwise to
position1.
The driver’s door is locked.
�Turn back mechanical key 2 and
remove it from driver’s door lock.Manually unlocking the gear selector
lever (automatic transmission*)
In case of power failure, the gear selector
lever can be manually unlocked, e.g. to tow
the vehicle.
1Gear selector lever cover
2Release
�Insert flat, blunt object (e.g. screw-
driver) into the left edge of cover1 at
the position indicated by the arrows.
�Loosen cover1 using this object.
�Using your hands, pull cover1 out
and remove.
�Push down and hold release2 in
direction of arrow.
�Simultaneously move gear selector
lever out of positionP.
The gear selector lever is unlocked
now.1Locking
2Mechanical key
iThis procedure does not arm the anti-theft
alarm system, nor does it lock the fuel filler flap.
iThe gear selector lever is locked again as
soon as you place it in positionP again.
Page 402 of 473
401 Practical hints
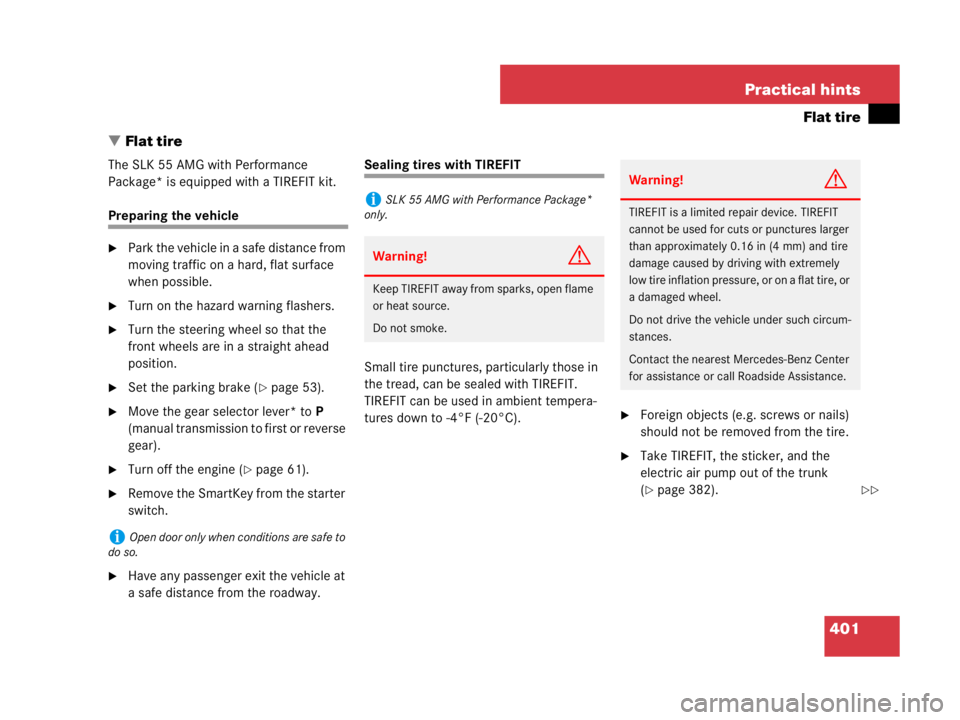
Flat tire
�Flat tire
The SLK 55 AMG with Performance
Package* is equipped with a TIREFIT kit.
Preparing the vehicle
�Park the vehicle in a safe distance from
moving traffic on a hard, flat surface
when possible.
�Turn on the hazard warning flashers.
�Turn the steering wheel so that the
front wheels are in a straight ahead
position.
�Set the parking brake (�page 53).
�Move the gear selector lever* toP
(manual transmission to first or reverse
gear).
�Turn off the engine (�page 61).
�Remove the SmartKey from the starter
switch.
�Have any passenger exit the vehicle at
a safe distance from the roadway.
Sealing tires with TIREFIT
Small tire punctures, particularly those in
the tread, can be sealed with TIREFIT.
TIREFIT can be used in ambient tempera-
tures down to -4°F (-20°C).
�Foreign objects (e.g. screws or nails)
should not be removed from the tire.
�Take TIREFIT, the sticker, and the
electric air pump out of the trunk
(
�page 382).
iOpen door only when conditions are safe to
do so.
iSLK 55 AMG with Performance Package*
only.
Warning!G
Keep TIREFIT away from sparks, open flame
or heat source.
Do not smoke.
Warning!G
TIREFIT is a limited repair device. TIREFIT
cannot be used for cuts or punctures larger
than approximately 0.16 in (4 mm) and tire
damage caused by driving with extremely
low tire inflation pressure, or on a flat tire, or
a damaged wheel.
Do not drive the vehicle under such circum-
stances.
Contact the nearest Mercedes-Benz Center
for assistance or call Roadside Assistance.
��
Page 417 of 473

416 Practical hints
Battery
Disconnecting the battery
1Water tray
2Lock
�Apply the parking brake (�page 59).
�Make sure the gear selector lever* is
set to positionP (manual transmission
to Neutral).
�Turn off all electrical consumers.
�Remove the SmartKey from the starter
switch.
�Open the hood (�page 294).
�Turn locks2 one quarter turn.
�Remove water tray1.
�Read and observe safety instructions
and precautions (
�page 303) and
(
�page 415).
�Use a 10 mm open-end wrench to dis-
connect the negative lead from battery
negative terminal3 (
�page 415).
�Remove the cover from battery positive
terminal 2 (
�page 415).
�Use a 10 mm open-end wrench to dis-
connect the positive lead from battery
positive terminal2 (
�page 415).
Warning!G
With a disconnected battery
�you will no longer be able to turn the
SmartKey in the starter switch
�automatic transmission*: the gear se-
lector lever will remain locked in
positionP
!Always disconnect the battery in the order
described below. Otherwise the vehicle’s
electronics can be damaged.