Page 208 of 570
207 Controls in detail
Automatic transmission
�Press program mode selector switch
repeatedly until the letter of the
desired program mode appears in the
multifunction display.
SelectCfor comfort driving
(R 63 AMG: standard driving):
�The vehicle starts out in second
gear (both forward and reverse) for
gentler starts. This does not apply if
full throttle is applied or gear
range1 is selected.
�Traction and driving stability are
improved on icy roads.
�Upshifts occur earlier even when
you give more gas. The engine then
operates at lower rpms and the
wheels are less likely to spin.
SelectSfor standard driving
(R 63 AMG: sporty driving):
�The vehicle starts out in first gear.
�Upshifts occur later.
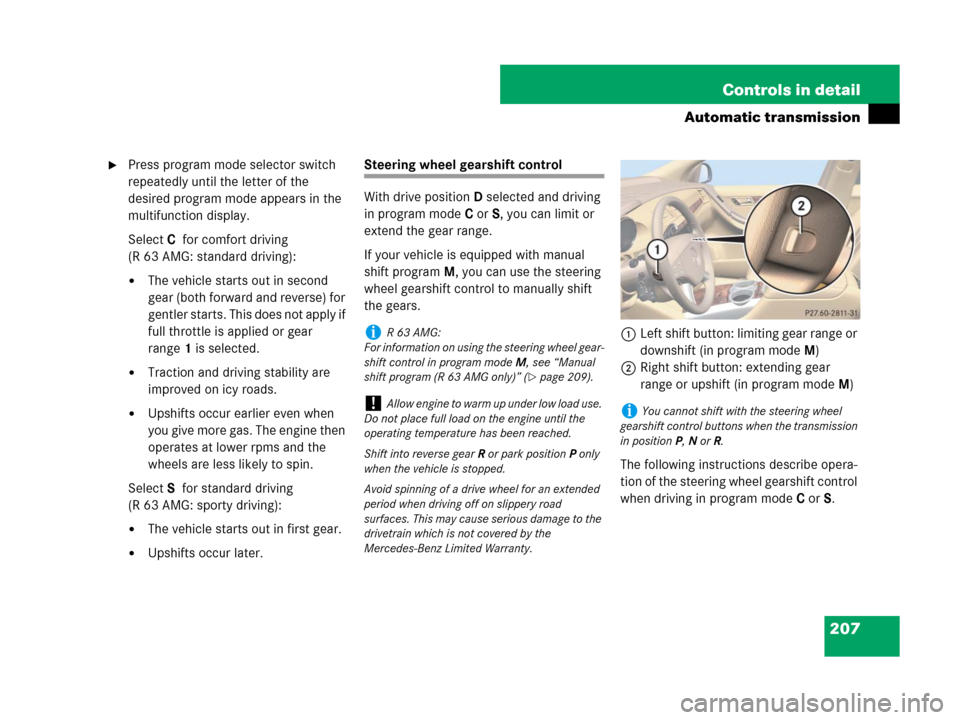
Steering wheel gearshift control
With drive positionD selected and driving
in program modeC or S, you can limit or
extend the gear range.
If your vehicle is equipped with manual
shift programM, you can use the steering
wheel gearshift control to manually shift
the gears.
1Left shift button: limiting gear range or
downshift (in program modeM)
2Right shift button: extending gear
range or upshift (in program modeM)
The following instructions describe opera-
tion of the steering wheel gearshift control
when driving in program modeC or S.
iR63AMG:
For information on using the steering wheel gear-
shift control in program modeM, see “Manual
shift program (R 63 AMG only)” (
�page 209).
!Allow engine to warm up under low load use.
Do not place full load on the engine until the
operating temperature has been reached.
Shift into reverse gearR or park positionP only
when the vehicle is stopped.
Avoid spinning of a drive wheel for an extended
period when driving off on slippery road
surfaces. This may cause serious damage to the
drivetrain which is not covered by the
Mercedes-Benz Limited Warranty.iYou cannot shift with the steering wheel
gearshift control buttons when the transmission
in positionP,N orR.
Page 209 of 570
208 Controls in detail
Automatic transmission
Limiting gear range
�Briefly press left shift button1.
The transmission will shift to the next
lower gear as permitted by the shift
program. This action simultaneously
limits the gear range of the transmis-
sion (
�page 205).Extending gear range
�Briefly press right shift button2.
The transmission will shift to the next
higher gear as permitted by the shift
program. This action simultaneously
extends the gear range of the transmis-
sion.Canceling gear range limit�Press and hold right shift button2
until the cipher for the current gear
range disappears from the multifunc-
tion display (
�page 205).
The transmission will shift from the
current gear range directly to gear
rangeD.
Shifting into optimal gear range
�Press and hold left shift button1.
The transmission will automatically
select the gear range suited for optimal
acceleration and deceleration. This will
involve shifting down one or more
gears.
Warning!G
On slippery road surfaces, never downshift
in order to obtain braking action. This could
result in drive wheel slip and reduced
vehicle control. Your vehicle’s ABS will not
prevent this type of loss of control.
iTo avoid overrevving the engine when down-
shifting, the transmission will not shift to a lower
gear if the engine’s max. speed would be
exceeded.
iIf you press on the accelerator when the en-
gine has reached its rpm limit, the transmission
will upshift beyond any gear range limit selected.
Page 210 of 570
209 Controls in detail
Automatic transmission
Manual shift program (R 63 AMG only)
In addition to the automatic shift
programC orS, your vehicle is equipped
with the manual shift programM.
In the manual program modeM,
system-controlled automatic gearshifting
is switched off and you need to change the
gears by manually upshifting or downshift-
ing using the steering wheel gearshift
control buttons to the left and right of the
steering wheel (
�page 207).
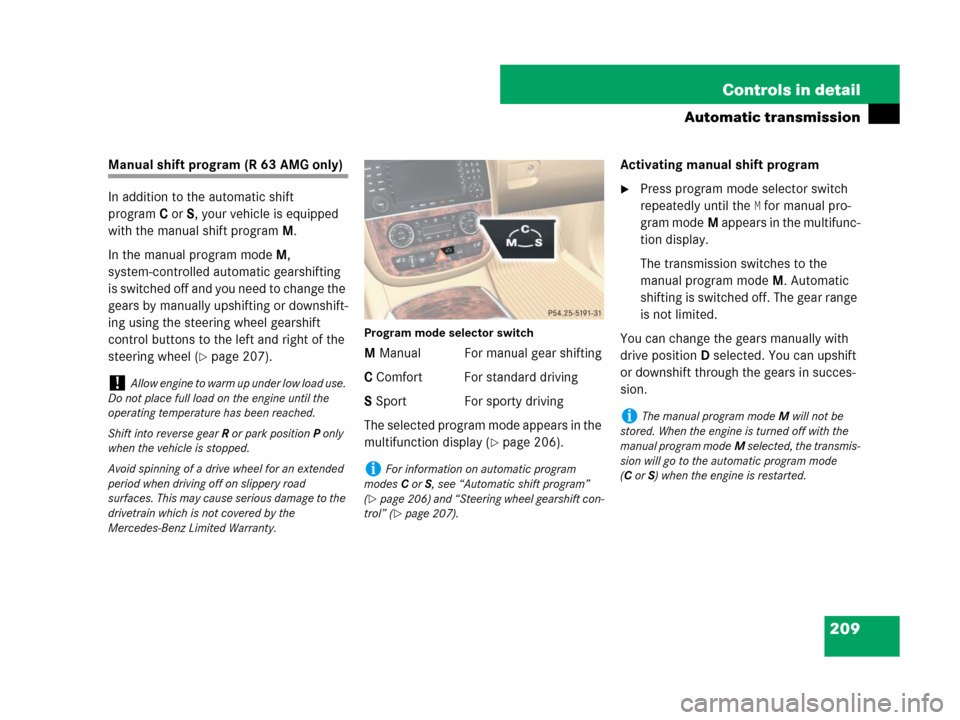
Program mode selector switch
M Manual For manual gear shifting
C Comfort For standard driving
S Sport For sporty driving
The selected program mode appears in the
multifunction display (
�page 206).Activating manual shift program
�Press program mode selector switch
repeatedly until the
M for manual pro-
gram modeM appears in the multifunc-
tion display.
The transmission switches to the
manual program modeM. Automatic
shifting is switched off. The gear range
is not limited.
You can change the gears manually with
drive positionD selected. You can upshift
or downshift through the gears in succes-
sion.
!Allow engine to warm up under low load use.
Do not place full load on the engine until the
operating temperature has been reached.
Shift into reverse gearR or park positionP only
when the vehicle is stopped.
Avoid spinning of a drive wheel for an extended
period when driving off on slippery road
surfaces. This may cause serious damage to the
drivetrain which is not covered by the
Mercedes-Benz Limited Warranty.
iFor information on automatic program
modesC orS, see “Automatic shift program”
(
�page 206) and “Steering wheel gearshift con-
trol” (
�page 207).
iThe manual program modeM will not be
stored. When the engine is turned off with the
manual program modeM selected, the transmis-
sion will go to the automatic program mode
(CorS) when the engine is restarted.
Page 211 of 570
210 Controls in detail
Automatic transmission
Upshifting
�Briefly press right shift button2
(
�page 207).
The transmission shifts to the next
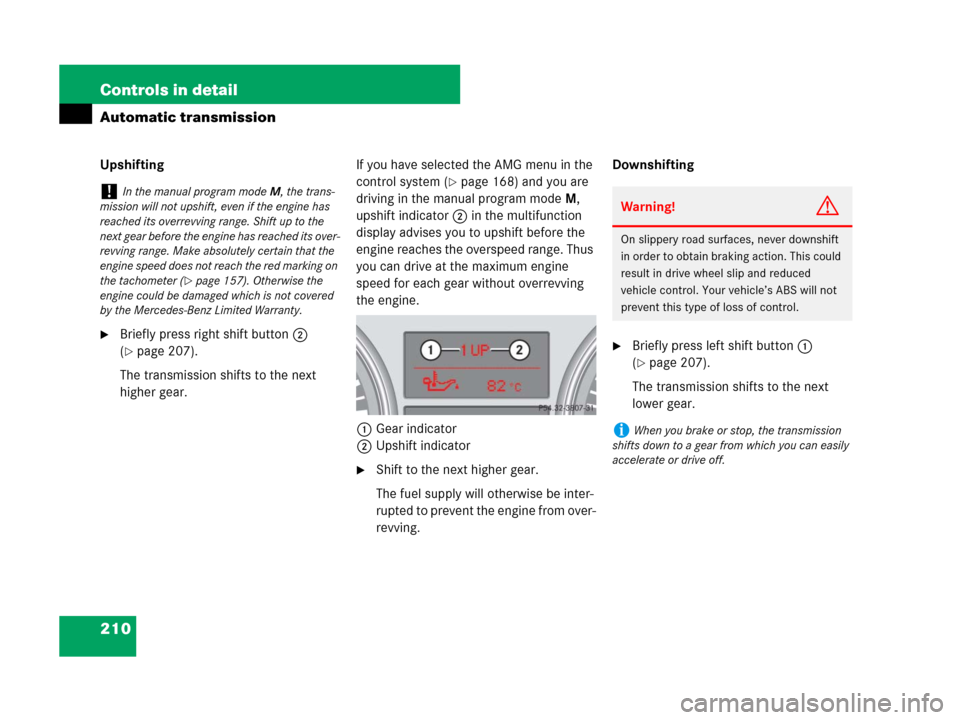
higher gear.If you have selected the AMG menu in the
control system (
�page 168) and you are
driving in the manual program modeM,
upshift indicator2 in the multifunction
display advises you to upshift before the
engine reaches the overspeed range. Thus
you can drive at the maximum engine
speed for each gear without overrevving
the engine.
1Gear indicator
2Upshift indicator
�Shift to the next higher gear.
The fuel supply will otherwise be inter-
rupted to prevent the engine from over-
revving.Downshifting
�Briefly press left shift button1
(
�page 207).
The transmission shifts to the next
lower gear.
!In the manual program modeM, the trans-
mission will not upshift, even if the engine has
reached its overrevving range. Shift up to the
next gear before the engine has reached its over-
revving range. Make absolutely certain that the
engine speed does not reach the red marking on
the tachometer (
�page 157). Otherwise the
engine could be damaged which is not covered
by the Mercedes-Benz Limited Warranty.
Warning!G
On slippery road surfaces, never downshift
in order to obtain braking action. This could
result in drive wheel slip and reduced
vehicle control. Your vehicle’s ABS will not
prevent this type of loss of control.
iWhen you brake or stop, the transmission
shifts down to a gear from which you can easily
accelerate or drive off.
Page 220 of 570
219 Controls in detail
Climate control
1Left side air vent, adjustable
2Thumbwheel for air volume control
for left side and door air vent
3Left center air vent, adjustable
4Right center air vent, adjustable
5Thumbwheel for air volume control
for left center air vent
6Thumbwheel for air volume control
for right center air vent
7Thumbwheel for air volume control
for right side and door air vent
8Right side air vent, adjustable
9Front passenger door air vent, fixed
aClimate control panel
bDriver’s door air vent, fixed
iFor draft-free ventilation, move the sliders
for center air vents and side air vents to the
middle position.
Page 225 of 570
224 Controls in detail
Climate control
Adjusting air volume
Five blower speeds are available.
�Press button� to decrease or
buttonQ to increase air volume
(
�page 220) to the desired level.
The indicator lamp on buttonU
(
�page 220) goes out. The automatic
operation of air volume switches off.
The selected blower speed is
shown in the air volume display b
(
�page 220).
Adjusting air volume for the center and
side air vents
Opening the center air vents
�Turn thumbwheels 5 and 6
(
�page 218) upward.
The corresponding center air vents on
the left and right are open.Closing the center air vents
�Turn thumbwheels 5 and 6
(
�page 218) downward.
The corresponding center air vents on
the left and right are closed.
Opening the side air vents
�Turn thumbwheels 2 and 7
(
�page 218) upward.
The corresponding side air vents on the
left and right are open.
Closing the side air vents
�Turn thumbwheels 2 and 7
(
�page 218) downward.
The corresponding side air vents on the
left and right are closed.
Front defroster
You can use this setting to defrost the
windshield, for example if it is iced up. You
can also use it to defog the windshield and
side windows.
Activating
�Press button0 (�page 220).
The indicator lamp on the button
comes on.
iKeep this setting selected only until the
windshield or the side windows are clear again.
When the defrost setting has been selected, only
the rear window defroster can be switched on.
No other settings are possible.
Page 234 of 570
233 Controls in detail
3-zone automatic climate control*
1Left side air vent, adjustable
2Thumbwheel for air volume control
for left side and door air vent
3Left center air vent, adjustable
4Right center air vent, adjustable
5Thumbwheel for air volume control
for left center air vent
6Thumbwheel for air volume control
for right center air vent
7Thumbwheel for air volume control
for right side and door air vent
8Right side air vent, adjustable
9Front passenger door air vent, fixed
aAutomatic climate control panel
bDriver’s door air vent, fixed
iFor draft-free ventilation, move the sliders
for center air vents and side air vents to the
middle position.
Page 239 of 570
238 Controls in detail
3-zone automatic climate control*
Adjusting air distribution
Use the air distribution buttons3,h,
orj for the driver’s side, or7,b, orc
(
�page 234) for the passenger side to
separately adjust the air distribution on
each side of the passenger compartment.
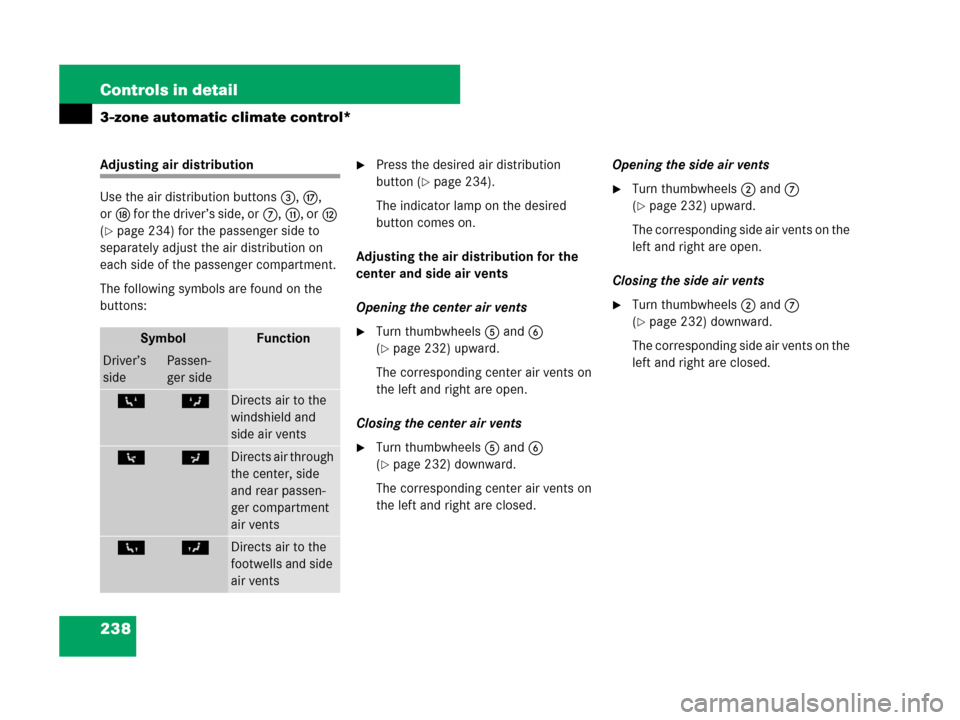
The following symbols are found on the
buttons:
�Press the desired air distribution
button (
�page 234).
The indicator lamp on the desired
button comes on.
Adjusting the air distribution for the
center and side air vents
Opening the center air vents
�Turn thumbwheels 5 and 6
(
�page 232) upward.
The corresponding center air vents on
the left and right are open.
Closing the center air vents
�Turn thumbwheels 5 and 6
(
�page 232) downward.
The corresponding center air vents on
the left and right are closed.Opening the side air vents
�Turn thumbwheels 2 and 7
(
�page 232) upward.
The corresponding side air vents on the
left and right are open.
Closing the side air vents
�Turn thumbwheels 2 and 7
(
�page 232) downward.
The corresponding side air vents on the
left and right are closed.
SymbolFunction
Driver’s
sidePassen-
ger side
6ZDirects air to the
windshield and
side air vents
7aDirects air through
the center, side
and rear passen-
ger compartment
air vents
8YDirects air to the
footwells and side
air vents