Page 39 of 242
37 At a glance
Quick reference COMAND
�Press E or the Back soft key.
or
�Wait until the display changes.
The new setting is saved.
Different bass and treble settings are
possible for the following operating modes:
�Radio: FM-, AM- and
Weather (WB) bands
�Single CD (CD) and CD changer*
(
CD)
�MP3 CD operation
�AUX
�Satellite radio*When you adjust bass or treble, the
settings apply to other sources within the
group, but not to the other modes. For
example, if you adjust the bass while
listening to FM, that same bass level
applies to AM and Weather band, but not
to satellite radio* or CD/MP3 CD.
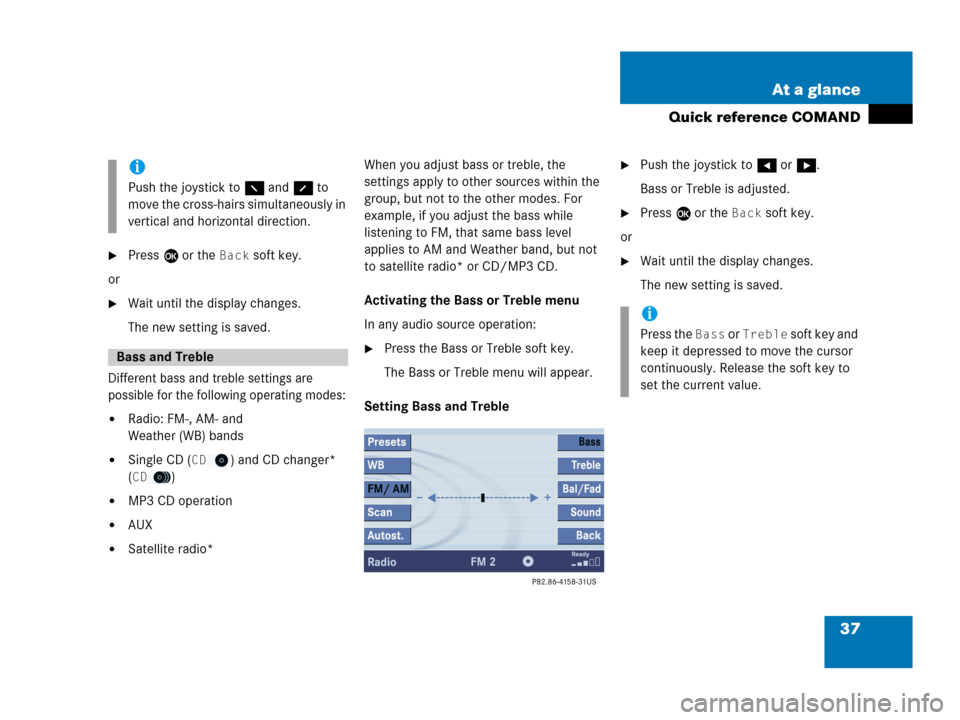
Activating the Bass or Treble menu
In any audio source operation:
�Press the Bass or Treble soft key.
The Bass or Treble menu will appear.
Setting Bass and Treble
�Push the joystick to H or h.
Bass or Treble is adjusted.
�Press E or the Back soft key.
or
�Wait until the display changes.
The new setting is saved.
i
Push the joystick to F and f to
move the cross-hairs simultaneously in
vertical and horizontal direction.
Bass and Treble
i
Press the Bass or Treble soft key and
keep it depressed to move the cursor
continuously. Release the soft key to
set the current value.
Page 40 of 242
38 At a glance
Quick reference COMAND
If your vehicle is equipped with the
premium sound system*, the sound
functions* will be available for the
following operating modes:
�Radio: FM-, AM- and
Weather (WB) bands
�Single CD (CD) and CD changer*
(
CD)
�MP3 CD operation
�AUX
�Satellite radio*The following sound functions* are
available:
�Default Settings:
COMAND sets the default settings
(Bass, Treble, Bal/Fad) for the active
source mode.
�Standard:
COMAND sets the sound linear for the
center of the vehicle.
�Speech:
Playback optimized for language
comprehensibility.
�LOGIC7 Surround:
Surround playback.
You can use different sound functions* for
the modes mentioned above.
E.g.:
For radio operation the function
Standard, for CD operation the function
LOGIC7 Surround.
Sound functions*i
LOGIC7 Surround sound offers a sound
quality superior to conventional stereo
sound.
If the radio reception is poor, the
system should be switched back to
standard stereo playback. Switching
back to standard stereo playback may
improve audio quality.
Page 44 of 242
42 Audio
Audio operation
� Audio operation
In chapter “Audio” you will find detailed
information regarding
�radio operation
�CD operation (CD drive, CD changer*)
�MP3 CD operation
�AUX operation
If you have not done so already, please
familiarize yourself with these functions by
reading chapter “At a glance”.
�Press A.
Audio menu
WarningG
In order to avoid distraction which could
lead to an accident, the driver should enter
system settings with the vehicle at a
standstill and operate the audio system only
if permitted by road, weather and traffic
conditions.
Bear in mind that at a speed of just 30 mph
(approximately 50 km/h), your vehicle is
covering a distance of 44 feet
(approximately 14 m) every second.
Opening the Audio menu
Page 48 of 242

46 Audio
Radio operation
Automatic seek tuning
Via memory presets
FM- and AM-Bands
�Press g or h.
or
�Push the joystick to gor G.
The radio will tune to the frequency
assigned to the next memory location.
If none has been set by you, the radio
will not change the station.Via frequency
�Press g or h.
or
�Push the joystick to gor G.
The radio will tune to the next
receivable station (FM, AM) or channel
(WB) of descending/ascending
frequency depending on the direction
of seek.WB direct channel selection
�Press a number key 1 through 7.
Manual tuning (FM, AM)
�Activate the desired wave band
(
�page 44).
�Press g or h longer than 2 se-
conds.
The function rapidly scans the
frequencies.
�Press g or h repeatedly to
change the frequency step by step.
i
Memory must be activated in the Audio
search function
menu, which ap-
pears in the multifunction display.
Access this menu from the
Settings... menu via the Vehicle
submenu (
�page 30). For additional
information refer to seperate Operator’s
Manual instructions.
i
Frequenc. must be activated in the
Audio search function menu,
which appears in the multifunction
display.
Access this menu from the
Settings... menu via the Vehicle
submenu (
�page 30). For additional
information refer to seperate Operator’s
Manual instructions.
i
The selected channel is not shown in
the status line.
Page 51 of 242
49 Audio
Radio operation
You can use the following functions:
�Saving stations manually (FM, AM)
�Saving stations automatically FM, AM
(
�page 50)
�Selecting a station from the FM/AM
preset menu (
�page 51)
�Selecting a station from the FM/AM
Auto presets (
�page 51)Saving stations manually (FM, AM)
In the Radio main menu
�Activate the desired wave band
(
�page 44).
�Press one of the number keys, e.g. 2,
longer than 2 seconds.
You will hear a verification beep if the
beep tones option was activated in the
system settings (
�page 222).
The radio saves the current station at
the memory preset selected. The me-
mory preset selected will appear in the
status bar, e.g.
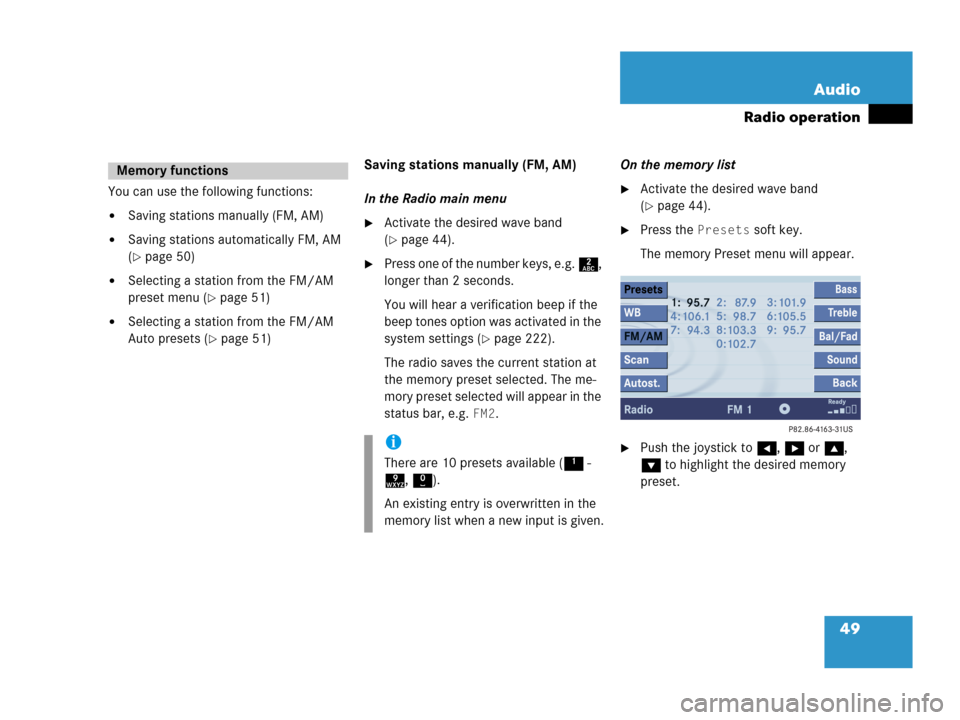
FM2.On the memory list
�Activate the desired wave band
(
�page 44).
�Press the Presets soft key.
The memory Preset menu will appear.
�Push the joystick to H, h or g,
G to highlight the desired memory
preset.
Memory functions
i
There are 10 presets available (1 -
9, 0).
An existing entry is overwritten in the
memory list when a new input is given.
Page 52 of 242
50 Audio
Radio operation
�Press E longer than 2 seconds.
You will hear a verification beep if the
beep tones option was activated in the
system settings (
�page 222).
The current station will be saved at the
memory preset selected.
You will see the Radio main menu
�automatically after 8 seconds
�if you press the Back soft key.Saving stations automatically (FM, AM)
�Activate the desired wave band
(
�page 44).
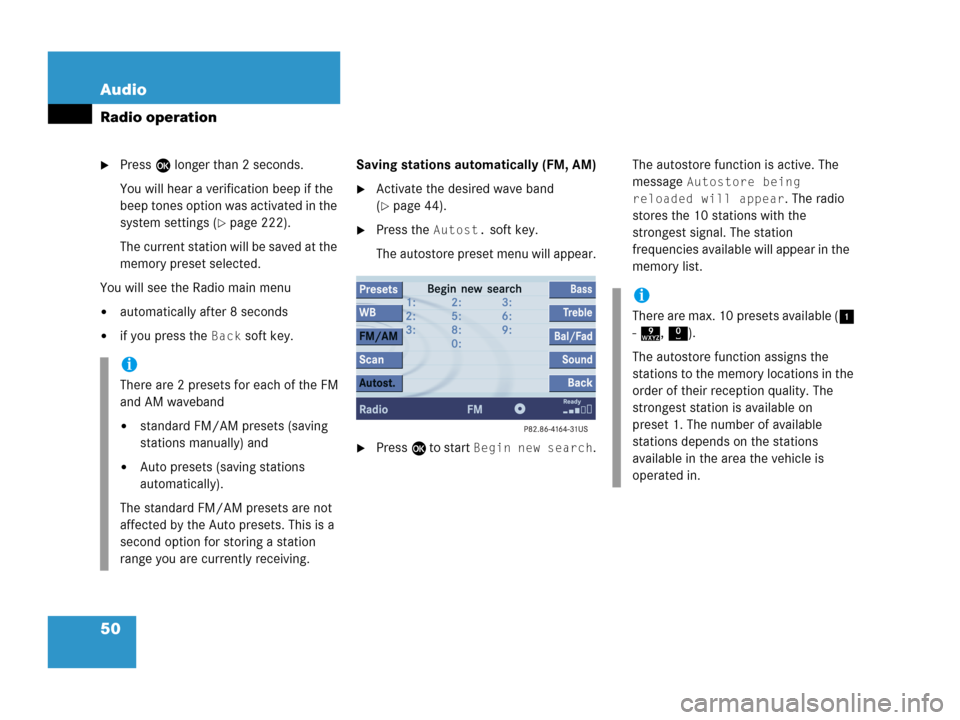
�Press the Autost. soft key.
The autostore preset menu will appear.
�Press E to start Begin new search.The autostore function is active. The
message
Autostore being
reloaded will appear
. The radio
stores the 10 stations with the
strongest signal. The station
frequencies available will appear in the
memory list.
i
There are 2 presets for each of the FM
and AM waveband
�standard FM/AM presets (saving
stations manually) and
�Auto presets (saving stations
automatically).
The standard FM/AM presets are not
affected by the Auto presets. This is a
second option for storing a station
range you are currently receiving.
i
There are max. 10 presets available (1
- 9, 0).
The autostore function assigns the
stations to the memory locations in the
order of their reception quality. The
strongest station is available on
preset 1. The number of available
stations depends on the stations
available in the area the vehicle is
operated in.
Page 106 of 242
104 Rear Audio/Video*
Rear Seat Entertainment (RSE) operation*
Activating DVD menu
The DVD menu is the menu on the DVD.
The structure of the menu may vary
depending on the DVD and allows certain
settings or actions.
For example, multilingual DVDs allow the
DVD language to be selected in the menu.
Activating the DVD menu is possible by
selecting the
Menu soft key
�while the soft keys are displayed
(
�page 102) or
�after stopping the DVD playback
(
�page 103).
�Turn the thumb wheel to highlight the
Menu soft key and press to confirm.
The highest level of the DVD menu is
displayed, if available.Selecting an item from the DVD menu
�Use h, H, g or G to select a
menu item.
�Press E.
The RSE CD/DVD player will perform
the action defined by the menu item se-
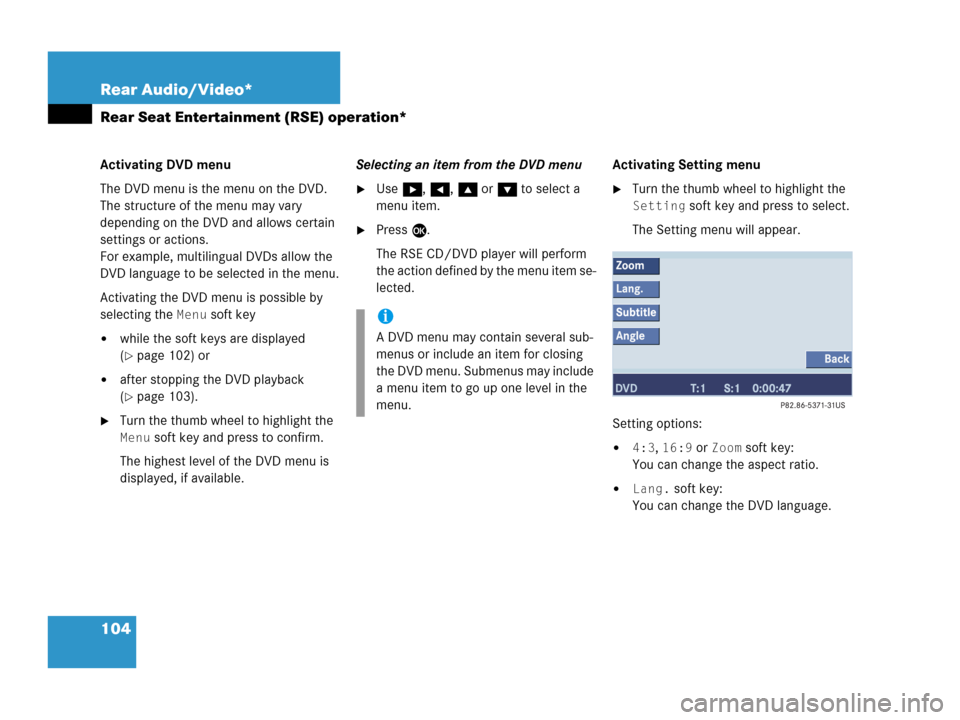
lected.Activating Setting menu
�Turn the thumb wheel to highlight the
Setting soft key and press to select.
The Setting menu will appear.
Setting options:
�4:3, 16:9 or Zoom soft key:
You can change the aspect ratio.
�Lang. soft key:
You can change the DVD language.
i
A DVD menu may contain several sub-
menus or include an item for closing
the DVD menu. Submenus may include
a menu item to go up one level in the
menu.
Page 108 of 242
106 Rear Audio/Video*
Rear Seat Entertainment (RSE) operation*
Displaying and switching between
subtitles
�In the Setting menu (�page 104), turn
the thumb wheel to highlight the
Sub-
title
soft key and press to select.
The subtitles list will appear. The
content of the list depends on the DVD.
�Use g or G to select a subtitle.
�Press E.
The selected subtitles are active.
or
�Use g to select list entry None.
�Press E.
Subtitling is switched off.
Changing the camera view
�In the Setting menu (�page 104),
turn the thumb wheel to highlight the
Angle soft key and press to select.
A list of the available camera views will
appear.
�Use g or G to select the desired ca-
mera view.
�Press E.
The selected camera view is active.
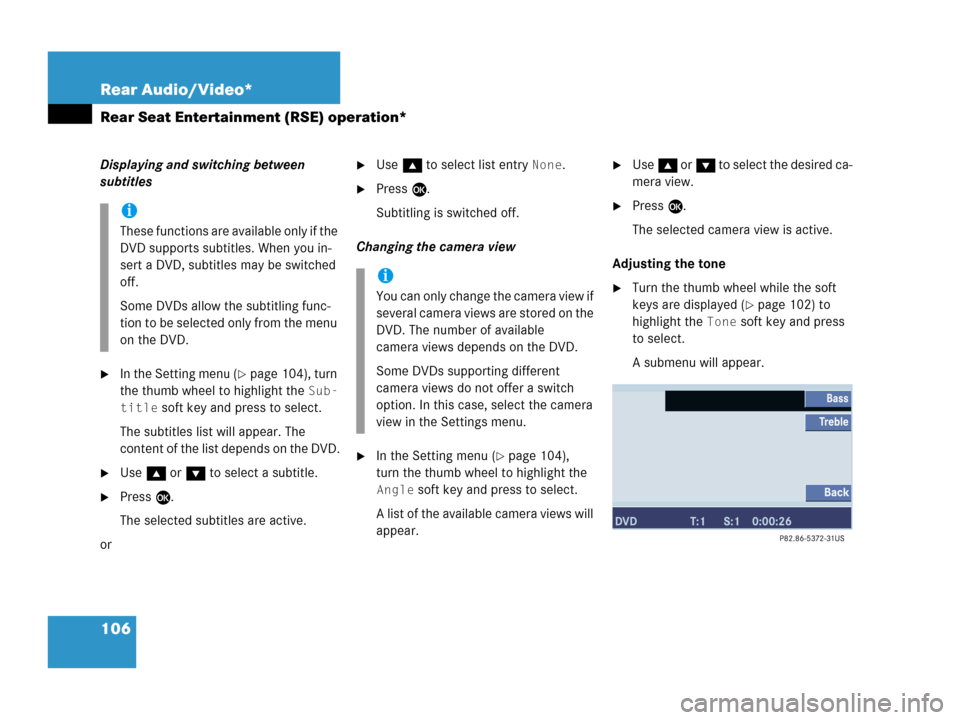
Adjusting the tone
�Turn the thumb wheel while the soft
keys are displayed (
�page 102) to
highlight the
Tone soft key and press
to select.
A submenu will appear.
i
These functions are available only if the
DVD supports subtitles. When you in-
sert a DVD, subtitles may be switched
off.
Some DVDs allow the subtitling func-
tion to be selected only from the menu
on the DVD.
i
You can only change the camera view if
several camera views are stored on the
DVD. The number of available
camera views depends on the DVD.
Some DVDs supporting different
camera views do not offer a switch
option. In this case, select the camera
view in the Settings menu.