2007 Hyundai H-1 (Grand Starex) light
[x] Cancel search: lightPage 97 of 284
2 INSTRUMENTS AND CONTROLS
30
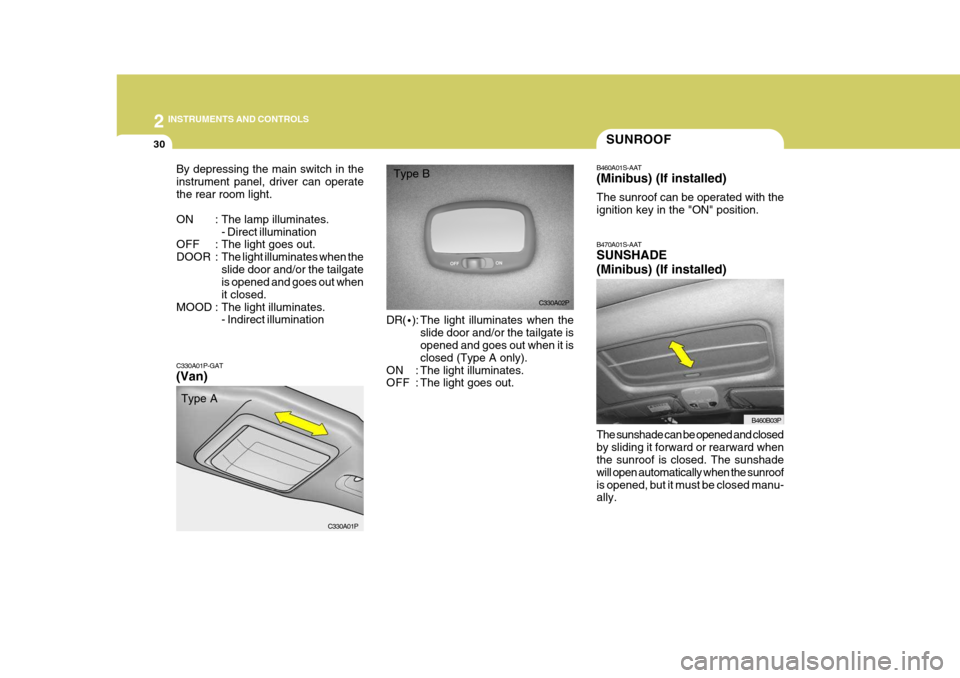
C330A01P-GAT (Van) DR(
·): The light illuminates when the
slide door and/or the tailgate is opened and goes out when it is closed (Type A only).
ON : The light illuminates.
OFF : The light goes out.
By depressing the main switch in the instrument panel, driver can operatethe rear room light.
ON : The lamp illuminates.
- Direct illumination
OFF : The light goes out.
DOOR : The light illuminates when theslide door and/or the tailgate is opened and goes out when it closed.
MOOD : The light illuminates. - Indirect illumination
C330A01P
SUNROOF
B470A01S-AAT SUNSHADE (Minibus) (If installed) The sunshade can be opened and closed by sliding it forward or rearward when the sunroof is closed. The sunshade will open automatically when the sunroofis opened, but it must be closed manu- ally.
B460A01S-AAT (Minibus) (If installed) The sunroof can be operated with the ignition key in the "ON" position.
B460B03P
B460B03P
C330A02P
Type A Type B
Page 101 of 284
2 INSTRUMENTS AND CONTROLS
34MIRROR
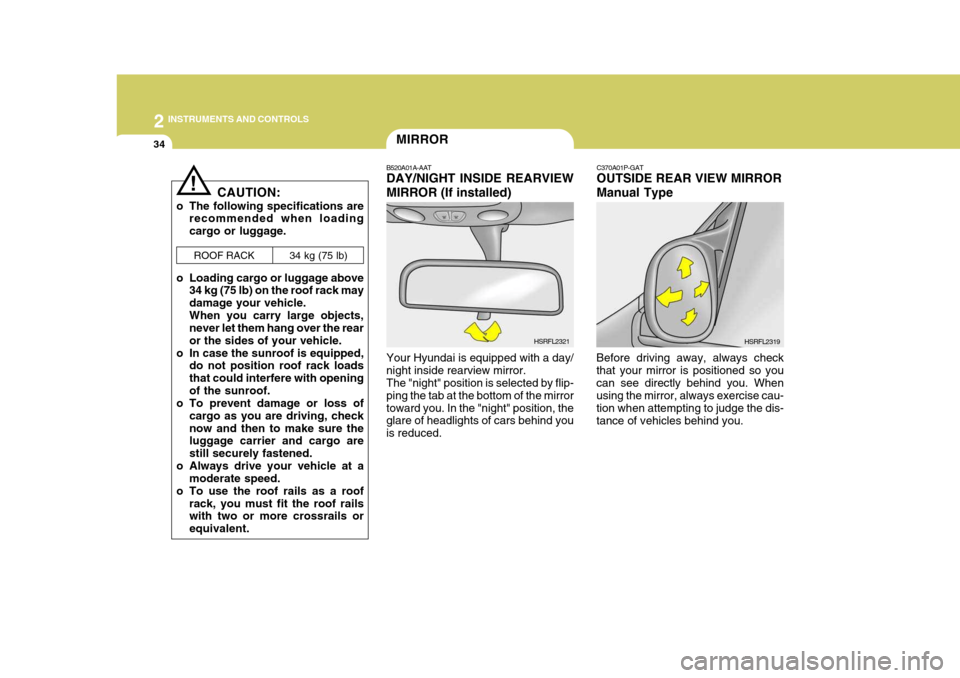
B520A01A-AAT DAY/NIGHT INSIDE REARVIEW MIRROR (If installed) Your Hyundai is equipped with a day/ night inside rearview mirror. The "night" position is selected by flip- ping the tab at the bottom of the mirrortoward you. In the "night" position, the glare of headlights of cars behind you is reduced. HSRFL2321C370A01P-GAT OUTSIDE REAR VIEW MIRROR Manual Type
Before driving away, always check that your mirror is positioned so youcan see directly behind you. When using the mirror, always exercise cau- tion when attempting to judge the dis-tance of vehicles behind you. HSRFL2319
CAUTION:
o The following specifications are recommended when loadingcargo or luggage.
o Loading cargo or luggage above 34 kg (75 lb) on the roof rack maydamage your vehicle.When you carry large objects, never let them hang over the rear or the sides of your vehicle.
o In case the sunroof is equipped, do not position roof rack loadsthat could interfere with openingof the sunroof.
o To prevent damage or loss of
cargo as you are driving, checknow and then to make sure the luggage carrier and cargo are still securely fastened.
o Always drive your vehicle at a moderate speed.
o To use the roof rails as a roof rack, you must fit the roof rails with two or more crossrails or equivalent.ROOF RACK
34 kg (75 lb)
!
Page 111 of 284
2 INSTRUMENTS AND CONTROLS
44AIR CONDITIONING SYSTEM
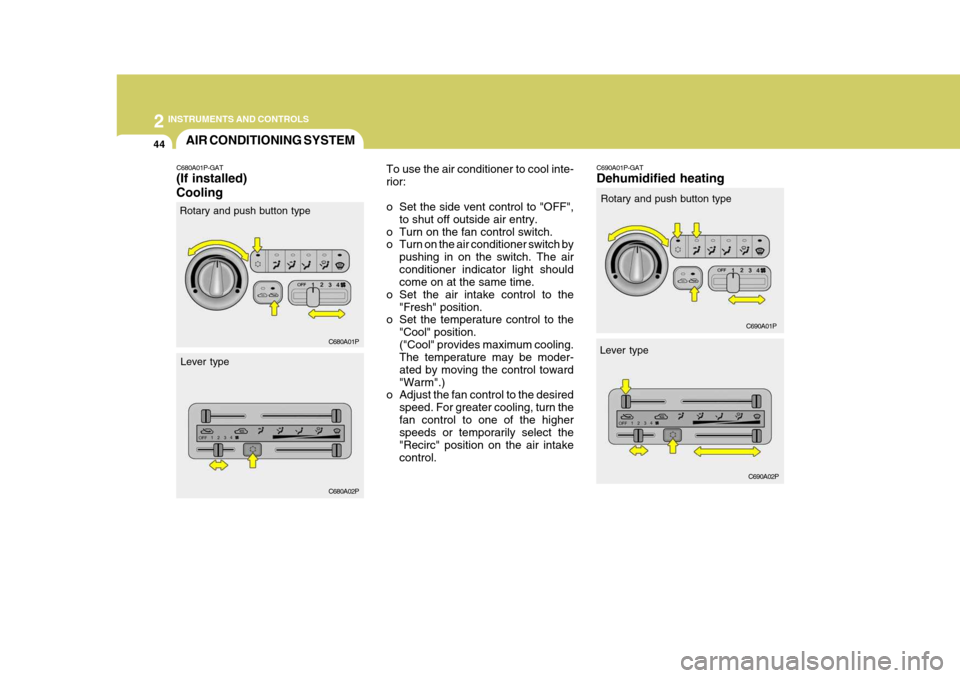
C680A01P-GAT (If installed) Cooling To use the air conditioner to cool inte- rior:
o Set the side vent control to "OFF",
to shut off outside air entry.
o Turn on the fan control switch.
o Turn on the air conditioner switch by pushing in on the switch. The air conditioner indicator light should come on at the same time.
o Set the air intake control to the "Fresh" position.
o Set the temperature control to the
"Cool" position. ("Cool" provides maximum cooling. The temperature may be moder- ated by moving the control toward"Warm".)
o Adjust the fan control to the desired
speed. For greater cooling, turn thefan control to one of the higher speeds or temporarily select the "Recirc" position on the air intakecontrol.
C680A01P C680A02P
Rotary and push button type
Lever type Rotary and push button type
Lever type
C690A01P-GAT Dehumidified heating
C690A01P
C690A02P
Page 112 of 284
2
INSTRUMENTS AND CONTROLS
45REAR HEATER AND AIR CONDITIONER
C710A01P-GAT (If installed) The rear heater can be operated with the ignition switch at the "ON" positionby depressing the main switch in the instrument panel.
C700A01P-GAT Operation Tips
o If the interior of the vehicle is hot
when you first get in, open the win- dows for a few minutes to expel the hot air.
o When you are using the air condi- tioning system, keep all windowsclosed to keep hot air out.
o When you must drive slowly, as in heavy traffic, shift to a lower gear.This increases engine speed, which in turn increases the speed of theair conditioning compressor.
o When driving up long grades, turn
occasionally the air conditioner offto avoid the possibility of the engine overheating.
o During winter months or in periods when the air conditioner is not usedregularly, turn on the air conditioner switch occasionally for a few min-utes. This will help circulate the lubricants and keep your system in peak operating condition.
For dehumidified heating:
o Turn on the fan control switch.
o Turn on the air conditioner switch by
pushing in on the switch. The air conditioner indicator light should come on at the same time.
o Set the air intake control to the "Fresh".
o Set the air flow control to the "Face".
o Adjust the fan control to the desired
speed. For more rapid action, set the fan at one of the higher speeds.
o Adjust the temperature control to provide the desired amount ofwarmth.
Page 139 of 284
2 INSTRUMENTS AND CONTROLS
72CARE OF CASSETTE TAPES
HSRFL860
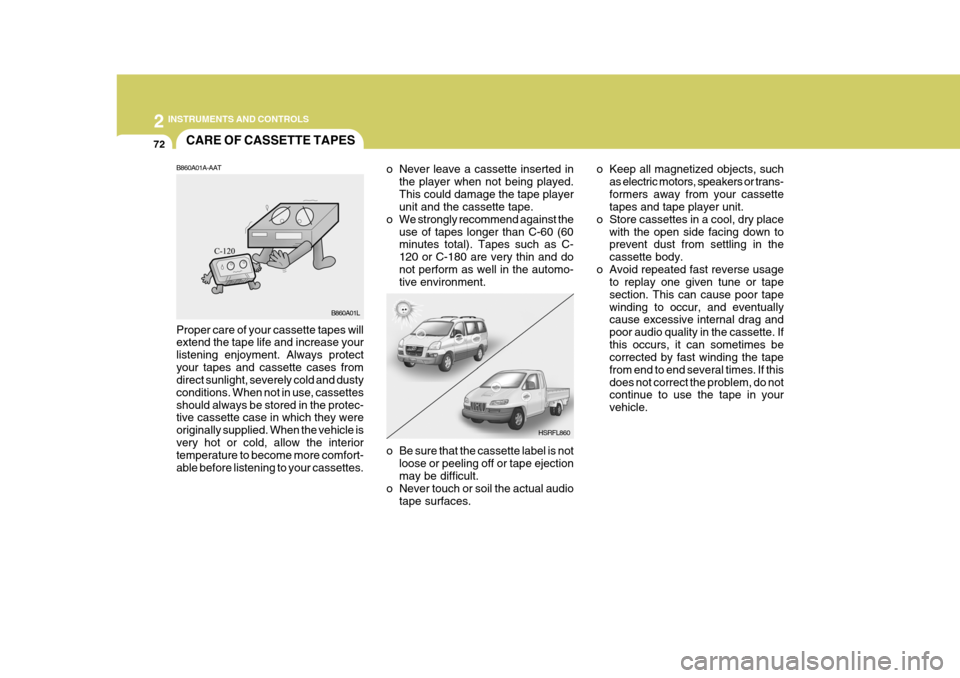
B860A01A-AAT Proper care of your cassette tapes will extend the tape life and increase your listening enjoyment. Always protectyour tapes and cassette cases from direct sunlight, severely cold and dusty conditions. When not in use, cassettesshould always be stored in the protec- tive cassette case in which they were originally supplied. When the vehicle isvery hot or cold, allow the interior temperature to become more comfort- able before listening to your cassettes. o Never leave a cassette inserted in
the player when not being played.This could damage the tape player unit and the cassette tape.
o We strongly recommend against the use of tapes longer than C-60 (60minutes total). Tapes such as C- 120 or C-180 are very thin and donot perform as well in the automo- tive environment.
o Be sure that the cassette label is not loose or peeling off or tape ejection may be difficult.
o Never touch or soil the actual audio
tape surfaces. o Keep all magnetized objects, such
as electric motors, speakers or trans-formers away from your cassette tapes and tape player unit.
o Store cassettes in a cool, dry place with the open side facing down toprevent dust from settling in the cassette body.
o Avoid repeated fast reverse usage to replay one given tune or tapesection. This can cause poor tapewinding to occur, and eventually cause excessive internal drag and poor audio quality in the cassette. Ifthis occurs, it can sometimes be corrected by fast winding the tape from end to end several times. If thisdoes not correct the problem, do not continue to use the tape in your vehicle.
B860A01L
Page 145 of 284

3
STARTING AND OPERATING
3PRECAUTION FOR EX- HAUST FUMES WHILESTARTING AND DRIVING
D010A01P-GAT
1. Do not breathe exhaust fumes con- taining carbons monoxide when starting or driving. Carbon monox- ide is a colorless, odorless gas and can cause unconsciousness ordeath by asphyxiation.
2. Open all the windows fully and get
the back door closed if you smellexhaust fumes inside the vehicle. Have the cause immediately located and corrected.
3. Check the exhaust system, from time to time, for holes or loose con-nections if you hear a change in theexhaust sound, or if something has hit the exhaust system.
4. Do not race the engine in a garage
or enclosed area any longer than ittakes to start the engine and drive the vehicle in or out. The sealedexhaust fume may make a particu- larly dangerous situation.
!
BEFORE STARTING THE ENGINE
C020A02O-GAT Before you start the engine, you should always:
1. Look around the vehicle to be sure
there are no flat tires, puddles of oil, water or other indications of pos- sible trouble.
2. After entering the car, check to be sure the parking brake is engaged.
3. Check that all windows, and lights are clean.
4. Check that the interior and exterior
mirrors are clean and in position.
5. Check your seat, seatback and headrest to be sure they are in theirproper positions.
6. Lock all the doors.
7. Fasten your seat belt and be sure
that all other occupants have fas- tened theirs.
8. Turn off all lights and accessories
that are not needed. WARNING (DIESEL ENGINE):
To ensure that sufficient vacuum exists within the brake system dur- ing cold weather start-up condi-tions, it is necessary to run the engine at idle for several seconds after starting the engine.
9. When you turn the ignition switch to
"ON", check that all appropriatewarning lights are operating andthat you have sufficient fuel.
10.Check the operation of warning
lights and all bulbs when key is inthe "ON" position.
!WARNING:
Always wear appropriate shoes when operating your vehicle. Unsuitable shoes (high heels, ski boots, etc.) may interfere with yourability to use the brake and accelera- tor pedal, and the clutch (if installed).
Page 148 of 284
3 STARTING AND OPERATING
6
C051A01O-GAT Starting For The Diesel Engine ENGINE COLD
o Turn the ignition key to position
"ON" and wait for the pre-heat indi- cator light to go out.
o Operate the starter until the engine runs.
ENGINE WARM Operate the starter. If the engine does not respond on the first attempt, wait several seconds and try again usingthe pre-heat. NOTE: If the engine was not started 10 seconds after the preheating is com- pleted, turn the ignition key once more to the "LOCK" position, andthen to the "ON" position, in order to preheat again.C050B01HP
Amber lamp ON Amber lamp OFF
C050B02S-GAT NORMAL CONDITIONS The Starting Procedure:
1. Insert key, and fasten the seat belt.
2. Depress the clutch pedal fully and
place the gearshift lever (manual transmission) in neutral or the se- lector lever (automatic transmission) in "P" (park) position.
3. After turning the ignition key to the "ON" position, make certain all warn-ing lights and gauges are function-ing properly before starting the en- gine.
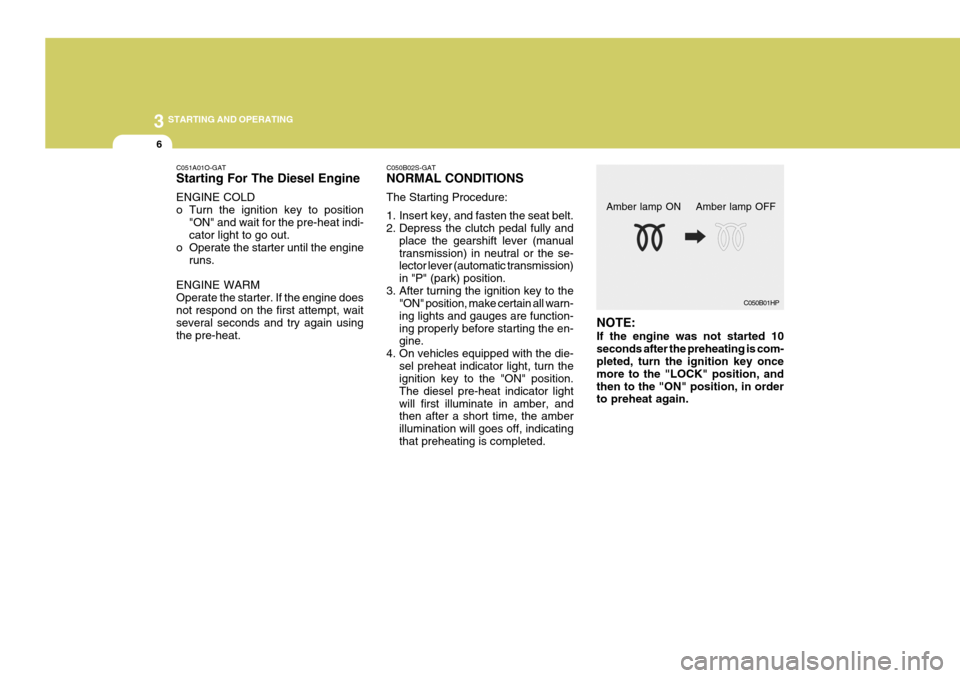
4. On vehicles equipped with the die- sel preheat indicator light, turn theignition key to the "ON" position. The diesel pre-heat indicator lightwill first illuminate in amber, and then after a short time, the amber illumination will goes off, indicatingthat preheating is completed.
Page 152 of 284
3 STARTING AND OPERATING
10
!
o Slow down before shifting to a lower
gear. This will help avoid over-running the engine, which can cause damage.
o Slow down when you encounter
cross winds. This gives you muchbetter control of your car.
o Be sure the vehicle is completely stopped before you attempt to shiftinto reverse. The transmission can be damaged if you do not. To shiftinto reverse, depress the clutch, move the shift lever to neutral, wait three seconds, then shift to the re-verse position.
o Exercise extreme caution when driv-
ing on a slippery surface. Be espe-cially careful when braking, acceler- ating or shifting gears. On a slippery surface, an abruptchange in engine speed can cause the drive wheels to lose traction and the vehicle to go out of control. WARNING:
o Avoid high cornering speeds.
o Do not make quick steering wheel movements, such as sharp lanechanges or fast, sharp turns.
o Always wear your seat belts. In a collision crash, an unbeltedperson is significantly more likelyto die than a person wearing a seatbelt.
o The risk of rollover is greatly in-
creased if you lose control ofyour vehicle at highway speeds.
o Loss of control often occurs if two or more wheels drop off the roadway and the driver oversteersto reenter the roadway.
o In the event your vehicle leaves
the roadway, do not steer sharply.Instead, slow down before pull- ing back into the travel lanes.
o Never exceed posted speed lim- its.
AUTOMATIC TRANSMISSION
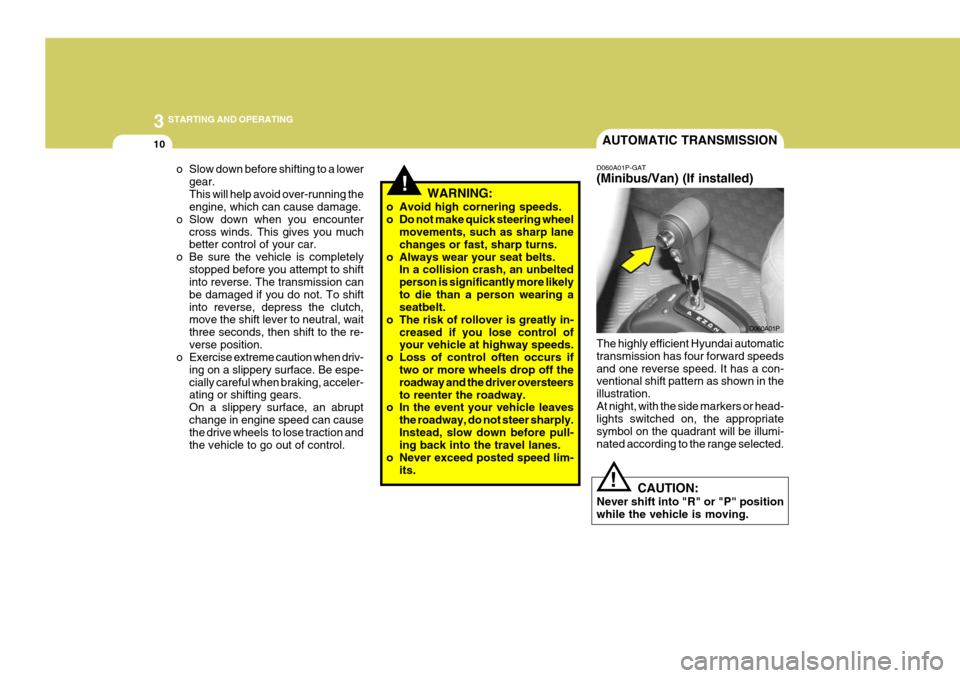
D060A01P-GAT (Minibus/Van) (If installed) The highly efficient Hyundai automatic transmission has four forward speedsand one reverse speed. It has a con- ventional shift pattern as shown in the illustration.At night, with the side markers or head- lights switched on, the appropriate symbol on the quadrant will be illumi-nated according to the range selected. D060A01P
CAUTION:
Never shift into "R" or "P" positionwhile the vehicle is moving.
!