2007 GMC SIERRA CLASSIC ESP
[x] Cancel search: ESPPage 163 of 674
Shifting Out of NEUTRAL
To shift out of NEUTRAL:
1. Set the parking brake and apply the regular
brake pedal.
2. Turn the ignition to RUN with the engine off.
3. Shift the transmission to NEUTRAL (N).
4. Press the button for the desired transfer case
shift position (Two-Wheel Drive High,
Four-Wheel Drive High, AUTO 4WD, or
Four-Wheel Drive Low).5. After the transfer case has shifted out of
NEUTRAL the red light will go out.
6. Release the parking brake prior to moving the
vehicle.
7. You may start the engine and shift the
transmission to the desired position.
Excessively shifting the transfer case into or out of
the different modes may cause the transfer
case to enter the shift protection mode. This mode
protects the transfer case from possible damage
and only allows the transfer case to respond
to one shift per 10 seconds. The transfer case may
stay in this mode for up to three minutes.
163
Page 169 of 674
6. You may start the engine and shift the
transmission to the desired position.
Excessively shifting the transfer case into or
out of the different modes may cause the
transfer case to enter the shift protection
mode. This mode protects the transfer case
from possible damage and only allows
the transfer case to respond to one shift per
10 seconds. The transfer case may stay in this
mode for up to three minutes.
7. After the transfer case has shifted out of
NEUTRAL the red light will go out.
Parking Brake
To set the parking brake, hold the regular brake
pedal down with your right foot. Push down
the parking brake pedal with your left foot.
A chime will activate and the warning light will
�ash when the parking brake is applied and
the vehicle is moving at least 3 mph (5 km/h) for
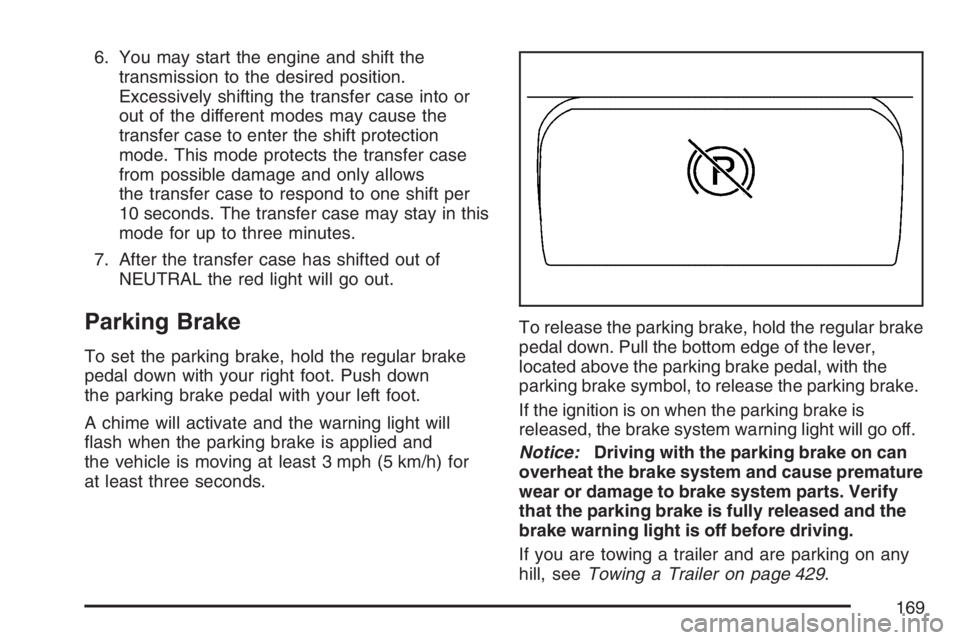
at least three seconds.To release the parking brake, hold the regular brake
pedal down. Pull the bottom edge of the lever,
located above the parking brake pedal, with the
parking brake symbol, to release the parking brake.
If the ignition is on when the parking brake is
released, the brake system warning light will go off.
Notice:Driving with the parking brake on can
overheat the brake system and cause premature
wear or damage to brake system parts. Verify
that the parking brake is fully released and the
brake warning light is off before driving.
If you are towing a trailer and are parking on any
hill, seeTowing a Trailer on page 429.
169
Page 191 of 674
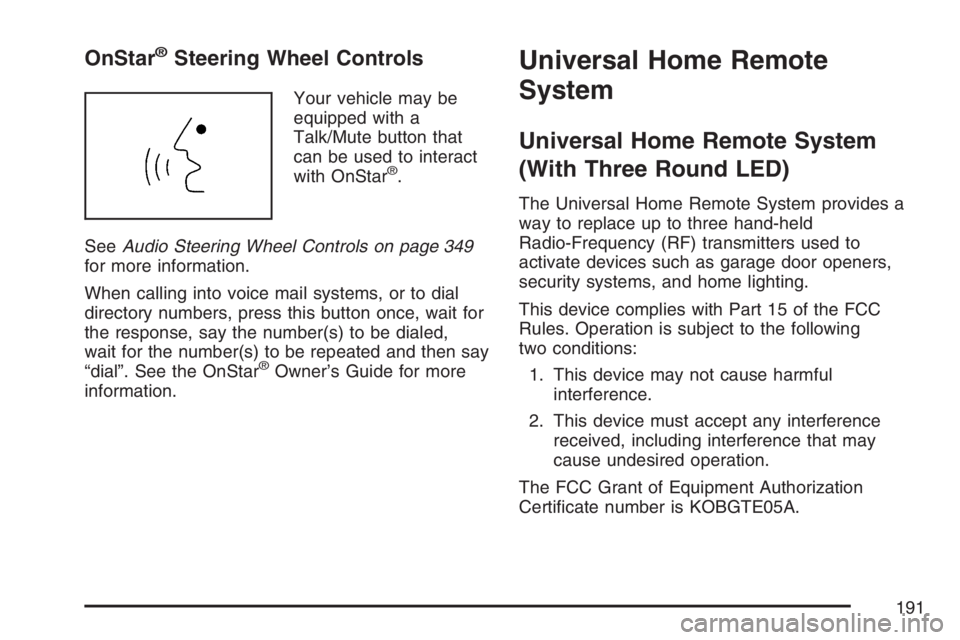
OnStar®Steering Wheel Controls
Your vehicle may be
equipped with a
Talk/Mute button that
can be used to interact
with OnStar
®.
SeeAudio Steering Wheel Controls on page 349
for more information.
When calling into voice mail systems, or to dial
directory numbers, press this button once, wait for
the response, say the number(s) to be dialed,
wait for the number(s) to be repeated and then say
“dial”. See the OnStar
®Owner’s Guide for more
information.
Universal Home Remote
System
Universal Home Remote System
(With Three Round LED)
The Universal Home Remote System provides a
way to replace up to three hand-held
Radio-Frequency (RF) transmitters used to
activate devices such as garage door openers,
security systems, and home lighting.
This device complies with Part 15 of the FCC
Rules. Operation is subject to the following
two conditions:
1. This device may not cause harmful
interference.
2. This device must accept any interference
received, including interference that may
cause undesired operation.
The FCC Grant of Equipment Authorization
Certi�cate number is KOBGTE05A.
191
Page 222 of 674
The headlamp control has four positions:
9(Off):Turn the control to this position to turn
off the Daytime Running Lamps (DRL) and
the automatic headlamps.
AUTO (Automatic):Turn the control to this
position to activate the automatic headlamp mode.
;(Parking Lamps):Turn the control to this
position to turn on the parking lamps, together with
the following:
Sidemarker Lamps
Taillamps
License Plate Lamps
Instrument Panel Lights
Roof Marker Lamps (If the vehicle has them)
5(Headlamps):Turn the control to this position
to turn on the headlamps, together with the
previously listed lamps and lights.Switch the headlamps from high to low-beam by
pushing the turn signal/high-beam lever towards
the instrument panel.
A circuit breaker protects the headlamps. If you
have an electrical overload, the headlamps
will �icker on and off. Have your headlamp wiring
checked right away if this happens.
Headlamps on Reminder
A reminder chime will sound when the headlamps
or parking lamps are manually turned on and
your ignition is off and a door is open. To disable
the chime, turn the light off.
Daytime Running Lamps (DRL)
Daytime Running Lamps (DRL) can make it easier
for others to see the front of your vehicle during
the day. DRL can be helpful in many different
driving conditions, but they can be especially
helpful in the short periods after dawn and before
sunset. Fully functional DRL are required on all
vehicles �rst sold in Canada.
222
Page 265 of 674

Here are some situations you may experience with
your fuel gage. None of these indicate a problem
with the fuel gage.
At the gas station, the fuel pump shuts off
before the gage reads full.
It takes a little more or less fuel to �ll up than
the fuel gage indicated. For example, the
gage may have indicated the tank was half full,
but it actually took a little more or less than
half the tank’s capacity to �ll the tank.
The gage goes back to empty when you turn
off the ignition.
If you have a diesel engine, see “Fuel Gage” in
the Diesel Engine Supplement.
Low Fuel Warning Light
The light next to the fuel gage will come on brie�y
when you are starting the engine.
This light comes on when the fuel tank is low on
fuel. To turn it off, add fuel to the fuel tank.
SeeFuel on page 470.
Driver Information Center (DIC)
The Driver Information Center (DIC) display is
located on the instrument panel cluster, below the
speedometer. If your vehicle has DIC buttons,
they are located on the steering wheel. The DIC
can display information such as the trip odometer,
fuel economy, customization features, and
warning/status messages.
If your vehicle does not have DIC steering wheel
buttons, you will not have all of the features
listed. Scroll through the odometer, trip odometer,
engine hours, and selected range if your vehicle
has an Allison Transmission
®by pressing the
trip odometer reset stem located on the instrument
panel cluster. Turn off, or acknowledge, DIC
messages by pressing the trip odometer reset
stem. SeeSpeedometer and Odometer on
page 246for information on features for vehicles
without DIC buttons.
265
Page 288 of 674
Language
To select your preference for display language,
press the select button while LANGUAGE is
displayed on the DIC. Pressing the select button
will scroll through the following languages:
ENGLISH
FRANCAIS (French)
ESPANOL (Spanish)
Choose one of the available options and press the
customization button while it is displayed on the
DIC to select it.
If you accidentally choose a language that you do
not want or understand, press and hold the
customization button and the trip information
button at the same time. The DIC will begin
scrolling through the languages in their particular
language. English will be in English, Francais
will be in French and Espanol will be in Spanish.
When you see the language that you would
like, release both buttons. The DIC will then
display the information in the language you chose.
You can also scroll through the different languages
by pressing and holding the trip reset stem for four
seconds, as long as you are in the odometer mode.
Display Units
Press the customization button until DISPLAY
UNITS appears in the display. To select English or
metric, press the select button while DISPLAY
UNITS is displayed on the DIC. Pressing the select
button will scroll through the following choices:
DISPLAY UNITS: ENGLISH
DISPLAY UNITS: METRIC
If you choose English, all information will be
displayed in English units. For example, distance
in miles and fuel economy in miles per gallon.
If you choose metric, all information will be
displayed in metric units. For example, distance in
kilometers and fuel economy in liters per
100 kilometers.
Choose one of the available options and press the
customization button while it is displayed on the
DIC to select it and end out of the customizable
options.
288
Page 326 of 674
To insert multiple CDs, do the following:
1. Turn the ignition on.
2. Press and hold the LOAD button for
two seconds.
You will hear a beep and the indicator light,
located to the right of the slot, will begin
to �ash and MULTI LOAD # will appear on the
display.
3. Once the light stops �ashing and turns green,
INSERT CD # will appear on the display, load
a CD. Insert the CD part way into the slot,
label side up. The player will pull the CD in.
Once the CD is loaded, the indicator light
will begin �ashing again. Once the light stops
�ashing and turns green, you can load
another CD. The CD player takes up to six
CDs. Do not try to load more than six.
To load more than one CD but less than six,
complete Steps 1 through 3. When �nished loading
CDs, press the LOAD button to cancel the
loading function. The radio will begin to play the
last CD loaded.
If more than one CD has been loaded, a number
for each CD will appear on the display.Playing a Speci�c Loaded CD
For every CD loaded, a number will appear on the
display. To play a speci�c CD, �rst press the
CD AUX button, then press the numbered
pushbutton that corresponds to the CD. A small
bar will appear under the CD number that is
playing and the track number will appear on the
display.
If an error appears on the display, see “CD
Messages” later in this section.
CD
Z(Eject):Press this button to eject CD(s).
To eject the CD that is currently playing, press
and release this button.
To eject multiple CDs, do the following:
1. Press and hold the CD eject button for
two seconds.
You will hear a beep and the indicator light,
located to the right of the slot, will begin
to �ash and EJECT ALL will appear on the
display.
2. Once the light stops �ashing, REMOVE CD #
will appear on the display. The CD will eject
and can be removed.
326
Page 350 of 674
Radio Reception
You may experience frequency interference and
static during normal radio reception if items
such as cellphone chargers, vehicle convenience
accessories, and external electronic devices
are plugged into the accessory power outlet. If
there is interference or static, unplug the item from
the accessory power outlet.
AM
The range for most AM stations is greater than for
FM, especially at night. The longer range can
cause station frequencies to interfere with each
other. For better radio reception, most AM
radio stations will boost the power levels during
the day, and then reduce these levels during
the night. Static can also occur when things like
storms and power lines interfere with radio
reception. When this happens, try reducing the
treble on your radio.
FM Stereo
FM stereo will give the best sound, but FM signals
will reach only about 10 to 40 miles (16 to 65 km).
Tall buildings or hills can interfere with FM
signals, causing the sound to fade in and out.
XM™ Satellite Radio Service
XM™ Satellite Radio Service gives digital radio
reception from coast-to-coast in the 48 contiguous
United States, and in Canada. Just as with FM,
tall buildings or hills can interfere with satellite
radio signals, causing the sound to fade in and out.
In addition, traveling or standing under heavy
foliage, bridges, garages, or tunnels may cause
loss of the XM™ signal for a period of time.
The radio may display NO SIGNAL to indicate
interference.
Care of the Cassette Tape Player
A tape player that is not cleaned regularly
can cause reduced sound quality, ruined
cassettes, or a damaged mechanism. Cassette
tapes should be stored in their cases away
from contaminants, direct sunlight, and extreme
heat. If they are not, they may not operate properly
or may cause failure of the tape player.
350