2007 CHEVROLET IMPALA remote start
[x] Cancel search: remote startPage 135 of 460
Some entry gates and garage door openers
may require you to substitute Step 3 with
the procedure noted in “Gate Operator and
Canadian Programming” later in this section.
4. The indicator light will �ash slowly at �rst and
then rapidly after Universal Home Remote
successfully receives the frequency signal
from the hand-held transmitter. Release both
buttons.
5. Press and hold the newly-trained Universal
Home Remote button and observe the
indicator light.
If the indicator light stays on continuously,
programming is complete and your device
should activate when the Universal Home
Remote button is pressed and released.
To program the remaining two Universal Home
Remote buttons, begin with Step 2 under
“Programming Universal Home Remote.”
Do not repeat Step 1 as this will erase all of
the programmed channels.
If the indicator light blinks rapidly for
two seconds and then turns to a constant light,
continue with Steps 6 through 8 following to
complete the programming of a rolling-code
device, most commonly, a garage door opener.6. Locate in the garage, the garage door opener
receiver (motor-head unit). Locate the “Learn”
or “Smart” button. This can usually be
found where the hanging antenna wire is
attached to the motor-head unit.
7. Firmly press and release the “Learn” or
“Smart” button. The name and color of
the button may vary by manufacturer.
You will have 30 seconds to start Step 8.
8. Return to the vehicle. Firmly press and hold the
programmed Universal Home Remote button
for two seconds, then release it. Immediately
press and hold the same button a second time
for two seconds, then release it. Immediately,
press and hold the same button a third time for
two seconds, then release.
The Universal Home Remote should now
activate the rolling-code device.
To program the remaining two Universal
Home Remote buttons, begin with Step 2 of
“Programming Universal Home Remote.” You do
not want to repeat Step 1, as this will erase all
previous programming from the Universal Home
Remote buttons.
135
Page 179 of 460
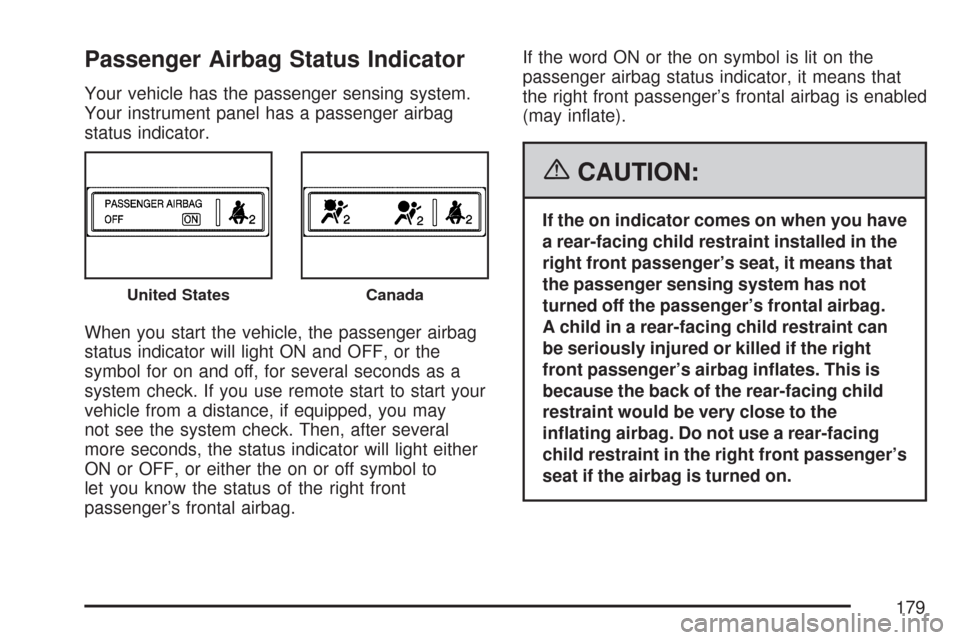
Passenger Airbag Status Indicator
Your vehicle has the passenger sensing system.
Your instrument panel has a passenger airbag
status indicator.
When you start the vehicle, the passenger airbag
status indicator will light ON and OFF, or the
symbol for on and off, for several seconds as a
system check. If you use remote start to start your
vehicle from a distance, if equipped, you may
not see the system check. Then, after several
more seconds, the status indicator will light either
ON or OFF, or either the on or off symbol to
let you know the status of the right front
passenger’s frontal airbag.If the word ON or the on symbol is lit on the
passenger airbag status indicator, it means that
the right front passenger’s frontal airbag is enabled
(may in�ate).
{CAUTION:
If the on indicator comes on when you have
a rear-facing child restraint installed in the
right front passenger’s seat, it means that
the passenger sensing system has not
turned off the passenger’s frontal airbag.
A child in a rear-facing child restraint can
be seriously injured or killed if the right
front passenger’s airbag in�ates. This is
because the back of the rear-facing child
restraint would be very close to the
in�ating airbag. Do not use a rear-facing
child restraint in the right front passenger’s
seat if the airbag is turned on.
United StatesCanada
179
Page 203 of 460
ERROR
This message displays while viewing the odometer
or trip odometers if there is a problem with the
instrument panel cluster. See your dealer for
service.
FUEL LEVEL LOW
This message displays when your vehicle is low
on fuel. Re�ll the fuel tank as soon as possible.
SeeFuel Gage on page 190andFilling the Tank
on page 302for more information.
HOOD OPEN
If your vehicle has the remote start feature, this
message displays when the hood is not closed
properly. When this message appears, make sure
that the hood is closed completely. SeeHood
Release on page 305.
ICE POSSIBLE DRIVE WITH CARE
This message displays when the outside air
temperature is cold enough to create icy road
conditions. Adjust your driving accordingly.
LEFT REAR DOOR OPEN
This message displays when the driver’s side rear
door is not closed properly. When this message
appears, make sure that the driver’s side rear door
is closed completely.
OIL PRESSURE LOW STOP ENGINE
Notice:If you drive your vehicle while
the engine oil pressure is low, severe engine
damage may occur. If a low oil pressure
warning appears on the Driver Information
Center (DIC), stop the vehicle as soon as
possible. Do not drive the vehicle until the
cause of the low oil pressure is corrected. See
Engine Oil on page 310for more information.
This message displays when the vehicle’s
engine oil pressure is low. The oil pressure light
also appears on the instrument panel cluster.
SeeOil Pressure Light on page 188.
Stop the vehicle immediately, as engine damage
can result from driving a vehicle with low oil
pressure. Have the vehicle serviced by your dealer
as soon as possible when this message is
displayed.
203
Page 213 of 460
NO CHANGE:No change will be made to this
feature. The current setting will remain.
Select one of the available choices and press the
set/reset button while it is displayed on the
DIC to select it.
CHIME VOLUME
This feature allows you to select the volume level
of the chime.
Press the customization button until CHIME
VOLUME appears on the DIC display. Press the
set/reset button to access the settings for this
feature. Then press the customization button to
scroll through the following choices:
NORMAL (default):The chime volume will be set
to a normal level.
LOUD:The chime volume will be set to a
loud level.
NO CHANGE:No change will be made to this
feature. The current setting will remain.
Select one of the available choices and press the
set/reset button while it is displayed on the
DIC to select it.
REMOTE START
If your vehicle has this feature, it allows you to
turn the remote start off or on. The remote
start feature allows you to start the engine from
outside of the vehicle using your Remote Keyless
Entry (RKE) transmitter. See “Remote Vehicle
Start” underRemote Keyless Entry (RKE) System
Operation on page 91for more information.
Press the customization button until REMOTE
START appears on the DIC display. Press
the set/reset button to access the settings for this
feature. Then press the customization button
to scroll through the following choices:
OFF:The remote start feature will be disabled.
ON (default):The remote start feature will
be enabled.
NO CHANGE:No change will be made to this
feature. The current setting will remain.
Select one of the available choices and press the
set/reset button while it is displayed on the
DIC to select it.
213
Page 307 of 460
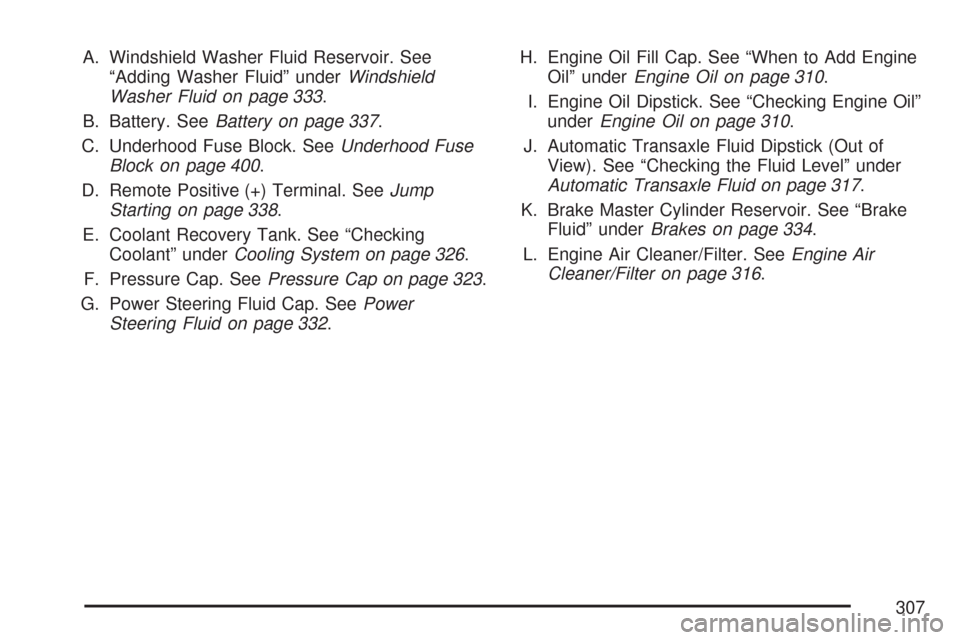
A. Windshield Washer Fluid Reservoir. See
“Adding Washer Fluid” underWindshield
Washer Fluid on page 333.
B. Battery. SeeBattery on page 337.
C. Underhood Fuse Block. SeeUnderhood Fuse
Block on page 400.
D. Remote Positive (+) Terminal. SeeJump
Starting on page 338.
E. Coolant Recovery Tank. See “Checking
Coolant” underCooling System on page 326.
F. Pressure Cap. SeePressure Cap on page 323.
G. Power Steering Fluid Cap. SeePower
Steering Fluid on page 332.H. Engine Oil Fill Cap. See “When to Add Engine
Oil” underEngine Oil on page 310.
I. Engine Oil Dipstick. See “Checking Engine Oil”
underEngine Oil on page 310.
J. Automatic Transaxle Fluid Dipstick (Out of
View). See “Checking the Fluid Level” under
Automatic Transaxle Fluid on page 317.
K. Brake Master Cylinder Reservoir. See “Brake
Fluid” underBrakes on page 334.
L. Engine Air Cleaner/Filter. SeeEngine Air
Cleaner/Filter on page 316.
307
Page 309 of 460
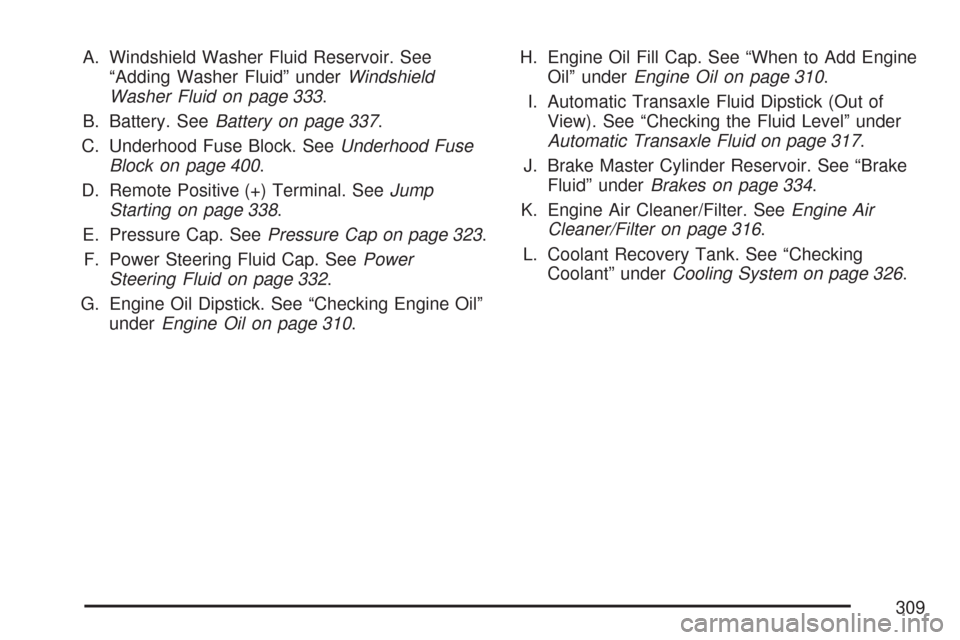
A. Windshield Washer Fluid Reservoir. See
“Adding Washer Fluid” underWindshield
Washer Fluid on page 333.
B. Battery. SeeBattery on page 337.
C. Underhood Fuse Block. SeeUnderhood Fuse
Block on page 400.
D. Remote Positive (+) Terminal. SeeJump
Starting on page 338.
E. Pressure Cap. SeePressure Cap on page 323.
F. Power Steering Fluid Cap. SeePower
Steering Fluid on page 332.
G. Engine Oil Dipstick. See “Checking Engine Oil”
underEngine Oil on page 310.H. Engine Oil Fill Cap. See “When to Add Engine
Oil” underEngine Oil on page 310.
I. Automatic Transaxle Fluid Dipstick (Out of
View). See “Checking the Fluid Level” under
Automatic Transaxle Fluid on page 317.
J. Brake Master Cylinder Reservoir. See “Brake
Fluid” underBrakes on page 334.
K. Engine Air Cleaner/Filter. SeeEngine Air
Cleaner/Filter on page 316.
L. Coolant Recovery Tank. See “Checking
Coolant” underCooling System on page 326.
309
Page 339 of 460
Notice:Ignoring these steps could result in
costly damage to your vehicle that would
not be covered by your warranty.
Trying to start your vehicle by pushing or
pulling it will not work, and it could damage
your vehicle.
1. Check the other vehicle. It must have a
12-volt battery with a negative ground system.
Notice:If the other vehicle’s system is not a
12-volt system with a negative ground,
both vehicles can be damaged. Only use
vehicles with 12-volt systems with negative
grounds to jump start your vehicle.
2. Get the vehicles close enough so the jumper
cables can reach, but be sure the vehicles are
not touching each other. If they are, it could
cause a ground connection you do not want.
You would not be able to start your vehicle, and
the bad grounding could damage the electrical
systems.
To avoid the possibility of the vehicles rolling,
set the parking brake �rmly on both vehicles
involved in the jump start procedure. Put an
automatic transaxle in PARK (P) or a manual
transaxle in NEUTRAL before setting the
parking brake.Notice:If you leave your radio or other
accessories on during the jump starting
procedure, they could be damaged. The repairs
would not be covered by your warranty.
Always turn off your radio and other
accessories when jump starting your vehicle.
3. Turn off the ignition on both vehicles.
Unplug unnecessary accessories plugged into
the cigarette lighter or the accessory power
outlets. Turn off the radio and all lamps
that are not needed. This will avoid sparks
and help save both batteries. And it could
save the radio!
4. Open the hoods and locate the batteries.
Find the positive (+) and negative (−)
terminal locations on each vehicle.
You will not need to access your battery for
jump starting. Your vehicle has a remote
positive (+) jump starting terminal for that
purpose. The remote positive (+) terminal is
located in the engine compartment on the
passenger’s side of the vehicle, on the
underhood fuse block. SeeEngine
Compartment Overview on page 306
for more information on location.
339
Page 340 of 460
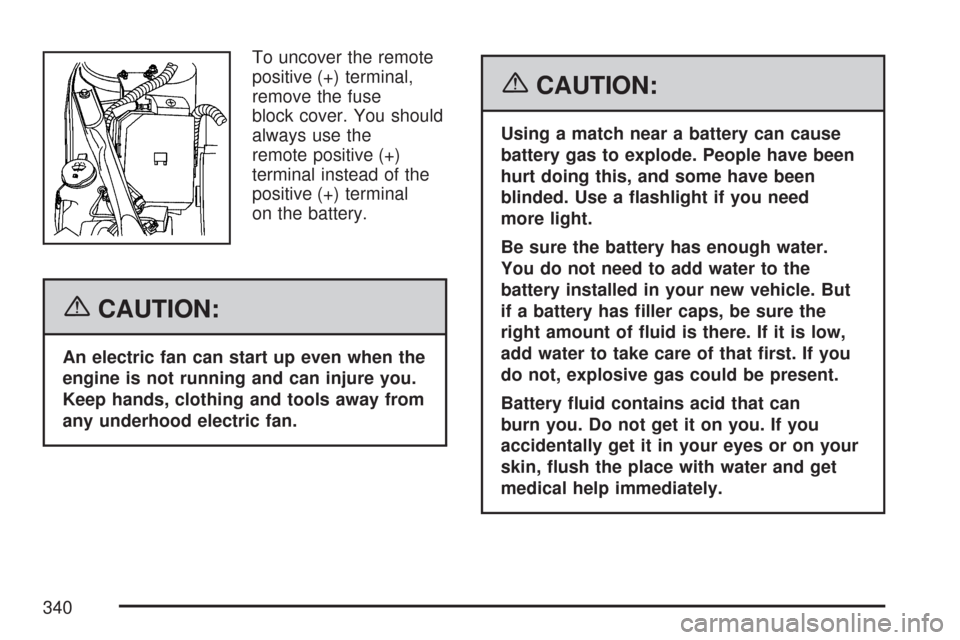
To uncover the remote
positive (+) terminal,
remove the fuse
block cover. You should
always use the
remote positive (+)
terminal instead of the
positive (+) terminal
on the battery.
{CAUTION:
An electric fan can start up even when the
engine is not running and can injure you.
Keep hands, clothing and tools away from
any underhood electric fan.
{CAUTION:
Using a match near a battery can cause
battery gas to explode. People have been
hurt doing this, and some have been
blinded. Use a �ashlight if you need
more light.
Be sure the battery has enough water.
You do not need to add water to the
battery installed in your new vehicle. But
if a battery has �ller caps, be sure the
right amount of �uid is there. If it is low,
add water to take care of that �rst. If you
do not, explosive gas could be present.
Battery �uid contains acid that can
burn you. Do not get it on you. If you
accidentally get it in your eyes or on your
skin, �ush the place with water and get
medical help immediately.
340