2007 CHEVROLET EQUINOX change time
[x] Cancel search: change timePage 247 of 492
O(Power):Press this knob to turn the radio on.
Turn this knob clockwise or counterclockwise to
increase or decrease the volume. A single
press turns the radio off. Press and holding the
knob for more than two seconds turns off the entire
radio and rear seat entertainment system and
starts the parental control feature which prevents
the rear seat occupant from operating the Rear
Seat Audio (RSA) system or remote control.
A lock symbol appears next to the clock display.
The parental control feature remains on until
a subsequent press and hold of the power button
is performed (more than two seconds), or until
the driver turns the ignition off and exits the
vehicle.
f(Tune):Turn this knob to change tracks on a
CD or DVD, to manually tune a radio station,
or to change clock or date settings, while in the
clock or date setting mode. See the information
given earlier in this section speci�c to the
radio, CD, and the DVD. Also, seeSetting the
Time (Without Date Display) on page 216or
Setting the Time (With Date Display) on page 217,
for setting the clock and date.
©SEEK (Previous Track/Chapter):Press this
button to return to the start of the current track
or chapter. Press this button again to go to
the previous track or chapter. This button may
not work when the DVD is playing the copyright
information or the previews.
SEEK
¨(Next Track/Chapter):Press this
button to go to the next track or chapter. This
button may not work when the DVD is playing
the copyright information or the previews.
sREV (Reverse):Press this button to fast
reverse the CD or DVD, �ve times the normal
speed. The radio displays the elapsed time while
in fast reverse. To stop fast reversing, press
this button again. This button may not work when
the DVD is playing the copyright information or
the previews.
\FWD (Fast Forward):Press this button to
fast forward the CD or DVD. The radio displays the
elapsed time and fast forwards �ve times the
normal speed. To stop fast forwarding, press this
button again. This button may not work when
the DVD is playing the copyright information or
the previews.
247
Page 271 of 492
To adjust the volume on the headphones, use the
volume control located on the right side.
If the remote control becomes lost or damaged, a
new universal remote control can be purchased.
If this happens, make sure the universal
remote control uses a code set of Toshiba
®.
Notice:Do not store the headphones in heat
or direct sunlight. This could damage the
headphones and repairs will not be covered by
your warranty. Keep the headphones stored
in a cool, dry place.
The foam ear pads attached to the headphones
may become worn or damaged if they are
not handled or stored properly. If the foam ear
pads do become damaged or worn out, the pads
can be replaced separately from the headphone
set. It is not necessary to replace the complete
headphone set. The headphone replacement
foam ear pads can be ordered in pairs. See
your dealer for more information.
Battery Replacement
To change the batteries, do the following:
1. Turn the screw with a coin or screw driver to
loosen, then slide open the battery door
located on the left side of the headphones.
2. Replace the two AAA batteries in the
compartment. Make sure that they are
installed correctly, using the diagram on the
inside of the battery compartment.
3. Replace the battery door and tighten the
door screw.
If the headphones are to be stored for a long
period of time, remove the batteries and keep
them in a cool, dry place.
271
Page 277 of 492
{(Subtitles):Press this button to turn ON/OFF
subtitles and to move through subtitle options
when a DVD is playing. The format and content of
this function will vary for each disc.
AUX (Auxiliary):Press this button to switch the
system between the DVD player and an auxiliary
source.
d(Camera):Press this button to change camera
angles on DVDs that have this feature when a
DVD is playing. The format and content of
this function will vary for each disc.
1 through 0 (Numeric Keypad):The numeric
keypad provides the capability of direct chapter or
track number selection.
\(Clear):Press this button within three seconds
after inputting a numeric selection, to clear all
numeric inputs.
}10 (Double Digit Entries):Press this button to
select chapter or track numbers greater than 9.
Press this button before inputting the number.
Battery Replacement
To change the remote control batteries, do the
following:
1. Remove the battery compartment door
located on the bottom of the remote control.
2. Replace the two AA batteries in the
compartment. Make sure that they are
installed correctly, using the diagram on
the inside of the battery compartment.
3. Close the battery door securely.
If the remote control is to be stored for a long
period of time, remove the batteries and keep
them in a cool, dry place.
277
Page 291 of 492
Remember: ABS does not change the time you
need to get your foot up to the brake pedal
or always decrease stopping distance. If you get
too close to the vehicle in front of you, you will not
have time to apply your brakes if that vehicle
suddenly slows or stops. Always leave enough
room up ahead to stop, even though you
have ABS.
Using ABS
Do not pump the brakes. Just hold the brake
pedal down �rmly and let anti-lock work for you.
You may hear the anti-lock pump or motor
operate, and feel the brake pedal pulsate, but
this is normal.
Braking in Emergencies
With ABS, you can steer and brake at the same
time. In many emergencies, steering can help
you more than even the very best braking.
Traction Control System (TCS)
Your vehicle has a traction control system that
limits wheel spin. This is especially useful in
slippery road conditions. The system operates
only if it senses that one or more of the wheels
are spinning or beginning to lose traction.
When this happens, the system works the brakes
and reduces engine power to limit wheel spin.
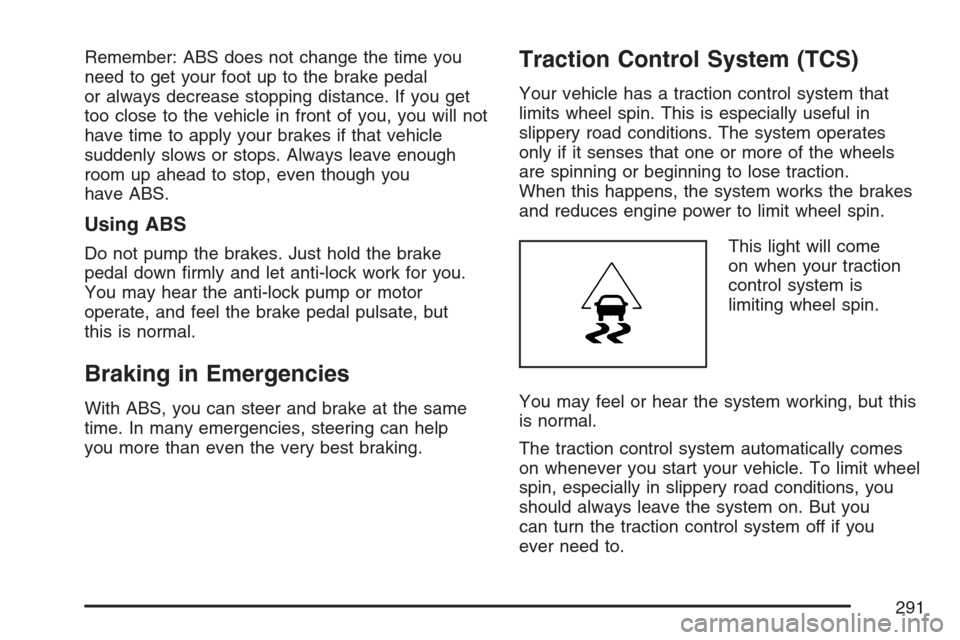
This light will come
on when your traction
control system is
limiting wheel spin.
You may feel or hear the system working, but this
is normal.
The traction control system automatically comes
on whenever you start your vehicle. To limit wheel
spin, especially in slippery road conditions, you
should always leave the system on. But you
can turn the traction control system off if you
ever need to.
291
Page 298 of 492
So here are some tips for passing:
Drive ahead. Look down the road, to the
sides, and to crossroads for situations
that might affect your passing patterns. If you
have any doubt whatsoever about making
a successful pass, wait for a better time.
Watch for traffic signs, pavement markings,
and lines. If you can see a sign up ahead
that might indicate a turn or an intersection,
delay your pass. A broken center line
usually indicates it is all right to pass, providing
the road ahead is clear. Never cross a solid
line on your side of the lane or a double
solid line, even if the road seems empty of
approaching traffic.
Do not get too close to the vehicle you want
to pass while you are awaiting an opportunity.
For one thing, following too closely reduces
your area of vision, especially if you are
following a larger vehicle. Also, you will not
have adequate space if the vehicle ahead
suddenly slows or stops. Keep back a
reasonable distance.
When it looks like a chance to pass is
coming up, start to accelerate but stay in
the right lane and do not get too close.Time your move so you will be increasing
speed as the time comes to move into
the other lane. If the way is clear to pass,
you will have a running start that more than
makes up for the distance you would lose
by dropping back. And if something happens
to cause you to cancel your pass, you
need only slow down and drop back again
and wait for another opportunity.
If other vehicles are lined up to pass a slow
vehicle, wait your turn. But take care that
someone is not trying to pass you as you pull
out to pass the slow vehicle. Remember to
glance over your shoulder and check the
blind spot.
Check your vehicle’s mirrors, glance over
your shoulder, and start your left lane
change signal before moving out of the right
lane to pass. When you are far enough ahead
of the passed vehicle to see its front in your
vehicle’s inside mirror, activate the right
lane change signal and move back into the
right lane. Remember that your vehicle’s
passenger side outside mirror is convex.
The vehicle you just passed may seem to
be farther away from you than it really is.
298
Page 323 of 492
To identify the trailering capacity of your vehicle,
you should read the information in “Weight of
the Trailer” that appears later in this section.
Trailering is different than just driving your vehicle
by itself. Trailering means changes in handling,
acceleration, braking, durability, and fuel economy.
Successful, safe trailering takes correct equipment,
and it has to be used properly.
That is the reason for this section. In it are many
time-tested, important trailering tips and safety
rules. Many of these are important for your safety
and that of your passengers. So please read
this section carefully before you pull a trailer.
If You Do Decide To Pull A Trailer
If you do, here are some important points:
There are many different laws, including speed
limit restrictions, having to do with trailering.
Make sure your rig will be legal, not only where
you live but also where you will be driving.
A good source for this information can be state
or provincial police.
Consider using a sway control. See “Hitches”
later in this section.
Do not tow a trailer at all during the �rst
500 miles (800 km) your new vehicle is driven.
Your engine, axle or other parts could be
damaged.
During the �rst 500 miles (800 km) that
you tow a trailer, do not drive over 50 mph
(80 km/h) and do not make starts at full
throttle. This helps your engine and other parts
of your vehicle wear in at the heavier loads.
Three important considerations have to do
with weight:
Weight of the trailer
Weight of the trailer tongue
Weight on your vehicle’s tires
323
Page 347 of 492
Notice:Use only engine oil identi�ed as
meeting GM Standard GM6094M and showing
the American Petroleum Institute Certi�ed For
Gasoline Engines starburst symbol. Failure to
use the recommended oil can result in engine
damage not covered by your warranty.
GM Goodwrench
®oil meets all the requirements
for your vehicle.
Engine Oil Additives
Do not add anything to the oil. The recommended
oils with the starburst symbol that meet GM
Standard GM6094M are all you will need for good
performance and engine protection.
Engine Oil Life System
When to Change Engine Oil
Your vehicle has a computer system that lets you
know when to change the engine oil and �lter. This
is based on engine revolutions and engine
temperature, and not on mileage. Based on driving
conditions, the mileage at which an oil change will
be indicated can vary considerably. For the oil life
system to work properly, you must reset the system
every time the oil is changed.When the system has calculated that oil life has
been diminished, it will indicate that an oil change is
necessary. A change engine oil light and a
CHANGE ENGINE OIL SOON message will come
on. Change your oil as soon as possible within the
next 600 miles (1 000 km). It is possible that, if you
are driving under the best conditions, the oil life
system may not indicate that an oil change is
necessary for over a year. However, your engine oil
and �lter must be changed at least once a year and
at this time the system must be reset. Your dealer
has GM-trained service people who will perform this
work using genuine GM parts and reset the system.
It is also important to check your oil regularly and
keep it at the proper level.
If the system is ever reset accidentally, you must
change your oil at 3,000 miles (5 000 km)
since your last oil change. Remember to reset the
oil life system whenever the oil is changed.
347
Page 348 of 492
How to Reset the Engine Oil Life
System
The Engine Oil Life System calculates when to
change your engine oil and �lter based on vehicle
use. Anytime your oil is changed, reset the
system so it can calculate when the next oil
change is required. If a situation occurs where you
change your oil prior to a change engine oil light
or CHANGE ENGINE OIL SOON message
being turned on, reset the system.
1. Turn the ignition key to RUN with the
engine off.
2. Fully press and release the accelerator pedal
three times within �ve seconds.
The change engine oil light will �ash while the
system is resetting.
3. When the light stops �ashing, turn the key
to LOCK.
If the light or message comes back on and stays
on when you start your vehicle, the engine oil
life system has not reset. Repeat the procedure.
What to Do with Used Oil
Used engine oil contains certain elements that may
be unhealthy for your skin and could even cause
cancer. Do not let used oil stay on your skin for very
long. Clean your skin and nails with soap and
water, or a good hand cleaner. Wash or properly
dispose of clothing or rags containing used engine
oil. See the manufacturer’s warnings about the use
and disposal of oil products.
Used oil can be a threat to the environment. If you
change your own oil, be sure to drain all the oil from
the �lter before disposal. Never dispose of oil by
putting it in the trash, pouring it on the ground, into
sewers, or into streams or bodies of water. Instead,
recycle it by taking it to a place that collects used
oil. If you have a problem properly disposing of your
used oil, ask your dealer, a service station, or a
local recycling center for help.
348