2007 CHEVROLET AVALANCHE change time
[x] Cancel search: change timePage 3 of 618

GENERAL MOTORS, GM, the GM Emblem,
CHEVROLET, the CHEVROLET Emblem, and
the names AVALANCHE and Z71 are registered
trademarks of General Motors Corporation.
This manual includes the latest information at
the time it was printed. We reserve the right
to make changes after that time without further
notice. For vehicles �rst sold in Canada, substitute
the name “General Motors of Canada Limited”
for Chevrolet Motor Division whenever it appears
in this manual.This manual describes features that may be
available in this model, but your vehicle may not
have all of them. For example, more than one
entertainment system may be offered or your
vehicle may have been ordered without a front
passenger or rear seats.
Keep this manual in the vehicle, so it will be there
if it is ever needed. If the vehicle is sold, leave
this manual in the vehicle.
Canadian Owners
A French language copy of this manual can be
obtained from your dealer or from:
Helm, Incorporated
P.O. Box 07130
Detroit, MI 48207
Litho in U.S.A.
Part No. 15854797 B Second Printing
©2006 General Motors Corporation. All Rights Reserved.
3
Page 48 of 618

Infants and Young Children
Everyone in a vehicle needs protection! This
includes infants and all other children. Neither the
distance traveled nor the age and size of the
traveler changes the need, for everyone, to use
safety restraints. In fact, the law in every state
in the United States and in every Canadian
province says children up to some age must be
restrained while in a vehicle.
{CAUTION:
Children can be seriously injured or
strangled if a shoulder belt is wrapped
around their neck and the safety belt
continues to tighten. Never leave children
unattended in a vehicle and never allow
children to play with the safety belts.Every time infants and young children ride in
vehicles, they should have the protection provided
by appropriate restraints. Young children should
not use the vehicle’s adult safety belts alone,
unless there is no other choice. Instead, they need
to use a child restraint.
{CAUTION:
People should never hold a baby in their
arms while riding in a vehicle. A baby
does not weigh much — until a crash.
During a crash a baby will become so
heavy it is not possible to hold it. For
example, in a crash at only 25 mph
(40 km/h), a 12 lb (5.5 kg) baby will
suddenly become a 240 lb (110 kg) force
on a person’s arms. A baby should be
secured in an appropriate restraint.
48
Page 98 of 618

Battery Replacement
Under normal use, the battery in your RKE
transmitter should last about four years.
The battery is weak if the transmitter will not work
at the normal range in any location. If you have
to get close to your vehicle before the transmitter
works, it is probably time to change the battery.
The REPLACE BATTERY IN REMOTE KEY
message in the vehicle’s DIC will display if the
RKE transmitter battery is low. See “REPLACE
BATTERY IN REMOTE KEY” underDIC Warnings
and Messages on page 267for additional
information.
Notice:When replacing the battery, use
care not to touch any of the circuitry.
Static from your body transferred to these
surfaces may damage the transmitter.To replace the battery in the RKE transmitter do
the following:
1. Use a �at object with a thin edge into the
notch, located below the vehicle locator/panic
alarm button, and separate the bottom half
from the top half of the transmitter.
2. Remove the old battery, but do not use a
metal object to do this.
98
Page 125 of 618

Your vehicle has a Computer-Controlled
Cranking System. This feature assists in
starting the engine and protects components. If
the ignition key is turned to the START position,
and then released when the engine begins
cranking, the engine will continue cranking for a
few seconds or until the vehicle starts. If the
engine does not start and the key is held in
START for many seconds, cranking will be
stopped after 15 seconds to prevent cranking
motor damage. To prevent gear damage, this
system also prevents cranking if the engine is
already running. Engine cranking can be
stopped by turning the ignition switch to the
ACCESSORY or LOCK position.
Notice:Cranking the engine for long periods
of time, by returning the key to the START
position immediately after cranking has
ended, can overheat and damage the cranking
motor, and drain the battery. Wait at least
15 seconds between each try, to allow
the cranking motor to cool down.2. If the engine does not start after 5-10 seconds,
especially in very cold weather (below 0°F
or−18°C), it could be �ooded with too
much gasoline. Try pushing the accelerator
pedal all the way to the �oor and holding
it there as you hold the key in START for
up to a maximum of 15 seconds. Wait at least
15 seconds between each try, to allow the
cranking motor to cool down. When the engine
starts, let go of the key and accelerator.
If the vehicle starts brie�y but then stops
again, do the same thing. This clears the extra
gasoline from the engine. Do not race the
engine immediately after starting it. Operate
the engine and transmission gently until the
oil warms up and lubricates all moving parts.
Notice:Your engine is designed to work with
the electronics in your vehicle. If you add
electrical parts or accessories, you could
change the way the engine operates. Before
adding electrical equipment, check with your
dealer. If you do not, your engine might not
perform properly. Any resulting damage would
not be covered by your vehicle’s warranty.
125
Page 146 of 618

Temperature and Compass Display
Press the on/off button, located on the far left of
the mirror face, to turn the compass/temperature
display on or off.
If the display reads CAL, the compass needs
to be calibrated. For more information, see
“Compass Calibration” following.
To adjust between Fahrenheit and Celsius, do the
following:
1. Press and hold the on/off button until either a
�ashing F or C appears.
2. Press the button again to change the display
to the desired unit of measurement. After
approximately four seconds of inactivity,
the new unit will be locked in and the
compass/temperature display will return.
If an abnormal temperature reading is displayed
for an extended period of time, please see
your GM dealer. Under certain circumstances,
a delay in updating the temperature is normal.
Automatic Dimming Mirror Operation
The automatic dimming mirror function is turned
on automatically each time the ignition is started.
To operate the automatic dimming mirror, do
the following:
1. Make sure the green indicator light, located to
the left of the on/off button, is lit. If it is not,
press and hold the on/off button until the
green light comes on, indicating that the mirror
is in automatic dimming mode.
2. Turn off the automatic dimming mirror function
by pressing and holding the on/off button until
the green indicator light turns off.
146
Page 164 of 618

6. Press and hold the button you would like to use
to control the garage door until the garage door
moves. The indicator light above the selected
button should slowly blink. You may need to
hold the button from �ve to 55 seconds.
7. Immediately release the button when the
garage door moves. The indicator light will
blink rapidly until programming is complete.
8. Press and release the button again. The
garage door should move, con�rming that
programming is successful and complete.
To program another device such as an additional
garage door opener, a security device, or
home lighting, repeat Steps 1 through 8, choosing
a different function button in Step 7 than what
you used for the garage door opener.Programming Universal Home
Remote — Rolling Code
Rolling code garage door openers are used for
garage doors produced after 1996 and are
code protected. Rolling code means the coded
signal is changed every time your remote control
garage door opener is used.
Programming a rolling code garage door opener
involves time-sensitive actions, so read the
entire procedure before you begin. If you do not
follow these actions, the device will time out
and you will have to repeat the procedure.
Follow these steps to program up to three channels:
1. Press the two outside buttons at the same
time for one to two seconds, and immediately
release them.
164
Page 201 of 618

Instrument Panel Overview........................ 204
Hazard Warning Flashers.......................... 206
Other Warning Devices............................. 206
Horn.......................................................... 206
Tilt Wheel.................................................. 207
Turn Signal/Multifunction Lever.................. 207
Turn and Lane-Change Signals................. 208
Headlamp High/Low-Beam Changer.......... 209
Flash-to-Pass............................................ 209
Windshield Wipers..................................... 209
Rainsense™ II Wipers............................... 210
Windshield Washer.................................... 211
Cruise Control........................................... 212
Exterior Lamps.......................................... 215
Headlamps on Reminder........................... 216
Daytime Running Lamps (DRL)................. 216
Automatic Headlamp System..................... 217
Fog Lamps................................................ 218
Exterior Cargo Lamps................................ 219
Instrument Panel Brightness...................... 219
Dome Lamps............................................. 220
Dome Lamp Override................................ 220
Entry/Exit Lighting...................................... 220
Reading Lamps......................................... 220
Electric Power Management...................... 220Battery Run-Down Protection..................... 221
Ultrasonic Rear Parking Assist (URPA)........ 222
Accessory Power Outlet(s)........................ 226
Ashtray(s) and Cigarette Lighter................ 226
Climate Controls......................................... 227
Dual Climate Control System..................... 227
Dual Automatic Climate Control System....... 230
Outlet Adjustment...................................... 238
Warning Lights, Gages, and Indicators..... 239
Instrument Panel Cluster........................... 240
Speedometer and Odometer...................... 241
Trip Odometer........................................... 241
Tachometer............................................... 241
Safety Belt Reminder Light........................ 241
Passenger Safety Belt Reminder Light......... 242
Airbag Readiness Light............................. 242
Passenger Airbag Status Indicator............. 243
Charging System Light.............................. 245
Voltmeter Gage......................................... 246
Brake System Warning Light..................... 246
Anti-Lock Brake System Warning Light........ 248
StabiliTrak
®Indicator Light......................... 248
Engine Coolant Temperature Gage............ 249
Tire Pressure Light.................................... 250
Section 3 Instrument Panel
201
Page 208 of 618

Turn and Lane-Change Signals
The turn signal has two upward (for right) and
two downward (for left) positions. These positions
allow you to signal a turn or a lane change.
To signal a turn, move the lever all the way up or
down. When the turn is �nished, the lever will
return automatically.
To signal a lane change, raise or lower the
lever for less than one second until the arrow
starts to �ash. This will cause the turn signals
to automatically �ash three times. It will �ash
six times if the tow-haul mode is active. Holding
the turn signal lever for more than one second will
cause the turn signals to �ash until you release
the lever. The lever will return by itself when
it is released.
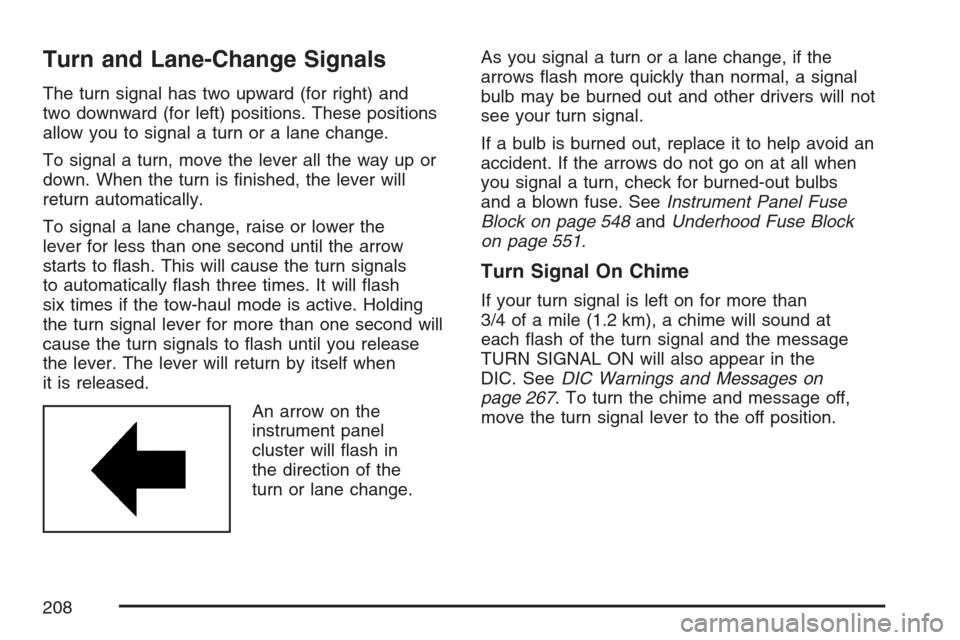
An arrow on the
instrument panel
cluster will �ash in
the direction of the
turn or lane change.As you signal a turn or a lane change, if the
arrows �ash more quickly than normal, a signal
bulb may be burned out and other drivers will not
see your turn signal.
If a bulb is burned out, replace it to help avoid an
accident. If the arrows do not go on at all when
you signal a turn, check for burned-out bulbs
and a blown fuse. SeeInstrument Panel Fuse
Block on page 548andUnderhood Fuse Block
on page 551.
Turn Signal On Chime
If your turn signal is left on for more than
3/4 of a mile (1.2 km), a chime will sound at
each �ash of the turn signal and the message
TURN SIGNAL ON will also appear in the
DIC. SeeDIC Warnings and Messages on
page 267. To turn the chime and message off,
move the turn signal lever to the off position.
208