Page 4 of 173
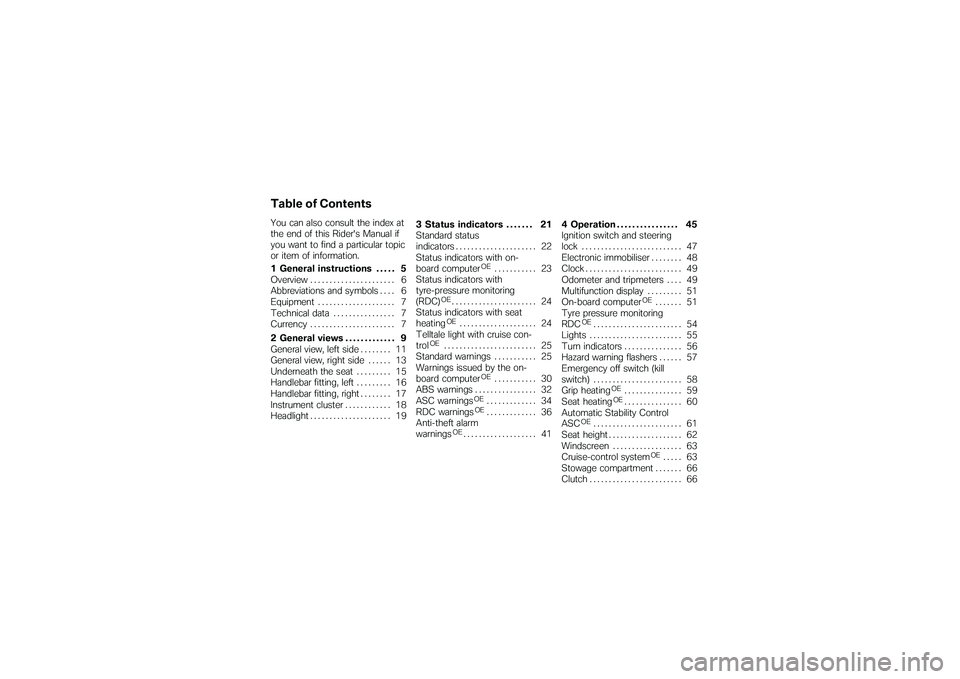
Table of ContentsYou can also consult the index at
the end of this Rider's Manual if
you want to find a particular topic
or item of information.
1 General instructions . . . . . 5
Overview ...................... 6
Abbreviations and symbols . . . . 6
Equipment . . . . . . .............. 7
Technical data . . .............. 7
Currency . ..................... 7
2 General views . . . . . . . . . . . . . 9
General view, left side . . . . . . . . 11
General view, right side . . . . . . 13
Underneath the seat ......... 15
Handlebar fitting, left ......... 16
Handlebar fitting, right . . . . . . . . 17
Instrument cluster . . . ......... 18
Headlight . .................... 19 3 Status indicators . . . . . . . 21
Standard status
indicators .
.................... 22
Status indicators with on-
board computer
OE
........... 23
Status indicators with
tyre-pressure monitoring
(RDC)
OE...................... 24
Status indicators with seat
heatingOE
.................... 24
Telltale light with cruise con-
trol
OE
........................ 25
Standard warnings . . ......... 25
Warnings issued by the on-
board computer
OE
........... 30
ABS warnings . . . ............. 32
ASC warnings
OE
............. 34
RDC warnings
OE
............. 36
Anti-theft alarm
warnings
OE................... 41 4 Operation . . . . . . . . . . . . . . . . 45
Ignition switch and steering
lock . .
........................ 47
Electronic immobiliser . . . . . . . . 48
Clock . . . . . .................... 49
Odometer and tripmeters . . . . 49
Multifunction display ......... 51
On-board computer
OE
....... 51
Tyre pressure monitoring
RDC
OE
....................... 54
Lights . . . . .................... 55
Turn indicators . . ............. 56
Hazard warning flashers . . . . . . 57
Emergency off switch (kill
switch) . . . .................... 58
Grip heating
OE
............... 59
Seat heatingOE............... 60
Automatic Stability Control
ASC
OE
....................... 61
Seat height . . . . . . ............. 62
Windscreen . . . . . ............. 63
Cruise-control system
OE
..... 63
Stowage compartment . . . . . . . 66
Clutch . . . . .................... 66
Page 20 of 173
Instrument cluster1Speedometer
2 Telltale lights ( 22)
3 Multifunction display
( 22)
4 Rev. counter
5 Telltale light, anti-theft alarm
(OE)
6 Set the clock ( 49)
Adjust the dimmer ( 51)
7 Select the odometer
( 49)
Reset the tripmeter ( 50)
8 Sensor for instrument light-
ing
The instrument-cluster
lighting has automatic day
and night switchover.
218zGeneral views
Page 24 of 173
Standard status
indicatorsMultifunction display1Fuel capacity ( 22)
2 Gear indicator ( 22)
3 Coolant temperature
( 22)
4 Clock ( 49)
5 Odometer
6 Trip meter ( 49)
Telltale lights1Flashing turn indicators, left
2 High-beam headlight
3 Idle
4 Flashing turn indicators,
rightFuel capacity
The column below the fuel-
pump symbol indicates the
remaining quantity of fuel.
When the fuel in the tank is
topped up the gauge briefly
shows the original level, before
the reading is updated.
Gear indicator
The gear engaged or
N
for neutral appears on the
display.
If no gear is engaged, the
'neutral' telltale light also
lights up.
Coolant temperature
The column below the tem-
perature symbol indicates
the coolant temperature.
Service-due indicatorIf the next service is due in less
than one month, the date for
322zStatus indicators
Page 47 of 173
Operation
Operation
Ignition switch and steering lock..... 47
Electronic immobiliser . . . ............ 48
Clock ................................ 49
Odometer and tripmeters ............ 49
Multifunction display ................. 51
On-board computer
OE
............... 51
Tyre pressure monitoring
RDC
OE
.............................. 54
Lights ................................ 55
Turn indicators ....................... 56
Hazard warning flashers . . ............ 57
Emergency off switch (kill switch) . . . . 58
Grip heating
OE
....................... 59
Seat heatingOE
...................... 60 Automatic Stability Control
ASC
OE
.............................. 61
Seat height . . . ....................... 62
Windscreen . . . ....................... 63
Cruise-control system
OE
............. 63
Stowage compartment . ............. 66
Clutch . . ............................. 66
Brakes . . ............................. 67
Handlebars . . . ....................... 67
Mirrors . . ............................. 68
Spring preload ....................... 68
Damping ............................. 69
Electronic Suspension Adjustment
ESA
OE
............................... 69
Tyres . . . ............................. 72
445zOperation
Page 51 of 173
Replacement and extra
keysYou can obtain replacement/extra
keys only through an authorised
BMW Motorrad dealer. The keys
are part of an integrated secur-
ity system, so the dealer is un-
der an obligation to check the
legitimacy of all applications for
replacement/extra keys. If you
want to have a lost key barred,
you have to bring with you all
the other keys that belong to
the motorcycle. A key that has
been barred can subsequently be
cleared and reactivated for use.ClockSetting clock
Attempting to set the clock
while riding the motorcycle
can lead to accidents.
Set the clock only when the mo-
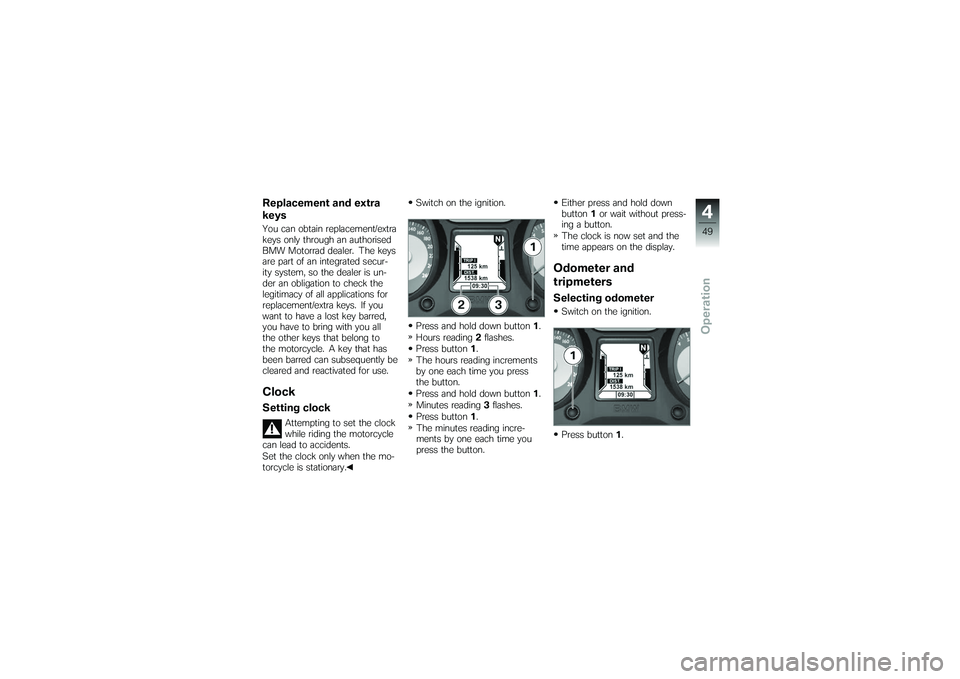
torcycle is stationary. Switch on the ignition.
Press and hold down button
1.
Hours reading 2flashes.
Press button 1.
The hours reading increments
by one each time you press
the button.
Press and hold down button 1.
Minutes reading 3flashes.
Press button 1.
The minutes reading incre-
ments by one each time you
press the button. Either press and hold down
button
1or wait without press-
ing a button.
The clock is now set and the
time appears on the display.
Odometer and
tripmetersSelecting odometerSwitch on the ignition.
Press button 1.
449zOperation
Page 72 of 173
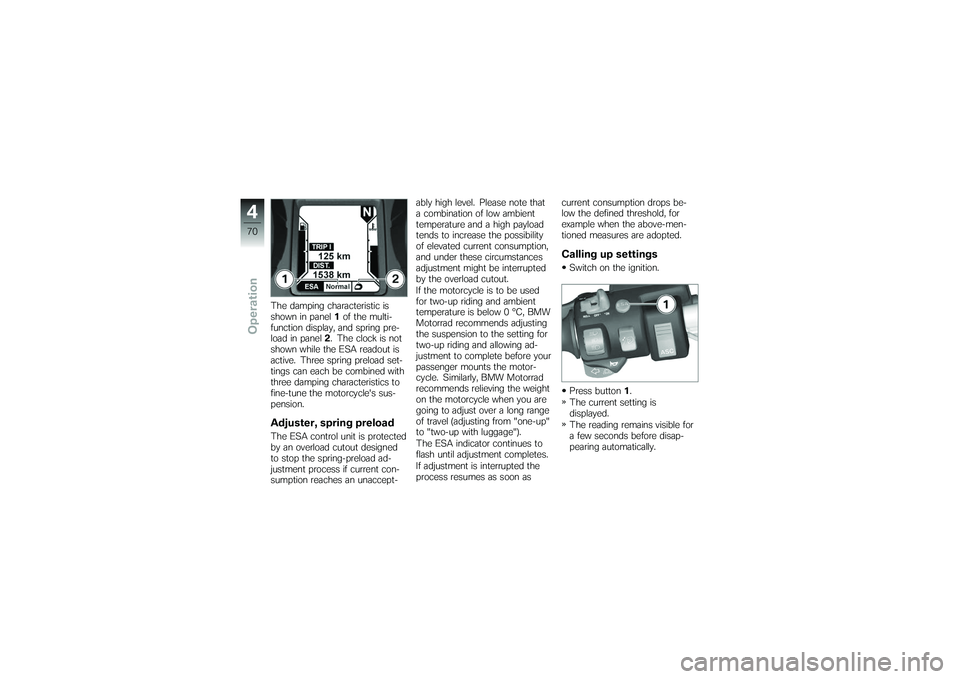
The damping characteristic is
shown in panel1of the multi-
function display, and spring pre-
load in panel 2. The clock is not
shown while the ESA readout is
active. Three spring preload set-
tings can each be combined with
three damping characteristics to
fine-tune the motorcycle's sus-
pension.Adjuster, spring preloadThe ESA control unit is protected
by an overload cutout designed
to stop the spring-preload ad-
justment process if current con-
sumption reaches an unaccept- ably high level. Please note that
a combination of low ambient
temperature and a high payload
tends to increase the possibility
of elevated current consumption,
and under these circumstances
adjustment might be interrupted
by the overload cutout.
If the motorcycle is to be used
for two-up riding and ambient
temperature is below 0 °C, BMW
Motorrad recommends adjusting
the suspension to the setting for
two-up riding and allowing ad-
justment to complete before your
passenger mounts the motor-
cycle. Similarly, BMW Motorrad
recommends relieving the weight
on the motorcycle when you are
going to adjust over a long range
of travel (adjusting from "one-up"
to "two-up with luggage").
The ESA indicator continues to
flash until adjustment completes.
If adjustment is interrupted the
process resumes as soon as
current consumption drops be-
low the defined threshold, for
example when the above-men-
tioned measures are adopted.
Calling up settingsSwitch on the ignition.
Press button
1.
The current setting is
displayed.
The reading remains visible for
a few seconds before disap-
pearing automatically.
470zOperation
Page 76 of 173
Turn key1counter-clockwise
in the seat lock.
Lift the seat at the rear and
release the key. with OE Seat heating:
Disconnect plug 2by squeez-
ing locking tabs 3together at
top and bottom.
Pull the seat to the rear to re-
lease it from its holders.
Place the seat, upholstered
side down, on a clean surface.
Removing front seatRemove the rear seat ( 73) Lift the rear of the front seat.
with OE Seat heating:
Disconnect plug 2by squeez-
ing locking tabs 3together at
top and bottom.
474zOperation
Page 89 of 173
Refuelling
Fuel is highly flammable. A
naked flame close to the
fuel tank can cause a fire or ex-
plosion.
Do not smoke. Never bring a
naked flame near the fuel tank.
Fuel expands when hot.
Fuel escaping from an
overfilled tank could make its way
onto the rear tyre. This could
cause a fall.
Do not fill the tank past the bot-
tom edge of the filler neck.
Fuel attacks plastics, which
become dull or unsightly.
Wipe off plastic parts immediately
if they come into contact with
fuel.
Fuel can attack the material
of the windscreen and the
side slipstream deflectors, which
become dull or unsightly.
Wipe off the windscreen and slip- stream deflectors immediately
if they come into contact with
fuel.
Leaded fuel will destroy the
catalytic converter.
Use only unleaded fuel.
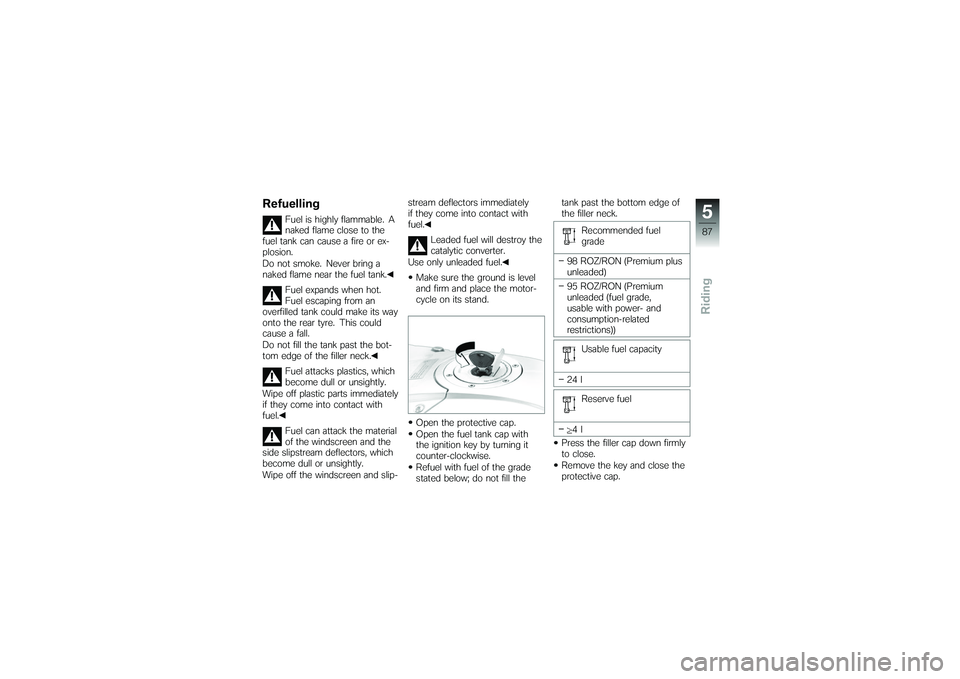
Make sure the ground is level
and firm and place the motor-
cycle on its stand.
Open the protective cap.
Open the fuel tank cap with
the ignition key by turning it
counter-clockwise.
Refuel with fuel of the grade
stated below; do not fill the tank past the bottom edge of
the filler neck.
Recommended fuel
grade
98 ROZ/RON (Premium plus
unleaded)
95 ROZ/RON (Premium
unleaded (fuel grade,
usable with power- and
consumption-related
restrictions)) Usable fuel capacity
24 l Reserve fuel
4l
Press the filler cap down firmly
to close.
Remove the key and close the
protective cap.
587zRiding