2007 AUDI R8 engine
[x] Cancel search: enginePage 52 of 210

Doors and windows 50Electric windowsControls
The driver can operate all the electric windows in the
vehicle.The electric windows are controlled by two-stage switches:
Opening the windows
– Press the switch as far as the first stop and hold it until
the window has moved to the desired position.
– Press the switch briefly to the second stop: the window
will automatically open all the way.Closing the windows
– Pull the switch as far as the first stop and hold it until the
window has moved to the desired position.
– Pull the switch briefly to the second stop: the window will
automatically close all the way.
WARNING
•
Always take the key with you when leaving the vehicle - even if
you only intend to be gone for a short time. This is especially
important if children are left in the car. They might otherwise be
able to start the engine or use power-operated equipment such as
the electric windows - this could lead to injuries. The window
switches are only deactivated when the driver's door or the front
passenger's door is opened.
•
Always be careful when closing the windows. Careless use of
the electric windows can cause severe injuries.
•
When locking the vehicle from the outside, make sure that
nobody is inside the vehicle, as the windows cannot be opened
from the inside in an emergency.Note
•
When the doors are opened the windows will automatically
come down approximately 10 mm.
•
You can also open the windows using the remote control key
⇒page 43.
Possible malfunctionsThe one-touch open and close function will not work if the battery
has been temporarily disconnected. The function can be restored as
follows:
Fig. 44 Detail of the
driver's door: ControlsFig. 45 Switch on front
passenger's door
document_0900452a816e6cc9.book Seite 50 Mittwoch, 21. Februar 2007 1:32 13
Page 54 of 210

Lights and vision 52Lights and visionLightsSwitching lights on and off
Switching on the side lights
– Turn the light switch ⇒fig. 46 to position
. The indi-
cator lamp
lights up when the side lights are on.
Switching on the dipped or main beam
headlights
– Turn the light switch to position
.
– Press the main beam lever forward ⇒page 56.
Switching off the lights
– Turn the light switch to position O.
The dipped beam headlights will only work with the ignition on. The
headlights are switched to side lights while the engine is being
started and after the ignition has been switched off.The daytime running lights are activated when you switch on the
ignition if the light switch is in position 0 or AUTO, provided that the
daytime running lights function has been activated in the menu
display ⇒page 24.
Note
•
If the lights are left on after the key has been taken out of the
ignition lock, a buzzer sounds when the driver's door is opened.
•
The use of the lighting described here is subject to the relevant
statutory requirements.
•
The headlights and rear lights may mist up temporarily on the
inside in cool or damp weather.
−This is due to the difference in temperature on the inside and
the outside of the headlight glass.
−When the headlights are switched on the surface heated by
the light will soon be demisted, however the glass may still be
misted up inside, around the edges.
−This phenomenon has no influence on the life expectancy of
the vehicle lights.
•
Switch on the headlights when the ambient light starts to fade
or in conditions of poor visibility.
Fig. 46 Detail of the
dashboard: Light
switch
document_0900452a816e6cc9.book Seite 52 Mittwoch, 21. Februar 2007 1:32 13
Page 57 of 210

Lights and vision55
Controls
Safety
Driving tips
General maintenance
Self-help
Technical data Coming home function
When the system is activated and it is dark, the coming home func-
tion will illuminate the vehicle and its surroundings by switching on
the dipped headlights, rear lights, engine compartment lighting*
and number plate lights when the driver's door is opened.
The dipped headlights will stay on for about four minutes as long as
one of the doors or the luggage lid is open.
The dipped headlights stay on for about 30 seconds to light up the
area in front of the car after all the doors and the luggage lid have
been closed.
If required, you can set the time interval to between 0 and 60
seconds in the driver information system (Lights menu) ⇒page 24.
Leaving home function
The dipped headlights and the engine compartment lighting* are
switched on when the vehicle is unlocked with the
button on the
remote control key if the leaving home function is activated in the
menu display ⇒page 24.
The dipped headlights and the engine compartment lighting*
switch off when the driver's door is opened. If the driver's door is not
opened, the dipped headlights and the engine compartment
lighting* will be switched off when the car automatically locks again
⇒page 41.
Note
•
If you always wish to use the coming home / leaving home func-
tion, you can leave it switched on permanently. As the system is
controlled via a light sensor, it will only work in dark conditions.
•
Permanent use of the coming home / leaving home function, in
particular on short journeys, will increase the load on the battery. To
make sure the battery is always sufficiently charged, occasionally
drive longer distances.
•
Observe all relevant statutory requirements when using the
lighting systems described here.
Instrument lighting
The brightness of the instrument lighting, displays and
centre console lighting can be varied as required.The basic level of brightness for the instrument lighting is
adjusted using the left-hand thumbwheel
⇒fig. 49.
The lighting of the needles in the instrument dials is regulated by a
photo-transistor integrated in the instrument cluster. When the
vehicle's lights are switched on, the illumination of the centre
console and instruments (needles and dials) is automatically
adjusted according to the prevailing light conditions. The driver can
also vary the brightness of the illumination manually if required:
With the ignition switched on
When the ignition is on, the basic level of brightness of the needles
in the instrument cluster can be adjusted by turning the thum-
bwheel.
With the vehicle's lights switched on:
When the vehicle's lights are switched on, the brightness of the
instrument lighting, displays and centre console lighting can be
varied by turning the thumbwheel.
Fig. 49 Instrument
lighting
document_0900452a816e6cc9.book Seite 55 Mittwoch, 21. Februar 2007 1:32 13
Page 60 of 210

Lights and vision 58If a door is left open, the light is switched off after about 10 minutes
to prevent the battery from running flat.
The brightness of the light is automatically adjusted by a dimmer
when it is switched on.Luggage compartment lightThe light is on the right of the luggage compartment.
The light switches on automatically when the luggage lid is opened.
The luggage compartment light is switched off automatically if the
luggage lid is left open for more than about 10 minutes.Applies to vehicles: with engine compartment lightingEngine compartment lightingThe lighting is on both sides of the engine compartment interior.
The lighting is automatically switched on when the coming
home/leaving home function* is activated ⇒page 54.
Clear visionSun visors
The sun visors can improve visibility and contribute to
safety.There are covers on the make-up mirrors in the sun visors.
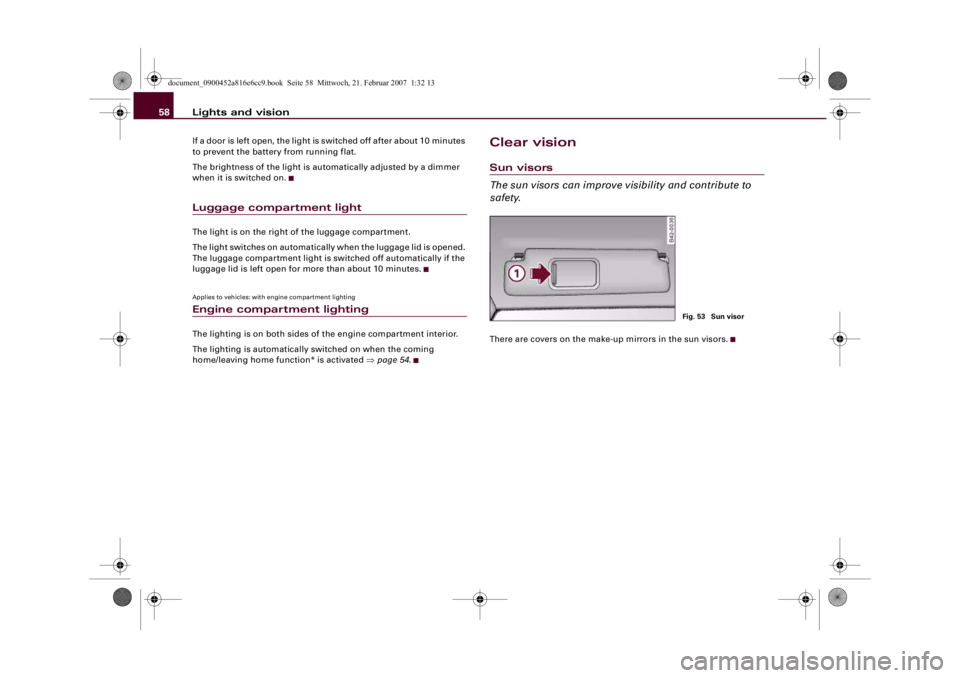
Fig. 53 Sun visor
document_0900452a816e6cc9.book Seite 58 Mittwoch, 21. Februar 2007 1:32 13
Page 75 of 210

Seats and storage73
Controls
Safety
Driving tips
General maintenance
Self-help
Technical data
Using cigarette lighter
– Open the ashtray cover to access the cigarette lighter
⇒page 72.
– Press in the cigarette lighter knob.
– Wait for the lighter to spring out.
– Pull out the cigarette lighter immediately.
– Use the glowing heater element of the cigarette lighter to
light your cigarette.
– Put the cigarette lighter back in its socket.
Operating electrical socket
– Open the cover to access the cigarette lighter.
– Take out the cigarette lighter.
– Insert the plug of the electrical appliance into the ciga-
rette lighter socket.The cigarette lighter employs a standard 12 Volt socket which can
also be used as a power source for electrical appliances. The appli-
ances connected to the socket must not exceed a power rating of
100 W.
WARNING
Take care when using the cigarette lighter. Carelessness or negli-
gence when using the cigarette lighter can cause burns.
Caution
Always use the correct type of plugs to avoid damaging the sockets.
Note
Using electrical appliances with the engine switched off will drain
the battery.Storage compartmentsGlove box
The lockable glove box is equipped with a light.Opening glove box
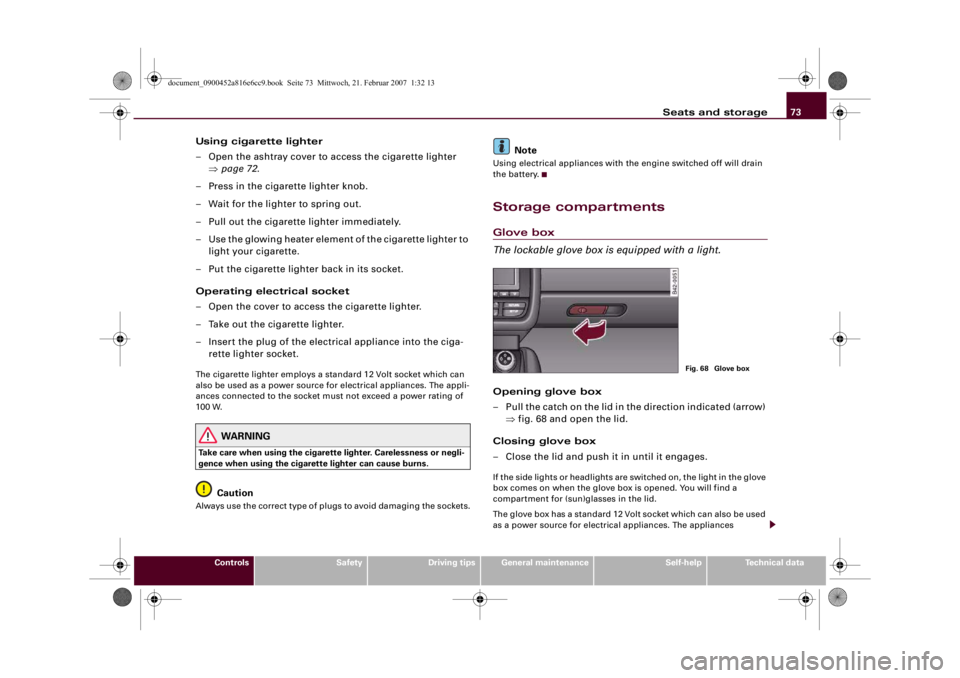
– Pull the catch on the lid in the direction indicated (arrow)
⇒fig. 68 and open the lid.
Closing glove box
– Close the lid and push it in until it engages.If the side lights or headlights are switched on, the light in the glove
box comes on when the glove box is opened. You will find a
compartment for (sun)glasses in the lid.
The glove box has a standard 12 Volt socket which can also be used
as a power source for electrical appliances. The appliances
Fig. 68 Glove box
document_0900452a816e6cc9.book Seite 73 Mittwoch, 21. Februar 2007 1:32 13
Page 77 of 210

Heating and cooling75
Controls
Safety
Driving tips
General maintenance
Self-help
Technical data
Heating and coolingAir conditionerControls
The air conditioner is designed to keep the passenger
compartment at the temperature you find most comfort-
able at all times of the year.Fig. 69 Air conditioner controlsRecommended settings:
– Turn the control ⇒fig. 69 to the right to switch the air
conditioner on.
– Set the temperature to 22 °C (72 °F).
– Press the button ⇒fig. 69.
This setting quickly provides a comfortable temperature inside the
vehicle. If necessary it can be changed to suit individual preferences
or particular circumstances.
The air conditioner provides heating and ventilation and also cools
and dehumidifies the air inside the vehicle.
The air conditioner is fully automatic, and will maintain the desired
temperature at a constant level. To achieve this, the temperature of
the air supplied to the interior, the blower speed (volume of air
delivery) and the air distribution are regulated automatically. The
system also allows for the effect of strong sunlight, so there is no
need for manual adjustment. For these reasons it is advisable to use
the automatic mode for the comfort of all the passengers in virtually
all conditions throughout the year ⇒page 78.
Please note:
The humidity of the air is automatically reduced when the system
cools the interior of the vehicle. This helps to prevent condensation
on the windows. The air conditioner (compressor) will be switched
off automatically at low outside temperatures (below zero) and will
no longer dehumidify the air inside the vehicle.
If the humidity and temperature outside the vehicle are high,
condensation can drip off the evaporator in the air cooling system
and form a pool underneath the vehicle. This is normal and does not
indicate a leak.
If the outside temperature is low, the blower normally only switches
to a higher speed once the coolant has warmed up sufficiently (this
does not apply to the defrost setting).
In order to achieve maximum engine power, the air conditioner
compressor is temporarily switched off when pulling away from a
standstill with full throttle.
A2
AUTO
document_0900452a816e6cc9.book Seite 75 Mittwoch, 21. Februar 2007 1:32 13
Page 78 of 210

Heating and cooling 76The compressor also switches off if the coolant temperature is
excessively high, to ensure adequate engine cooling under extreme
loads.
The functions can be set by turning the rotary control and are
switched on and off by briefly pressing the buttons. The LEDs in the
buttons light up when the function is switched on.
Pollution filter
The pollution filter (a particle filter) serves as a barrier against impu-
rities in the outside air, including dust and pollen. The air is also
filtered when the air recirculation mode is activated.
For the air conditioner to work with maximum efficiency, the pollu-
tion filter element must be replaced at the intervals specified in the
Service Schedule.
If the vehicle is driven in areas with a high level of air pollution and
the filter is no longer fully effective, it may be necessary to change
the filter element more frequently.
WARNING
For safety reasons it is important that all the windows are kept
free of ice, snow and condensation. These can cause poor visibility
and lead to an accident. Please familiarise yourself with the oper-
ating controls for the air conditioner, including the demist/defrost
functions for the windows.
Caution
•
If you suspect that the air conditioner is damaged, switch it off
to prevent further damage and have the system checked by a quali-
fied workshop.
•
Repairs to the air conditioning system require specialist knowl-
edge and special tools. For this reason, please contact a qualified
workshop if the system is not working properly.Note
•
Keep the air intake slots in front of the windscreen clear of snow,
ice and leaves to ensure unimpaired heating and cooling, and to
prevent the windows misting over.
•
The air conditioner operates most effectively with the windows
closed. However, if the vehicle has heated up after standing in the
sun for some time, the air inside can be cooled more quickly by
opening the windows for a short time.
Te m p e r a t u r e s e l e c t i o n– Turn the rotary control ⇒page 75, fig. 69 to the
required temperature setting.Turn the rotary control to the left to reduce the temperature. Turn
the rotary control to the right to increase the temperature. There are
several intermediate positions, allowing you to adjust the tempera-
ture as required.
Buttons
Function
Page
Rotary control
Temperature selection
⇒page 76
Rotary control
Switches air conditioner
on/off
Blower
⇒page 77
Rotary control
Air distribution
⇒page 77
Defrosting windows
⇒page 78
Heated rear window
⇒page 79
Seat heating* (driver's
side/front passenger's
side)
⇒page 80
Air recirculation mode
⇒page 78
Switching the air condi-
tioner on
⇒page 79
A1A2
A3
- +AC
A1
document_0900452a816e6cc9.book Seite 76 Mittwoch, 21. Februar 2007 1:32 13
Page 81 of 210

Heating and cooling79
Controls
Safety
Driving tips
General maintenance
Self-help
Technical data When driving through a tunnel or in queues of traffic, to prevent
fumes entering the interior of the vehicle.
WARNING
For reasons of safety you should not leave the air recirculation
switched on for too long. This mode prevents fresh air from
entering the vehicle, so the windows can mist over if the air
cooling is switched off. Bad visibility can cause an accident.AC mode Activating the AC mode
– Press the button ⇒page 75, fig. 69.
Deactivating the AC mode
– Press the button again.In the AC mode, the air cooling system is switched on and the
heating and ventilation are regulated automatically.
Note
If the LED in the AC button should continue to light up when the AC
mode has been switched off (i.e. the air conditioner has been
switched off) this is due to a defect in one of the air conditioner
components. If a malfunction should occur, please contact a quali-
fied workshop.
Economical operation of the air conditioner
Economical operation of the air conditioner will help to
save fuel.When the air conditioner is operating in the cooling mode it
reduces engine power and increases fuel consumption. To
ensure that the cooling mode is activated only when really
necessary, please note the following points:
– Switch the AC mode off if you wish to save fuel.
– Switch the AC mode off if you decide to open the
windows while driving.
– If the vehicle has heated up after standing in the sun,
open the windows and doors for a short time to cool the
vehicle.
For the sake of the environmentBy saving fuel you also reduce the amount of pollutants emitted
from your vehicle.Rear window heating
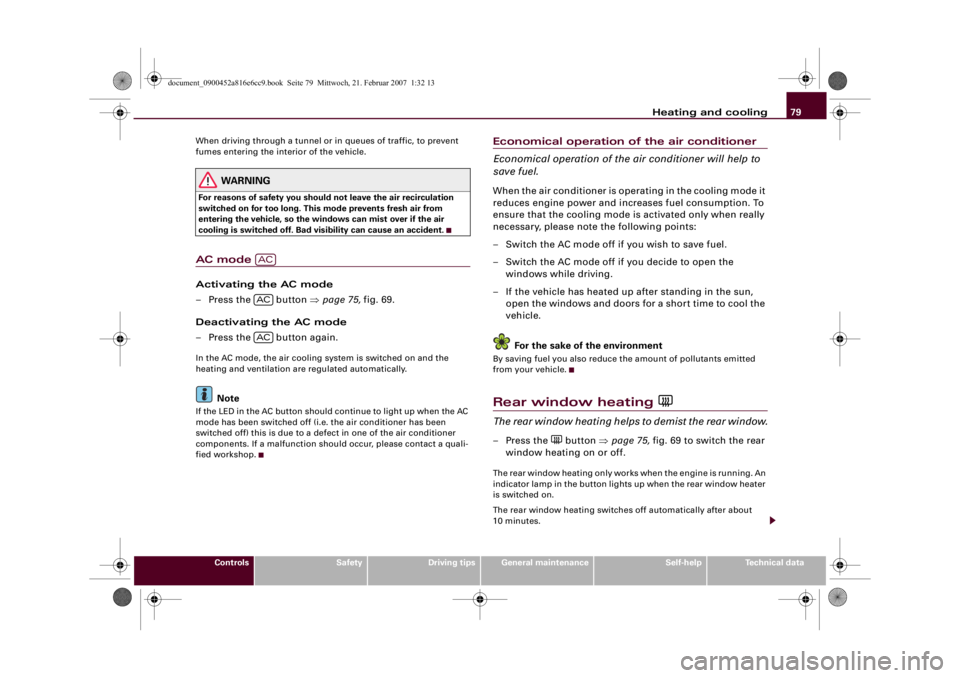
The rear window heating helps to demist the rear window.– Press the
button ⇒page 75, fig. 69 to switch the rear
window heating on or off.
The rear window heating only works when the engine is running. An
indicator lamp in the button lights up when the rear window heater
is switched on.
The rear window heating switches off automatically after about
10 minutes.
ACACAC
document_0900452a816e6cc9.book Seite 79 Mittwoch, 21. Februar 2007 1:32 13