Page 268 of 455

268
The player will skip any empty disc trays.
When the AUX adapter is in use, each
time you push the “DISC·AUX” button, the
audio switches the compact disc mode
and AUX mode alternately. For details
about AUX adapter, see page 306.
Ty p e 2 :
Push the “DISC·AUX” button if the disc
is already loaded in the player.
“CD” appears on the display.
The discs set in the player are played
continuously. The track number and the
time from the beginning of the program
are shown on the display.
26p205c
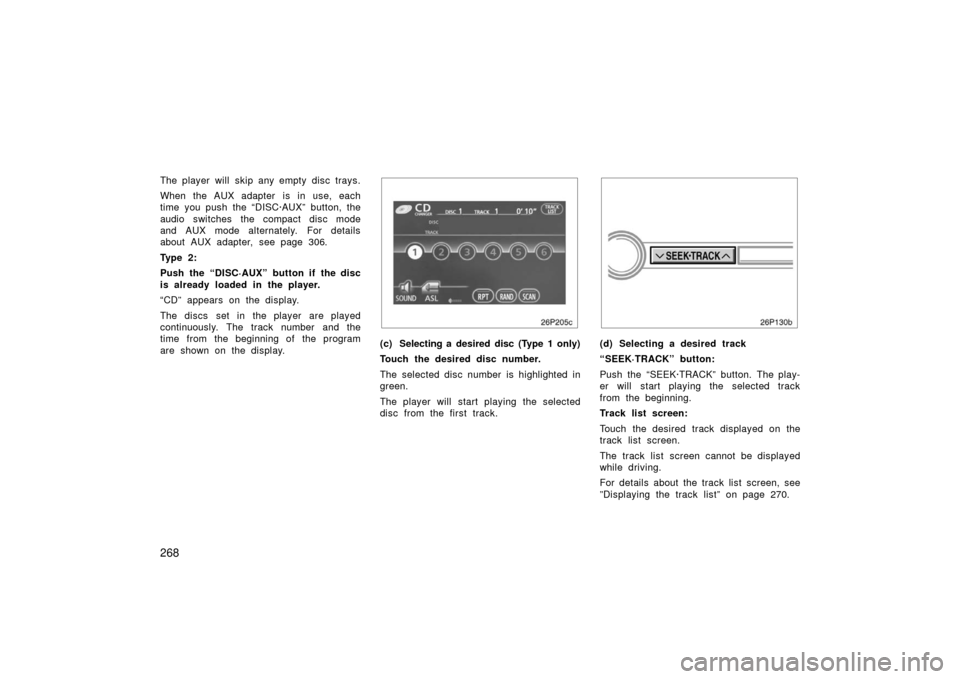
(c) Selecting a desired disc (Type 1 only)
Touch the desired disc number.
The selected disc number is highlighted in
green.
The player will start playing the selected
disc from the first track.(d) Selecting a desired track
“SEEK·TRACK” button:
Push the “SEEK·TRACK” button. The play-
er will start playing the selected track
from the beginning.
Track list screen:
Touch the desired track displayed on the
track list screen.
The track list screen cannot be displayed
while driving.
For details about the track list screen, see
”Displaying the track list” on page 270.
Page 277 of 455

277
26p246b
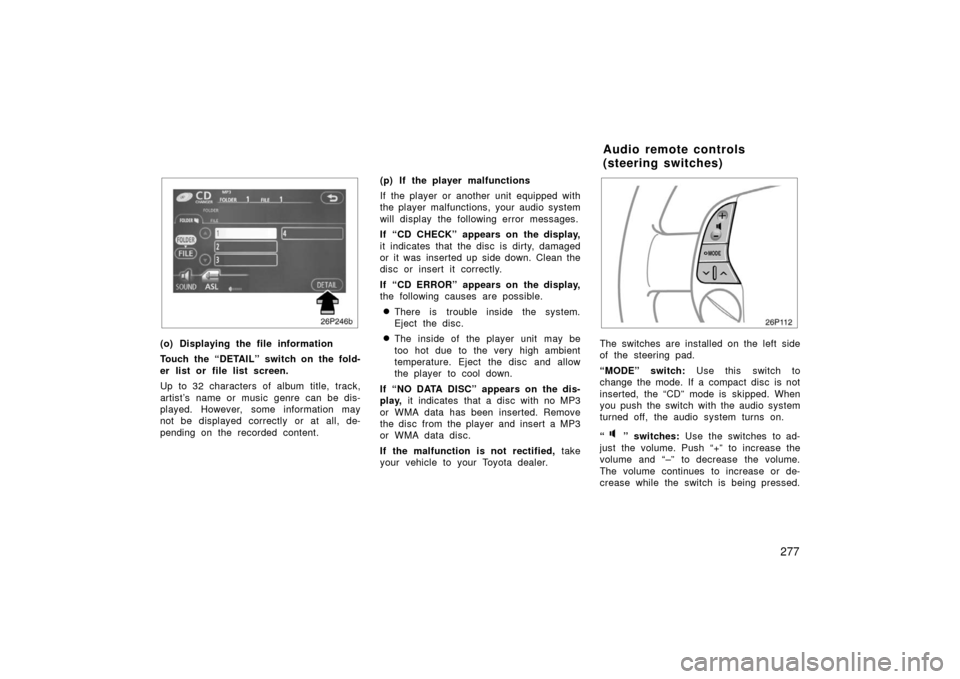
(o) Displaying the file information
Touch the “DETAIL” switch on the fold-
er list or file list screen.
Up to 32 characters of album title, track,
artist’s name or music genre can be dis-
played. However, some information may
not be displayed correctly or at all, de-
pending on the recorded content.(p) If the player malfunctions
If the player or another unit equipped with
the player malfunctions, your audio system
will display the following error messages.
If “CD CHECK” appears on the display,
it indicates that the disc is dirty, damaged
or it was inserted up side down. Clean the
disc or insert it correctly.
If “CD ERROR” appears on the display,
the following causes are possible.
�There is trouble inside the system.
Eject the disc.
�The inside of the player unit may be
too hot due to the very high ambient
temperature. Eject the disc and allow
the player to cool down.
If “NO DATA DISC” appears on the dis-
play, it indicates that a disc with no MP3
or WMA data has been inserted. Remove
the disc from the player and insert a MP3
or WMA data disc.
If the malfunction is not rectified, take
your vehicle to your Toyota dealer.
26p112
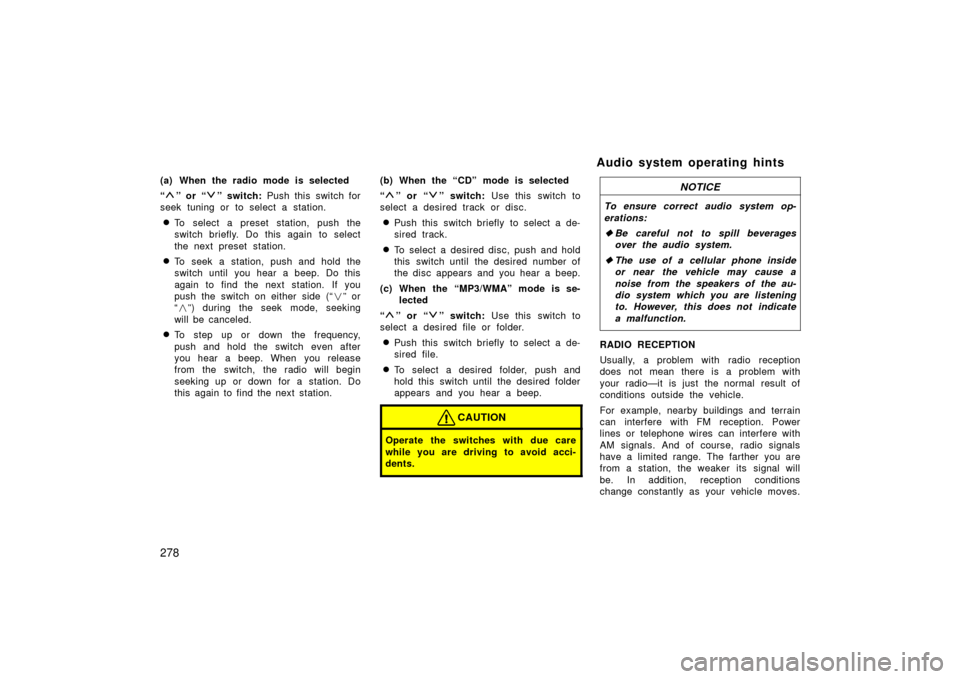
The switches are installed on the left side
of the steering pad.
“MODE” switch: Use this switch to
change the mode. If a compact disc is not
inserted, the “CD” mode is skipped. When
you push the switch with the audio system
turned off, the audio system turns on.
“
” switches: Use the switches to ad-
just the volume. Push “+” to increase the
volume and “–” to decrease the volume.
The volume continues to increase or de-
crease while the switch is being pressed.
Audio remote controls
(steering switches)
Page 278 of 455

278
(a) When the radio mode is selected
“
” or “” switch: Push this switch for
seek tuning or to select a station.
�To select a preset station, push the
switch briefly. Do this again to select
the next preset station.
�To seek a station, push and hold the
switch until you hear a beep. Do this
again to find the next station. If you
push the switch on either side (“ �” or
“ � ”) during the seek mode, seeking
will be canceled.
�To step up or down the frequency,
push and hold the switch even after
you hear a beep. When you release
from the switch, the radio will begin
seeking up or down for a station. Do
this again to find the next station. (b) When the “CD” mode is selected
“
” or “” switch:
Use this switch to
select a desired track or disc.
�Push this switch briefly to select a de-
sired track.
�To select a desired disc, push and hold
this switch until the desired number of
the disc appears and you hear a beep.
(c) When the “MP3/WMA” mode is se- lected
“
” or “” switch: Use this switch to
select a desired file or folder.
�Push this switch briefly to select a de-
sired file.
�To select a desired folder, push and
hold this switch until the desired folder
appears and you hear a beep.
CAUTION
Operate the switches with due care
while you are driving to avoid acci-
dents.
NOTICE
To ensure correct audio system op-
erations:
� Be careful not to spill beverages
over the audio system.
� The use of a cellular phone inside
or near the vehicle may cause a
noise from the speakers of the au-
dio system which you are listening
to. However, this does not indicate
a malfunction.
RADIO RECEPTION
Usually, a problem with radio reception
does not mean there is a problem with
your radio—it is just the normal result of
conditions outside the vehicle.
For example, nearby buildings and terrain
can interfere with FM reception. Power
lines or telephone wires can interfere with
AM signals. And of course, radio signals
have a limited range. The farther you are
from a station, the weaker its signal will
be. In addition, reception conditions
change constantly as your vehicle moves.
Audio system operating hints
Page 289 of 455
289
The automatic air conditioning automat-
ically maintains the set temperature.
This air conditioning features automatic
fan speed and air flow control which auto-
matically selects the most suitable fan
speed and air flow to control the tempera-
ture. The hybrid system must be in the
“IG−ON” mode.
CLIMATE: Push this button to display
switches for automatic air conditioning
controls.
NOTICE
To prevent the battery from being dis-
charged, do not leave the air condi-
tioning on longer than necessary
when the hybrid system is not operat-
ing.
27p005a
Air flow selection
: In the beginning of the automatic air flow mode, air might be delivered.
Page 290 of 455
290
SETTING OPERATION—automatic con-
trol
27p156
Type 1 and Type 2
27p111a
Ty p e 3
1. Touch the “AUTO” switch.
The indicator located in the instrument
cluster will come on.
Air conditioning is turned on if not oper-
ated.
Air flow quantity, switching of the diffus-
ers, and switching of the air intake be-
tween RECIRCULATED AIR and OUTSIDE
AIR are automatically adjusted. The opera-
tion status is shown by each indicator.
However, if the RECIRCULATED AIR
mode is selected manually, control
changes to give priority to manual set-
tings. When one of the manual control buttons
is depressed while operating in automatic
mode, the mode relevant to the depressed
button is set. Other conditions continue to
be adjusted automatically. However, oper-
ating the air flow outlets or fan speed will
turn off the automatic control.
Touch the “OFF” switch to turn the air
conditioning off.
(a) Climate control
Page 291 of 455
291
27p157
Type 1 and Type 2
27p112a
Ty p e 3
2. Use the “TEMP” switch to set thedesired temperature.
The temperature of air delivered to the
passenger compartment will be controlled
automatically according to the setting. SETTING OPERATION—manual control
When one of the manual control
switches is touched while operating in
automatic mode, the mode relevant to
the touched switch is set. Other condi-
tions continue to be adjusted automati-
cally.
Page 292 of 455
292
If manual air flow selection is desired—
27p158
Type 1 and Type 2
27p113a
Ty p e 3
The outlets from which air is delivered
can be selected manually by touching the
switch. The function of each mode is as
follows:1. Panel— Air flows mainly from the
instrument panel vents.
2. Bi�level— Air flows from both the floor
vents and the instrument panel vents.
3. Floor— Air flows mainly from the floor
vents.
4. Floor/Windshield— Air flows mainly
from the floor vents and windshield
vents.
The selected mode is highlighted in green. If quick heating or cooling is desired—
27p157
Type 1 and Type 2
27p112a
Ty p e 3
Page 293 of 455
293
Touch the “TEMP” switches and hold ei-
ther one until the maximum figure or mini-
mum figure appears.If manual fan speed control is desired—
27p159
Type 1 and Type 2
27p114a
Ty p e 3
1. Fan speed at low
2. Fan speed at high
The fan speed can be set to your desired
speed by touching the appropriate air flow
control switch. The higher the fan speed
is, the more air is delivered. Touching the
“OFF” switch turns off the fan.
To remove exterior windshield frost, use the
high speed setting.
The selected mode is highlighted in green.