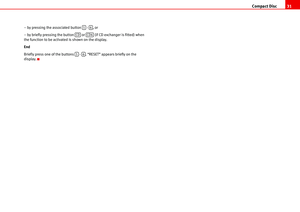
Page 17 of 70
Brief instructions 14
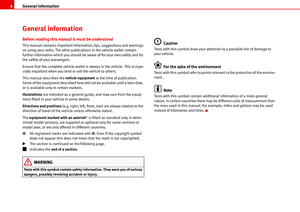
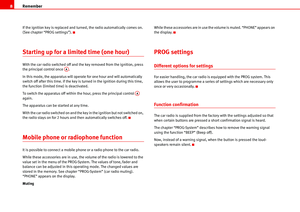
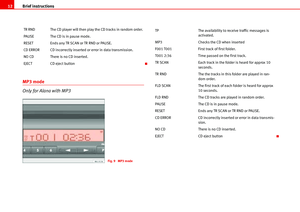
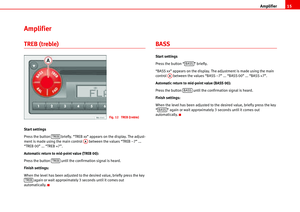
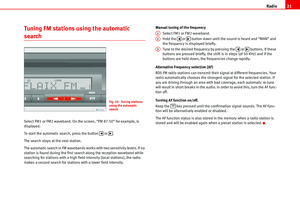
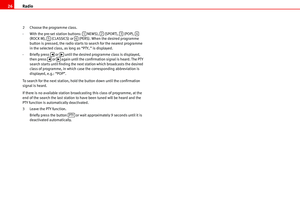
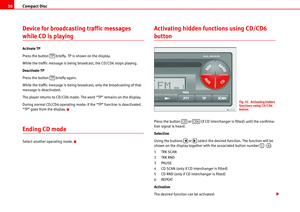
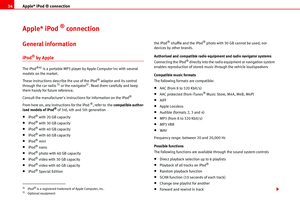
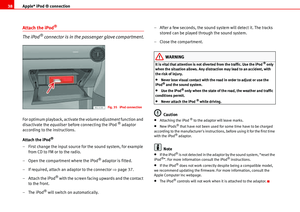
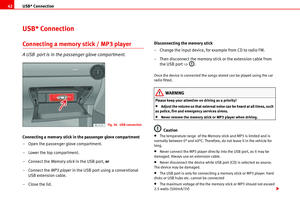
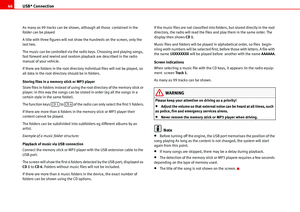
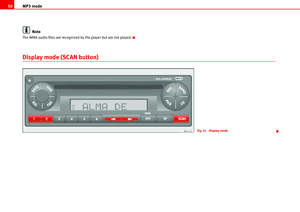
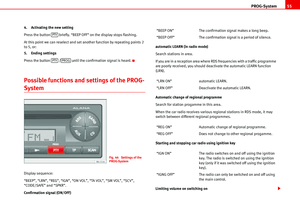
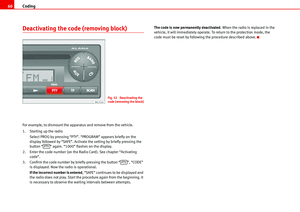
AUX-IN* Operation
This function is only available when AUX-IN is available
TP The availability to receive traffic messages is acti-
vated.
AUX IN The auxiliar audio input is selected
Fig. 11 AUX-IN operation
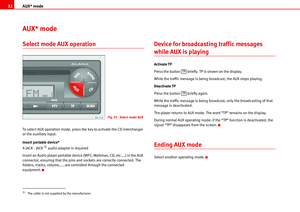
Page 18 of 70

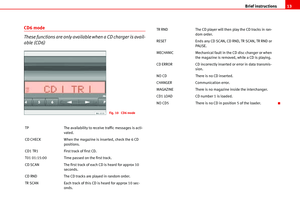
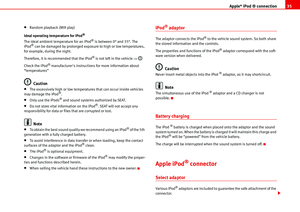
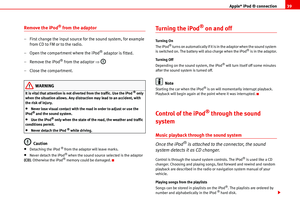
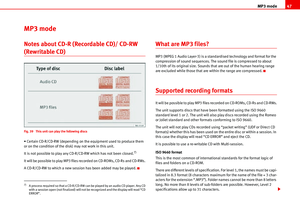
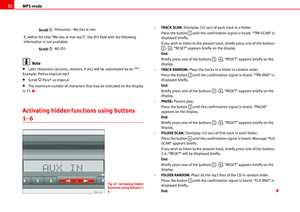
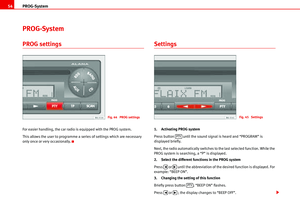
Start settings
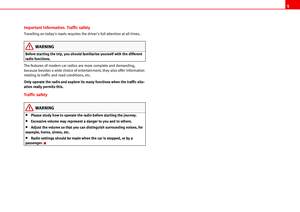
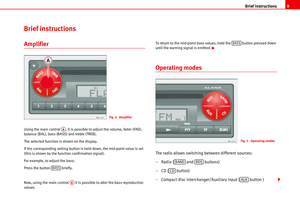
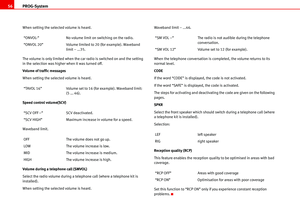
Press the button briefly. “TREB xx” appears on the display. The adjust-
ment is made using the main control between the values “TREB –7�")
Amplifier15
Amplifier
TREB (treble)
Start settings
Press the button briefly. “TREB xx” appears on the display. The adjust-
ment is made using the main control between the values “TREB –7” ...
“TREB 00” ... “TREB +7”.
Automatic return to mid-point value (TREB 00):
Press the button until the confirmation signal is heard.
Finish settings:
When the level has been adjusted to the desired value, briefly press the key
again or wait approximately 3 seconds until it comes out
automatically.
BASS
Start settings
Press the button “ ” briefly.
“BASS xx” appears on the display. The adjustment is made using the main
control between the values “BASS –7” ... “BASS 00” ... “BASS +7”.
Automatic return to mid-point value (BASS 00):
Press the button until the confirmation signal is heard.
Finish settings:
When the level has been adjusted to the desired value, briefly press the key
“ ” again or wait approximately 3 seconds until it comes out
automatically.
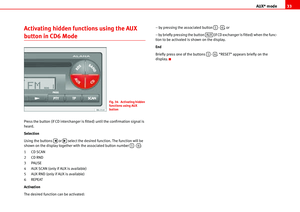
Fig. 12 TREB (treble)
TREBAA
TREB
TREB
BASS
AA
BASS
BASS
Page 19 of 70

Amplifier 16
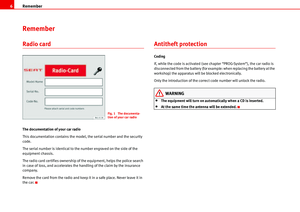
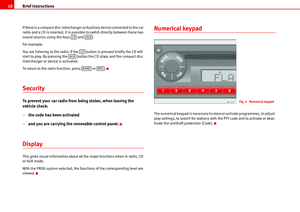
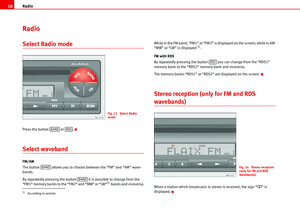
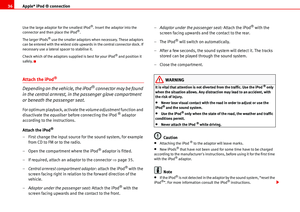
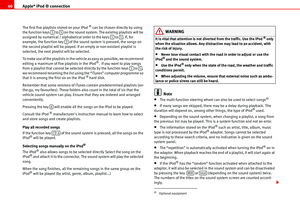
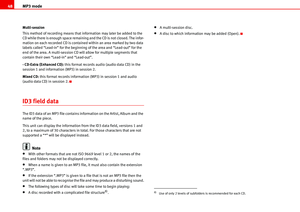
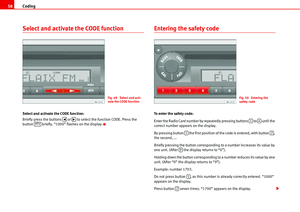
Balance BAL
Shifts the loudspeaker sound to the left or right speaker.
Start settings
Press the button briefly.
“BAL xx” appears on the display.
The setting is made using the main control between the values:
Automatic return to mid-point position (BAL L--R):
Press the button until the confirmation signal is heard.
Finish settings:When the balance has been adjusted to the desired value, briefly press the
key again or wait approximately 3 seconds until it comes out of the func-
tion automatically.
Fader FAD
Shifts the sound to the front or rear speakers.
Start settings
Press the button briefly.
“FAD xxx” appears on the display.
The setting is made using the main control between the values:
Automatic return to mid-point position (FAD R -- F):
Press the button until the confirmation signal is heard.
Finish settings:
When the balance has been adjusted to the desired value, briefly press the
key again or wait approximately 3 seconds until it comes out of the func-
tion automatically. BAL L 31 BAL L -- R BAL R 31
All to the left Central position All to the right
Fig. 13 Balance BAL
BAL
AA
BAL
FAD R 31 FAD R -- F FAD F 31
All to rear Central position All to front
BAL
FAD
AA
FAD
FAD
Page 20 of 70

Amplifier17
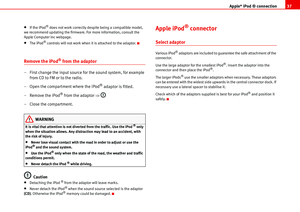
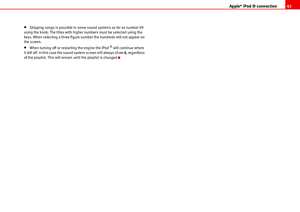
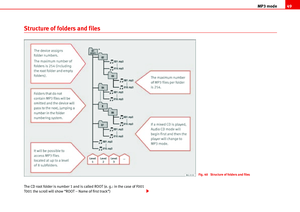
Tone setting memory
Using the station buttons ... it is possible to store different tone and
left/right or front/rear sound distribution settings.
When you select the button where a sound setting has been stored, playback
is made using the values stored there.
Settings and storing
Set the bass, treble, balance and fader as described above. While still in one
of these settings, hold down the station button (for example 1) where you
wish to store these settings, until the confirmation signal is received.
“SOUND 1” appears on the display.
The new settings are stored.
Recalling stored values
Press one of the buttons , , or and then the station
button where the settings you wish to recall are stored (for example, 3).“SOUND 3” appears on the display.
The stored values become the actual values.
Recalling stored values
Press one of the buttons , , or and then the station
button number . “LINEAR” appears on the display.
All the settings are returned to the average values.
Protection against overloading
In the event of high temperatures and/or large volumes, the protection circuit
may react.
During this phase, to discharge the amplifiers, the final stages of the
speakers are disconnected.Fig. 14 Tone setting
memory
15
BALTREBFADBASS
BALTREBFADBASS6
Page 21 of 70
Radio 18
Radio
Select Radio mode
Press the button or .
Select waveband
FM/AM
The button allows you to choose between the “FM” and “AM” wave-
bands.
By repeatedly pressing the button it is possible to change from the
“FM1” memory banks to the “FM2” and “MW” or “LW”
1) bands and viceversa.While in the FM band, “FM1” or “FM2” is displayed on the screen; while in AM
“MW” or “LW” is displayed
1).
FM with RDS
By repeatedly pressing the button you can change from the “RDS1”
memory bank to the “RDS2” memory bank and viceversa.
The memory banks “RDS1” or “RDS2” are displayed on the screen.
Stereo reception (only for FM and RDS
wavebands)
When a station which broadcasts in stereo is received, the sign “��” is
displayed.
1)According to version
Fig. 15 Select Radio
mode
BANDRDS
BAND
BAND
RDS
Fig. 16 Stereo reception
(only for FM and RDS
wavebands)
Page 22 of 70
 stations can be stored in the LEARN
memory . These stations are accessible by briefly pressing the search buttons
and .")
Radio19
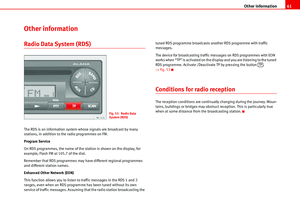
Tuning RDS programes; LEARN memory
Up to 25 RDS (Radio Data System) stations can be stored in the LEARN
memory . These stations are accessible by briefly pressing the search buttons
and .
This function is useful if you are searching in a zone not normally used and
you do not want to erase the stations stored in memory buttons (1 to 6) to
which you are accustomed.
Occupation of LEARN memory
Press the button until the confirmation signal is heard.
“LRN...” appears on the display.
The receiver searches along the FM band and stores the RDS programmes
(max. 25) which are broadcast in the zone you are in at that moment.
Next, the radio switches to the RDS programme with the best reception.
If, in addition, you press the button only RDS programmes which broad-
cast traffic messages will be tuned in.Call-up of LEARN memory
Press one of the buttons or .
“RDS SCAN” is displayed briefly. Next, you will hear another RDS programme
from the LEARN memory.
Fig. 17 Tuning RDS programmes; LEARN memory
�‚�b
RDS
TP
�‚�b
Page 23 of 70
Radio 20
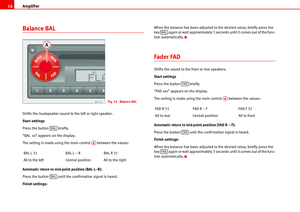
Automatic memory of AUTOSTORE stationsAutostore in RDS range
Select the desired RDS memory bank, 1 or 2, by briefly pressing the button
.
Press the button until the confirmation signal is heard.
“AS” is displayed and the frequency indicator is changing.
On completion, you will hear the programme with the best reception.
The 6 stations with the best reception in the range selected are automatically
stored in the station buttons 1-6.
Autostore in FM range
Select the desired FM memory bank, 1 or 2, by briefly pressing the button
“”.
Press the button until the confirmation signal is heard.
AS is displayed and the frequency indicator is changing.
On completion, you will hear the programme with the best reception.
The 6 stations with the best reception in the range selected are automatically
stored in the station buttons 1-6.
Fig. 18 Autostore in RDS
range
Fig. 19 Autostore in FM
range
RDS
SCAN
BAND
SCAN
Page 24 of 70

Radio21
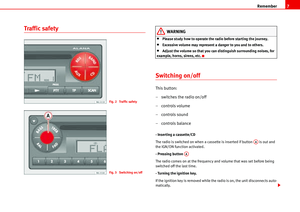
Tuning FM stations using the automatic
search
Select FM1 or FM2 waveband. On the screen, “FM 87.50” for example, is
displayed.
To start the automatic search, press the button or .
The search stops at the next station.
The automatic search in FM wavebands works with two sensitivity levels. If no
station is found during the first search along the reception waveband while
searching for stations with a high field intensity (local stations), the radio
makes a second search for stations with a lower field intensity.Manual tuning of the frequency
Select FM1 or FM2 waveband.
Hold the or button down until the sound is heard and “MAN” and
the frequency is displayed briefly.
Tune to the desired frequency by pressing the or buttons. If these
buttons are pressed briefly, the shift is in steps (of 50 KHz) and if the
buttons are held down, the frequencies change rapidly.
Alternative Frequency selection (AF)
RDS FM radio stations can transmit their signal at different frequencies. Your
radio automatically chooses the strongest signal for the selected station. If
you are driving through an area with bad coverage, each automatic re-tune
will result in short breaks in the audio. In order to avoid this, turn the AF func-
tion off.
Turning AF function on/off.
Keep the key pressed until the confirmation signal sounds. The AF func-
tion will be alternatively enabled or disabled.
The AF function status is also stored in the memory when a radio station is
stored and will be enabled again when a preset station is selected.
Fig. 20 Tuning stations
using the automatic
search
�‚�b
A1
A2�‚�b
A3�‚�b
TP