2006 Seat Cordoba radio
[x] Cancel search: radioPage 24 of 70
Radio21
Tuning FM stations using the automatic
search
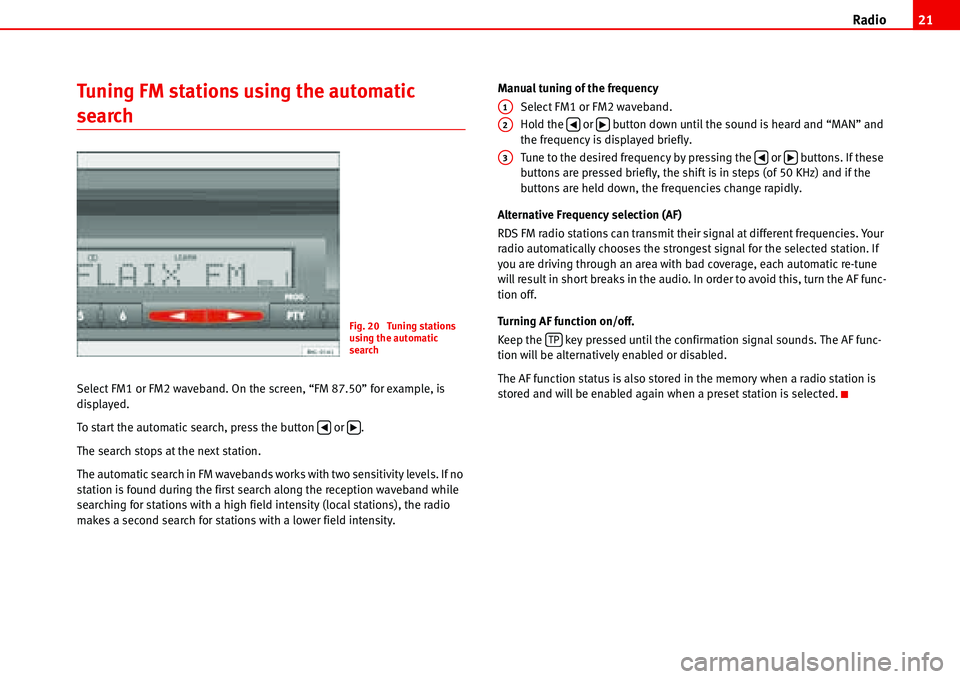
Select FM1 or FM2 waveband. On the screen, “FM 87.50” for example, is
displayed.
To start the automatic search, press the button or .
The search stops at the next station.
The automatic search in FM wavebands works with two sensitivity levels. If no
station is found during the first search along the reception waveband while
searching for stations with a high field intensity (local stations), the radio
makes a second search for stations with a lower field intensity.Manual tuning of the frequency
Select FM1 or FM2 waveband.
Hold the or button down until the sound is heard and “MAN” and
the frequency is displayed briefly.
Tune to the desired frequency by pressing the or buttons. If these
buttons are pressed briefly, the shift is in steps (of 50 KHz) and if the
buttons are held down, the frequencies change rapidly.
Alternative Frequency selection (AF)
RDS FM radio stations can transmit their signal at different frequencies. Your
radio automatically chooses the strongest signal for the selected station. If
you are driving through an area with bad coverage, each automatic re-tune
will result in short breaks in the audio. In order to avoid this, turn the AF func-
tion off.
Turning AF function on/off.
Keep the key pressed until the confirmation signal sounds. The AF func-
tion will be alternatively enabled or disabled.
The AF function status is also stored in the memory when a radio station is
stored and will be enabled again when a preset station is selected.
Fig. 20 Tuning stations
using the automatic
search
�‚�b
A1
A2�‚�b
A3�‚�b
TP
Page 25 of 70
Radio 22
Tuning programmes with RDS (LEARN
function)
Select RDS1 or RDS2 waveband.
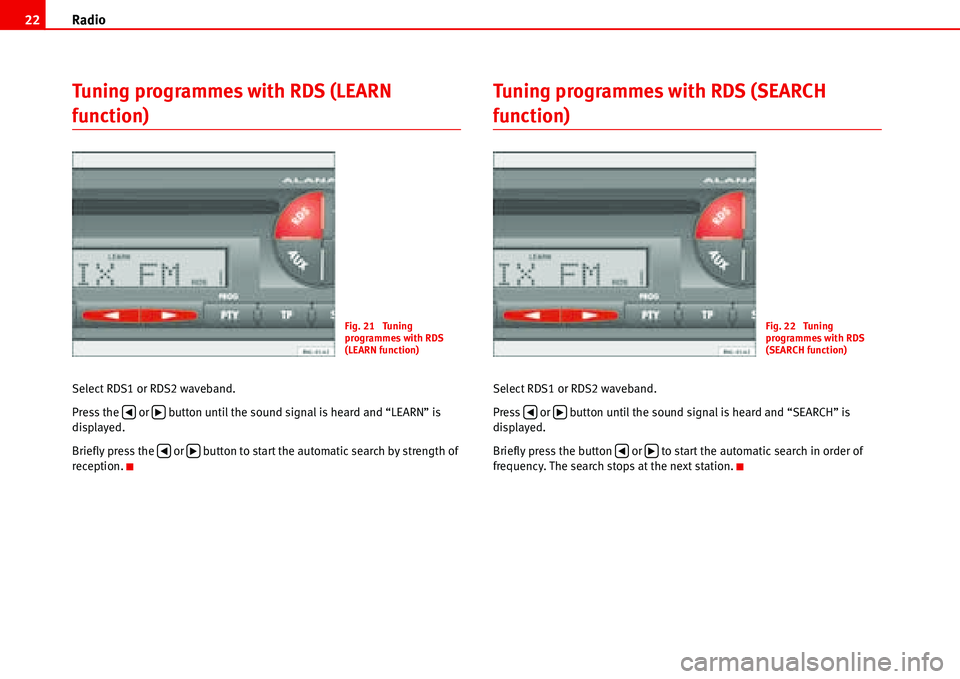
Press the or button until the sound signal is heard and “LEARN” is
displayed.
Briefly press the or button to start the automatic search by strength of
reception.
Tuning programmes with RDS (SEARCH
function)
Select RDS1 or RDS2 waveband.
Press or button until the sound signal is heard and “SEARCH” is
displayed.
Briefly press the button or to start the automatic search in order of
frequency. The search stops at the next station.
Fig. 21 Tuning
programmes with RDS
(LEARN function)
�‚�b
�‚�b
Fig. 22 Tuning
programmes with RDS
(SEARCH function)
�‚�b
�‚�b
Page 26 of 70
Radio23
Tuning AM stations using the automatic
search
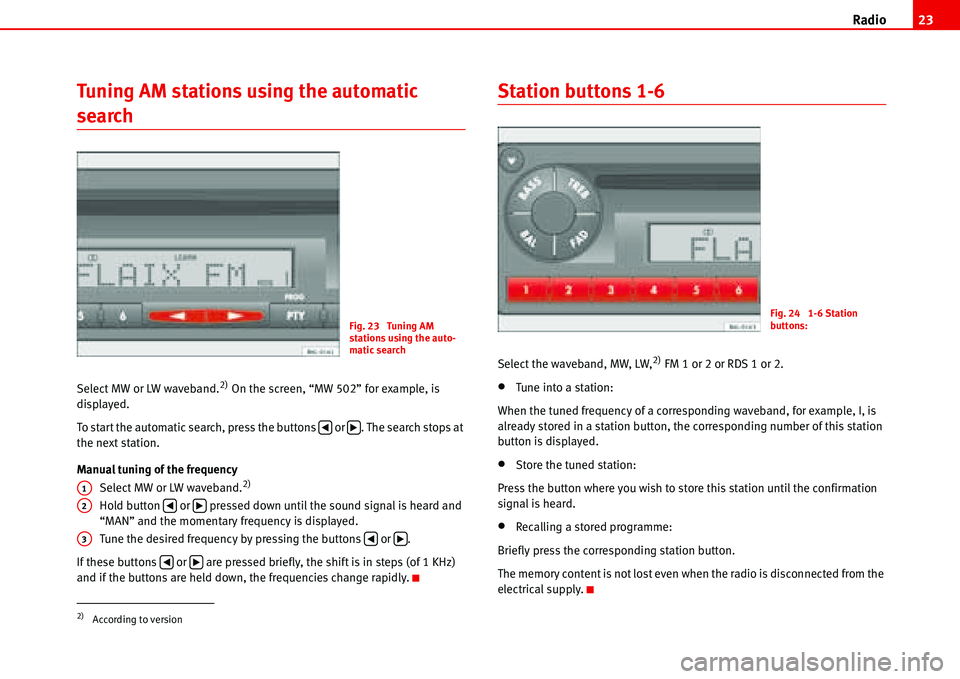
Select MW or LW waveband.2) On the screen, “MW 502” for example, is
displayed.
To start the automatic search, press the buttons or . The search stops at
the next station.
Manual tuning of the frequency
Select MW or LW waveband.
2)
Hold button or pressed down until the sound signal is heard and
“MAN” and the momentary frequency is displayed.
Tune the desired frequency by pressing the buttons or .
If these buttons or are pressed briefly, the shift is in steps (of 1 KHz)
and if the buttons are held down, the frequencies change rapidly.
Station buttons 1-6
Select the waveband, MW, LW,2) FM 1 or 2 or RDS 1 or 2.
•Tune into a station:
When the tuned frequency of a corresponding waveband, for example, I, is
already stored in a station button, the corresponding number of this station
button is displayed.
•Store the tuned station:
Press the button where you wish to store this station until the confirmation
signal is heard.
•Recalling a stored programme:
Briefly press the corresponding station button.
The memory content is not lost even when the radio is disconnected from the
electrical supply.
2)According to version
Fig. 23 Tuning AM
stations using the auto-
matic search
�‚�b
A1
A2�‚�b
A3�‚�b
�‚�b
Fig. 24 1-6 Station
buttons:
Page 27 of 70
Radio 24
Switching to traffic messages
When TP (Traffic Program) is displayed, the radio is available to receive
messages relating to traffic conditions in any operating mode.
Activating TP
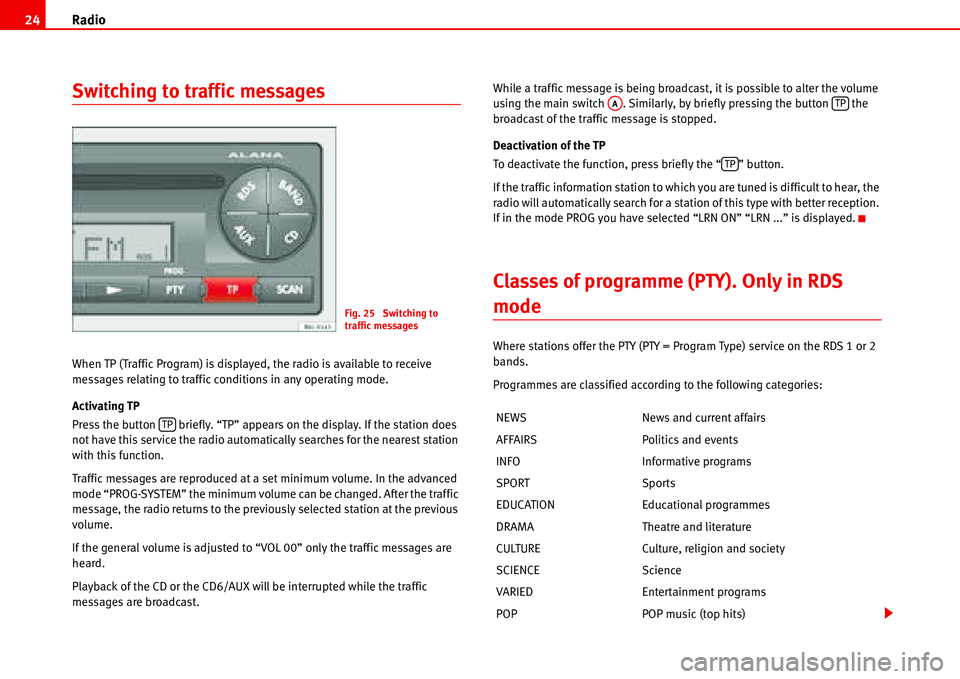
Press the button briefly. “TP” appears on the display. If the station does
not have this service the radio automatically searches for the nearest station
with this function.
Traffic messages are reproduced at a set minimum volume. In the advanced
mode “PROG-SYSTEM” the minimum volume can be changed. After the traffic
message, the radio returns to the previously selected station at the previous
volume.
If the general volume is adjusted to “VOL 00” only the traffic messages are
heard.
Playback of the CD or the CD6/AUX will be interrupted while the traffic
messages are broadcast.While a traffic message is being broadcast, it is possible to alter the volume
using the main switch . Similarly, by briefly pressing the button the
broadcast of the traffic message is stopped.
Deactivation of the TP
To deactivate the function, press briefly the “ ” button.
If the traffic information station to which you are tuned is difficult to hear, the
radio will automatically search for a station of this type with better reception.
If in the mode PROG you have selected “LRN ON” “LRN ...” is displayed.
Classes of programme (PTY). Only in RDS
mode
Where stations offer the PTY (PTY = Program Type) service on the RDS 1 or 2
bands.
Programmes are classified according to the following categories:
Fig. 25 Switching to
traffic messages
TPNEWS News and current affairs
AFFAIRS Politics and events
INFO Informative programs
SPORT Sports
EDUCATION Educational programmes
DRAMA Theatre and literature
CULTURE Culture, religion and society
SCIENCE Science
VARIED Entertainment programs
POP POP music (top hits)
AATP
TP
Page 28 of 70
Radio25
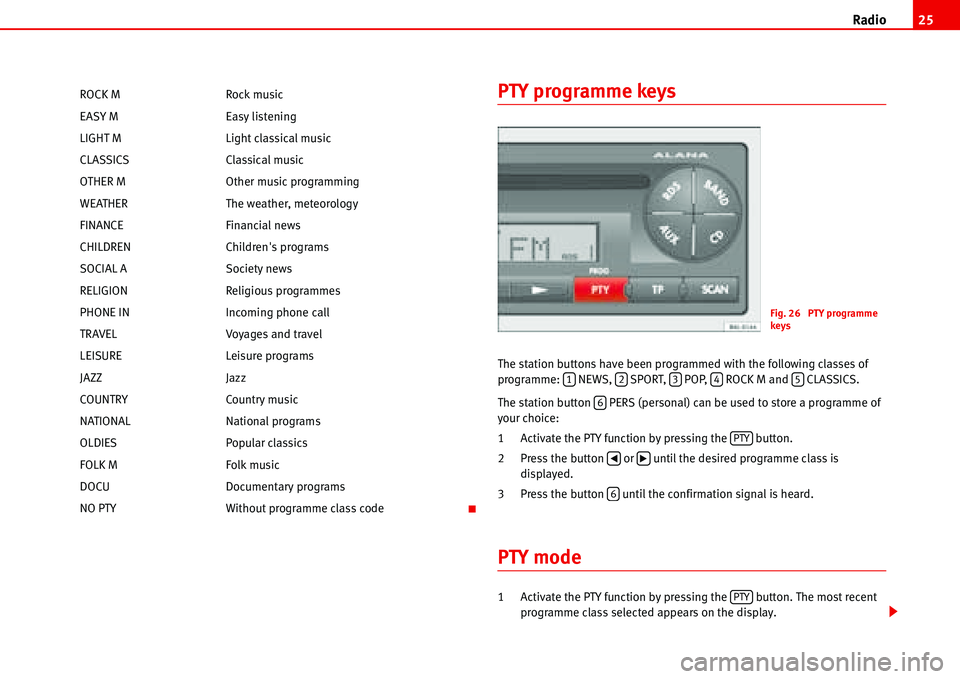
PTY programme keys
The station buttons have been programmed with the following classes of
programme: NEWS, SPORT, POP, ROCK M and CLASSICS.
The station button PERS (personal) can be used to store a programme of
your choice:
1 Activate the PTY function by pressing the button.
2 Press the button or until the desired programme class is
displayed.
3 Press the button until the confirmation signal is heard.
PTY mode
1 Activate the PTY function by pressing the button. The most recent
programme class selected appears on the display. ROCK M Rock music
EASY M Easy listening
LIGHT M Light classical music
CLASSICS Classical music
OTHER M Other music programming
WEATHER The weather, meteorology
FINANCE Financial news
CHILDREN Children's programs
SOCIAL A Society news
RELIGION Religious programmes
PHONE IN Incoming phone call
TRAVEL Voyages and travel
LEISURE Leisure programs
JAZZ Jazz
COUNTRY Country music
NATIONAL National programs
OLDIES Popular classics
FOLK M Folk music
DOCU Documentary programs
NO PTY Without programme class code
Fig. 26 PTY programme
keys
12345
6
PTY
�‚�b
6
PTY
Page 29 of 70
Radio 26
2 Choose the programme class.
- With the pre-set station buttons: NEWS), (SPORT), (POP),
(ROCK M), (CLASSICS) or (PERS). When the desired programme
button is pressed, the radio starts to search for the nearest programme
in the selected class, as long as “PTY..” is displayed.
- Briefly press or until the desired programme class is displayed,
then press or again until the confirmation signal is heard. The PTY
search starts until finding the next station which broadcasts the desired
class of programme, in which case the corresponding abbreviation is
displayed, e.g.: “POP”.
To search for the next station, hold the button down until the confirmation
signal is heard.
If there is no available station broadcasting this class of programme, at the
end of the search the last station to have been tuned will be heard and the
PTY function is automatically deactivated.
3 Leave the PTY function.
Briefly press the button or wait approximately 9 seconds until it is
deactivated automatically.
123456
�‚�b�‚�b
PTY
Page 37 of 70
Apple* iPod ® connection 34
Apple* iPod ® connection
General information
iPod® by Apple
The iPod®4) is a portable MP3 player by Apple Computer Inc with several
models on the market.
These instructions describe the use of the iPod
® adaptor and its control
through the car radio 5) or the navigator5). Read them carefully and keep
them handy for future reference.
Consult the manufacturer's instructions for information on the iPod
®
From here on, any instructions for the iPod ®, refer to the compatible author-
ised models of iPod® of 3rd, 4th and 5th generation
•iPod® with 20 GB capacity
•iPod® with 30 GB capacity
•iPod® with 40 GB capacity
•iPod® with 60 GB capacity
•iPod® mini
•iPod® nano
•iPod® photo with 60 GB capacity
•iPod® video with 30 GB capacity
•iPod® video with 60 GB capacity
•iPod® Special Editionthe iPod
® shuffle and the iPod® photo with 30 GB cannot be used, nor
devices by other brands.
Authorised and compatible radio equipment and radio navigator systems
Connecting the iPod
® directly into the radio equipment or navigation system
enables reproduction of stored music through the vehicle loudspeakers
Compatible music formats
The following formats are compatible:
•AAC (from 8 to 320 Kbit/s)
•AAC protected (from iTunes® Music Store, M4A, M4B, M4P)
•AIFF
•Apple Lossless
•Audible (formats 2, 3 and 4)
•MP3 (from 8 to 320 Kbit/s)
•MP3 VBR
•WAV
Frequency range: between 20 and 20,000 Hz
Possible functions
The following functions are available through the sound system controls
•Direct playback selection up to 6 playlists
•Playback of all tracks on iPod®
•Random playback function
•SCAN function (10 seconds of each track)
•Change one playlist for another
•Forward and rewind in track4)iPod® is a registered trademark of Apple Computer, Inc.5)Optional equipment
Page 39 of 70
Apple* iPod ® connection 36
Use the large adaptor for the smallest iPod®. Insert the adaptor into the
connector and then place the iPod®.
The larger iPods
® use the smaller adaptors when necessary. These adaptors
can be entered with the widest side upwards in the central connector dock. If
necessary use a lateral spacer to stabilise it.
Check which of the adaptors supplied is best for your iPod
® and position it
safely.
Attach the iPod®
Depending on the vehicle, the iPod® connector may be found
in the central armrest, in the passenger glove compartment
or beneath the passenger seat.
For optimum playback, activate the volume adjustment function and
disactivate the equaliser before connecting the iPod ® adaptor
according to the instructions.
Attach the iPod
®
– First change the input source for the sound system, for example
from CD to FM or to the radio.
– Open the compartment where the iPod
® adaptor is fitted.
– If required, attach an adaptor to the connector �Ÿpage 35.
–Central armrest compartment adaptor: attach the iPod
® with the
screen facing right in relation to the forward direction of the
vehicle.
–Adaptor under the passenger seat: Attach the iPod
® with the
screen facing upwards and the contact to the front.–Adaptor under the passenger seat: Attach the iPod
® with the
screen facing upwards and the contact to the rear.
–The iPod
® will switch on automatically.
– After a few seconds, the sound system will detect it. The tracks
stored can be played through the sound system.
– Close the compartment.
WARNING
It is vital that attention is not diverted from the traffic. Use the iPod ® only
when the situation allows. Any distraction may lead to an accident, with
the risk of injury.
•Never lose visual contact with the road in order to adjust or use the
iPod® and the sound system.
•Use the iPod® only when the state of the road, the weather and traffic
conditions permit.
•Never attach the iPod ® while driving.
Caution
•Attaching the iPod ® to the adaptor will leave marks.
•New iPods® that have not been used for some time have to be charged
according to the manufacturer's instructions, before using it for the first time
with the iPod
® adaptor.
Note
•If the iPod® is not detected in the adaptor by the sound system, “reset the
iPod®”. For more information consult the iPod® instructions.