Page 138 of 472
Front Reading Lamps
If the vehicle has a sunroof, there are reading lamps in
front of the sunroof switch located on the headliner.
These lamps will come on when the doors are opened.
Press the side of each reading lamp to turn them on
and off when the doors are closed.
Overhead Console Reading Lamps
The vehicle may have reading lamps on the overhead
console. These lamps will turn on when the doors
are opened. When the doors are closed, press the side
of each lamp to turn them on and off.
Rear Assist Handle Reading Lamps
If the vehicle has a reading lamp on each rear assist
handle, press the side of each lamp to turn it on or off.
Battery Run-Down Protection
The vehicle has a feature to help prevent the battery
from draining in case the interior, trunk, or underhood
lamps are accidentally left on. If any of these lamps are
left on while the ignition is in OFF, they will automatically
turn off after 10 minutes. The lamps will not come
back on again until any of the following are done:
The ignition is turned to RUN or ACC.
The interior lamps control is turned completely to
the right, then back slightly to the left.
Open, or close and reopen, a door that is closed.
If the vehicle has less than 15 miles (25 km) on
the odometer, the battery saver will turn off the lamps
after only three minutes.
3-20
Page 191 of 472
AJAR
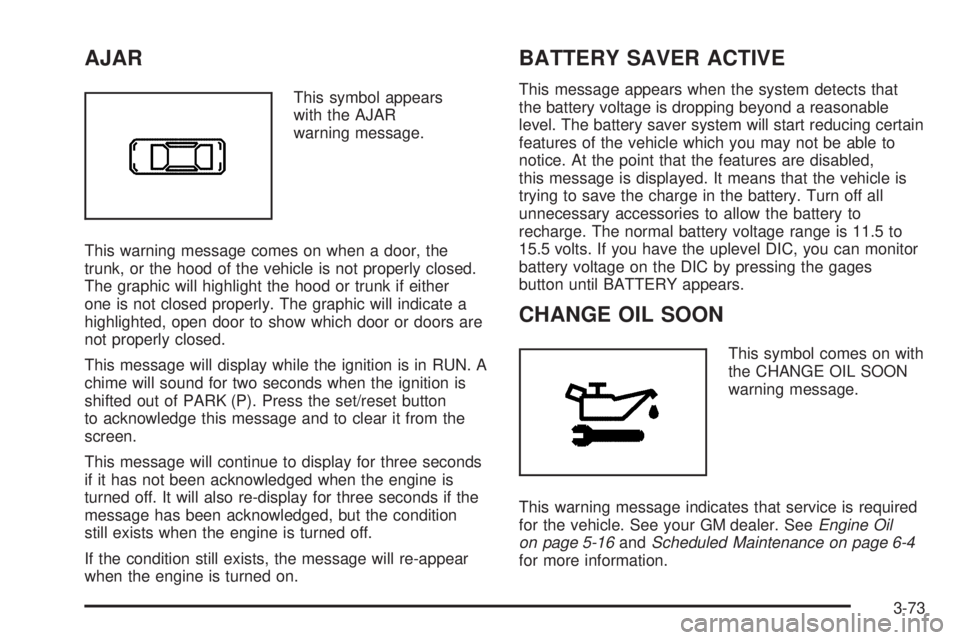
This symbol appears
with the AJAR
warning message.
This warning message comes on when a door, the
trunk, or the hood of the vehicle is not properly closed.
The graphic will highlight the hood or trunk if either
one is not closed properly. The graphic will indicate a
highlighted, open door to show which door or doors are
not properly closed.
This message will display while the ignition is in RUN. A
chime will sound for two seconds when the ignition is
shifted out of PARK (P). Press the set/reset button
to acknowledge this message and to clear it from the
screen.
This message will continue to display for three seconds
if it has not been acknowledged when the engine is
turned off. It will also re-display for three seconds if the
message has been acknowledged, but the condition
still exists when the engine is turned off.
If the condition still exists, the message will re-appear
when the engine is turned on.
BATTERY SAVER ACTIVE
This message appears when the system detects that
the battery voltage is dropping beyond a reasonable
level. The battery saver system will start reducing certain
features of the vehicle which you may not be able to
notice. At the point that the features are disabled,
this message is displayed. It means that the vehicle is
trying to save the charge in the battery. Turn off all
unnecessary accessories to allow the battery to
recharge. The normal battery voltage range is 11.5 to
15.5 volts. If you have the uplevel DIC, you can monitor
battery voltage on the DIC by pressing the gages
button until BATTERY appears.
CHANGE OIL SOON
This symbol comes on with
the CHANGE OIL SOON
warning message.
This warning message indicates that service is required
for the vehicle. See your GM dealer. SeeEngine Oil
on page 5-16andScheduled Maintenance on page 6-4
for more information.
3-73
Page 288 of 472
Winter Driving
Here are some tips for winter driving:
Have your vehicle in good shape for winter.
You may want to put winter emergency supplies in
your trunk.
Also seeTires on page 5-60.Include an ice scraper, a small brush or broom, a
supply of windshield washer �uid, a rag, some winter
outer clothing, a small shovel, a �ashlight, a red
cloth, and a couple of re�ective warning triangles. And,
if you will be driving under severe conditions, include
a small bag of sand, a piece of old carpet, or a couple of
burlap bags to help provide traction. Be sure you
properly secure these items in your vehicle.
4-28
Page 297 of 472

Certi�cation Label
A vehicle speci�c Certi�cation label is found on the rear
edge of the driver’s door.
The label shows the gross weight capacity of your
vehicle, called the Gross Vehicle Weight Rating
(GVWR). The GVWR includes the weight of the vehicle,
all occupants, fuel, and cargo.Never exceed the GVWR for your vehicle or the Gross
Axle Weight Rating (GAWR) for either the front or
rear axle.
If the vehicle is going to carry a heavy load, spread it
out. Do not carry more than 167 lbs (76 kg) in the trunk.
{CAUTION:
Do not load your vehicle any heavier than the
Gross Vehicle Weight Rating (GVWR), or either
the maximum front or rear Gross Axle Weight
Rating (GAWR). If you do, parts on your
vehicle can break, and it can change the way
your vehicle handles. These could cause you
to lose control and crash. Also, overloading
can shorten the life of your vehicle.
Notice:Overloading your vehicle may cause
damage. Repairs would not be covered by your
warranty. Do not overload your vehicle.
4-37
Page 298 of 472
If things like suitcases, tools, packages, or anything else
are put inside the vehicle, they will go as fast as the
vehicle goes. If you have to stop or turn quickly,
or if there is a crash, they will keep going.
{CAUTION:
Things you put inside your vehicle can strike
and injure people in a sudden stop or turn, or
in a crash.
Put things in the trunk of your vehicle. In a
trunk, put them as far forward as you can.
Try to spread the weight evenly.
Never stack heavier things, like suitcases,
inside the vehicle so that some of them
are above the tops of the seats.
Do not leave an unsecured child restraint
in your vehicle.
When you carry something inside the
vehicle, secure it whenever you can.
Do not leave a seat folded down unless
you need to.
Towing
Towing Your Vehicle
Consult your dealer or a professional towing service if
you need to have your disabled vehicle towed. See
Roadside Assistance Program on page 7-6.
If you want to tow your vehicle behind another vehicle
for recreational purposes (such as behind a motorhome),
see “Recreational Vehicle Towing” following.
Recreational Vehicle Towing
Recreational vehicle towing means towing your vehicle
behind another vehicle – such as behind a motorhome.
The two most common types of recreational vehicle
towing are known as dinghy towing, towing your vehicle
with all four wheels on the ground, and dolly towing,
towing your vehicle with two wheels on the ground and
two wheels up on a device known as a dolly.
With the proper preparation and equipment, many
vehicles can be towed in these ways. See “Dinghy
Towing” and “Dolly Towing,” following.
4-38
Page 303 of 472
Total Weight on Your Vehicle’s Tires
Be sure the vehicle’s tires are in�ated to the upper limit
for cold tires. These numbers can be found on the
Tire Loading Information label, that is on the inside of
the trunk lid. SeeLoading Your Vehicle on page 4-33.
Be sure not to go over the GVW limit for the vehicle, or
the GAWR, including the weight of the trailer tongue.
If a weight distribution hitch is used, make sure not to go
over the rear axle limit before applying the weight
distribution spring bars.
Hitches
It is important to have the correct hitch equipment.
Crosswinds, large trucks going by, and rough roads are
a few reasons why the correct hitch is needed. Here
are some rules to follow:
The rear bumper on the vehicle is not intended for
hitches. Do not attach rental hitches or other
bumper-type hitches to it. Use only a frame-mounted
hitch that does not attach to the bumper.
If any holes need to be made in the body of the
vehicle to install a trailer hitch, then be sure to seal
the holes later when the hitch is removed. If the holes
are not sealed, deadly carbon monoxide (CO) from
the exhaust can get into the vehicle. SeeEngine
Exhaust on page 2-33. Dirt and water can, too.
Safety Chains
Always attach chains between the vehicle and the
trailer. Cross the safety chains under the tongue of the
trailer so that the tongue will not drop to the road if
it becomes separated from the hitch. Instructions about
safety chains may be provided by the hitch manufacturer
or by the trailer manufacturer. Follow the manufacturer’s
recommendation for attaching safety chains and do
not attach them to the bumper. Always leave just
enough slack so the rig can be turned around. And,
never allow safety chains to drag on the ground.
Trailer Brakes
Because the vehicle has anti-lock brakes, do not try to
tap into the vehicle’s brake system. If this is done,
both brake systems will not work well, or at all.
Driving with a Trailer
Towing a trailer requires a certain amount of experience.
Before setting out for the open road, get to know the rig.
Acquaint yourself with the feel of handling and braking
with the added weight of the trailer. And always keep in
mind that the vehicle is now a good deal longer and not
nearly as responsive as the vehicle is by itself.
4-43
Page 315 of 472
The CHECK GAS CAP message will be displayed on
the Driver Information Center (DIC) if the fuel cap is not
properly installed. SeeDIC Warnings and Messages
on page 3-72for more information.
{CAUTION:
If a �re starts while you are refueling, do not
remove the nozzle. Shut off the �ow of fuel by
shutting off the pump or by notifying the
station attendant. Leave the area immediately.
Notice:If you need a new fuel cap, be sure to get
the right type. Your dealer can get one for you.
If you get the wrong type, it may not �t properly.
This may cause your malfunction indicator lamp to
light and may damage your fuel tank and emissions
system. SeeMalfunction Indicator Lamp on
page 3-47.
Filling a Portable Fuel Container
{CAUTION:
Never �ll a portable fuel container while it is in
your vehicle. Static electricity discharge from
the container can ignite the gasoline vapor.
You can be badly burned and your vehicle
damaged if this occurs. To help avoid injury to
you and others:
Dispense gasoline only into approved
containers.
Do not �ll a container while it is inside a
vehicle, in a vehicle’s trunk, pickup bed, or
on any surface other than the ground.
Bring the �ll nozzle in contact with the
inside of the �ll opening before operating
the nozzle. Contact should be maintained
until the �lling is complete.
Do not smoke while pumping gasoline.
5-9
Page 363 of 472
6. Reinstall the headlamp assembly.
7. Push down on the metal retaining clip while pushing
rearward on the headlamp, making sure the
headlamp assembly is secure.
8. Reinstall the bolt and tighten to secure.
Taillamps, Turn Signal, and
Stoplamps
A. Taillamp
B. Taillamps, Turn Signal
and Stoplamps
1. Open the trunk. SeeTrunk on page 2-13for more
information.2. Remove the convenience net, if equipped, by
removing the net hook attachments.
3. Remove the plastic cap from the trunk trim.
4. Pull the trunk trim and carpet away from the back of
the trunk.
5. Remove the bottom bolt and two nuts.
6. Remove the taillamp
assembly by pulling it
out from the vehicle.
5-57