2006 PONTIAC GRAND PRIX ESP
[x] Cancel search: ESPPage 252 of 472
To insert multiple CDs, do the following:
1. Turn the ignition on.
2. Press and hold the LOAD button for two seconds.
You will hear a beep and the light, located to the
right of the slot, will begin to �ash.
3. Once the light stops �ashing and turns green, load
a CD. Insert the CD partway into the slot, label side
up. The player will pull the CD in.
4. Once the CD is loaded, the light will begin �ashing
again. Press the LOAD button again. Once the light
turns green, load the next disc. Repeat this
procedure for each CD. The CD player takes up to
six CDs. Do not try to load more than six.
To load more than one CD but less than six, complete
Steps 1 through 3. When �nished loading CDs, the
radio will begin to play the last CD loaded.
If more than one CD has been loaded, a number for
each CD will be displayed.Playing a Speci�c Loaded CD
For every CD loaded, a number will appear on the
display. To play a speci�c CD, �rst press the CD AUX
button, then press the numbered pushbutton that
corresponds to the CD. A small bar will appear under
the CD number that is playing and the track number
will appear.
If an error appears on the display, see “CD Messages”
later in this section.
LOAD CD
Z(Eject):Press the CD eject side of this
button to eject a CD(s). You will hear a beep and the
indicator light will �ash to let you know when a CD
is being ejected.
REMOVE CD will appear on the display. The CD can
be removed. If the CD is not removed, after 25 seconds,
the CD will be automatically pulled back into the
player. If the CD is pushed back into the player, before
the 25 second time period is complete, the player
will sense an error and will try to eject the CD several
times before stopping.
3-134
Page 258 of 472
When a CD is playing, press either arrow to go to the
previous or next track, if more than eight seconds have
played. If either arrow is held or pressed more than
once, the player will continue moving backward
or forward through the CD.
BAND:Press this button to switch between FM1, FM2,
AM, or XM1 or XM2 (if equipped).
1-6:Press this button to scan the stations that are
programmed on the radio preset pushbuttons. The radio
will go to the next preset station stored on the
pushbuttons, play for a few seconds, then go on to the
next preset station. Press this button again to stop
scanning. The radio will only scan preset stations with a
strong signal that are in the selected band.
$(Mute/OnStar®):Press and release this button to
silence the audio system. Press it again, or any
other radio button to turn the sound on.
If your vehicle is equipped with OnStar, press and hold
this button to interact with the OnStar system. See
theOnStar
®System on page 2-38in this manual for
more information.
r(Play):When listening to the radio, press this
button to play a cassette tape or CD.
wux(Volume):Press the up or down arrow to
increase or decrease the volume.
Radio Reception
You may experience frequency interference and static
during normal radio reception if items such as cellphone
chargers, vehicle convenience accessories, and
external electronic devices are plugged into the
accessory power outlet. If there is interference or static,
unplug the item from the accessory power outlet.
AM
The range for most AM stations is greater than for
FM, especially at night. The longer range can cause
station frequencies to interfere with each other.
For better radio reception, most AM radio stations will
boost the power levels during the day, and then reduce
these levels during the night. Static can also occur
when things like storms and power lines interfere with
radio reception. When this happens, try reducing
the treble on your radio.
FM Stereo
FM stereo will give the best sound, but FM signals will
reach only about 10 to 40 miles (16 to 65 km). Tall
buildings or hills can interfere with FM signals, causing
the sound to fade in and out.
3-140
Page 265 of 472
Statistics show that the chance of being in a collision
increases sharply for drivers who have a BAC of
0.05 percent or above. A driver with a BAC level of
0.06 percent has doubled his or her chance of having a
collision. At a BAC level of 0.10 percent, the chance of
this driver having a collision is 12 times greater; at a level
of 0.15 percent, the chance is 25 times greater!
The body takes about an hour to rid itself of the alcohol in
one drink. No amount of coffee or number of cold
showers will speed that up. “I will be careful” is not the
right answer. What if there is an emergency, a need to
take sudden action, as when a child darts into the street?
A person with even a moderate BAC might not be able to
react quickly enough to avoid the collision.
There is something else about drinking and driving that
many people do not know. Medical research shows that
alcohol in a person’s system can make crash injuries
worse, especially injuries to the brain, spinal cord, or
heart. This means that when anyone who has been
drinking — driver or passenger — is in a crash, that
person’s chance of being killed or permanently disabled
is higher than if the person had not been drinking.
{CAUTION:
Drinking and then driving is very dangerous.
Your re�exes, perceptions, attentiveness, and
judgment can be affected by even a small
amount of alcohol. You can have a serious — or
even fatal — collision if you drive after drinking.
Please do not drink and drive or ride with a
driver who has been drinking. Ride home in a
cab; or if you are with a group, designate a
driver who will not drink.
Control of a Vehicle
You have three systems that make your vehicle go
where you want it to go. They are the brakes, the
steering, and the accelerator. All three systems have to
do their work at the places where the tires meet the road.
4-5
Page 268 of 472
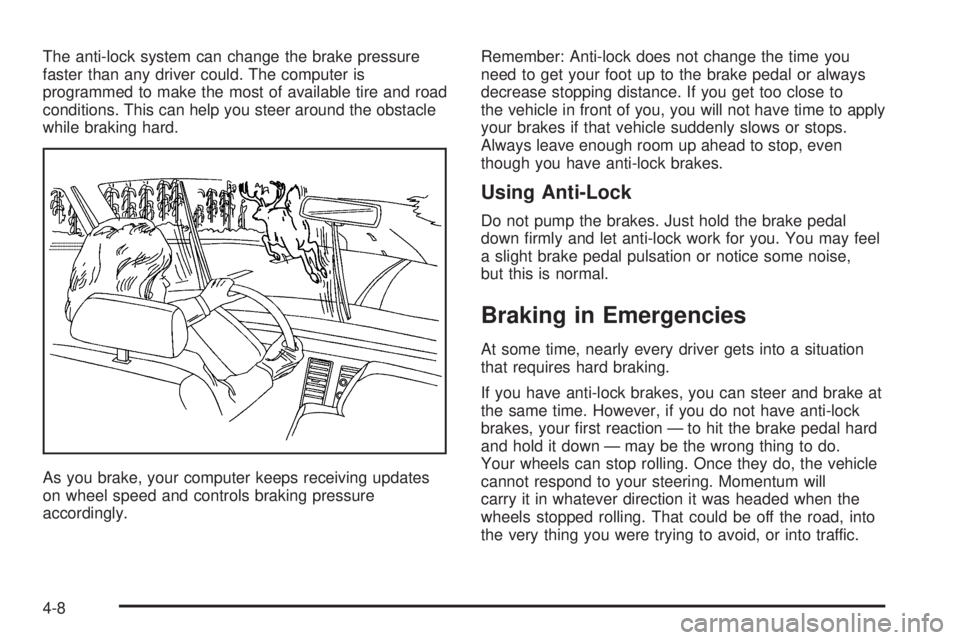
The anti-lock system can change the brake pressure
faster than any driver could. The computer is
programmed to make the most of available tire and road
conditions. This can help you steer around the obstacle
while braking hard.
As you brake, your computer keeps receiving updates
on wheel speed and controls braking pressure
accordingly.Remember: Anti-lock does not change the time you
need to get your foot up to the brake pedal or always
decrease stopping distance. If you get too close to
the vehicle in front of you, you will not have time to apply
your brakes if that vehicle suddenly slows or stops.
Always leave enough room up ahead to stop, even
though you have anti-lock brakes.
Using Anti-Lock
Do not pump the brakes. Just hold the brake pedal
down �rmly and let anti-lock work for you. You may feel
a slight brake pedal pulsation or notice some noise,
but this is normal.
Braking in Emergencies
At some time, nearly every driver gets into a situation
that requires hard braking.
If you have anti-lock brakes, you can steer and brake at
the same time. However, if you do not have anti-lock
brakes, your �rst reaction — to hit the brake pedal hard
and hold it down — may be the wrong thing to do.
Your wheels can stop rolling. Once they do, the vehicle
cannot respond to your steering. Momentum will
carry it in whatever direction it was headed when the
wheels stopped rolling. That could be off the road, into
the very thing you were trying to avoid, or into traffic.
4-8
Page 269 of 472
If you do not have anti-lock brakes, use a “squeeze”
braking technique. This will give you maximum braking
while maintaining steering control. You can do this
by pushing on the brake pedal with steadily
increasing pressure.
In an emergency, you will probably want to squeeze the
brakes hard without locking the wheels. If you hear or
feel the wheels sliding, ease off the brake pedal.
This will help you retain steering control. If you do have
anti-lock brakes, it is different. SeeAnti-Lock Brake
System (ABS) on page 4-7.
In many emergencies, steering can help you more than
even the very best braking.
Traction Control System (TCS)
If the vehicle has the 3800 Supercharged V6 engine
or the 5.3L V8 engine, it has a Traction Control
System (TCS) that limits wheel spin. This is especially
useful in slippery road conditions. The system operates
only if it senses that one or both of the front wheels are
spinning or beginning to lose traction. When this
happens, the system works the front brakes and
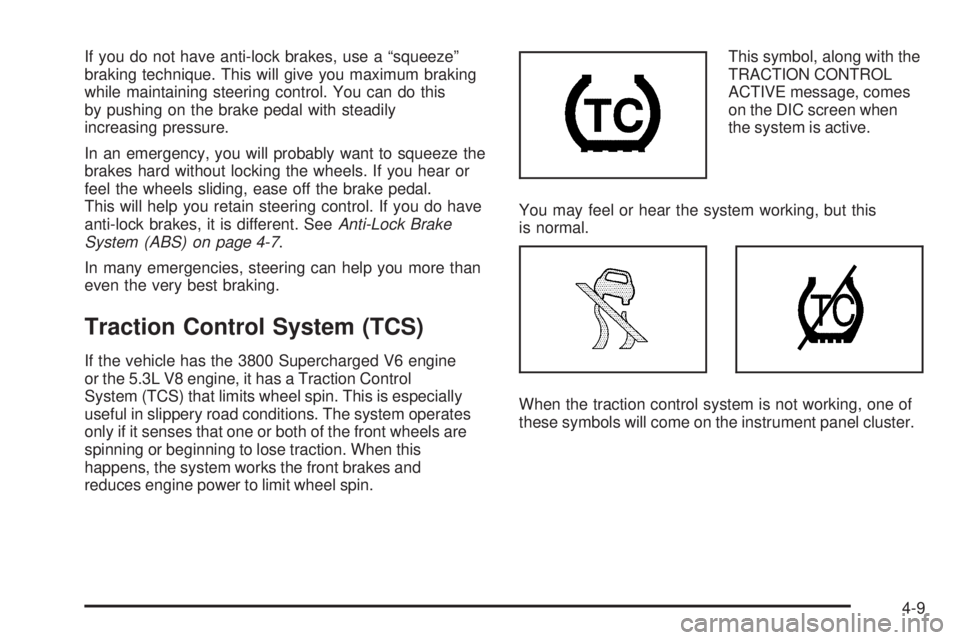
reduces engine power to limit wheel spin.This symbol, along with the
TRACTION CONTROL
ACTIVE message, comes
on the DIC screen when
the system is active.
You may feel or hear the system working, but this
is normal.
When the traction control system is not working, one of
these symbols will come on the instrument panel cluster.
4-9
Page 270 of 472
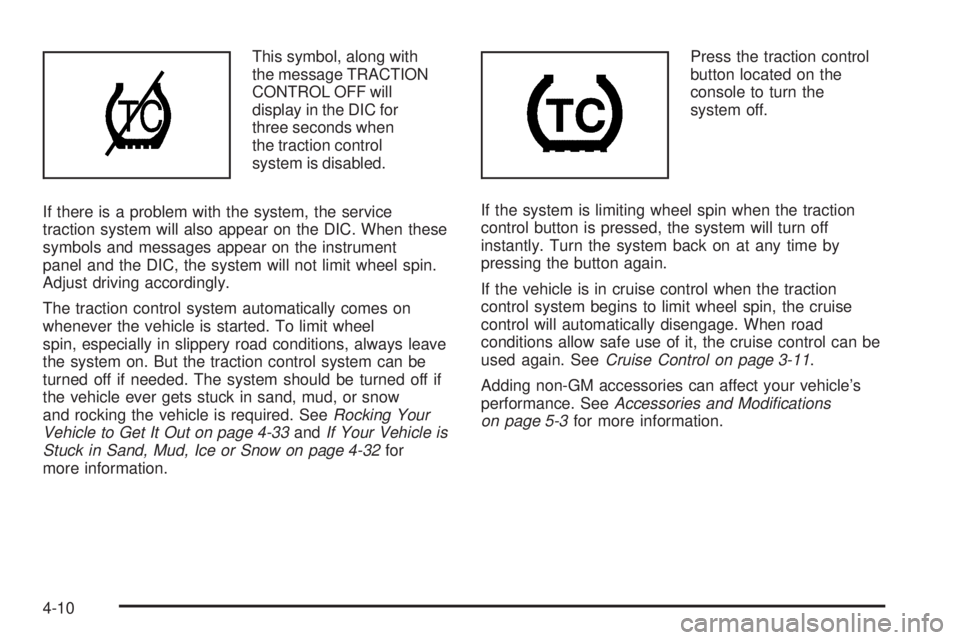
This symbol, along with
the message TRACTION
CONTROL OFF will
display in the DIC for
three seconds when
the traction control
system is disabled.
If there is a problem with the system, the service
traction system will also appear on the DIC. When these
symbols and messages appear on the instrument
panel and the DIC, the system will not limit wheel spin.
Adjust driving accordingly.
The traction control system automatically comes on
whenever the vehicle is started. To limit wheel
spin, especially in slippery road conditions, always leave
the system on. But the traction control system can be
turned off if needed. The system should be turned off if
the vehicle ever gets stuck in sand, mud, or snow
and rocking the vehicle is required. SeeRocking Your
Vehicle to Get It Out on page 4-33andIf Your Vehicle is
Stuck in Sand, Mud, Ice or Snow on page 4-32for
more information.Press the traction control
button located on the
console to turn the
system off.
If the system is limiting wheel spin when the traction
control button is pressed, the system will turn off
instantly. Turn the system back on at any time by
pressing the button again.
If the vehicle is in cruise control when the traction
control system begins to limit wheel spin, the cruise
control will automatically disengage. When road
conditions allow safe use of it, the cruise control can be
used again. SeeCruise Control on page 3-11.
Adding non-GM accessories can affect your vehicle’s
performance. SeeAccessories and Modi�cations
on page 5-3for more information.
4-10
Page 271 of 472
Enhanced Traction System (ETS)
If the vehicle has the 3800 V6 engine and anti-lock
brakes, it has an Enhanced Traction System (ETS) that
limits wheel spin. This is especially useful in slippery
road conditions. The system operates only if it senses
that one or both of the front wheels are spinning or
beginning to lose traction. When this happens,
the system reduces engine power and may also upshift
the transaxle to limit wheel spin.
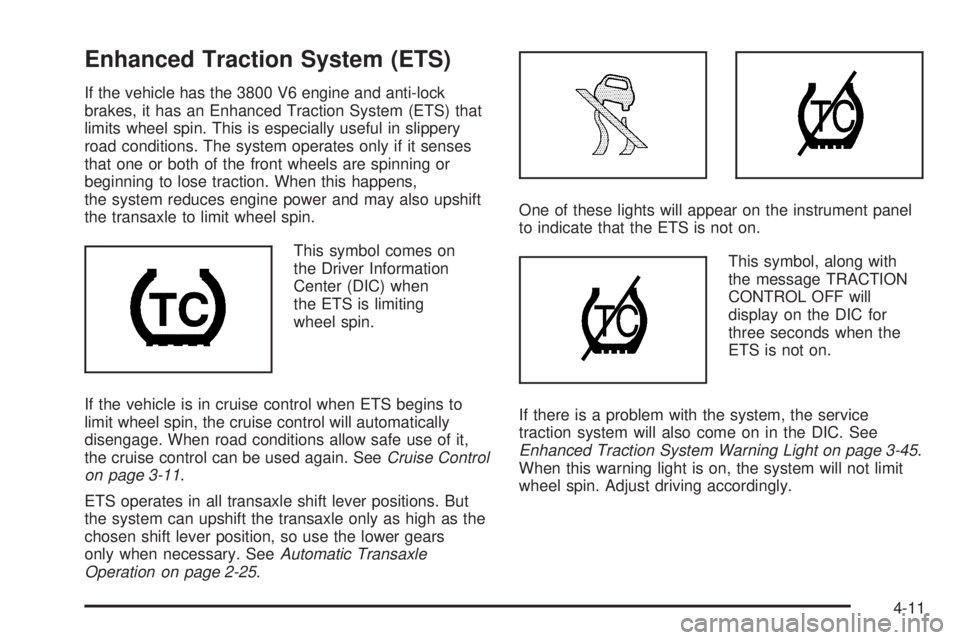
This symbol comes on
the Driver Information
Center (DIC) when
the ETS is limiting
wheel spin.
If the vehicle is in cruise control when ETS begins to
limit wheel spin, the cruise control will automatically
disengage. When road conditions allow safe use of it,
the cruise control can be used again. SeeCruise Control
on page 3-11.
ETS operates in all transaxle shift lever positions. But
the system can upshift the transaxle only as high as the
chosen shift lever position, so use the lower gears
only when necessary. SeeAutomatic Transaxle
Operation on page 2-25.One of these lights will appear on the instrument panel
to indicate that the ETS is not on.
This symbol, along with
the message TRACTION
CONTROL OFF will
display on the DIC for
three seconds when the
ETS is not on.
If there is a problem with the system, the service
traction system will also come on in the DIC. See
Enhanced Traction System Warning Light on page 3-45.
When this warning light is on, the system will not limit
wheel spin. Adjust driving accordingly.
4-11
Page 272 of 472
To limit wheel spin, especially in slippery road
conditions, the ETS should always be left on. But the
system can be turned off. The system should be turned
off if the vehicle ever gets stuck in sand, mud, or
snow and rocking the vehicle is required. SeeRocking
Your Vehicle to Get It Out on page 4-33andIf Your
Vehicle is Stuck in Sand, Mud, Ice or Snow on
page 4-32for more information.
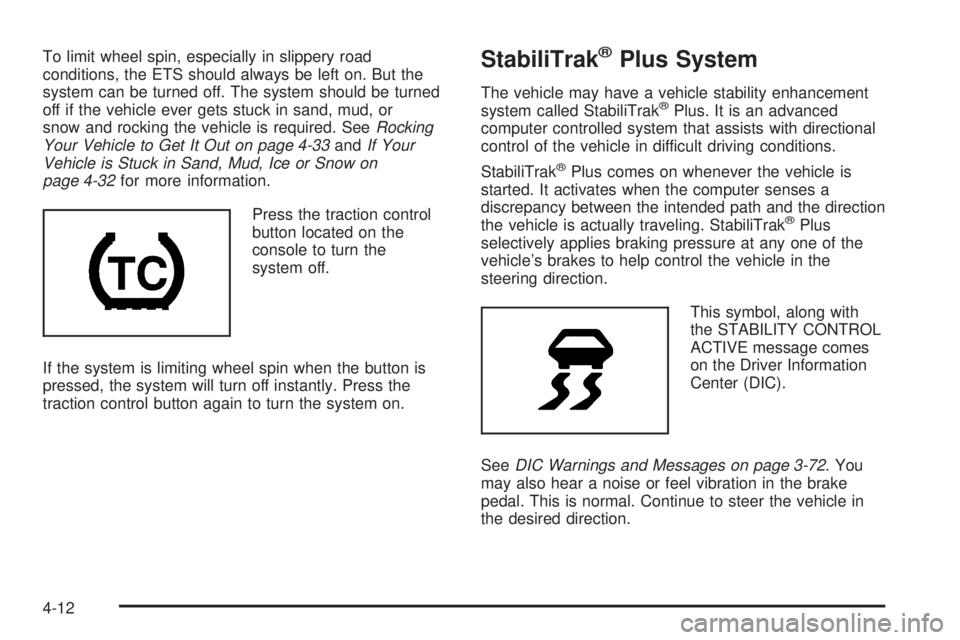
Press the traction control
button located on the
console to turn the
system off.
If the system is limiting wheel spin when the button is
pressed, the system will turn off instantly. Press the
traction control button again to turn the system on.StabiliTrak®Plus System
The vehicle may have a vehicle stability enhancement
system called StabiliTrak®Plus. It is an advanced
computer controlled system that assists with directional
control of the vehicle in difficult driving conditions.
StabiliTrak
®Plus comes on whenever the vehicle is
started. It activates when the computer senses a
discrepancy between the intended path and the direction
the vehicle is actually traveling. StabiliTrak
®Plus
selectively applies braking pressure at any one of the
vehicle’s brakes to help control the vehicle in the
steering direction.
This symbol, along with
the STABILITY CONTROL
ACTIVE message comes
on the Driver Information
Center (DIC).
SeeDIC Warnings and Messages on page 3-72. You
may also hear a noise or feel vibration in the brake
pedal. This is normal. Continue to steer the vehicle in
the desired direction.
4-12