2006 NISSAN QUEST steering
[x] Cancel search: steeringPage 92 of 352

For additional information, see “Low tire pressure
warning system” in the “Starting and driving”
section and “Low tire pressure warning system”
in the “In case of emergency” section.
Tire pressure monitor system malfunction
(all models):
If the tire pressure monitor system is not function-
ing properly, the low tire pressure warning light
will flash for approximately 1 minute when the
ignition switch is turned on. The light will remain
on after the 1 minute. Have the system checked
by a NISSAN dealer.
For additional information, see “Low tire pressure
warning system” in the “Starting and driving”
section.
WARNING
cIf the light does not come on with the
key switch turned ON, have the vehicle
checked by a NISSAN dealer as soon as
possible.c
If the light illuminates while driving,
avoid sudden steering maneuvers or
abrupt braking, reduce vehicle speed,
pull off the road to a safe location and
stop the vehicle as soon as possible. Se-
rious vehicle damage could occur and
may lead to an accident and could result
in serious personal injury. Check the tire
pressure for all four tires. Adjust the tire
pressure to the recommended COLD tire
pressure shown on the Tire and Loading
Information label to turn the low tire
pressure warning light OFF. If the light
still comes on while driving after adjust-
ing the tire pressure, a tire may be flat. If
you have a flat tire, replace it with a spare
tire as soon as possible.
cAlthough you can continue driving with
a punctured MichelinTPAXTtire (if so
equipped) , remember that vehicle han-
dling stability is reduced, which could
lead to an accident and personal injury.
Also, driving a long distance at high
speeds may damage the tires.
cDo not drive at speeds above 50 MPH
(80 km/h) and do not drive more than
125 miles (200 km) with a punctured
MichelinTPAXTtire (if so equipped) .The actual distance the vehicle can be
driven on a flat tire depends on outside
temperature, vehicle load, road condi-
tions and other factors.
cDo not tow a trailer when a MichelinT
PAXTtire (if so equipped) is flat.
cWhen a spare tire is mounted or a wheel
is replaced, tire pressure will not be
indicated and the low tire pressure
warning system will not function. Con-
tact your NISSAN dealer as soon as
possible for tire replacement and/or
system resetting.
CAUTION
cThe low tire pressure warning system is
not a substitute for the regular tire pres-
sure check. Be sure to check the tire
pressure regularly.
cIf the vehicle is being driven at speeds
of less than 20 MPH (32 km/h) , the low
tire pressure warning system may not
operate correctly.
cBe sure to install the specified size of
tires to the 4 wheels correctly.
2-10Instruments and controls
ZREVIEW COPYÐ2006 Quest(van)
Owners ManualÐUSA_English(nna)
05/27/05Ðtbrooks
X
Page 106 of 352

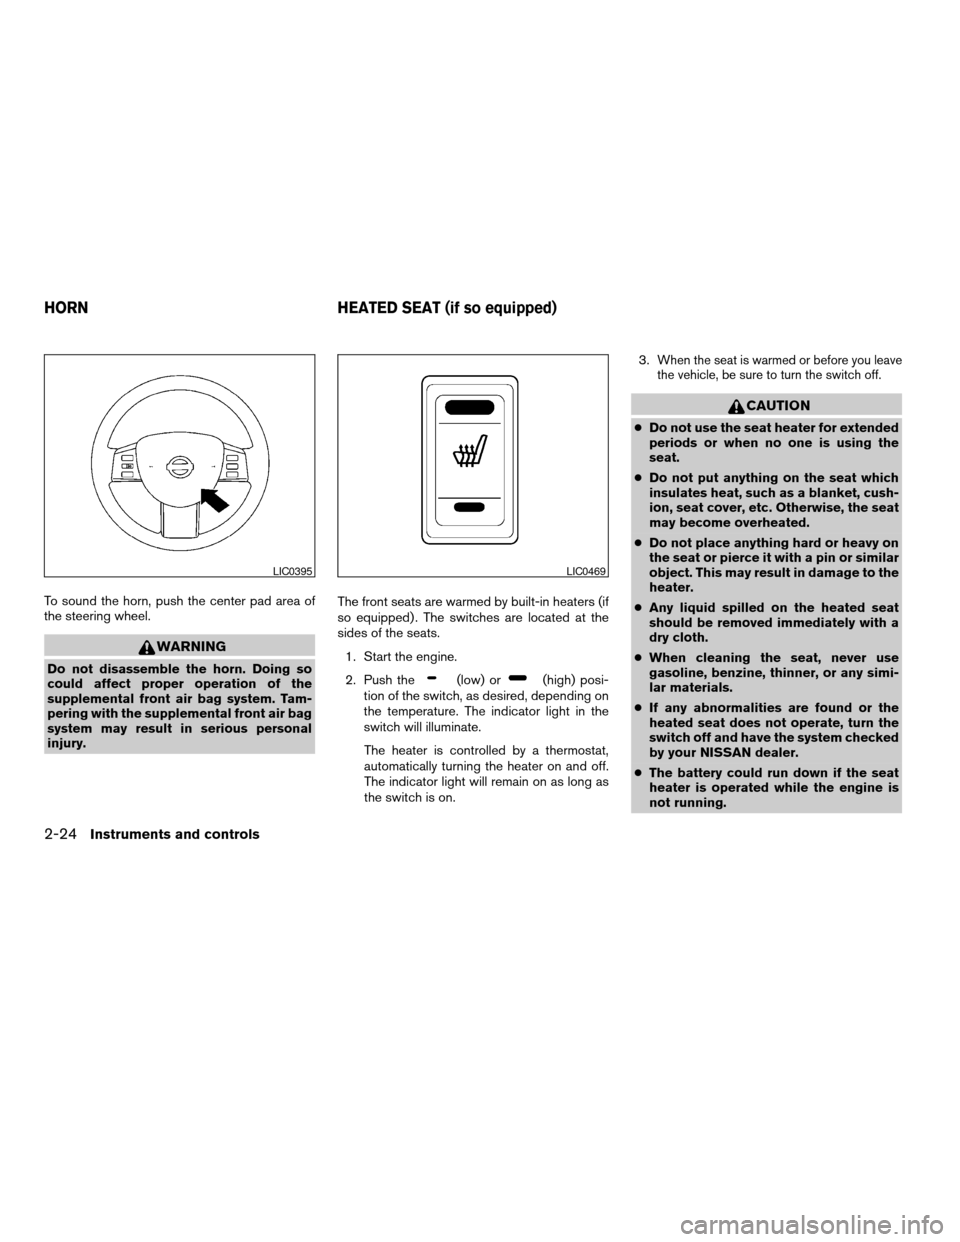
To sound the horn, push the center pad area of
the steering wheel.
WARNING
Do not disassemble the horn. Doing so
could affect proper operation of the
supplemental front air bag system. Tam-
pering with the supplemental front air bag
system may result in serious personal
injury.The front seats are warmed by built-in heaters (if
so equipped) . The switches are located at the
sides of the seats.
1. Start the engine.
2. Push the(low) or(high) posi-
tion of the switch, as desired, depending on
the temperature. The indicator light in the
switch will illuminate.
The heater is controlled by a thermostat,
automatically turning the heater on and off.
The indicator light will remain on as long as
the switch is on.3.
When the seat is warmed or before you leave
the vehicle, be sure to turn the switch off.
CAUTION
cDo not use the seat heater for extended
periods or when no one is using the
seat.
cDo not put anything on the seat which
insulates heat, such as a blanket, cush-
ion, seat cover, etc. Otherwise, the seat
may become overheated.
cDo not place anything hard or heavy on
the seat or pierce it with a pin or similar
object. This may result in damage to the
heater.
cAny liquid spilled on the heated seat
should be removed immediately with a
dry cloth.
cWhen cleaning the seat, never use
gasoline, benzine, thinner, or any simi-
lar materials.
cIf any abnormalities are found or the
heated seat does not operate, turn the
switch off and have the system checked
by your NISSAN dealer.
cThe battery could run down if the seat
heater is operated while the engine is
not running.
LIC0395LIC0469
HORN HEATED SEAT (if so equipped)
2-24Instruments and controls
ZREVIEW COPYÐ2006 Quest(van)
Owners ManualÐUSA_English(nna)
05/27/05Ðtbrooks
X
Page 133 of 352

3 Pre-driving checks and adjustments
Keys .............................................3-2
Nissan vehicle immobilizer system keys...........3-2
Doors............................................3-3
Locking with key................................3-3
Locking with inside lock knob....................3-4
Locking with power door lock switch.............3-5
Operating the manual sliding door
(if so equipped)................................3-5
Using the main ON/OFF switch for the
power sliding door (if so equipped)...............3-6
Operating the power sliding door
(if so equipped)................................3-7
Child safety sliding door lock....................3-9
Remote keyless entry system.......................3-9
How to use remote keyless entry system.........3-10
Hood...........................................3-13
Lift gate.........................................3-14
Operating the manual lift gate...................3-14
Using the main ON/OFF switch for the
power lift gate (if so equipped)..................3-14Operating the power lift gate
(if so equipped)...............................3-15
Lift gate release...............................3-17
Fuel-filler door...................................3-18
Opener operation..............................3-18
Fuel filler cap..................................3-19
Steering wheel...................................3-20
Tilt operation..................................3-20
Pedal position adjustment (if so equipped)..........3-20
Sun visors.......................................3-21
Vanity mirrors.................................3-22
Mirrors..........................................3-22
Inside mirror (if so equipped)....................3-22
Automatic anti-glare rearview mirror
(if so equipped)...............................3-22
Outside mirrors...............................3-23
Automatic drive positioner (if so equipped)..........3-24
Memory storage function.......................3-25
Entry/exit function.............................3-26
System operation..............................3-27
ZREVIEW COPYÐ2006 Quest(van)
Owners ManualÐUSA_English(nna)
05/27/05Ðtbrooks
X
Page 152 of 352

cTighten until the fuel filler cap clicks.
Failure to tighten the fuel filler cap
properly may cause the
mal-
function indicator light (MIL) to illumi-
nate. If the
light illuminates be-
cause the fuel filler cap is loose or
missing, tighten or install the cap and
continue to drive the vehicle.
The
light should turn off after a
few driving trips. If the
light
does not turn off after a few driving
trips, have the vehicle inspected by a
NISSAN dealer.
cFor additional information, see the
“Malfunction indicator light (MIL)” in
the “Instruments and Controls” section
earlier in this manual.
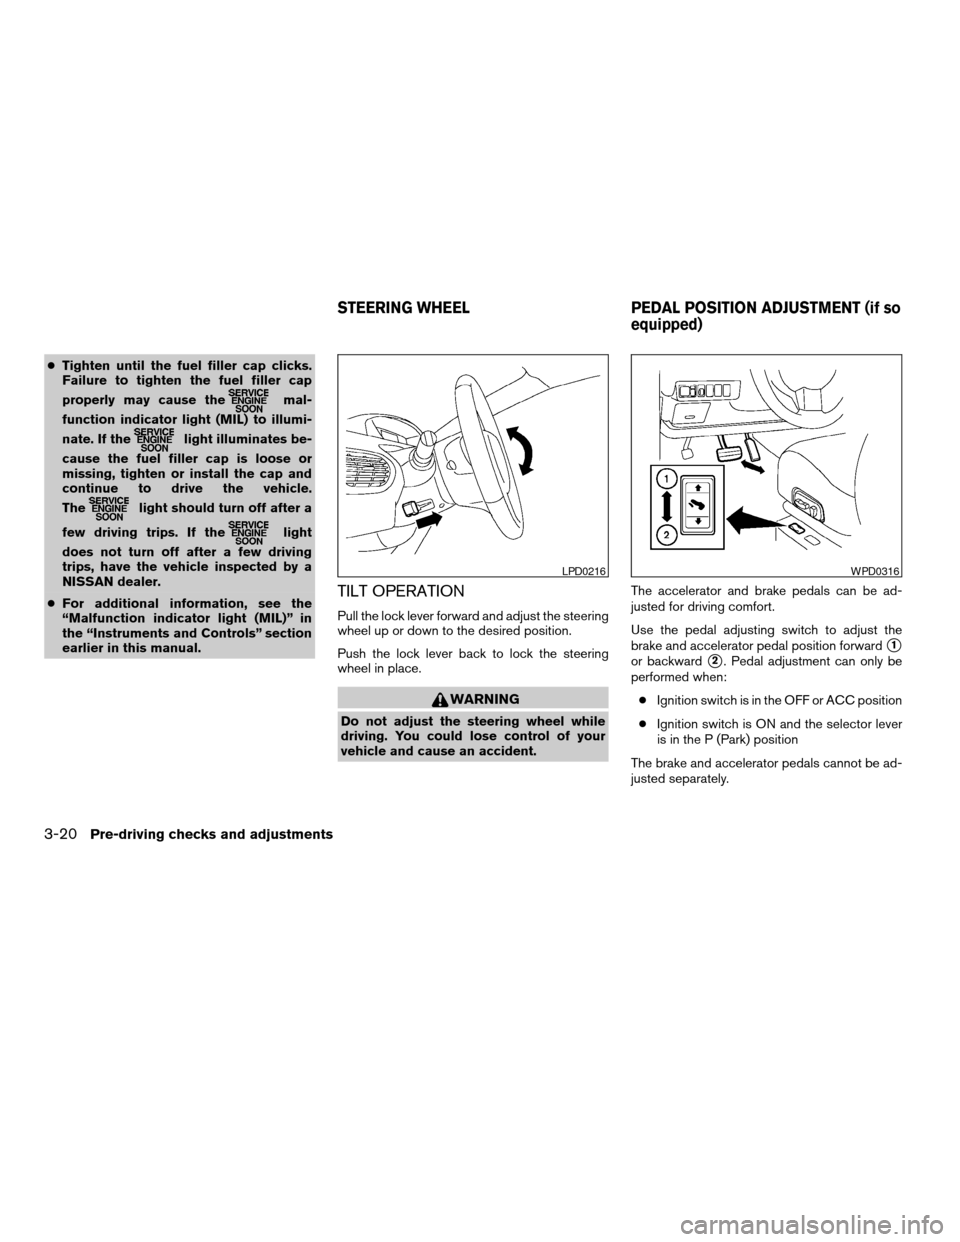
TILT OPERATION
Pull the lock lever forward and adjust the steering
wheel up or down to the desired position.
Push the lock lever back to lock the steering
wheel in place.
WARNING
Do not adjust the steering wheel while
driving. You could lose control of your
vehicle and cause an accident.The accelerator and brake pedals can be ad-
justed for driving comfort.
Use the pedal adjusting switch to adjust the
brake and accelerator pedal position forward
s1
or backwards2. Pedal adjustment can only be
performed when:
cIgnition switch is in the OFF or ACC position
cIgnition switch is ON and the selector lever
is in the P (Park) position
The brake and accelerator pedals cannot be ad-
justed separately.
LPD0216WPD0316
STEERING WHEEL PEDAL POSITION ADJUSTMENT (if so
equipped)
3-20Pre-driving checks and adjustments
ZREVIEW COPYÐ2006 Quest(van)
Owners ManualÐUSA_English(nna)
05/27/05Ðtbrooks
X
Page 161 of 352

Rear seat air conditioner..........................4-40
Controls......................................4-40
Servicing air conditioner...........................4-40
Audio system....................................4-41
Radio........................................4-41
FM radio reception............................4-41
AM radio reception............................4-41
Satellite radio reception (if so equipped).........4-41
Audio operation precautions....................4-42
FM-AM-SAT radio with compact disc (CD)
player (Type A)/CD changer (Type B)............4-44
CD care and cleaning..........................4-51Steering wheel switch for audio control
(if so equipped)...............................4-51
Rear audio controls (if so equipped).............4-53
Antenna......................................4-54
DVD entertainment system (if so equipped)..........4-54
Digital video disc (DVD) player controls..........4-55
Remote control................................4-56
Flip-down screen..............................4-56
Playing a digital video disc (DVD)...............4-58
Care and maintenance.........................4-61
How to handle the DVD........................4-61
Car phone or CB radio............................4-64
ZREVIEW COPYÐ2006 Quest(van)
Owners ManualÐUSA_English(nna)
05/27/05Ðtbrooks
X
Page 211 of 352

CD CARE AND CLEANING
cHandle a CD by its edges. Do not bend the
disc. Never touch the surface of the disc.
cAlways place the discs in the storage case
when they are not being used.
cTo clean a disc, wipe the surface from the
center to the outer edge using a clean, soft
cloth. Do not wipe the disc using a circular
motion.
cDo not use a conventional record cleaner or
alcohol intended for industrial use.cA new disc may be rough on the inner and
outer edges. Remove the rough edges by
rubbing the inner and outer edges with the
side of a pen or pencil as illustrated.
1. Volume control switch
2. MODE select switch
3. POWER on/off switch
4. Tuning switch
STEERING WHEEL SWITCH FOR
AUDIO CONTROL (if so equipped)
The audio system can be operated using the
controls on the steering wheel.
POWER on/off switch
With the ignition key turned to the ACC or ON
position, push the POWER switch to turn the
audio system on or off.
LHA0049LHA0550
Display screen, heater, air conditioner and audio systems4-51
ZREVIEW COPYÐ2006 Quest(van)
Owners ManualÐUSA_English(nna)
05/27/05Ðtbrooks
X
Page 225 of 352

5 Starting and driving
Precautions when starting and driving................5-2
Exhaust gas (carbon monoxide)..................5-2
Three-way catalyst..............................5-2
Tire pressure monitoring system (TPMS)
(for models without MichelinTPAXTtires
only)..........................................5-3
Tire pressure monitoring system (TPMS)
(for models with MichelinTPAXTtires only)........5-5
Avoiding collision and rollover....................5-7
Drinking alcohol/drugs and driving................5-7
Ignition switch.....................................5-7
Automatic transmission..........................5-7
Key positions..................................5-8
Nissan vehicle immobilizer system................5-8
Before starting the engine..........................5-9
Starting the engine................................5-9
Driving the vehicle................................5-10
Automatic transmission.........................5-10
Parking brake....................................5-13
Cruise control....................................5-14
Precautions on cruise control...................5-14Cruise control operations.......................5-14
Break-in schedule................................5-16
Increasing fuel economy...........................5-16
Parking/parking on hills............................5-17
Power steering...................................5-18
Brake system....................................5-18
Brake precautions.............................5-18
Anti-lock brake system (ABS)...................5-19
Traction control system (TCS)......................5-20
Vehicle dynamic control (VDC) system
(if so equipped)..................................5-21
Rear sonar system (if so equipped).................5-22
Cold weather driving..............................5-23
Freeing a frozen door lock......................5-23
Anti-freeze....................................5-23
Battery.......................................5-23
Draining of coolant water.......................5-23
Tire equipment................................5-24
Special winter equipment.......................5-24
Driving on snow or ice.........................5-24
ZREVIEW COPYÐ2006 Quest(van)
Owners ManualÐUSA_English(nna)
05/27/05Ðtbrooks
X
Page 228 of 352

speeds above 20 MPH (32 km/h) . Also, this
system may not detect a sudden drop in tire
pressure (for example a flat tire while driv-
ing) .
cTire pressure rises and falls depending on
the heat caused by the vehicle’s operation
and the outside temperature. Low outside
temperature can lower the temperature of
the air inside the tire which can cause a
lower tire inflation pressure. This may cause
the low tire pressure warning light to illumi-
nate. If the warning light illuminates in low
ambient temperature, check the tire pres-
sure for all four tires.
cYou can also check the pressure of all tires
(except the spare tire) on the display screen.
The order of the tire pressure figures dis-
played on the screen does not correspond
with the actual order of the tire position. See
“Tire pressure information” in the “Display
screen, heater, air conditioner and audio
systems” section.
For additional information, see “Low tire pressure
warning light” in the “Instruments and controls”
section, “Low tire pressure warning system” in
the “In case of emergency” section.WARNING
cIf the low tire pressure warning light
flashes while driving, avoid sudden
steering maneuvers or abrupt braking,
reduce vehicle speed, pull off the road
to a safe location and stop the vehicle
as soon as possible. Serious vehicle
damage could occur and may lead to an
accident and could result in serious
personal injury. Check the tire pressure
for all four tires. Adjust the tire pressure
to the recommended COLD tire pres-
sure shown on the Tire and Loading
Information label to turn the low tire
pressure warning light OFF. If you have
a flat tire, replace it with a spare tire as
soon as possible. (See “Flat tire” in the
“In case of emergency” section for
changing a flat tire.)
cWhen a spare tire is mounted or a wheel
is replaced, tire pressure will not be
indicated and the low tire pressure
warning system will not function. Con-
tact your NISSAN dealer as soon as
possible for tire replacement and/or
system resetting.cDo not inject any tire liquid or aerosol
tire sealant into the tires, as this may
cause a malfunction of the tire pressure
sensors.
CAUTION
Do not place metalized film or any metal
parts (antenna, etc.) on the windows. This
may cause poor reception of the signals
from the tire pressure sensors, and the
low tire pressure warning system will not
function properly.
FCC Notice:
Changes or modifications not expressly ap-
proved by the party responsible for compli-
ance could void the user’s authority to op-
erate the equipment.
This device complies with Part 15 of the
FCC Rules and RSS-210 of Industry
Canada.
Operation is subject to the following two
conditions: (1) This device may not cause
harmful interface, and (2) this device must
accept any interference received, including
interference that may cause undesired op-
eration of the device.
5-4Starting and driving
ZREVIEW COPYÐ2006 Quest(van)
Owners ManualÐUSA_English(nna)
05/27/05Ðtbrooks
X