Page 9 of 352
1. Engine hood (P. 3-13)
2. Headlight and turn signal switch
(P. 2-19)
3. Replacing bulbs (P. 8-29)
4. Windshield wiper and washer switch
(P. 2-16)
5. Windshield (P. 8-19)
6. Power windows (P. 2-40)
7. Door locks, keyfob, keys
(P. 3-3, 3-9, 3-2)
8. Mirrors (P. 3-22)
9. Tire pressure (P. 9-11)
10. Flat tire (P. 6-2)
11. Tire chains (P. 8-41)
12. Fog light switch (P. 2-22)
13. Tie down/towing hooks (P. 6-12)
See the page number indicated in paren-
theses for operating details.
LII0013
EXTERIOR FRONT
Illustrated table of contents0-3
ZREVIEW COPYÐ2006 Quest(van)
Owners ManualÐUSA_English(nna)
05/27/05Ðtbrooks
X
Page 14 of 352
1. Power steering fluid reservoir (P. 8-13)
2. Engine oil filler cap (P. 8-8)
3. Brake fluid reservoir (P. 8-13)
4. Air cleaner (P. 8-17)
5. Battery (P. 8-14)
6. Fuse/fusible link box (P. 8-23)
7. Transmission dipstick (P. 8-11, P. 8-12)
8. Engine oil dipstick (P. 8-8)
9. Radiator cap (P. 8-7)
10. Fuse block (P. 8-23)
11. Windshield washer fluid reservoir
(P. 8-14)
12. Engine coolant reservoir (P. 8-7)
See the page number indicated in paren-
theses for operating details.
LII0017
ENGINE COMPARTMENT CHECK
LOCATIONS
0-8Illustrated table of contents
ZREVIEW COPYÐ2006 Quest(van)
Owners ManualÐUSA_English(nna)
05/27/05Ðtbrooks
X
Page 15 of 352
Warning
lightName Page
or
Anti-lock brake
warning light2-8
or
Brake warning
light2-8
Charge warning
light2-8
Door open
warning light2-8
Engine oil pres-
sure warning
light2-8
Low fuel warn-
ing light2-9
Warning
lightName Page
Low tire pres-
sure warning
light2-9
Low windshield
washer fluid
warning light2-11
Seat belt warn-
ing light and
chime2-11
Supplemental
air bag warning
light2-11
Indicator
lightName Page
Automatic
transmission
position indica-
tor light2-11
Cruise main
switch indicator
light2-11
Cruise set
switch indicator
light2-12
High beam in-
dicator light
(blue)2-12
Malfunction
indicator lamp
(MIL)2-12
Overdrive off
indicator light2-12
WARNING/INDICATOR LIGHTS
Illustrated table of contents0-9
ZREVIEW COPYÐ2006 Quest(van)
Owners ManualÐUSA_English(nna)
05/27/05Ðtbrooks
X
Page 18 of 352

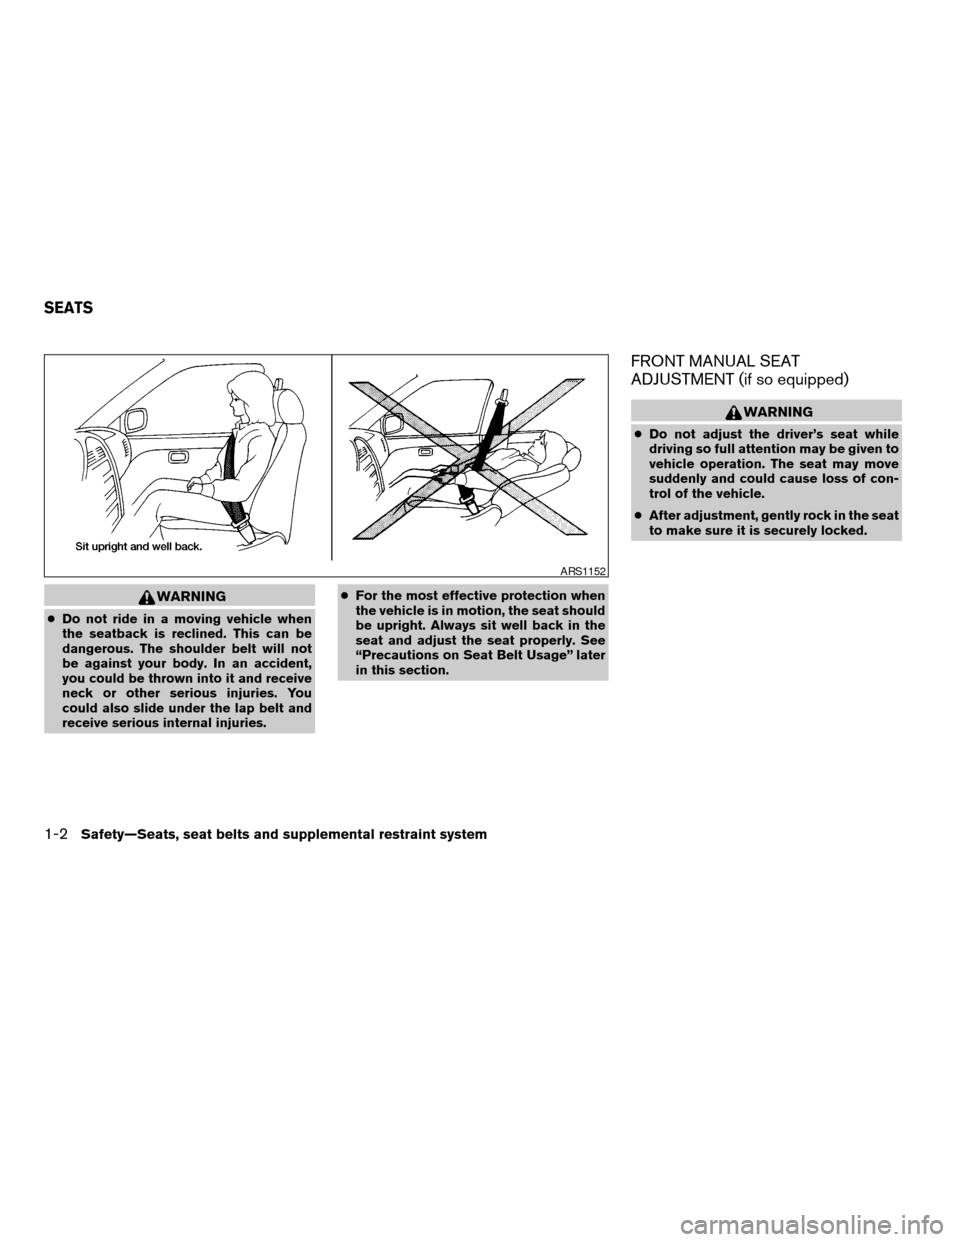
WARNING
cDo not ride in a moving vehicle when
the seatback is reclined. This can be
dangerous. The shoulder belt will not
be against your body. In an accident,
you could be thrown into it and receive
neck or other serious injuries. You
could also slide under the lap belt and
receive serious internal injuries.cFor the most effective protection when
the vehicle is in motion, the seat should
be upright. Always sit well back in the
seat and adjust the seat properly. See
“Precautions on Seat Belt Usage” later
in this section.
FRONT MANUAL SEAT
ADJUSTMENT (if so equipped)
WARNING
cDo not adjust the driver’s seat while
driving so full attention may be given to
vehicle operation. The seat may move
suddenly and could cause loss of con-
trol of the vehicle.
cAfter adjustment, gently rock in the seat
to make sure it is securely locked.
ARS1152
SEATS
1-2Safety—Seats, seat belts and supplemental restraint system
ZREVIEW COPYÐ2006 Quest(van)
Owners ManualÐUSA_English(nna)
05/27/05Ðtbrooks
X
Page 19 of 352
Forward and backward
Pull the lever up and hold it while you slide the
seat forward or backward to the desired position.
Release the lever to lock the seat in position.
Reclining
To recline the seatback, pull the lever up and lean
back. To bring the seatback forward, pull the lever
up and lean your body forward. Release the lever
to lock the seatback in position.
The reclining feature allows adjustment of the
seatback for occupants of different sizes for
added comfort and to help obtain proper seat
belt fit. See “Precautions on seat belt usage” later
in this section. Also, the seatback can be reclined
to allow occupants to rest when the vehicle is
stopped.
WARNING
After adjustment, gently rock in the seat to
make sure it is securely locked.
WRS0520WRS0521
Safety—Seats, seat belts and supplemental restraint system1-3
ZREVIEW COPYÐ2006 Quest(van)
Owners ManualÐUSA_English(nna)
05/27/05Ðtbrooks
X
Page 22 of 352
Seat lifter (if so equipped for driver’s
seat)
Push the front or rear end of the switch up or
down to adjust the angle and height of the seat
cushion.
Lumbar support (driver’s seat)
The lumbar support feature provides lower back
support to the driver. Move the lever up or down
to adjust the seat lumbar area.
2ND ROW CAPTAIN’S CHAIR
ADJUSTMENT
Forward and backward
Push the levers1and hold it while you slides2the
seat forward or backward to the desired position.
Release the lever to lock the seat in position.
WRS0523WRS0518LRS0614
1-6Safety—Seats, seat belts and supplemental restraint system
ZREVIEW COPYÐ2006 Quest(van)
Owners ManualÐUSA_English(nna)
05/27/05Ðtbrooks
X
Page 23 of 352

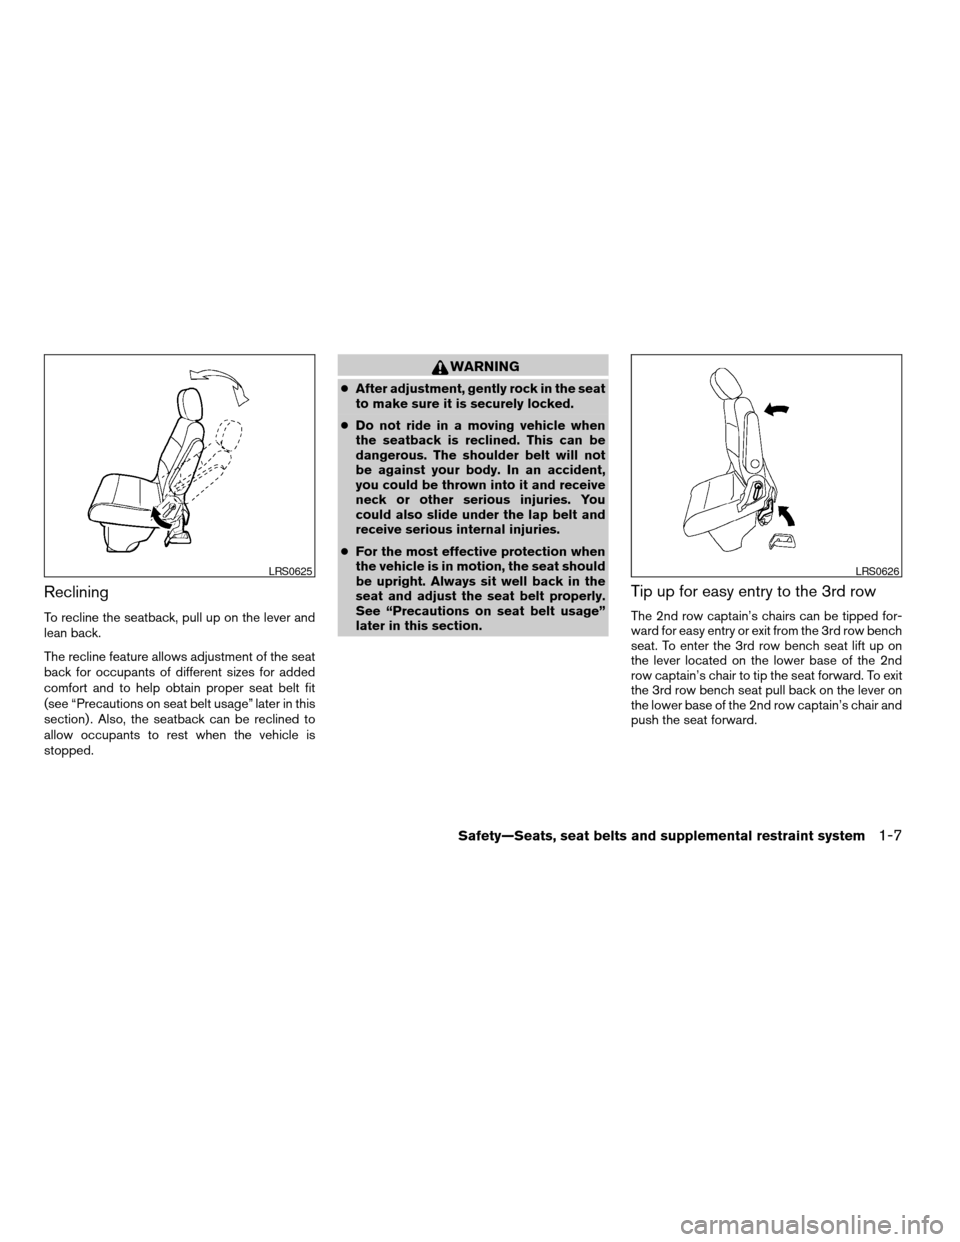
Reclining
To recline the seatback, pull up on the lever and
lean back.
The recline feature allows adjustment of the seat
back for occupants of different sizes for added
comfort and to help obtain proper seat belt fit
(see “Precautions on seat belt usage” later in this
section) . Also, the seatback can be reclined to
allow occupants to rest when the vehicle is
stopped.
WARNING
cAfter adjustment, gently rock in the seat
to make sure it is securely locked.
cDo not ride in a moving vehicle when
the seatback is reclined. This can be
dangerous. The shoulder belt will not
be against your body. In an accident,
you could be thrown into it and receive
neck or other serious injuries. You
could also slide under the lap belt and
receive serious internal injuries.
cFor the most effective protection when
the vehicle is in motion, the seat should
be upright. Always sit well back in the
seat and adjust the seat belt properly.
See “Precautions on seat belt usage”
later in this section.
Tip up for easy entry to the 3rd row
The 2nd row captain’s chairs can be tipped for-
ward for easy entry or exit from the 3rd row bench
seat. To enter the 3rd row bench seat lift up on
the lever located on the lower base of the 2nd
row captain’s chair to tip the seat forward. To exit
the 3rd row bench seat pull back on the lever on
the lower base of the 2nd row captain’s chair and
push the seat forward.
LRS0625LRS0626
Safety—Seats, seat belts and supplemental restraint system1-7
ZREVIEW COPYÐ2006 Quest(van)
Owners ManualÐUSA_English(nna)
05/27/05Ðtbrooks
X
Page 24 of 352

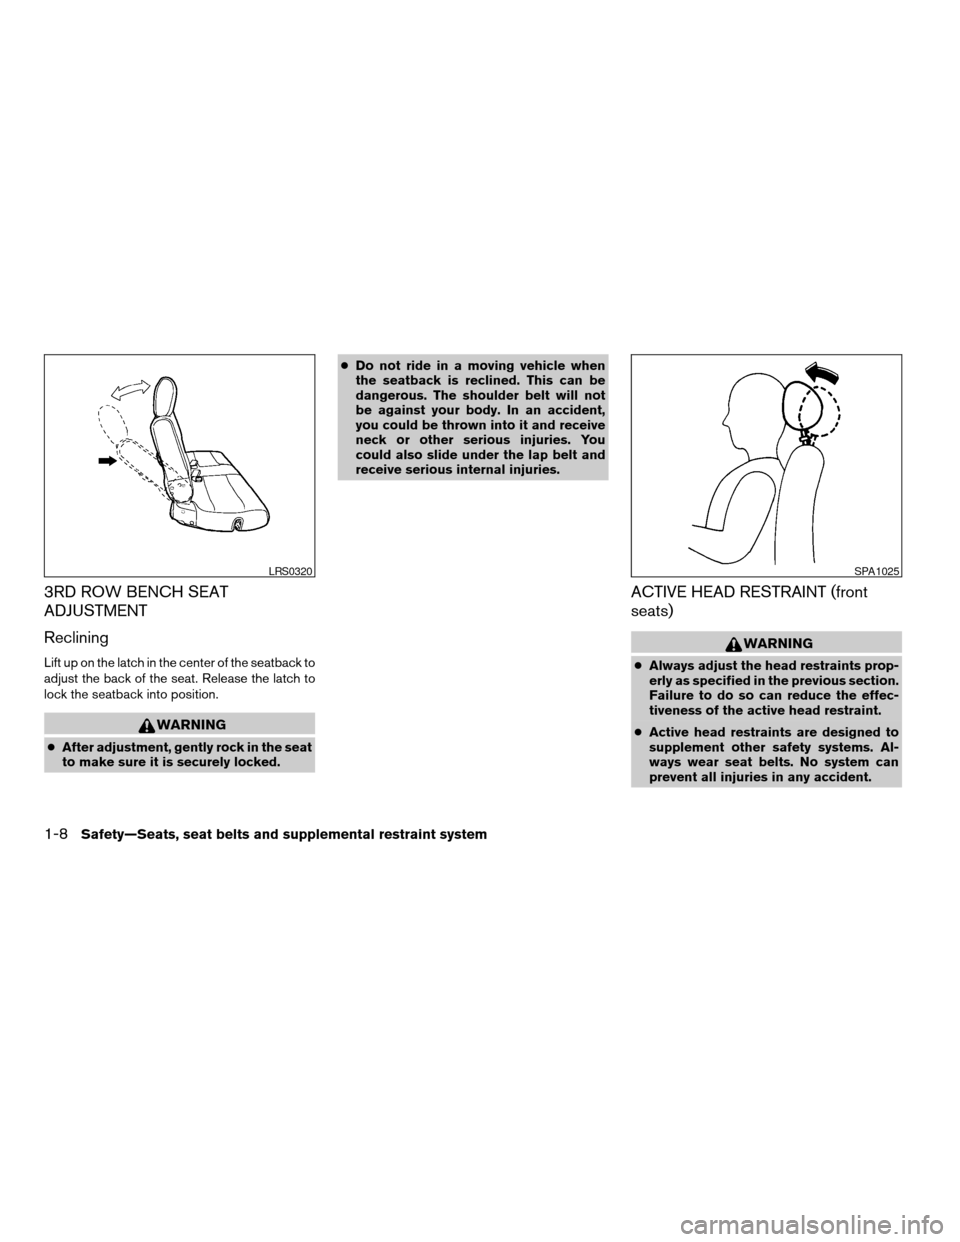
3RD ROW BENCH SEAT
ADJUSTMENT
Reclining
Lift up on the latch in the center of the seatback to
adjust the back of the seat. Release the latch to
lock the seatback into position.
WARNING
cAfter adjustment, gently rock in the seat
to make sure it is securely locked.cDo not ride in a moving vehicle when
the seatback is reclined. This can be
dangerous. The shoulder belt will not
be against your body. In an accident,
you could be thrown into it and receive
neck or other serious injuries. You
could also slide under the lap belt and
receive serious internal injuries.
ACTIVE HEAD RESTRAINT (front
seats)
WARNING
cAlways adjust the head restraints prop-
erly as specified in the previous section.
Failure to do so can reduce the effec-
tiveness of the active head restraint.
cActive head restraints are designed to
supplement other safety systems. Al-
ways wear seat belts. No system can
prevent all injuries in any accident.
LRS0320SPA1025
1-8Safety—Seats, seat belts and supplemental restraint system
ZREVIEW COPYÐ2006 Quest(van)
Owners ManualÐUSA_English(nna)
05/27/05Ðtbrooks
X