Page 85 of 409

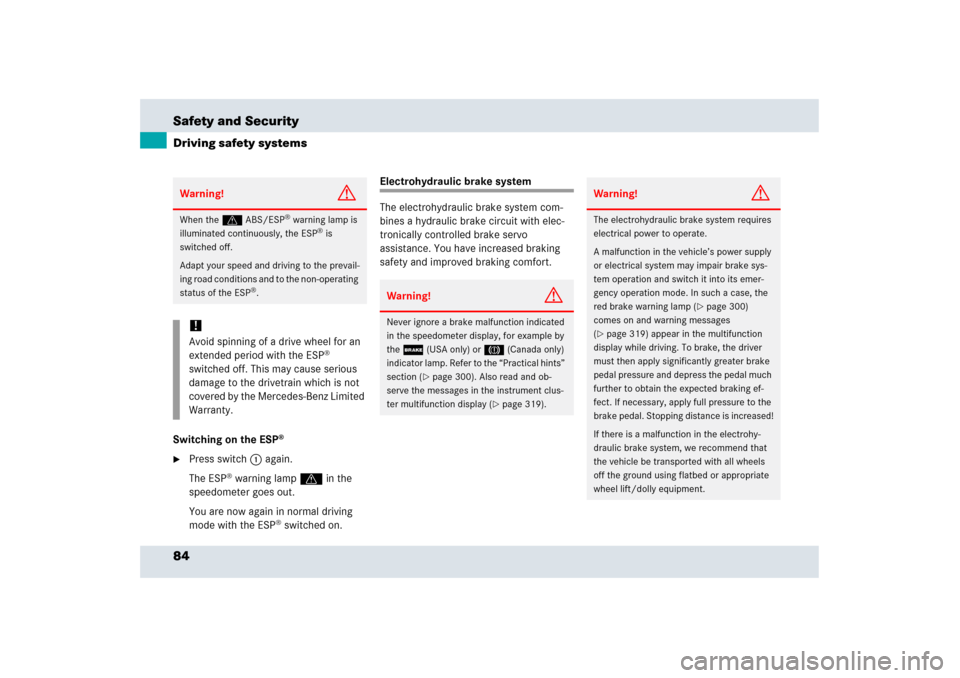
84 Safety and SecurityDriving safety systemsSwitching on the ESP
®
�
Press switch1 again.
The ESP
® warning lampv in the
speedometer goes out.
You are now again in normal driving
mode with the ESP
® switched on.
Electrohydraulic brake system
The electrohydraulic brake system com-
bines a hydraulic brake circuit with elec-
tronically controlled brake servo
assistance. You have increased braking
safety and improved braking comfort.
Warning!
G
When the v ABS/ESP
® warning lamp is
illuminated continuously, the ESP
® is
switched off.
Adapt your speed and driving to the prevail-
ing road conditions and to the non-operating
status of the ESP
®.
!Avoid spinning of a drive wheel for an
extended period with the ESP
®
switched off. This may cause serious
damage to the drivetrain which is not
covered by the Mercedes-Benz Limited
Warranty.
Warning!
G
Never ignore a brake malfunction indicated
in the speedometer display, for example by
the ; (USA only) or 3 (Canada only)
indicator lamp. Refer to the “Practical hints”
section (
�page 300). Also read and ob-
serve the messages in the instrument clus-
ter multifunction display (
�page 319).
Warning!
G
The electrohydraulic brake system requires
electrical power to operate.
A malfunction in the vehicle’s power supply
or electrical system may impair brake sys-
tem operation and switch it into its emer-
gency operation mode. In such a case, the
red brake warning lamp (
�page 300)
comes on and warning messages
(
�page 319) appear in the multifunction
display while driving. To brake, the driver
must then apply significantly greater brake
pedal pressure and depress the pedal much
further to obtain the expected braking ef-
fect. If necessary, apply full pressure to the
brake pedal. Stopping distance is increased!
If there is a malfunction in the electrohy-
draulic brake system, we recommend that
the vehicle be transported with all wheels
off the ground using flatbed or appropriate
wheel lift/dolly equipment.
Page 86 of 409

85 Safety and Security
Driving safety systems
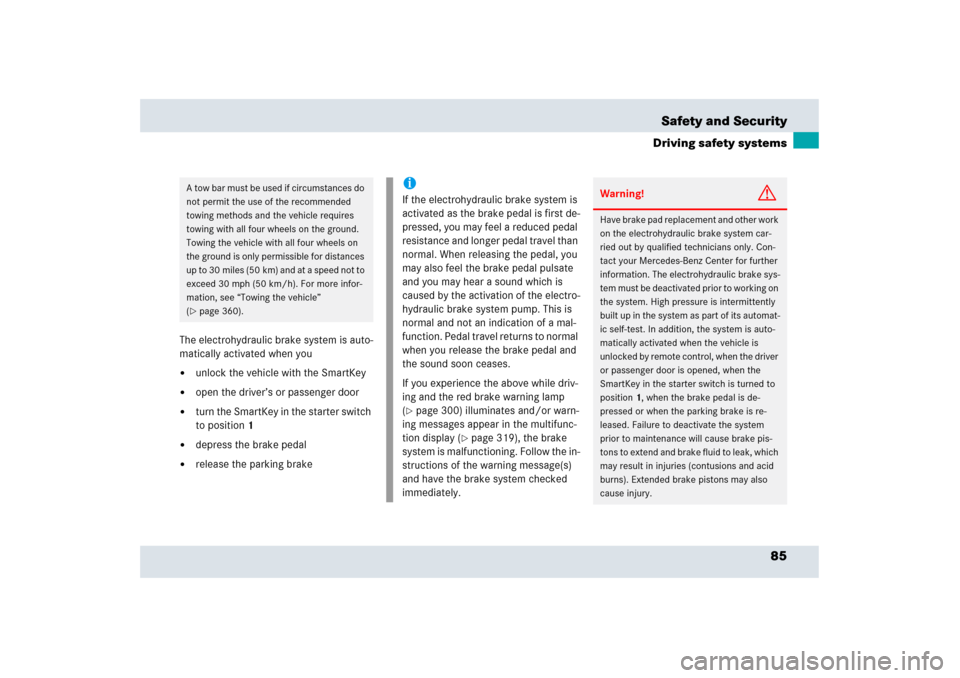
The electrohydraulic brake system is auto-
matically activated when you�
unlock the vehicle with the SmartKey
�
open the driver’s or passenger door
�
turn the SmartKey in the starter switch
to position1
�
depress the brake pedal
�
release the parking brakeA tow bar must be used if circumstances do
not permit the use of the recommended
towing methods and the vehicle requires
towing with all four wheels on the ground.
Towing the vehicle with all four wheels on
the ground is only permissible for distances
u p t o 3 0 m i l e s ( 5 0 k m ) a n d a t a s p e e d n o t t o
exceed 30 mph (50 km/h). For more infor-
mation, see “Towing the vehicle”
(�page 360).
iIf the electrohydraulic brake system is
activated as the brake pedal is first de-
pressed, you may feel a reduced pedal
resistance and longer pedal travel than
normal. When releasing the pedal, you
may also feel the brake pedal pulsate
and you may hear a sound which is
caused by the activation of the electro-
hydraulic brake system pump. This is
normal and not an indication of a mal-
function. Pedal travel returns to normal
when you release the brake pedal and
the sound soon ceases.
If you experience the above while driv-
ing and the red brake warning lamp
(�page 300) illuminates and/or warn-
ing messages appear in the multifunc-
tion display (
�page 319), the brake
system is malfunctioning. Follow the in-
structions of the warning message(s)
and have the brake system checked
immediately.
Warning!
G
Have brake pad replacement and other work
on the electrohydraulic brake system car-
ried out by qualified technicians only. Con-
tact your Mercedes-Benz Center for further
information. The electrohydraulic brake sys-
tem must be deactivated prior to working on
the system. High pressure is intermittently
built up in the system as part of its automat-
ic self-test. In addition, the system is auto-
matically activated when the vehicle is
unlocked by remote control, when the driver
or passenger door is opened, when the
SmartKey in the starter switch is turned to
position1, when the brake pedal is de-
pressed or when the parking brake is re-
leased. Failure to deactivate the system
prior to maintenance will cause brake pis-
tons to extend and brake fluid to leak, which
may result in injuries (contusions and acid
burns). Extended brake pistons may also
cause injury.
Page 106 of 409

105 Controls in detail
Lighting
�Lighting
For information on how to switch on the
headlamps and use the turn signals, see
“Switching on headlamps” (
�page 52)
and (
�page 53).
Exterior lamp switch
The exterior lamp switch is located on the
dashboard to the left of the steering wheel.
MOff
UAutomatic headlamp mode
CParking lamps (also tail lamps,
license plate lamps, side marker
lamps, instrument panel lamps)
BLow beam headlamps (or high
beam headlamps when the
combination switch is pushed
forward) and parking lampsˆStanding lamps, right (turn left one
stop)
‚Standing lamps, left (turn left two
stops)
iIf you drive in countries where vehicles
drive on the other side of the road than
the country where the vehicle is regis-
tered, you must have the headlamps
modified for symmetrical low beams.
Relevant information can be obtained
at your authorized Mercedes-Benz
Center.
iIf you remove the SmartKey from the
starter switch and open the driver’s
door while the parking lamps or low
beam headlamps are switched on, then �
a warning sounds
�
$ appears in the left multifunc-
tion display
�
the message
Turn off lamps
appears in right multifunction dis-
play
Page 115 of 409
114 Controls in detailInstrument clusterCoolant temperature gaugeDuring severe operating conditions, e.g.
stop-and-go traffic, the coolant tempera-
ture may rise close to 248°F (120°C).
The engine should not be operated with
the coolant temperature above 248°F
(120°C). Doing so may cause serious en-
gine damage which is not covered by the
Mercedes-Benz Limited Warranty.Warning!
G
�
Driving when your engine is badly over-
heated can cause some fluids which
may have leaked into the engine com-
partment to catch fire. You could be se-
riously burned.
�
Steam from an overheated engine can
cause serious burns an can occur just by
opening the hood. Stay away from the
engine if you see or hear steam coming
from it.
Turn off the engine, get out of the vehicle
and do not stand near the vehicle until the
engine has cooled down.
!Excessive coolant temperature triggers
the coolant temperature warning lamp
(�page 302) and a warning in the
multifunction display (
�page 323).
Page 116 of 409

115 Controls in detail
Instrument cluster
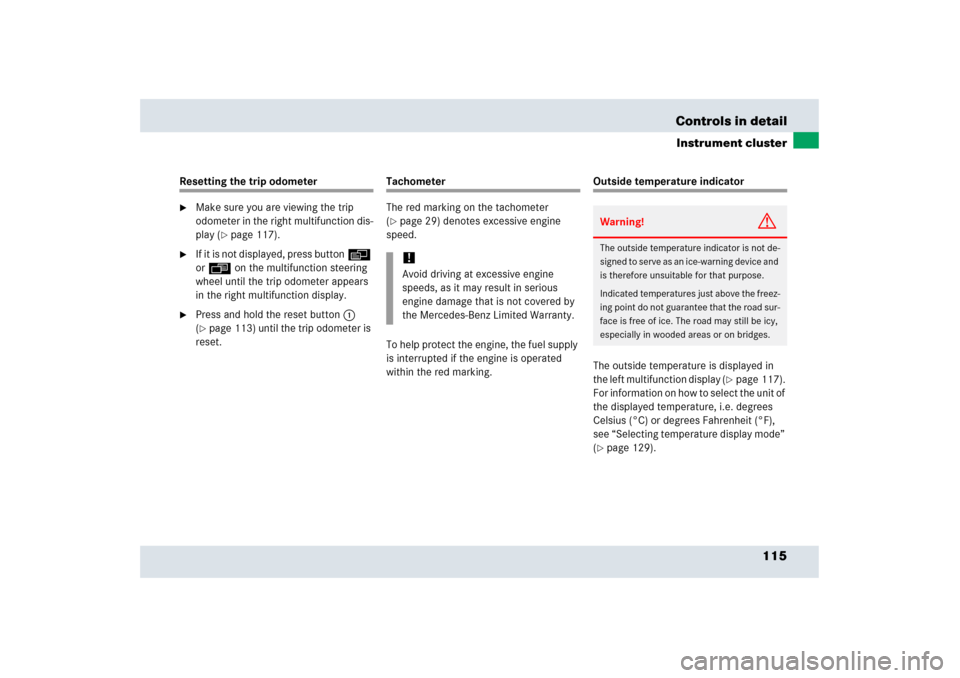
Resetting the trip odometer�
Make sure you are viewing the trip
odometer in the right multifunction dis-
play (
�page 117).
�
If it is not displayed, press buttonè
orÿ on the multifunction steering
wheel until the trip odometer appears
in the right multifunction display.
�
Press and hold the reset button1
(�page 113) until the trip odometer is
reset.
Tachometer
The red marking on the tachometer
(�page 29) denotes excessive engine
speed.
To help protect the engine, the fuel supply
is interrupted if the engine is operated
within the red marking.
Outside temperature indicator
The outside temperature is displayed in
the left multifunction display (
�page 117).
For information on how to select the unit of
the displayed temperature, i.e. degrees
Celsius (°C) or degrees Fahrenheit (°F),
see “Selecting temperature display mode”
(
�page 129).
!Avoid driving at excessive engine
speeds, as it may result in serious
engine damage that is not covered by
the Mercedes-Benz Limited Warranty.
Warning!
G
The outside temperature indicator is not de-
signed to serve as an ice-warning device and
is therefore unsuitable for that purpose.
Indicated temperatures just above the freez-
ing point do not guarantee that the road sur-
face is free of ice. The road may still be icy,
especially in wooded areas or on bridges.
Page 117 of 409
116 Controls in detailInstrument clusterThe temperature sensor is located in the
front bumper area. Due to its location, the
sensor can be affected by road or engine
heat during idling or slow driving. There-
fore, the accuracy of the displayed temper-
ature can only be verified by comparison to
a thermometer placed next the sensor, not
by comparison to external displays, e.g.
bank signs, etc.
When moving the vehicle into colder ambi-
ent temperatures (e.g. when leaving your
garage), you will notice a delay before the
lower temperature is displayed.
A delay also occurs when ambient temper-
atures rise. This prevents inaccurate tem-
perature indications caused by heat
radiated from the engine during idling or
slow driving.
Page 118 of 409

117 Controls in detail
Control system
�Control system
The control system is activated as soon as
the SmartKey in the starter switch is
turned to position1. The control system
enables you to�
call up information about your vehicle
�
change vehicle settings
For example, you can use the control sys-
tem to find out when your vehicle is next
due for service, to set the language for
messages in the instrument cluster dis-
play, and much more.
The control system relays information to
the multifunction display.
Multifunction display
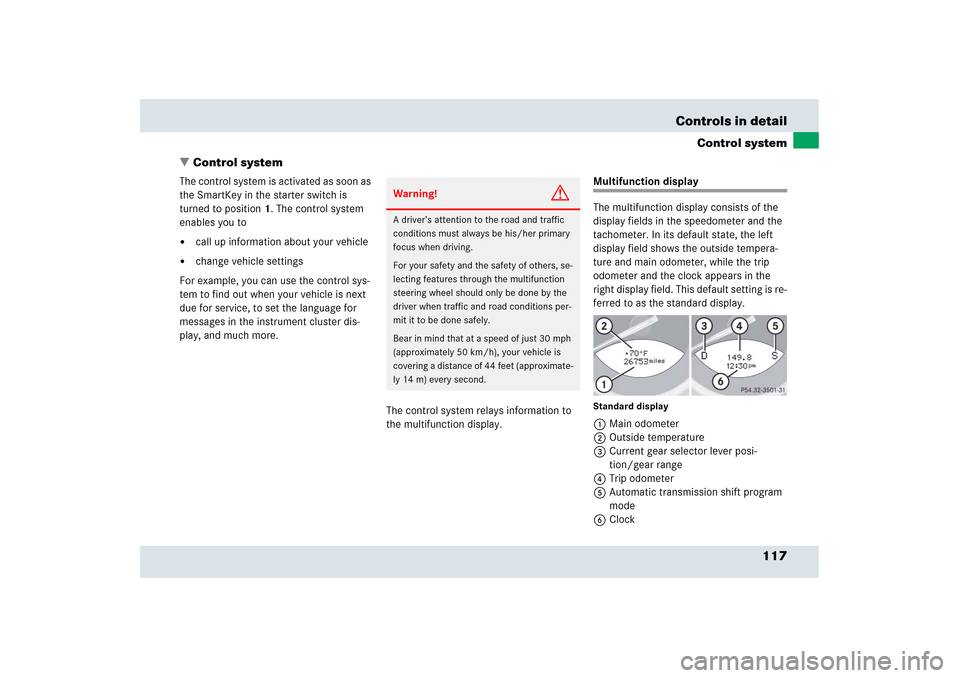
The multifunction display consists of the
display fields in the speedometer and the
tachometer. In its default state, the left
display field shows the outside tempera-
ture and main odometer, while the trip
odometer and the clock appears in the
right display field. This default setting is re-
ferred to as the standard display.Standard display1Main odometer
2Outside temperature
3Current gear selector lever posi-
tion/gear range
4Trip odometer
5Automatic transmission shift program
mode
6Clock
Warning!
G
A driver’s attention to the road and traffic
conditions must always be his/her primary
focus when driving.
For your safety and the safety of others, se-
lecting features through the multifunction
steering wheel should only be done by the
driver when traffic and road conditions per-
mit it to be done safely.
Bear in mind that at a speed of just 30 mph
(approximately 50 km/h), your vehicle is
covering a distance of 44 feet (approximate-
ly 14 m) every second.
Page 119 of 409
118 Controls in detailControl systemMultifunction steering wheel
The displays in the multifunction display
and the settings in the control system are
controlled by the buttons on the multifunc-
tion steering wheel (
�page 30).
Pressing any of the buttons on the multi-
function steering wheel will alter what is
shown in the multifunction display.
The information available in the multifunc-
tion display is arranged in menus, each
containing a number of functions or sub-
menus.
1
Left multifunction display in the
speedometer
2
Right multifunction display in the
tachometerOperating the control system
3
Selecting the submenu or setting the
volume:
Press button
æup/to increase
çdown/to decrease
4
Telephone:
Press button
íto take a call
ìto end a call
5
Menu systems:
Press button
èfor next menu
ÿfor previous menu
6
Moving within a menu:
Press button
jfor next display
kfor previous display