Page 146 of 481
145 Controls in detail
Control system
Night security illumination (Headlamps
delayed shut-off)
Use this function to set whether or not the
exterior lamps illuminate during darkness
after exiting the vehicle and all doors
closed.
With the delayed shut-off feature activated
and the exterior lamp switch in
positionU before the engine is turned
off, the following lamps will switch on
when the engine is turned off and remain
lit for approximately 15 seconds:�
Parking lamps
�
Tail lamps
�
License plate lamps
�
Side marker lamps
�
Front fog lampsIf after turning off the engine you do not
open a door or do not close an opened
door, the lamps will automatically switch
off after 60 seconds.
�
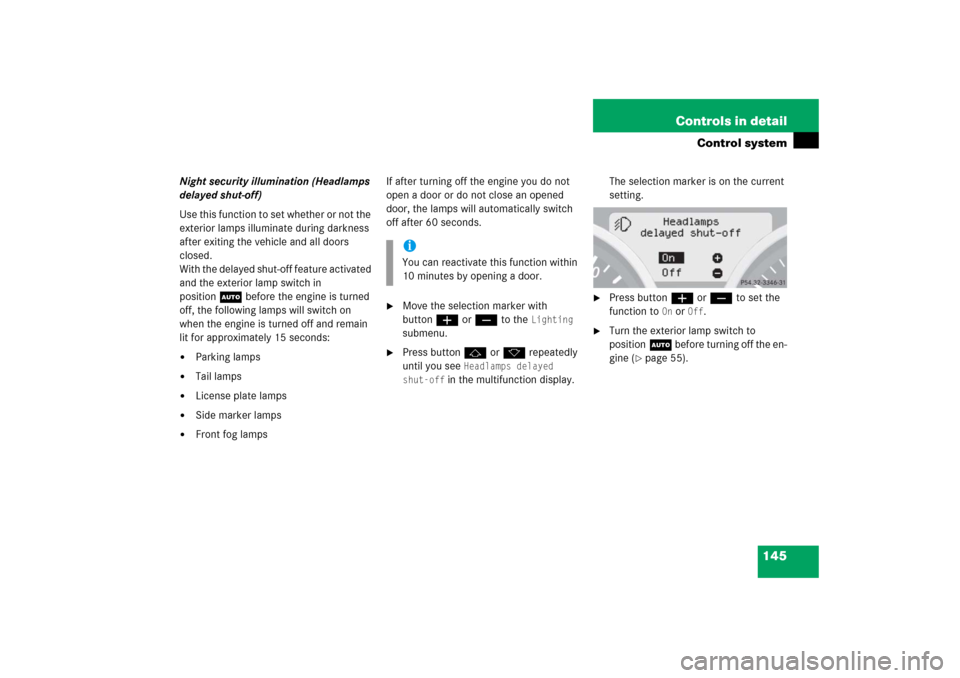
Move the selection marker with
buttonæorç to the
Lighting
submenu.
�
Press buttonjork repeatedly
until you see
Headlamps delayed
shut-off
in the multifunction display.The selection marker is on the current
setting.
�
Press buttonæorç to set the
function to
On or
Off
.
�
Turn the exterior lamp switch to
positionU before turning off the en-
gine (
�page 55).
iYou can reactivate this function within
10 minutes by opening a door.
Page 148 of 481
147 Controls in detail
Control system
Vehicle submenu
Access the
Vehicle
submenu via the
Settings...
menu. Use the
Vehicle
sub-
menu to make general vehicle settings.
The following function is available:
For additional information on central lock-
ing, see “Automatic central locking”
(
�page 101).Setting automatic locking
Use this function to activate or deactivate
the automatic locking system. With the
automatic locking system activated, the
vehicle is centrally locked at vehicle
speeds of approximately 9 mph
(15 km/h).
�
Move the selection marker with
buttonæorç to the
Vehicle
submenu.
�
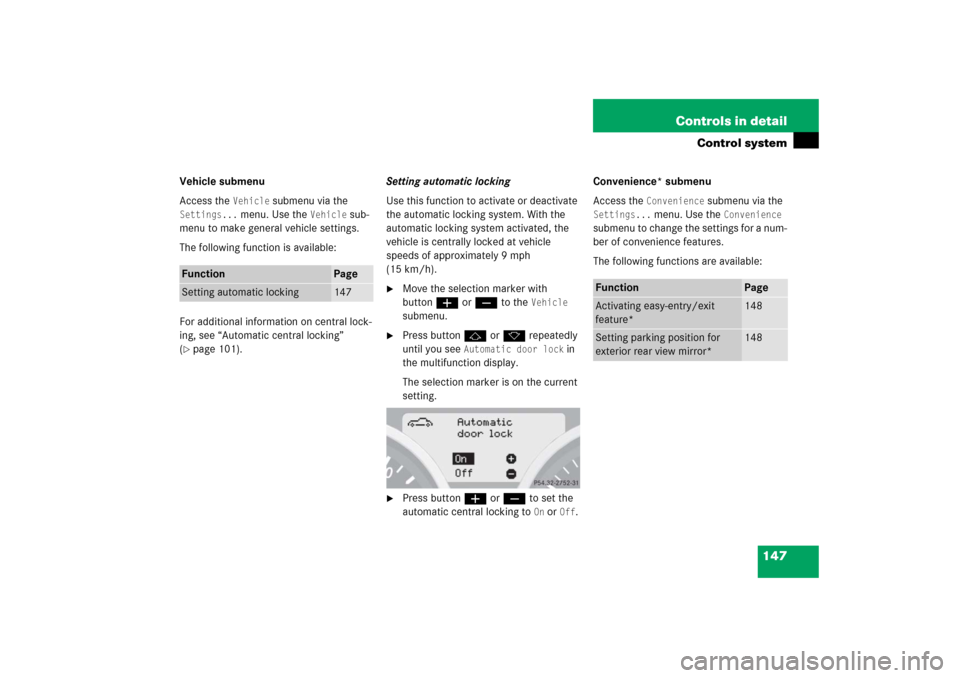
Press buttonjork repeatedly
until you see
Automatic door lock
in
the multifunction display.
The selection marker is on the current
setting.
�
Press buttonæorç to set the
automatic central locking to
On or
Off
.Convenience* submenu
Access the
Convenience
submenu via the
Settings...
menu. Use the
Convenience
submenu to change the settings for a num-
ber of convenience features.
The following functions are available:
Function
Page
Setting automatic locking
147
Function
Page
Activating easy-entry/exit
feature*
148
Setting parking position for
exterior rear view mirror*
148
Page 149 of 481
148 Controls in detailControl systemActivating easy-entry/exit feature*
Use this function to activate and deacti-
vate the easy-entry/exit feature
(�page 43).
�
Move the selection marker with
buttonæorç to the Convenience
submenu.
�
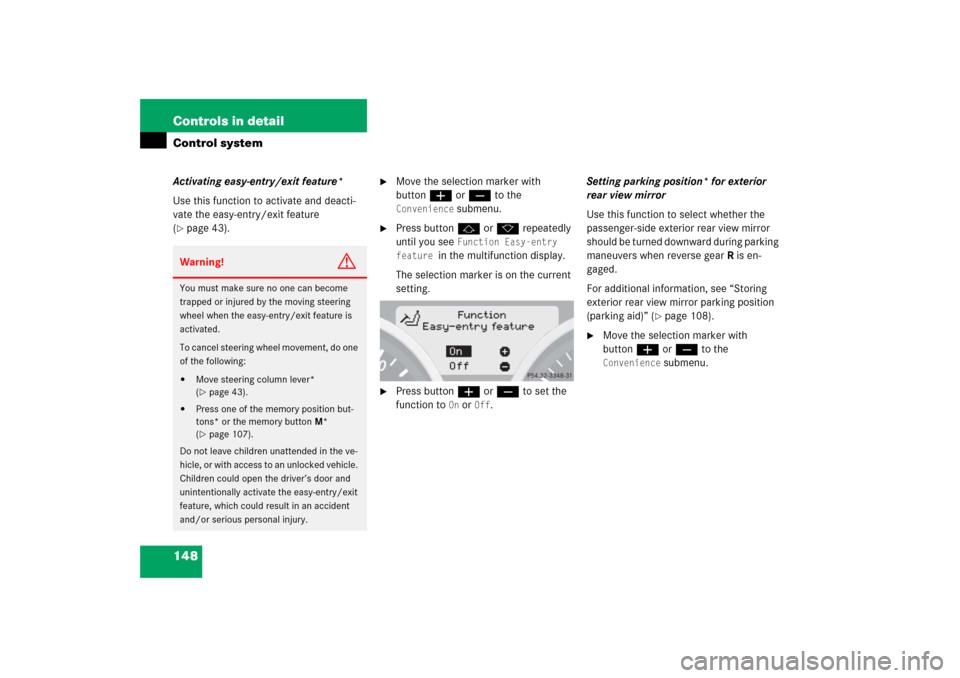
Press buttonjork repeatedly
until you see
Function Easy-entry
feature
in the multifunction display.
The selection marker is on the current
setting.
�
Press buttonæorç to set the
function to
On or
Off
.Setting parking position* for exterior
rear view mirror
Use this function to select whether the
passenger-side exterior rear view mirror
should be turned downward during parking
maneuvers when reverse gearR is en-
gaged.
For additional information, see “Storing
exterior rear view mirror parking position
(parking aid)” (
�page 108).
�
Move the selection marker with
buttonæorç to the Convenience
submenu.
Warning!
G
You must make sure no one can become
trapped or injured by the moving steering
wheel when the easy-entry/exit feature is
activated.
To cancel steering wheel movement, do one
of the following:�
Move steering column lever*
(�page 43).
�
Press one of the memory position but-
tons* or the memory buttonM*
(�page 107).
Do not leave children unattended in the ve-
hicle, or with access to an unlocked vehicle.
Children could open the driver’s door and
unintentionally activate the easy-entry/exit
feature, which could result in an accident
and/or serious personal injury.
Page 150 of 481
149 Controls in detail
Control system
�
Press buttonjork repeatedly
until you see
Mirror adjustment
Parking aid in the multifunction dis-
play.
The selection marker is on the current
setting.
�
Press buttonæorç to set the
function to
On or
Off
.
Trip computer menu
Use the trip computer menu to call up
statistical data on your vehicle.
The following information is available:Fuel consumption statistics after start
�
Press buttonèorÿ repeatedly
until you see the first function of the
trip computer menu.
�
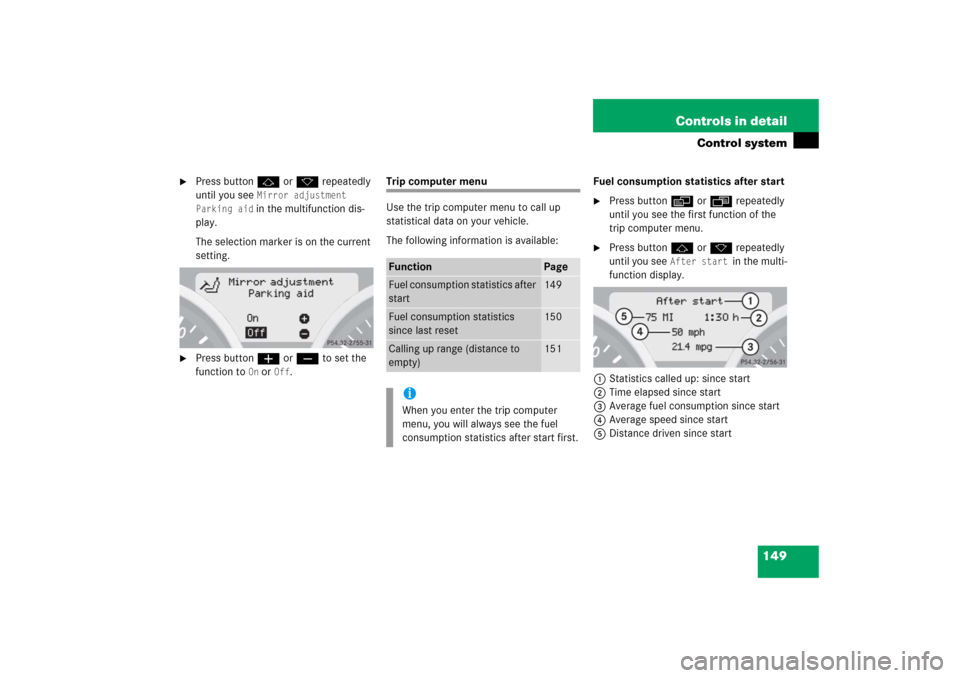
Press buttonjork repeatedly
until you see
After start
in the multi-
function display.
1Statistics called up: since start
2Time elapsed since start
3Average fuel consumption since start
4Average speed since start
5Distance driven since start
Function
Page
Fuel consumption statistics after
start
149
Fuel consumption statistics
since last reset
150
Calling up range (distance to
empty)
151
iWhen you enter the trip computer
menu, you will always see the fuel
consumption statistics after start first.
Page 156 of 481
155 Controls in detail
Manual transmission
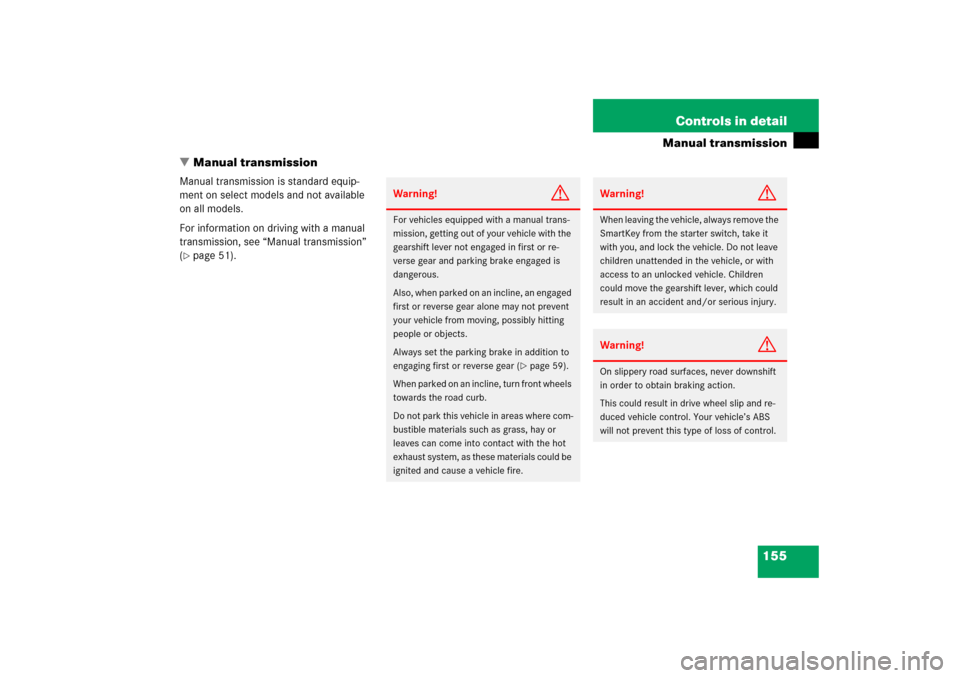
�Manual transmission
Manual transmission is standard equip-
ment on select models and not available
on all models.
For information on driving with a manual
transmission, see “Manual transmission”
(�page 51).
Warning!
G
For vehicles equipped with a manual trans-
mission, getting out of your vehicle with the
gearshift lever not engaged in first or re-
verse gear and parking brake engaged is
dangerous.
Also, when parked on an incline, an engaged
first or reverse gear alone may not prevent
your vehicle from moving, possibly hitting
people or objects.
Always set the parking brake in addition to
engaging first or reverse gear (
�page 59).
When parked on an incline, turn front wheels
towards the road curb.
Do not park this vehicle in areas where com-
bustible materials such as grass, hay or
leaves can come into contact with the hot
exhaust system, as these materials could be
ignited and cause a vehicle fire.
Warning!
G
When leaving the vehicle, always remove the
SmartKey from the starter switch, take it
with you, and lock the vehicle. Do not leave
children unattended in the vehicle, or with
access to an unlocked vehicle. Children
could move the gearshift lever, which could
result in an accident and/or serious injury.Warning!
G
On slippery road surfaces, never downshift
in order to obtain braking action.
This could result in drive wheel slip and re-
duced vehicle control. Your vehicle’s ABS
will not prevent this type of loss of control.
Page 157 of 481

156 Controls in detailManual transmissionGearshift pattern for manual transmission
Shifting into reverse�
Stop the vehicle completely.
�
Fully depress the clutch pedal.
�
Move the gearshift lever to the neutral
position (no gear selected).
�
Move the gearshift lever to the left until
you feel a certain resistance.
�
Push the gearshift lever past this resis-
tance.
�
Then move the gearshift lever forward
into positionR.
!When you are shifting into the 5th
or6th gear, make sure that you press
the gearshift lever to the right. Other-
wise, you could accidentally shift into
the3rd or4th gear and damage the
transmission.
Downshifting gears leading to overrev-
ving the engine can result in engine
damage that is not covered by the
Mercedes-Benz Limited Warranty.
Never hold the vehicle stopped on a hill
by using the clutch pedal. The clutch
may be damaged which is not covered
by the Mercedes-Benz Limited
Warranty.
Do not exceed the engine speed limits.
Refer to tachometer (
�page 121) for
engine speeds.
!Only shift into reverse gearR when the
vehicle is stationary, as the transmis-
sion could otherwise be damaged.
Page 158 of 481

157 Controls in detail
Automatic transmission*
�Automatic transmission*
For more information on driving with an
automatic transmission, see “Automatic
transmission*” (
�page 51).
Your vehicle’s transmission adapts its gear
shifting process to your individual driving
style by continually adjusting the shift
points up or down. These shift point adjust-
ments are performed based on current
operating and driving conditions.
If the operating conditions change, the
automatic transmission reacts by
adjusting its shift program.
Gearshift pattern for automatic
transmission
The automatic transmission selects indi-
vidual gears automatically, depending on:�
the gear selector lever
positionD(
�page 159) with
gear ranges (�page 160)
�
the selected program mode:
(C/S) (
�page 163)
or
(M/C/S) (SLK 55 AMG only)
(
�page 169)
�
the position of the accelerator pedal
(�page 162)
�
the vehicle speed
iDuring the brief warm-up, transmission
upshifting is delayed. This allows the
catalytic converter to heat up more
quickly to operating temperature.
Page 160 of 481
159 Controls in detail
Automatic transmission*
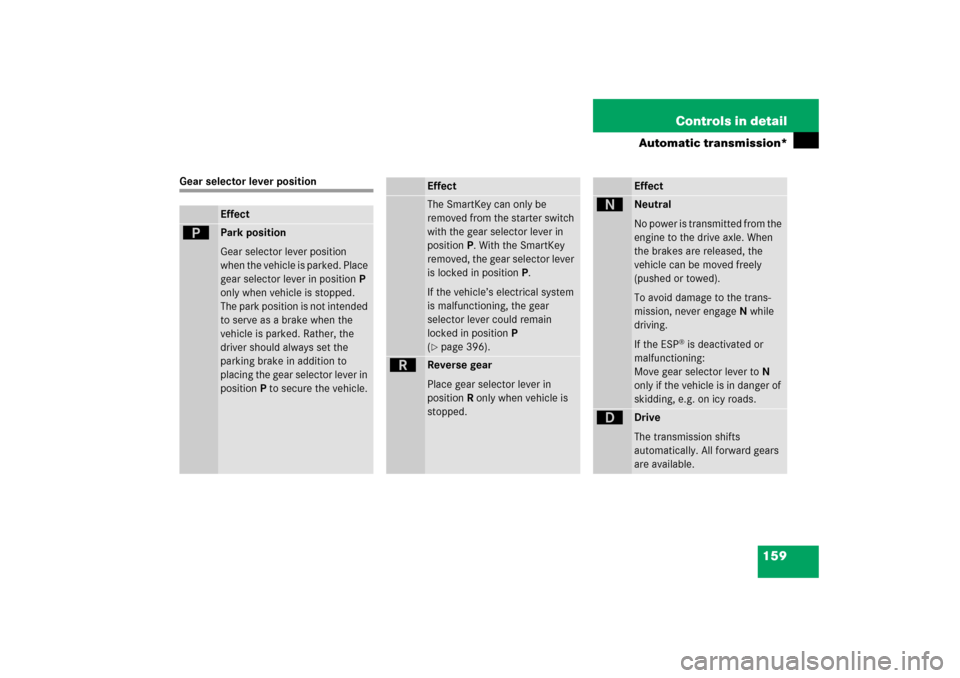
Gear selector lever position
Effect
ì
Park position
Gear selector lever position
when the vehicle is parked. Place
gear selector lever in positionP
only when vehicle is stopped.
The park position is not intended
to serve as a brake when the
vehicle is parked. Rather, the
driver should always set the
parking brake in addition to
placing the gear selector lever in
positionP to secure the vehicle.
EffectThe SmartKey can only be
removed from the starter switch
with the gear selector lever in
positionP. With the SmartKey
removed, the gear selector lever
is locked in positionP.
If the vehicle’s electrical system
is malfunctioning, the gear
selector lever could remain
locked in positionP
(�page 396).
í
Reverse gear
Place gear selector lever in
positionR only when vehicle is
stopped.
Effect
ë
Neutral
No power is transmitted from the
engine to the drive axle. When
the brakes are released, the
vehicle can be moved freely
(pushed or towed).
To avoid damage to the trans-
mission, never engageN while
driving.
If the ESP
® is deactivated or
malfunctioning:
Move gear selector lever toN
only if the vehicle is in danger of
skidding, e.g. on icy roads.
ê
Drive
The transmission shifts
automatically. All forward gears
are available.